Adventures In Artificial Delight
As an Amazon associate, I may earn a small commission if you navigate to Amazon from my site and buy something. This will not result in an extra cost to you.
When I was a kid, my parents celebrated birthdays with a cake and a special dinner. The dinner was chosen by the person celebrating the birthday. I was quite boring…I chose the exact same meal every year. My mom’s baked mac ‘n’ cheese, buttermilk biscuits (yes, carb overload; don’t judge me), and green beans from the pantry which we had canned ourselves. And for the cake…cherry chip cake with cherry chip frosting.
You can’t even get the cake mix or the frosting anymore. It was so full of artificial ingredients that it couldn’t pass the admittedly lax food standards in place these days. I’m a little sad about that…yes, it was terribly bad for you. But we only had it once a year and it was indescribably delicious.
A few years ago, I got a hankering for the old days and decided to see if I could make cherry chip cake from scratch. Turns out, you can. You use maraschino cherries to make it work. Yes, the artificial maraschinos are to cherries what cherry chip is to cake. But again, for an occasional treat, I think it’s fine. And did I mention, delicious?
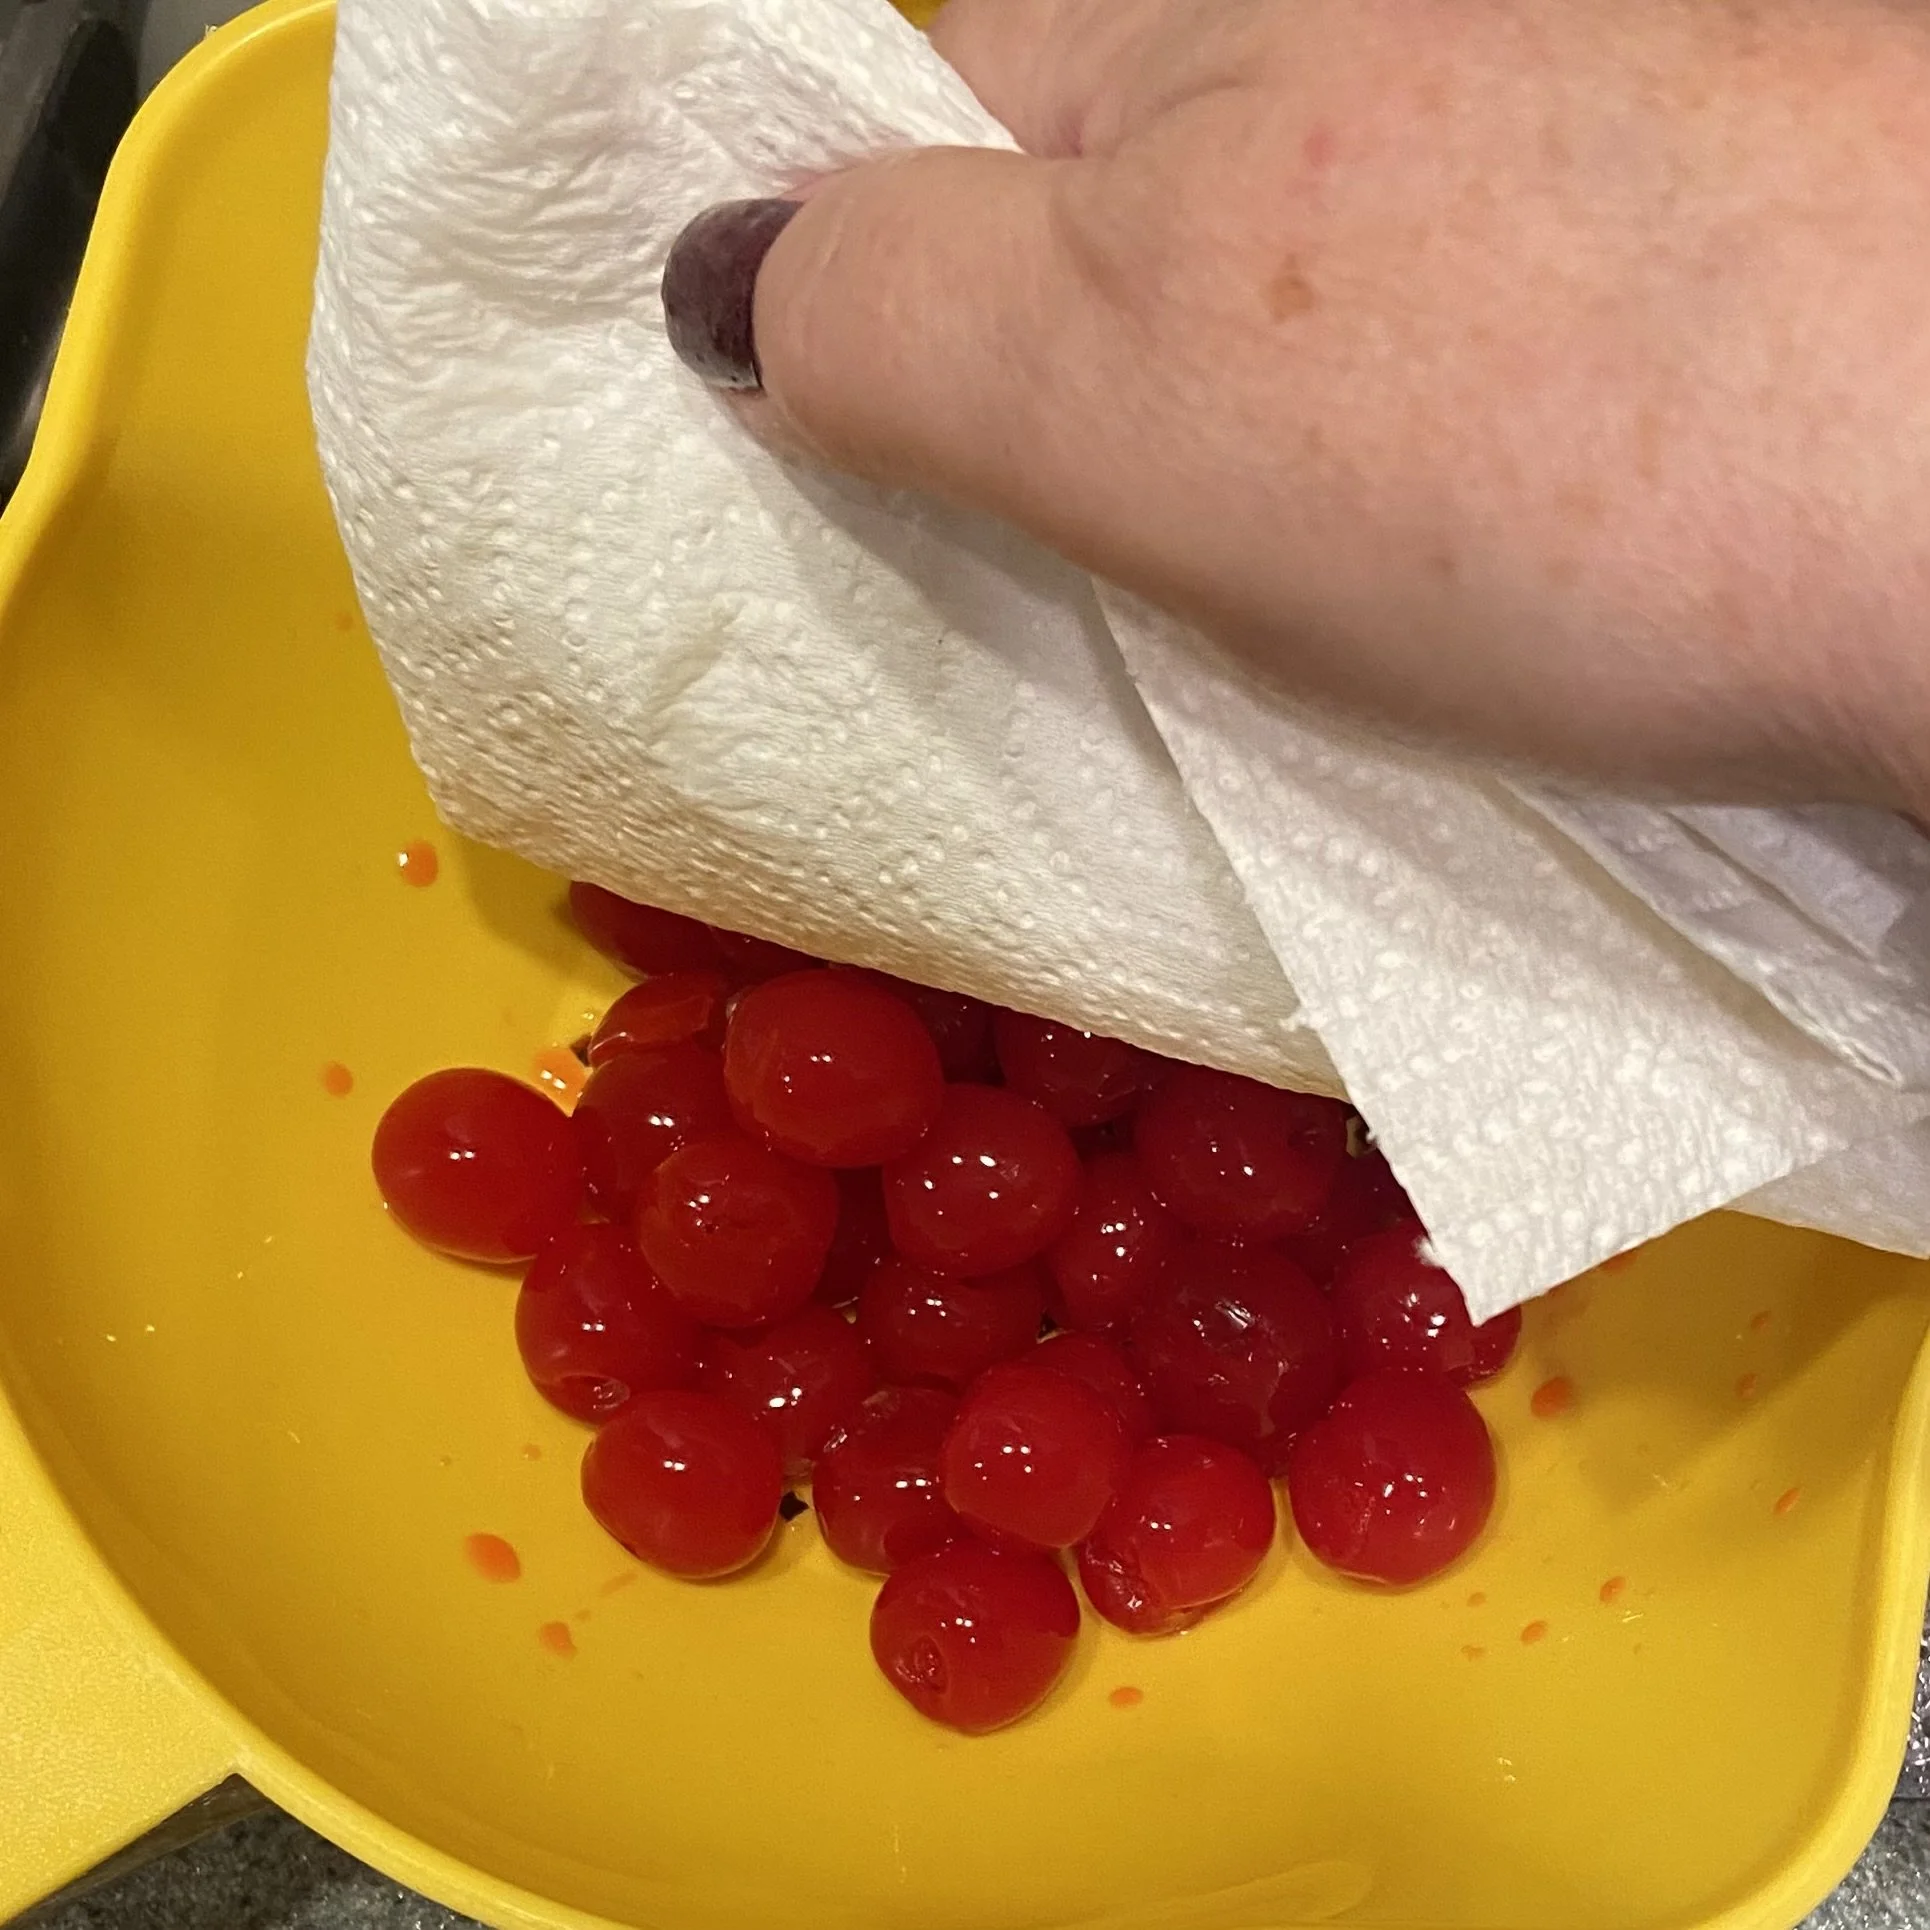
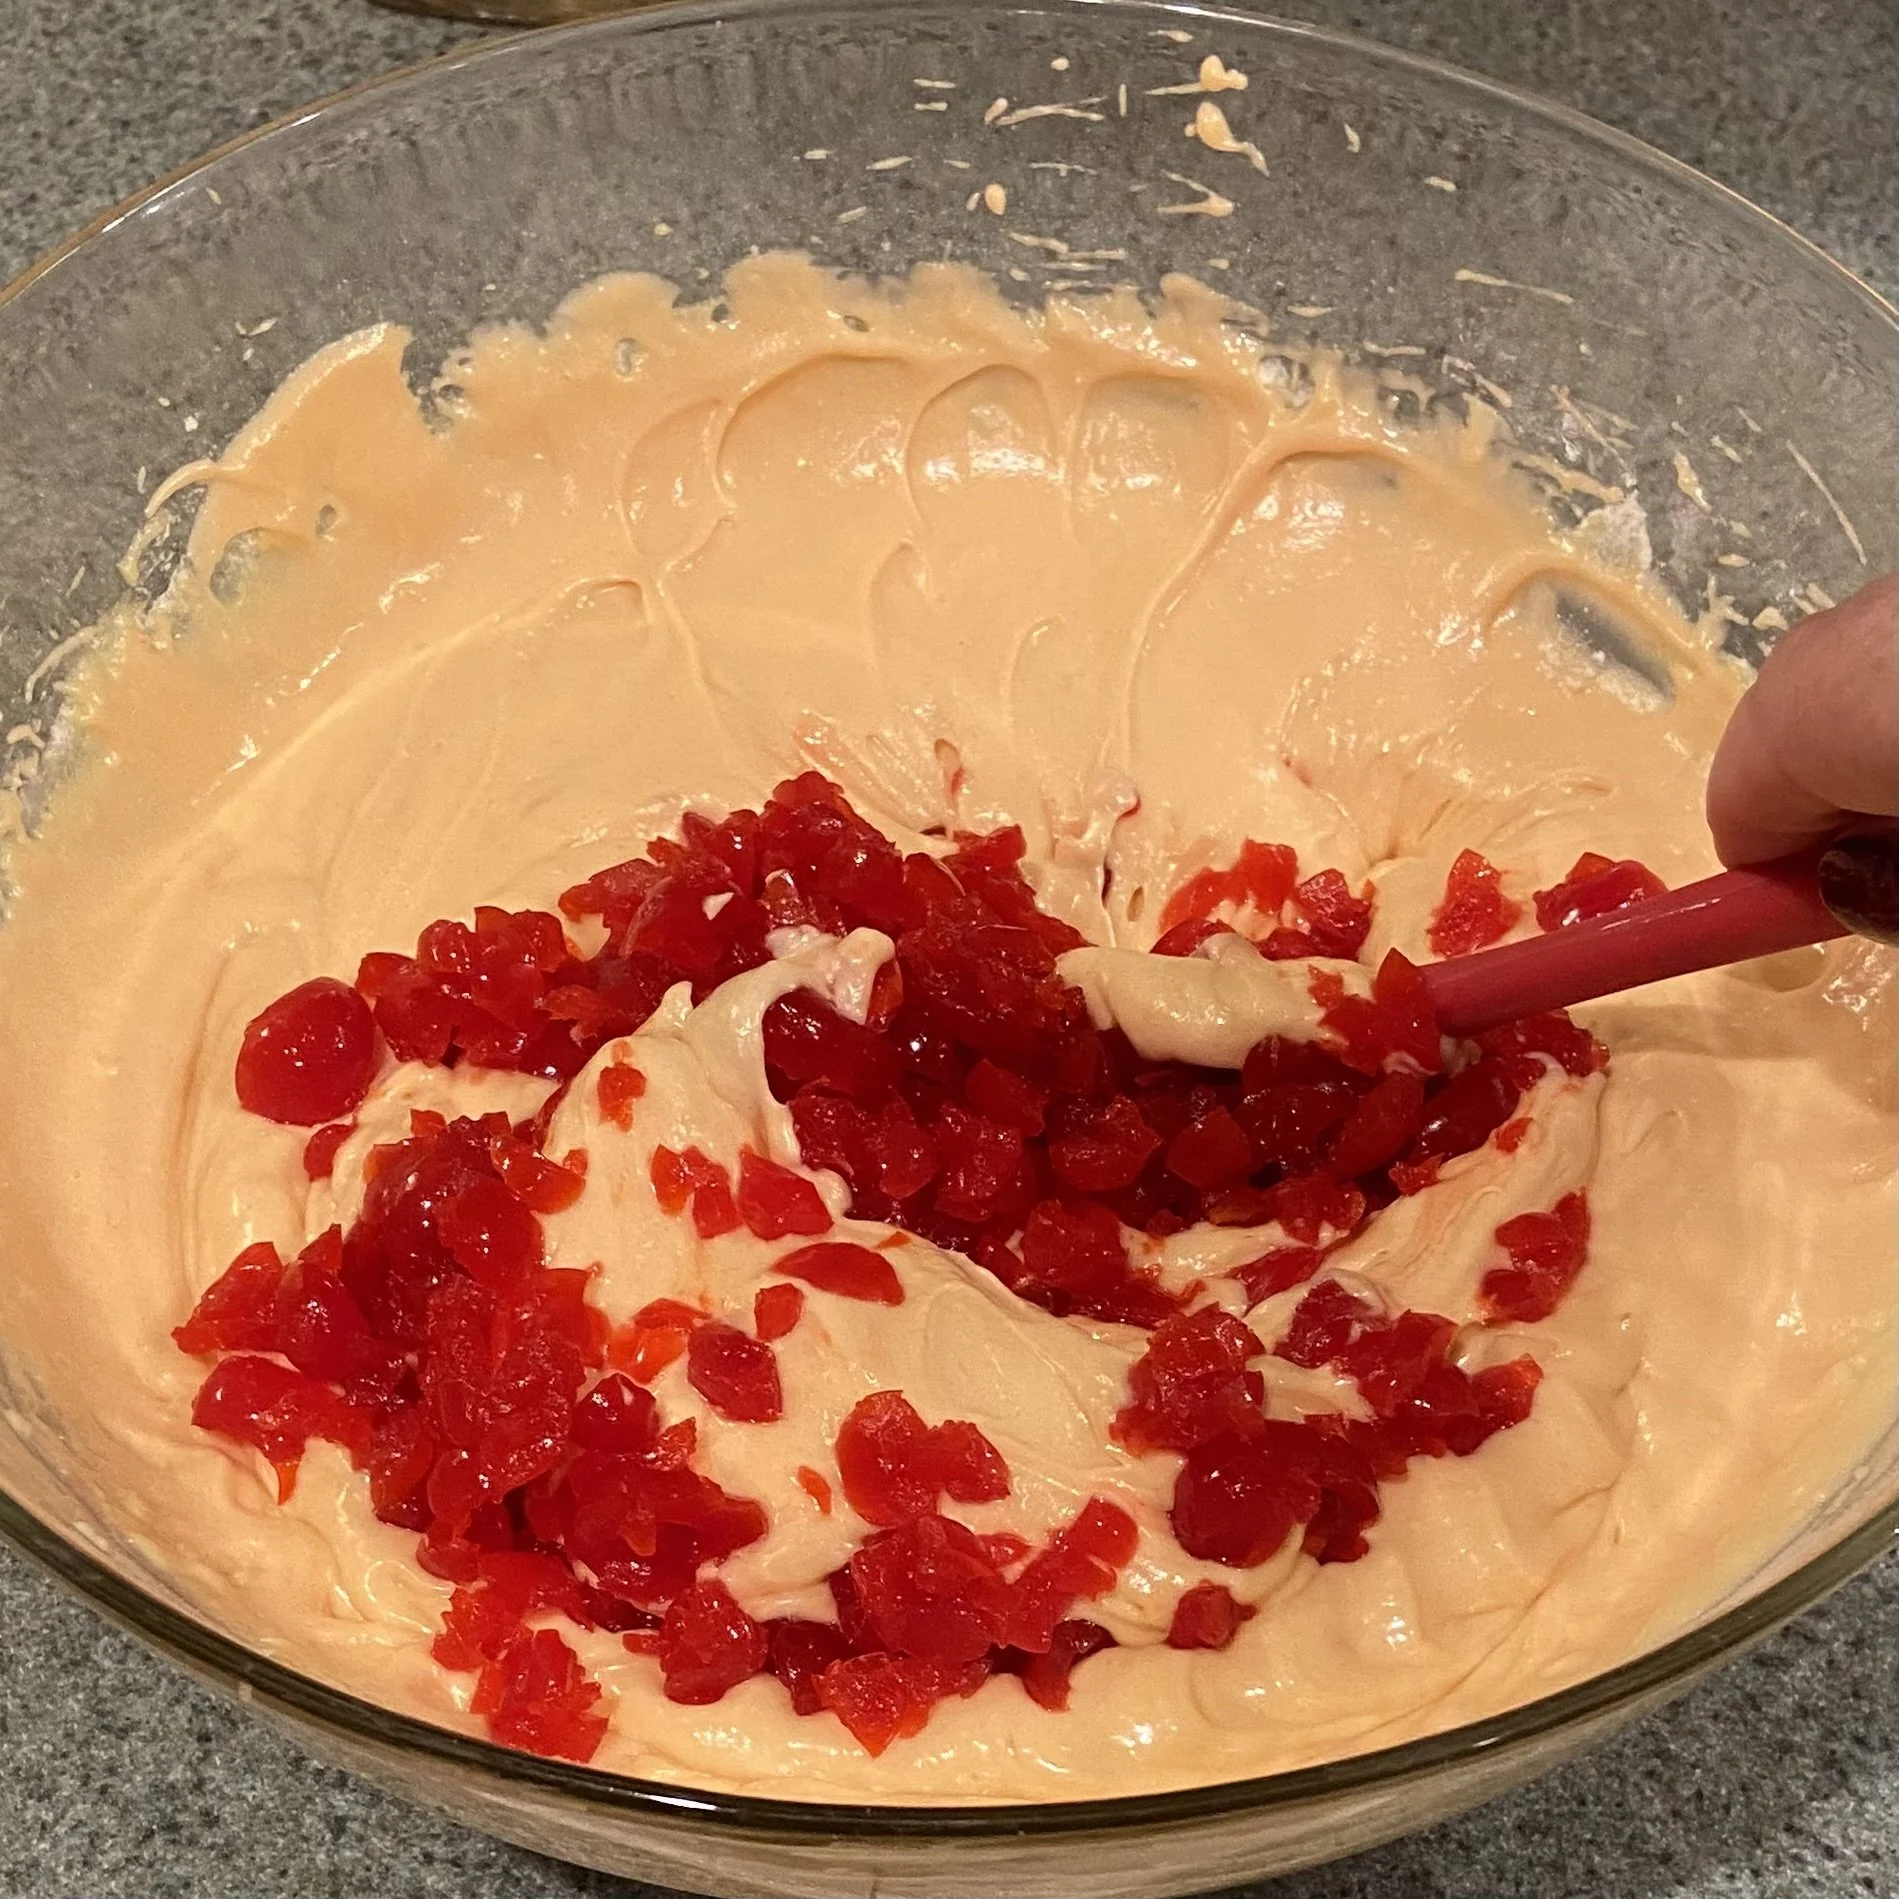
To make this recipe quick and easy, we start with store-bought basics…a box of yellow or white cake mix, and a can of vanilla frosting. Then we doctor those up a bit. For the cake, we take a jar of maraschino cherries, set aside 2 Tbsp of the juice from the jar, and then drain the rest. Drain the cherries well and pat them dry with a paper towel. Then use a food processor to chop them up into little pieces. I love my KitchenAid immersion blender for jobs like this. Don’t take it too far…you want little pieces, not cherry puree.
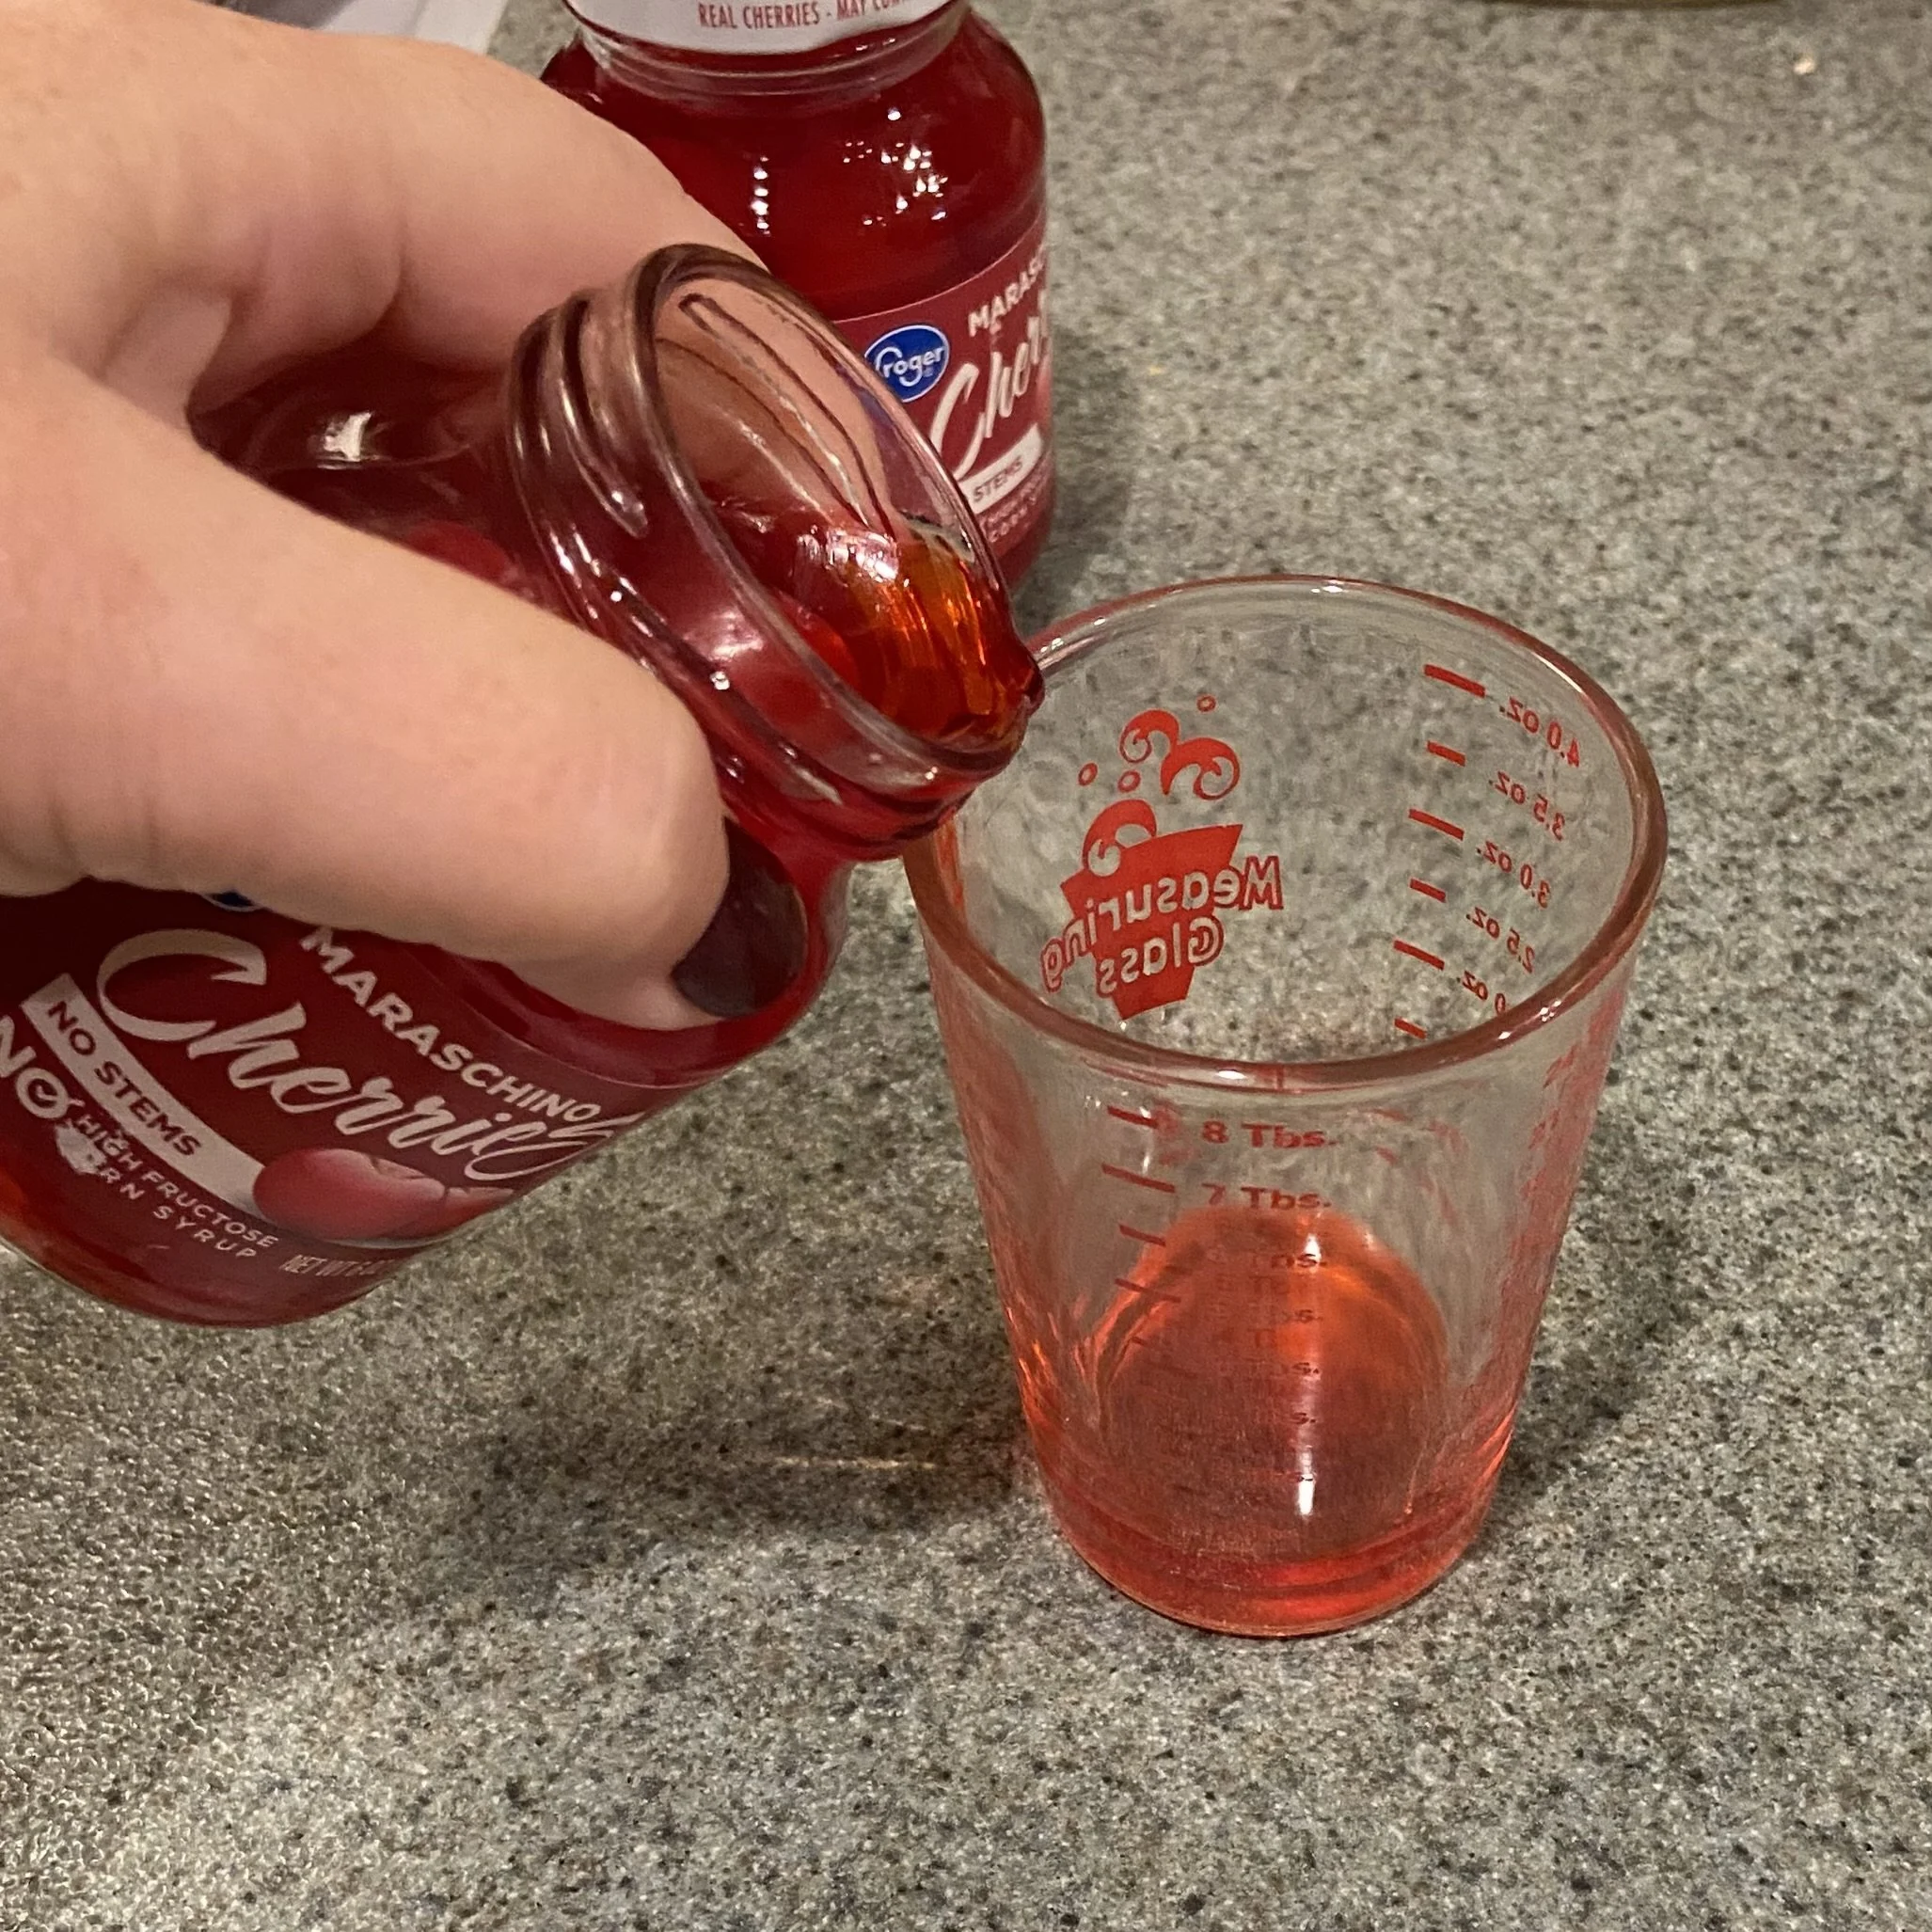

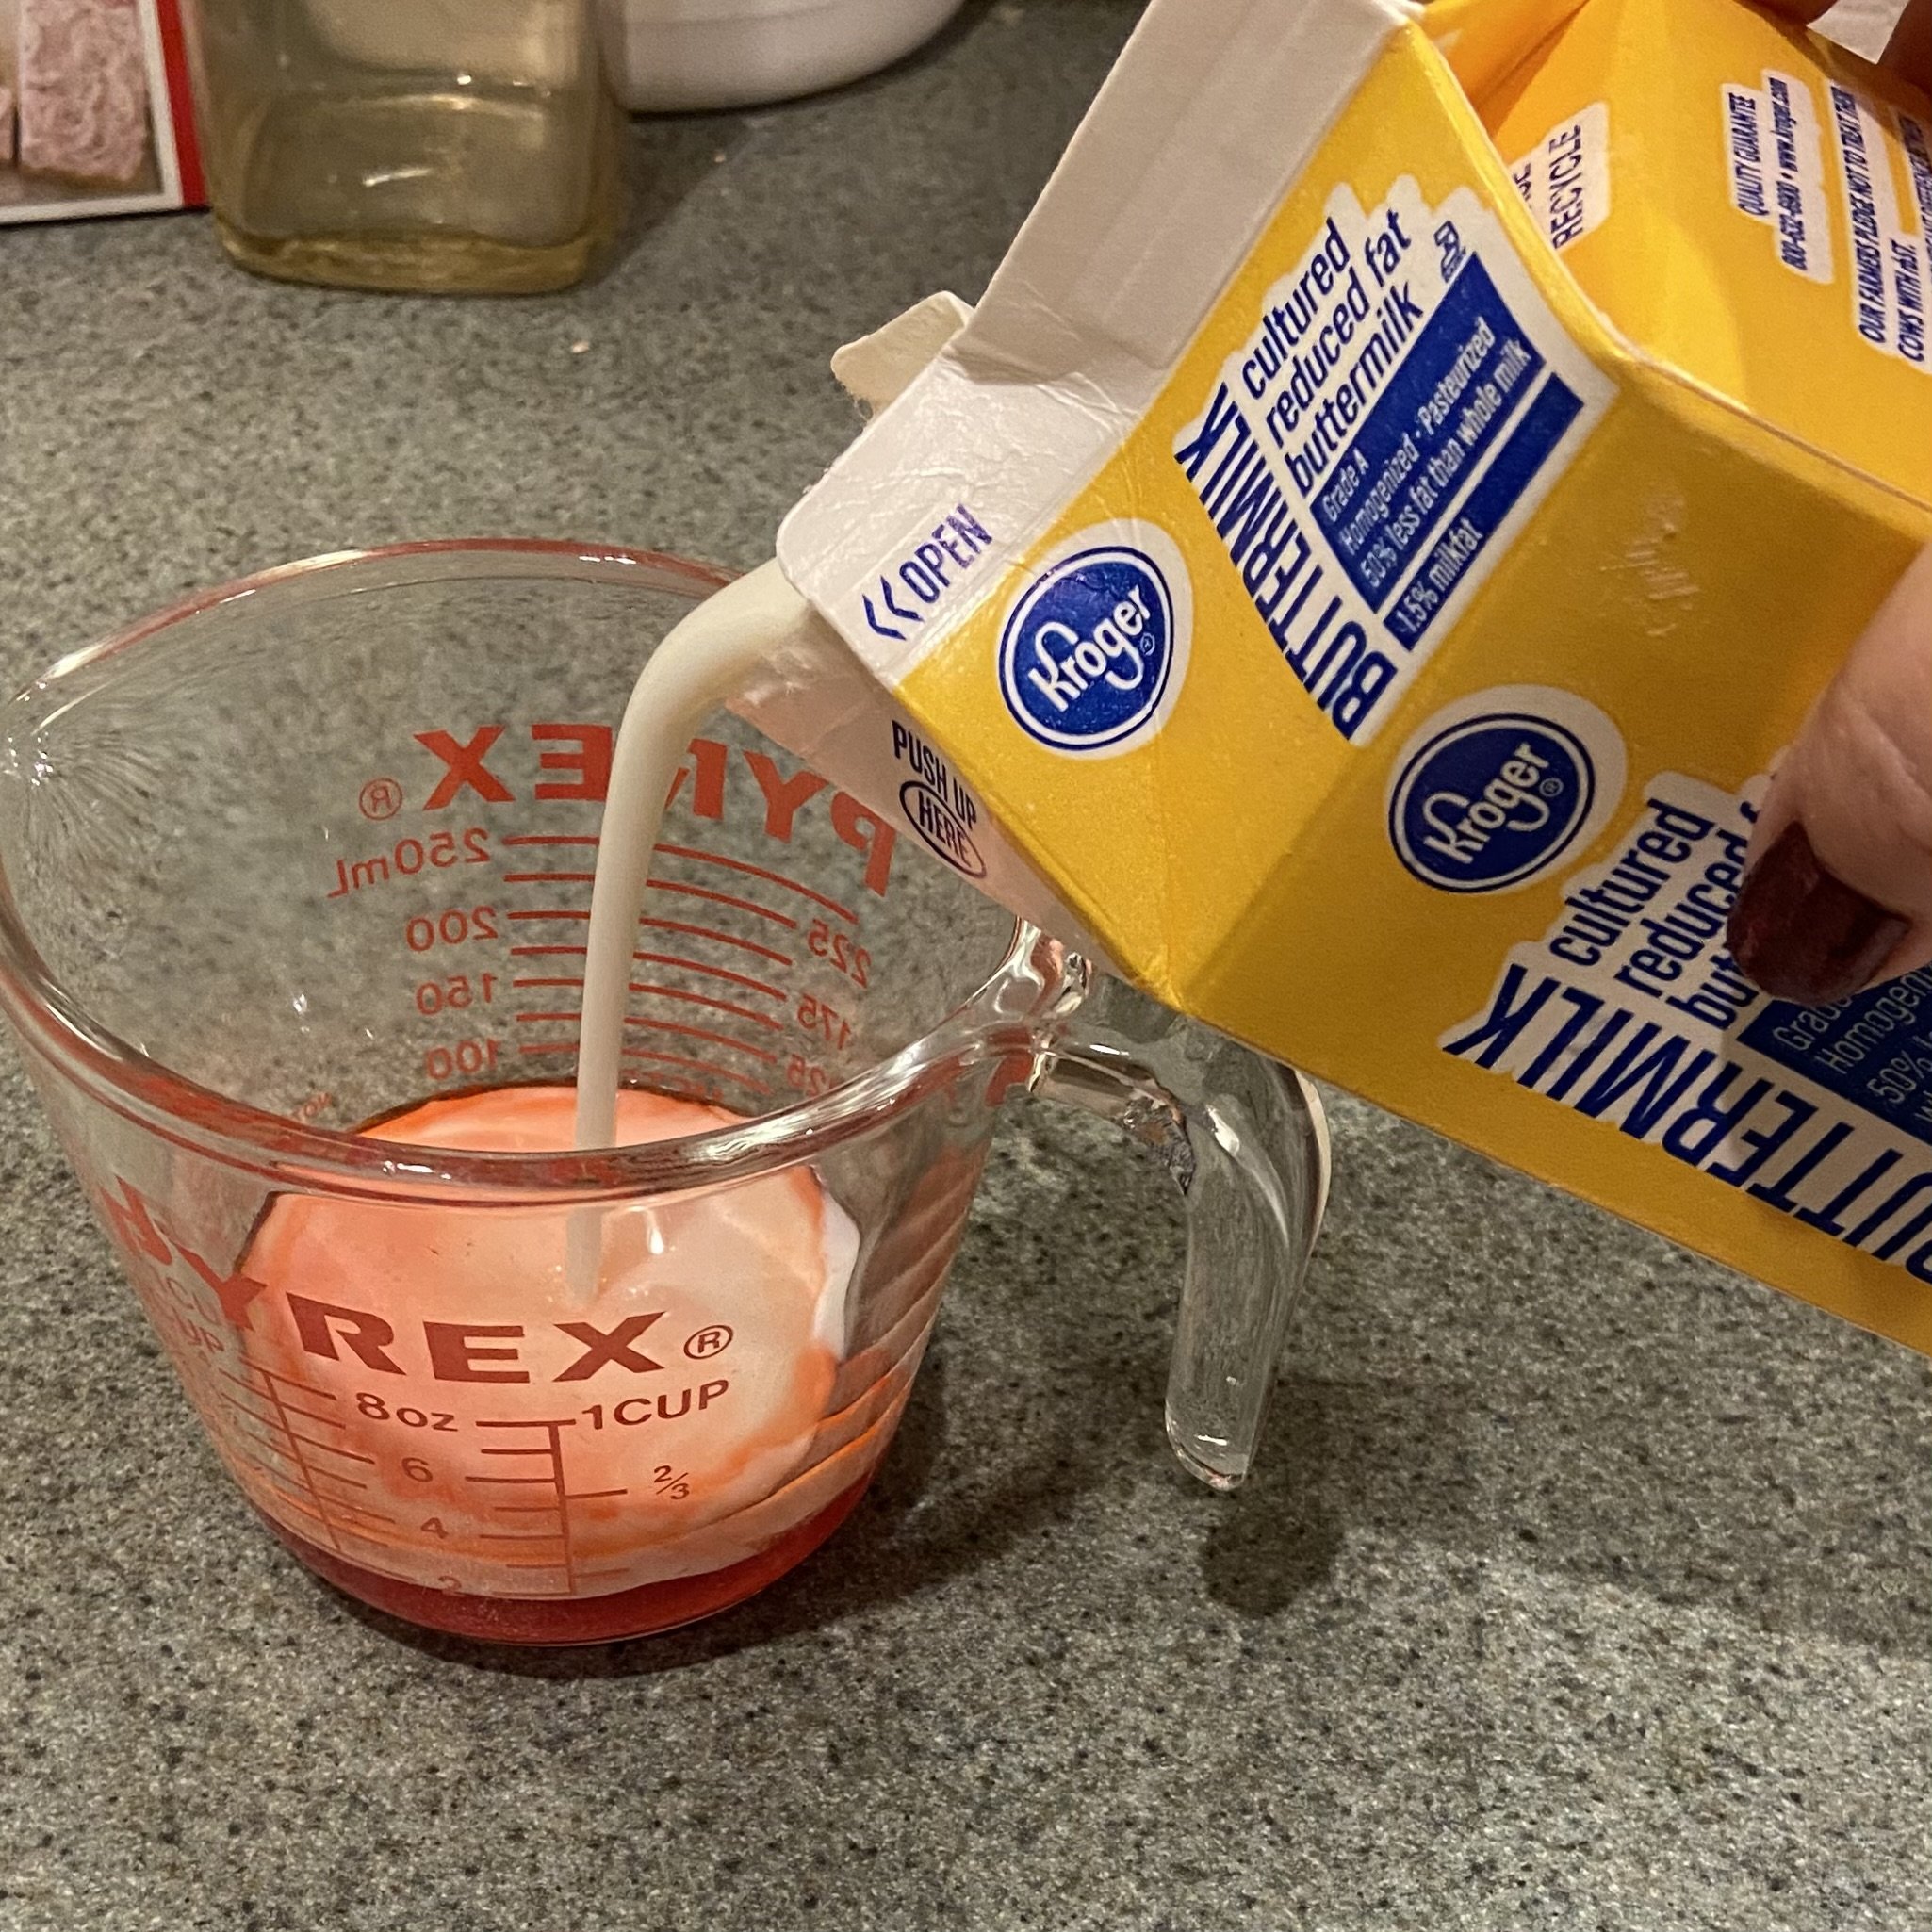
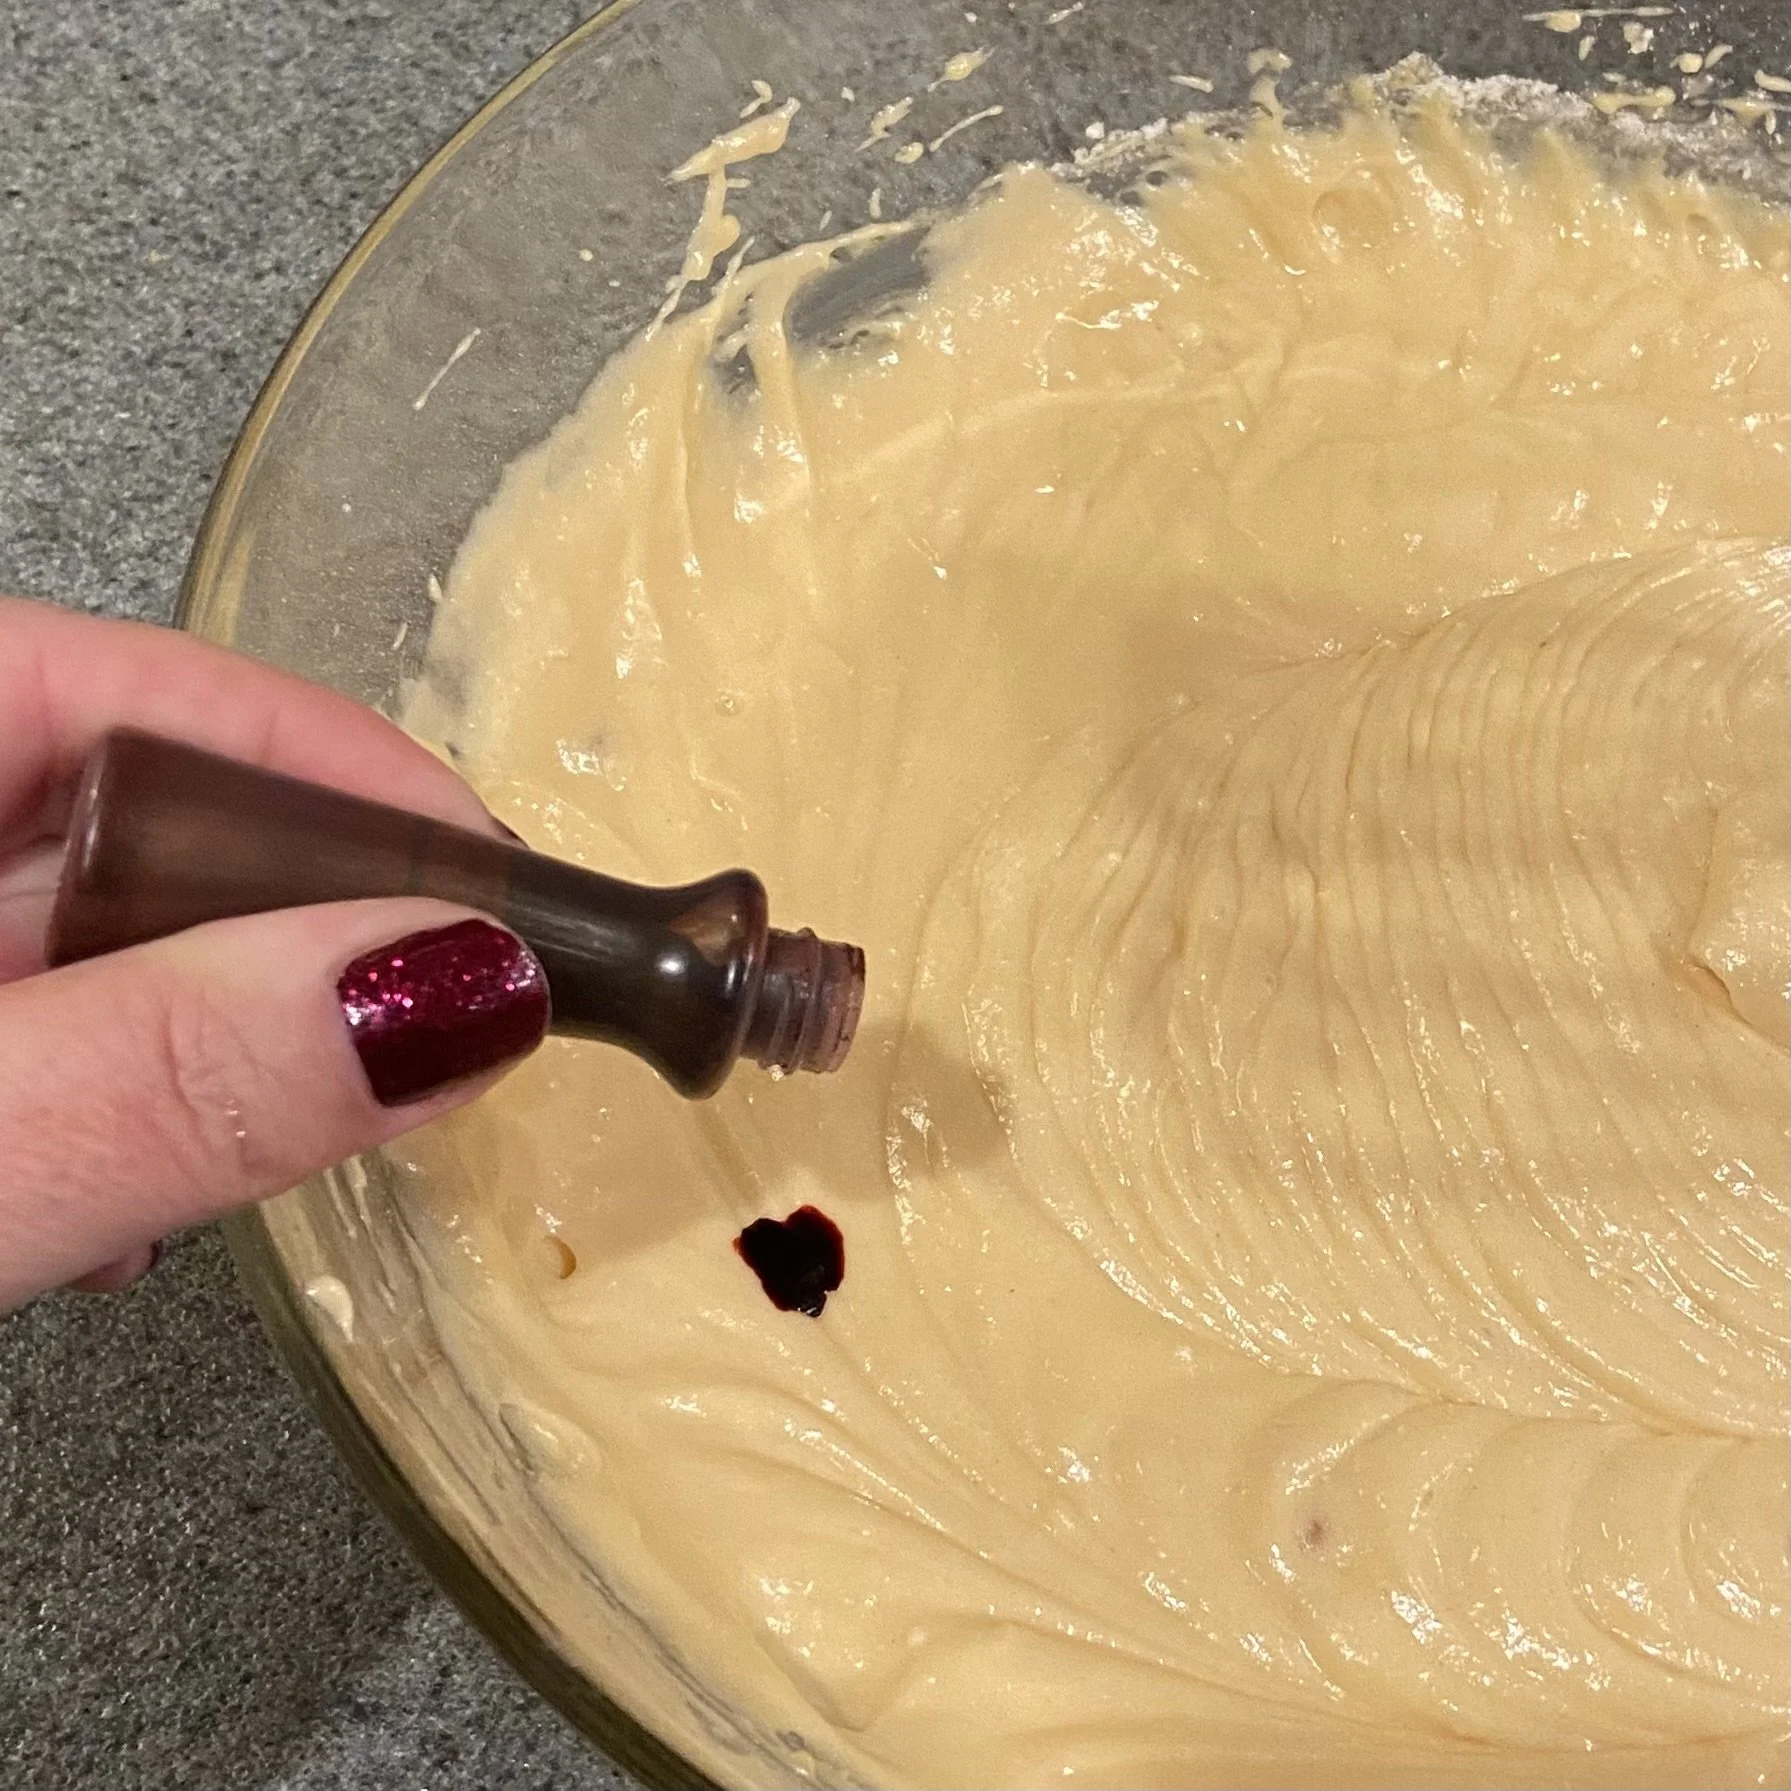
Next, make the cake using room temperature eggs, room temperature buttermilk, and melted (and slightly cooled) butter. Into a one cup measure, pour your 2 Tbsp of cherry juice and then fill up the rest of the way with buttermilk. Mix together these ingredients (I’m still in love with my cordless KitchenAid handmixer) and then add in the cake mix. Mix for about two minutes, until smooth. At this point, you’ll need to decide if you want to add red food coloring. If you used a white cake mix, you’d only need a couple drops to get a lovely pink color. But if, like me, you used a yellow cake mix, then it takes about 5 drops to tip the color from yellow to pink. But this is optional. Last, stir in your chopped cherry bits by hand.
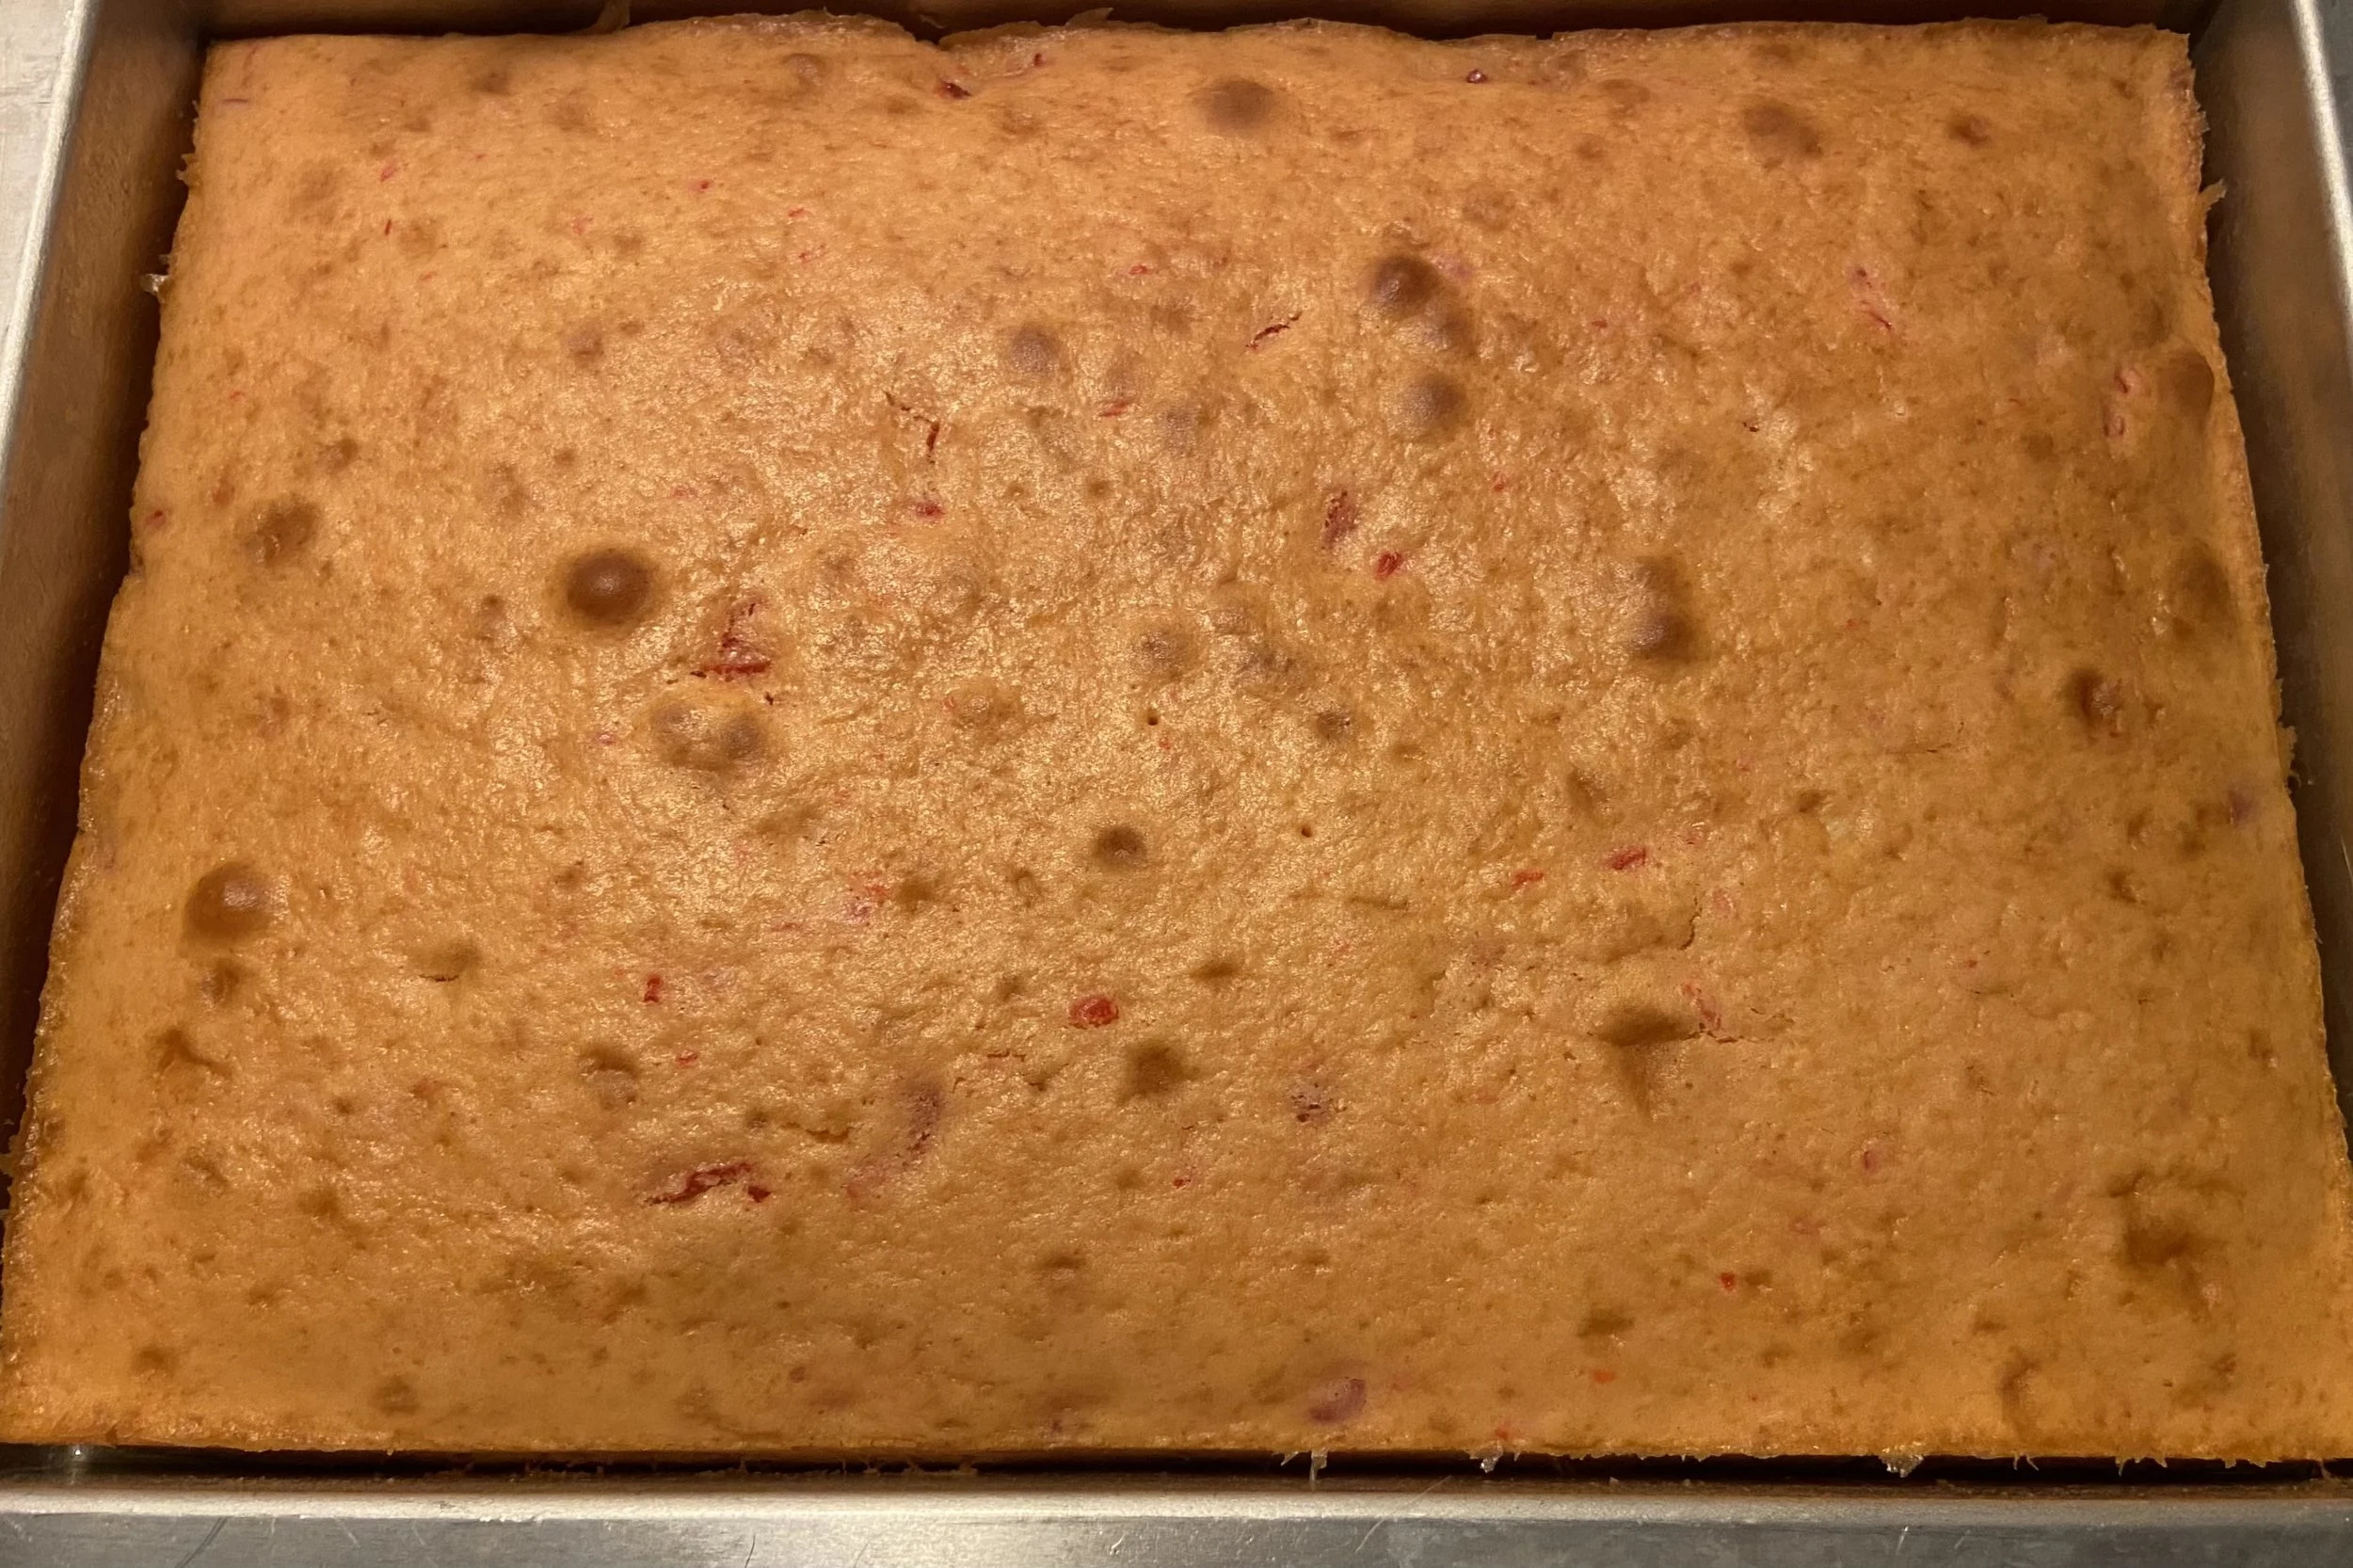
Grease up a 9”x13” cake pan (I love using Baker’s Joy spray for this…it’s a very effective oil/flour combo) and smooth the cake mix evenly into the pan. Bake until the cake passes the toothpick test, usually anywhere from 18-25 minutes. Allow cake to cool completely in the pan.

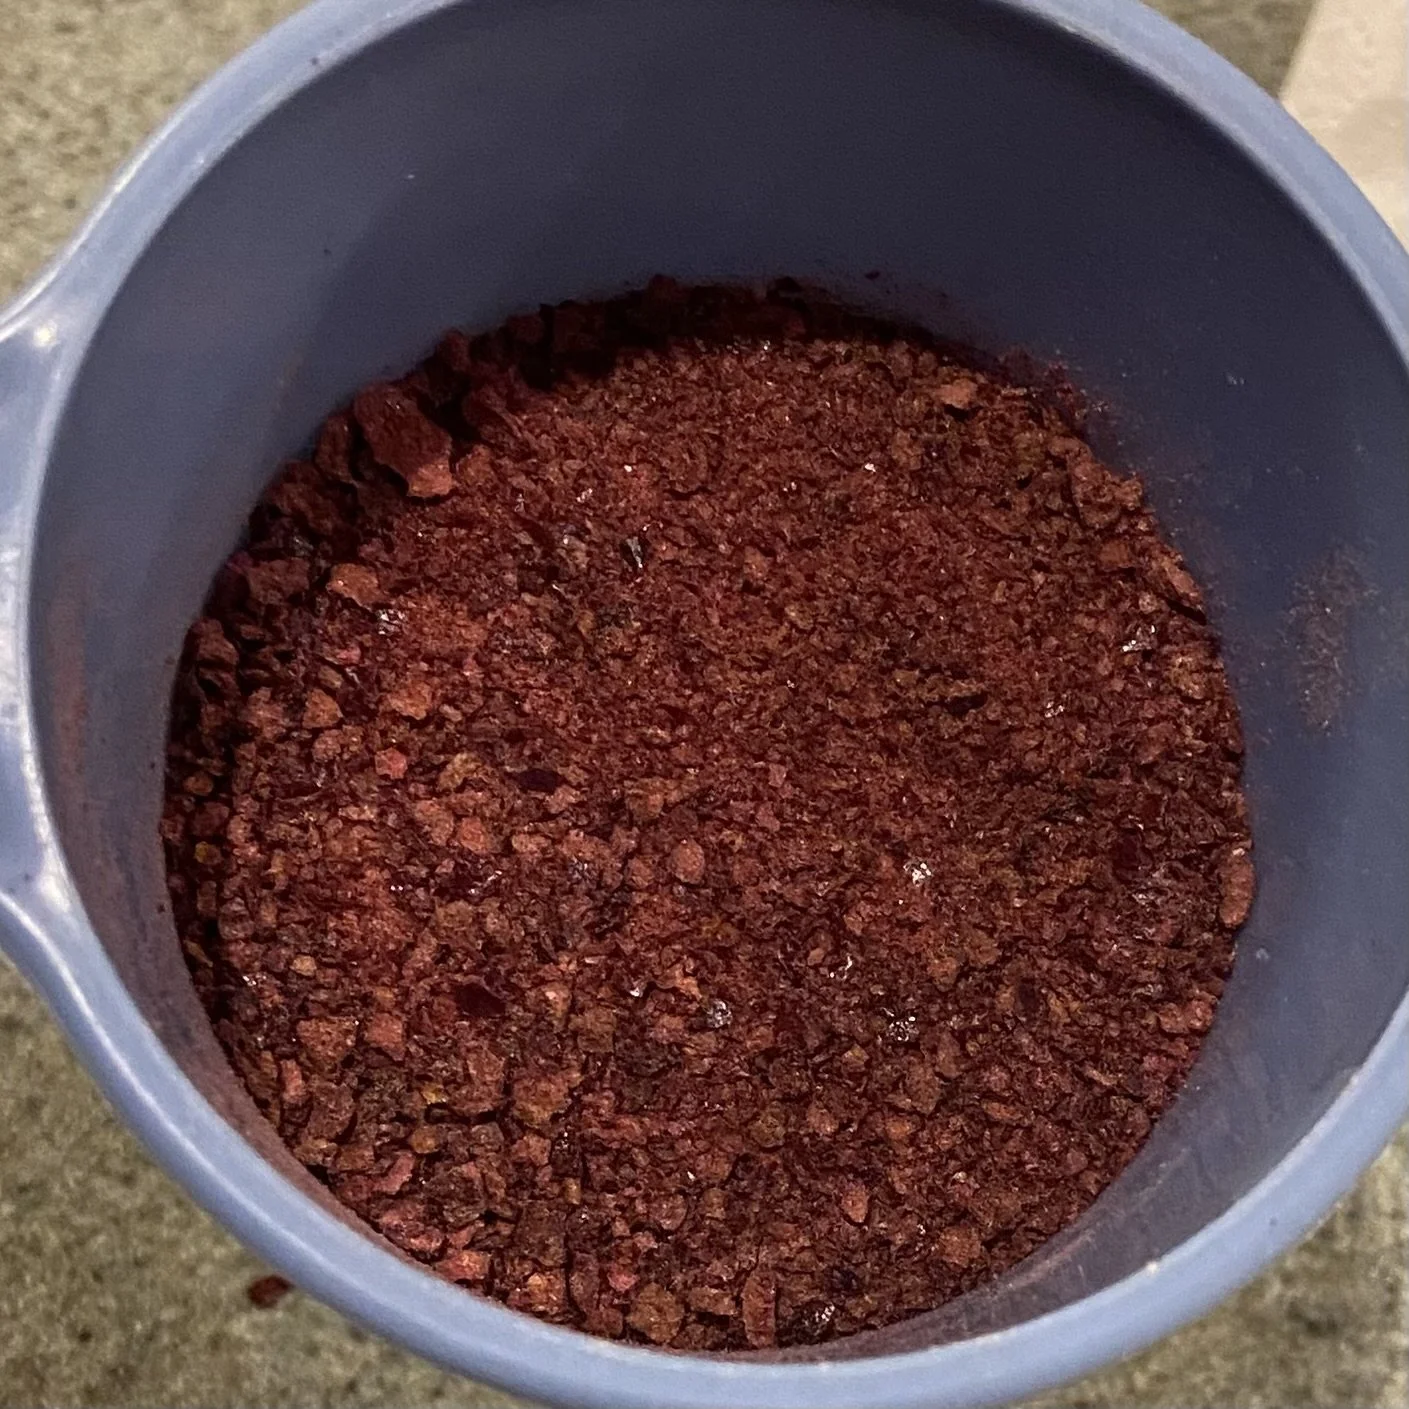
Now, before I explain the frosting method, I would like to take a short detour. When I was finessing this recipe, I decided to make buttercream frosting from scratch and use powdered freeze dried tart cherries for the coloring and flavoring. Only two problems with that: first, I accidentally ordered whole cherries instead of powdered, and while I was able to use the immersion blender to grind them down, they never really got to “powder” stage, so my finished frosting had hard little cherry flecks in it; second, the resulting frosting was intensely cherry-flavored, which was delicious, except that it completely overpowered the much more delicate flavor of the cake. I had a piece of it and then decided that it wasn’t right. I chilled the cake so that the buttercream frosting would get hard, and then I was just able to lift it off the cake in slabs. Which was not very appetizing, frankly.
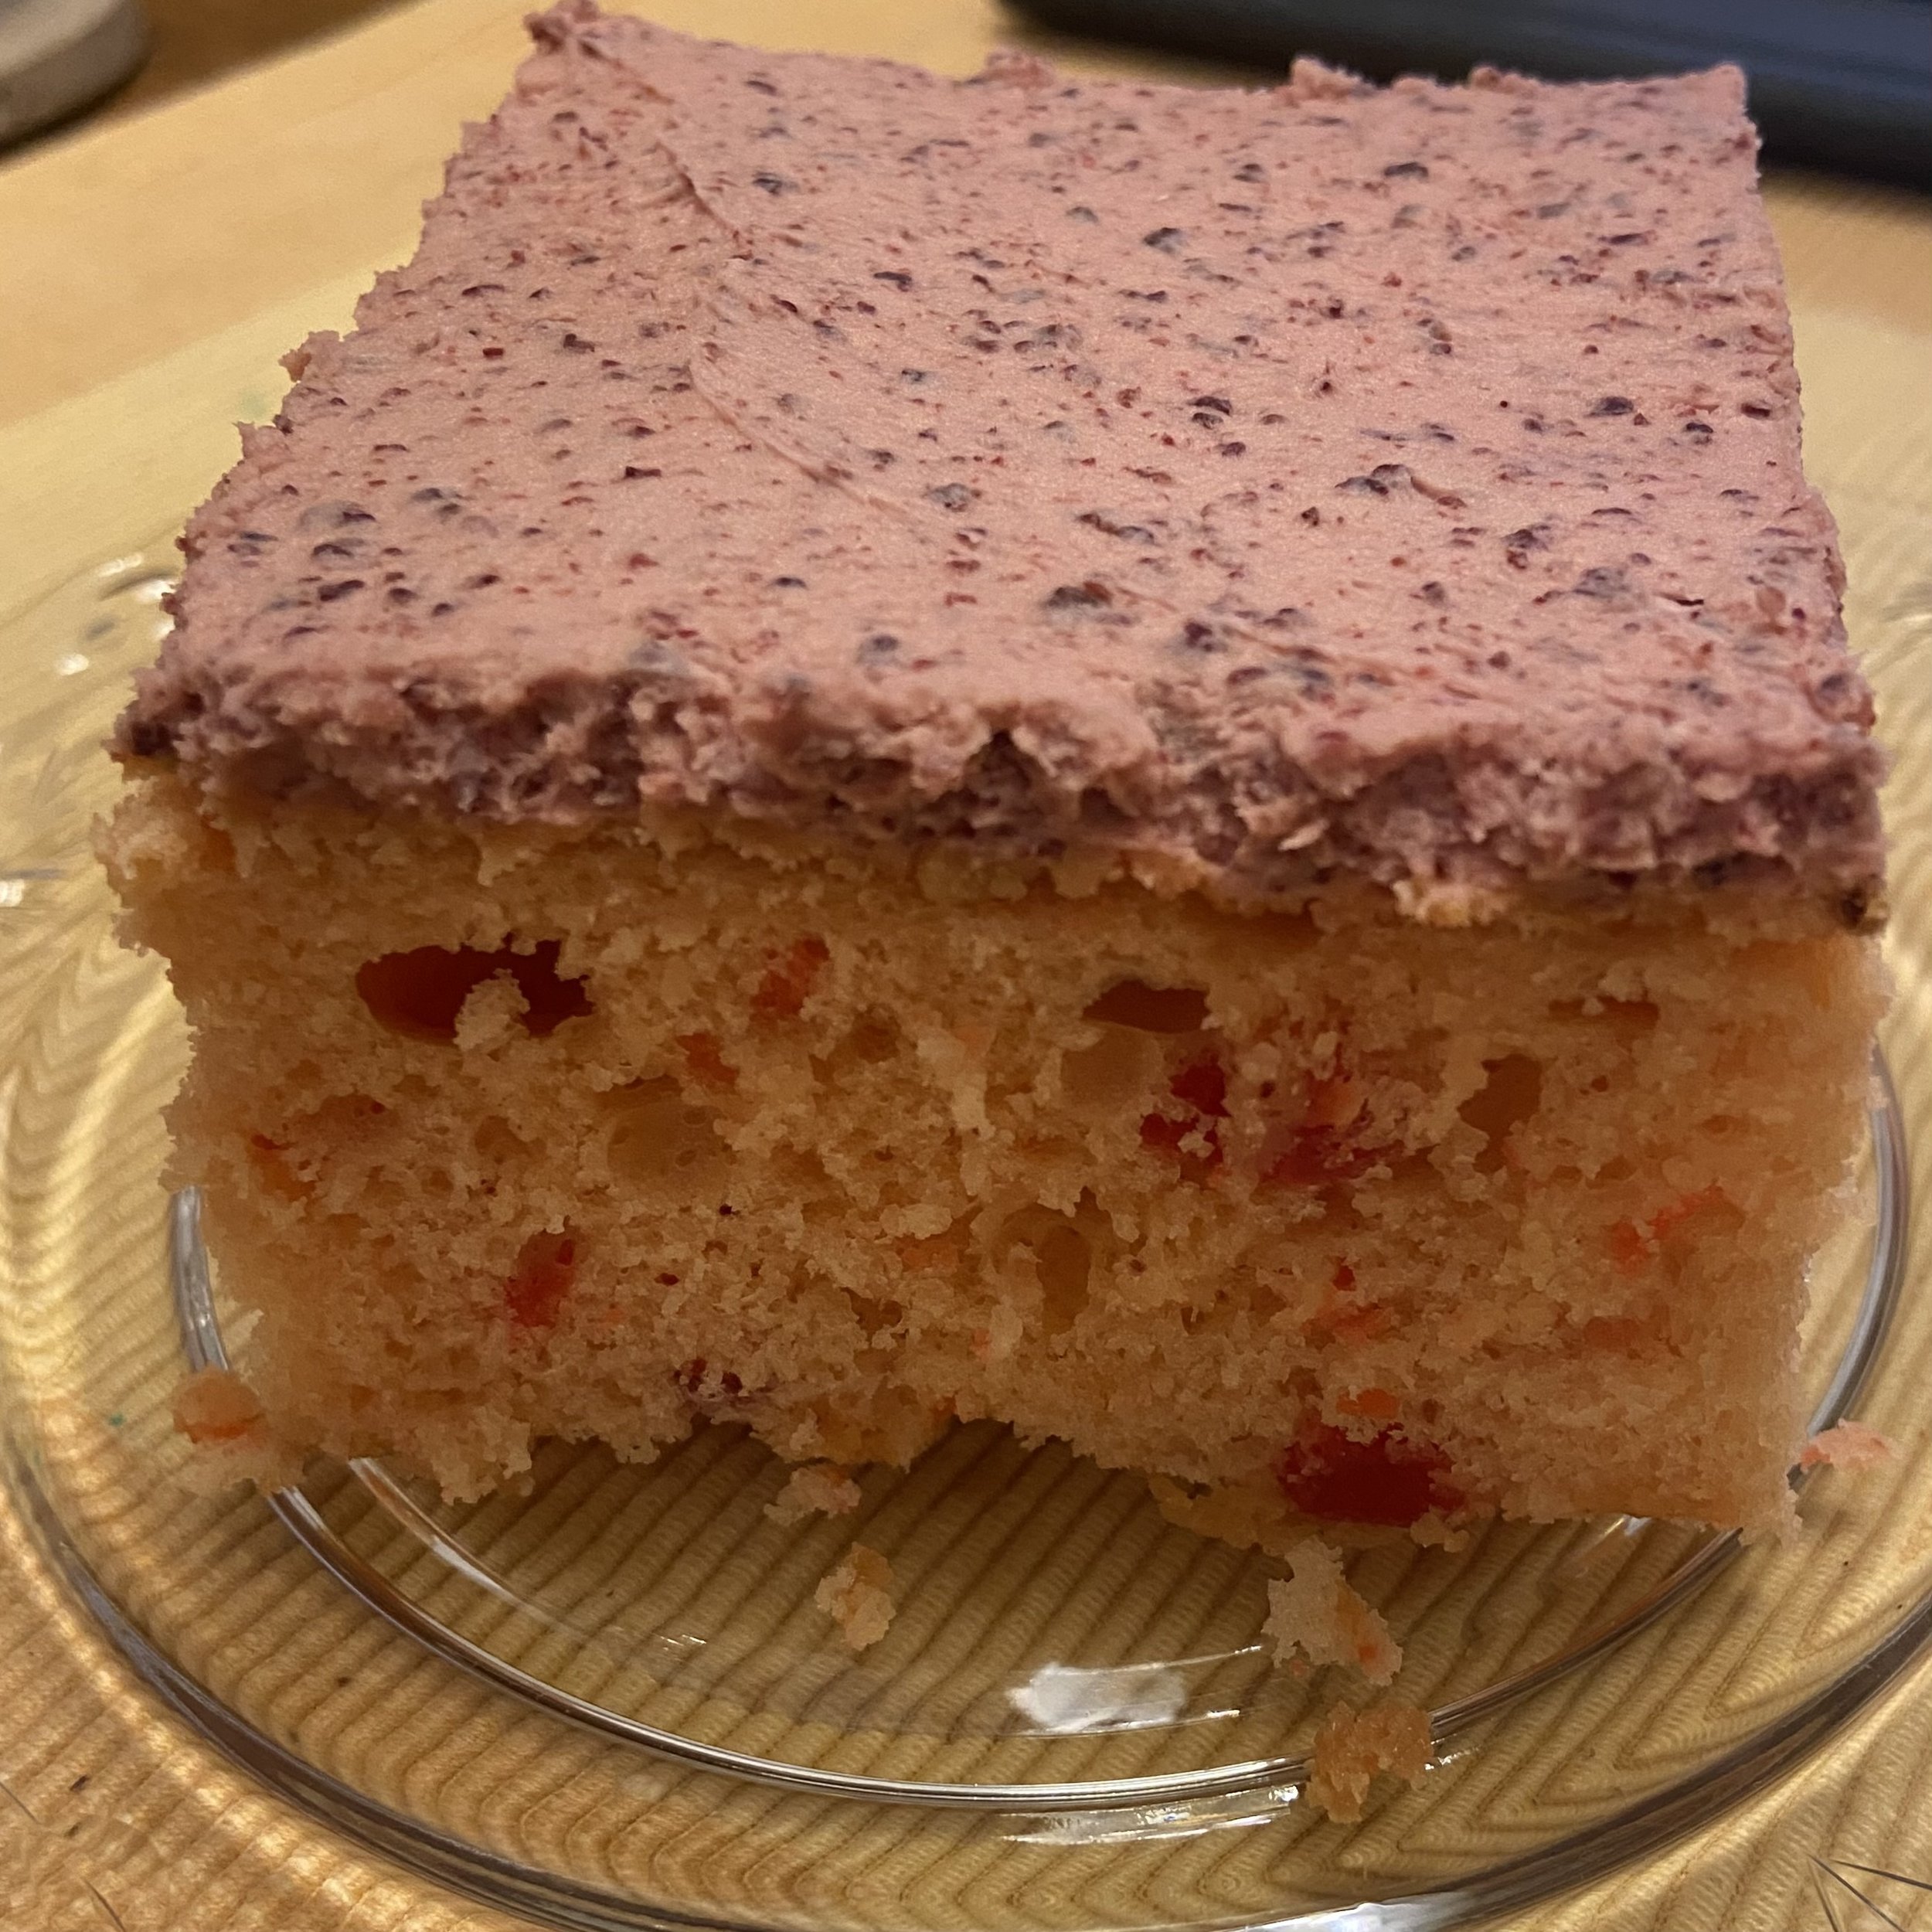
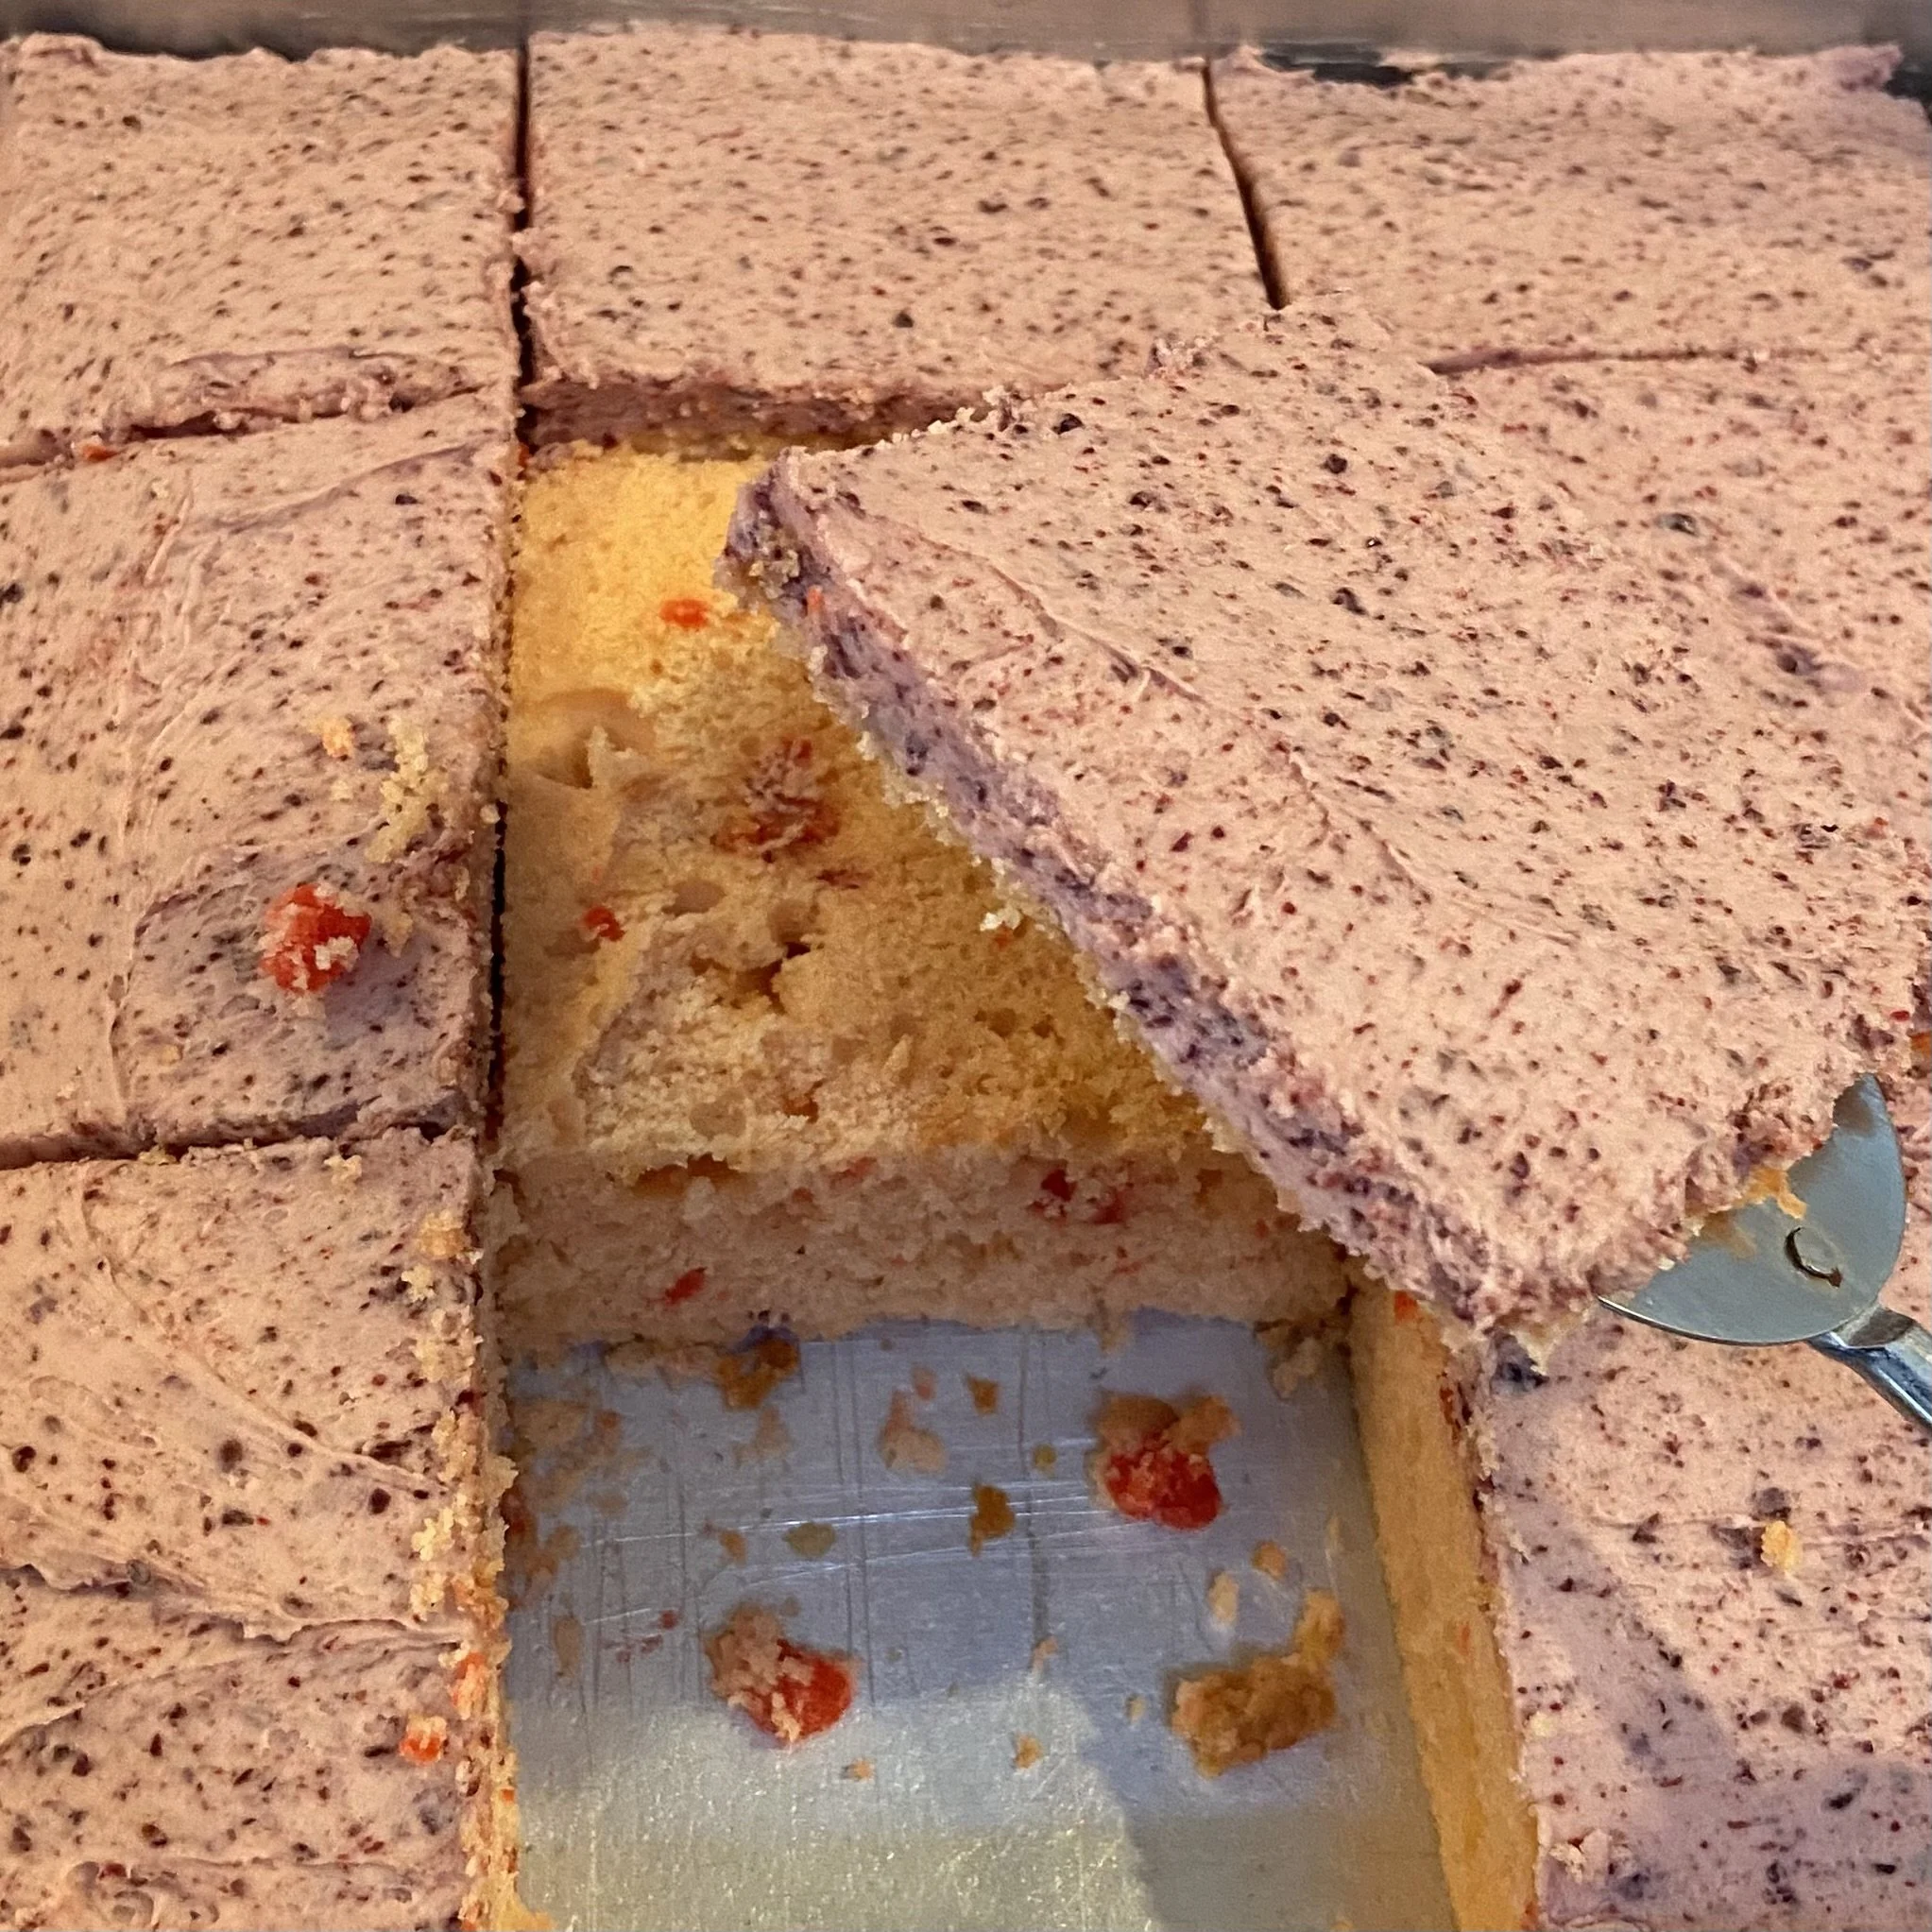

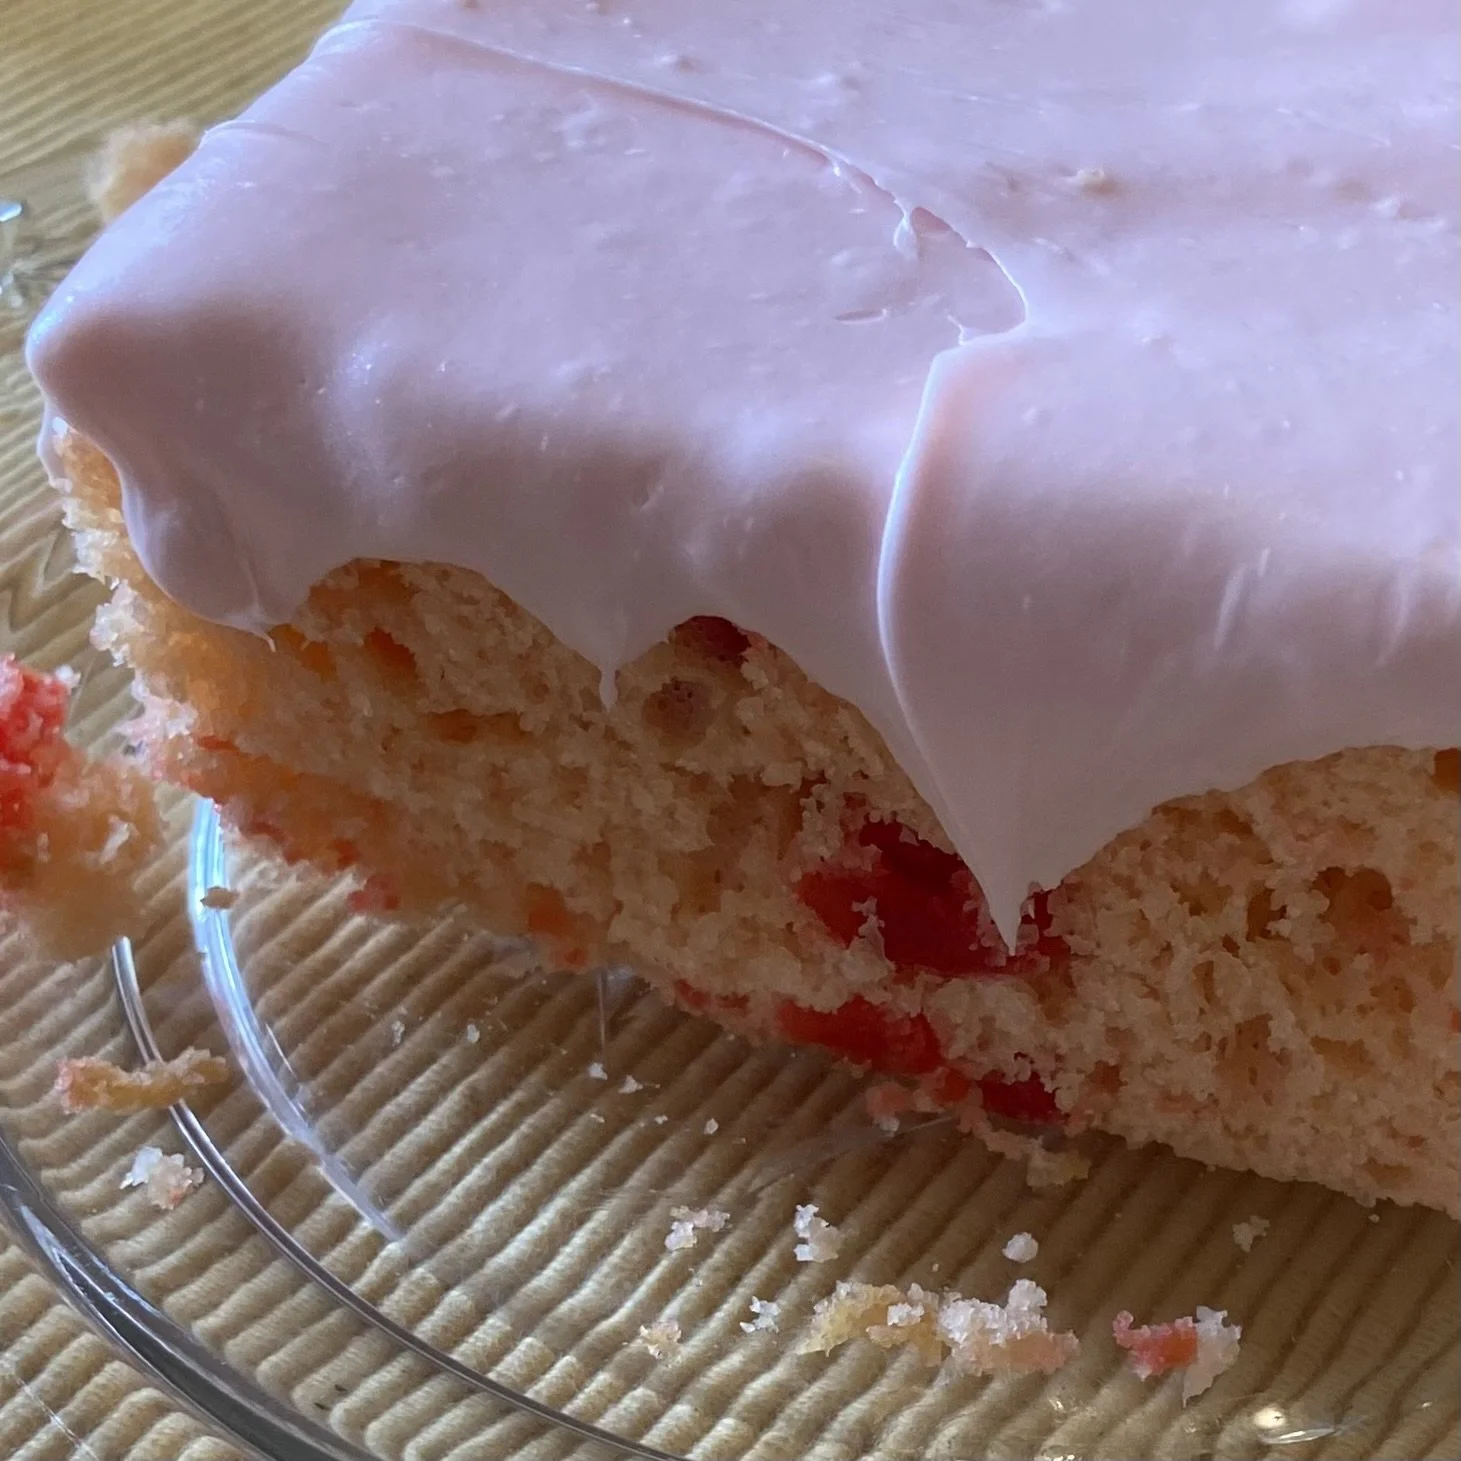
My next frosting solution was the winner. I took a can of whipped vanilla frosting and turned it into a bowl. Then I added about 1/16 tsp of almond extract, to give a light cherry flavor. Go easy on the extract…a little of this goes a very long way. I also added a couple drops of red food coloring to make the frosting pink, then I spread it over what was left of the cake. Much better!
I did have a second piece, just to make sure my new frosting solution was the right one, and then I took the rest over to my favorite sister-in-law’s house. While they did not have my nostalgic appreciation for the cherry chip experience, they did enjoy it. I hope you’ll give it a try.
Cherry Chip Cake
Click here for printable PDF of recipe
INGREDIENTS
1 15.25 oz box of yellow or white cake mix
1 cup buttermilk (room temperature)
4 eggs (room temperature)
1/2 cup (1 stick) unsalted butter
10-12 oz jar maraschino cherries
1 can vanilla frosting (whipped is best)
1/16 tsp almond extract/flavor
red food coloring (optional)
DIRECTIONS
Preheat oven to 350°. Prepare a 9”x13” baking pan with cooking spray or butter.
In a large glass bowl, slowly melt the butter in the microwave, using short bursts on low power. When melted, set it aside. While the butter is cooling, drain the cherries, reserving 2 Tbsp of the juice from the jar. Pat the cherries dry, and then use a food processor (or a really sharp knife) and reduce the cherries to small pieces. Don’t go too far…you want tiny pieces, not cherry puree.
Put the 2 Tbsp cherry juice into a 1 cup measure and then fill the rest of the cup with buttermilk. Add this to the melted butter, and then add in the four eggs. Use a hand mixer (or a whisk and some elbow grease) to blend this thoroughly, and then add in the cake mix. Mix for about 2 minutes on medium speed. If desired, you can add some red food coloring to the batter at this point, to achieve the desired pink shade.
Pour the batter into the prepared pan, smoothing the top to make sure it’s level. Bake for 18-25 minutes, until a toothpick inserted into the middle comes out clean or with a few crumbs clinging to it. When it’s done baking, let the cake cook completely in its pan on a wire rack.
When the cake is cool, prepare the frosting by putting all of it in a mixing bowl, and adding the almond extract and a couple drops of red food coloring. Mix this together until thoroughly blended, then spread the frosting over the cake. Let it sit in the fridge for at least 10 minutes before trying to cut the cake.
Cake should last 3-4 days at room temperature, tightly covered.