Adventures In Icord Innovation
As an Amazon associate, I may earn a small commission if you navigate to Amazon from my site and buy something. This will not result in an extra cost to you.

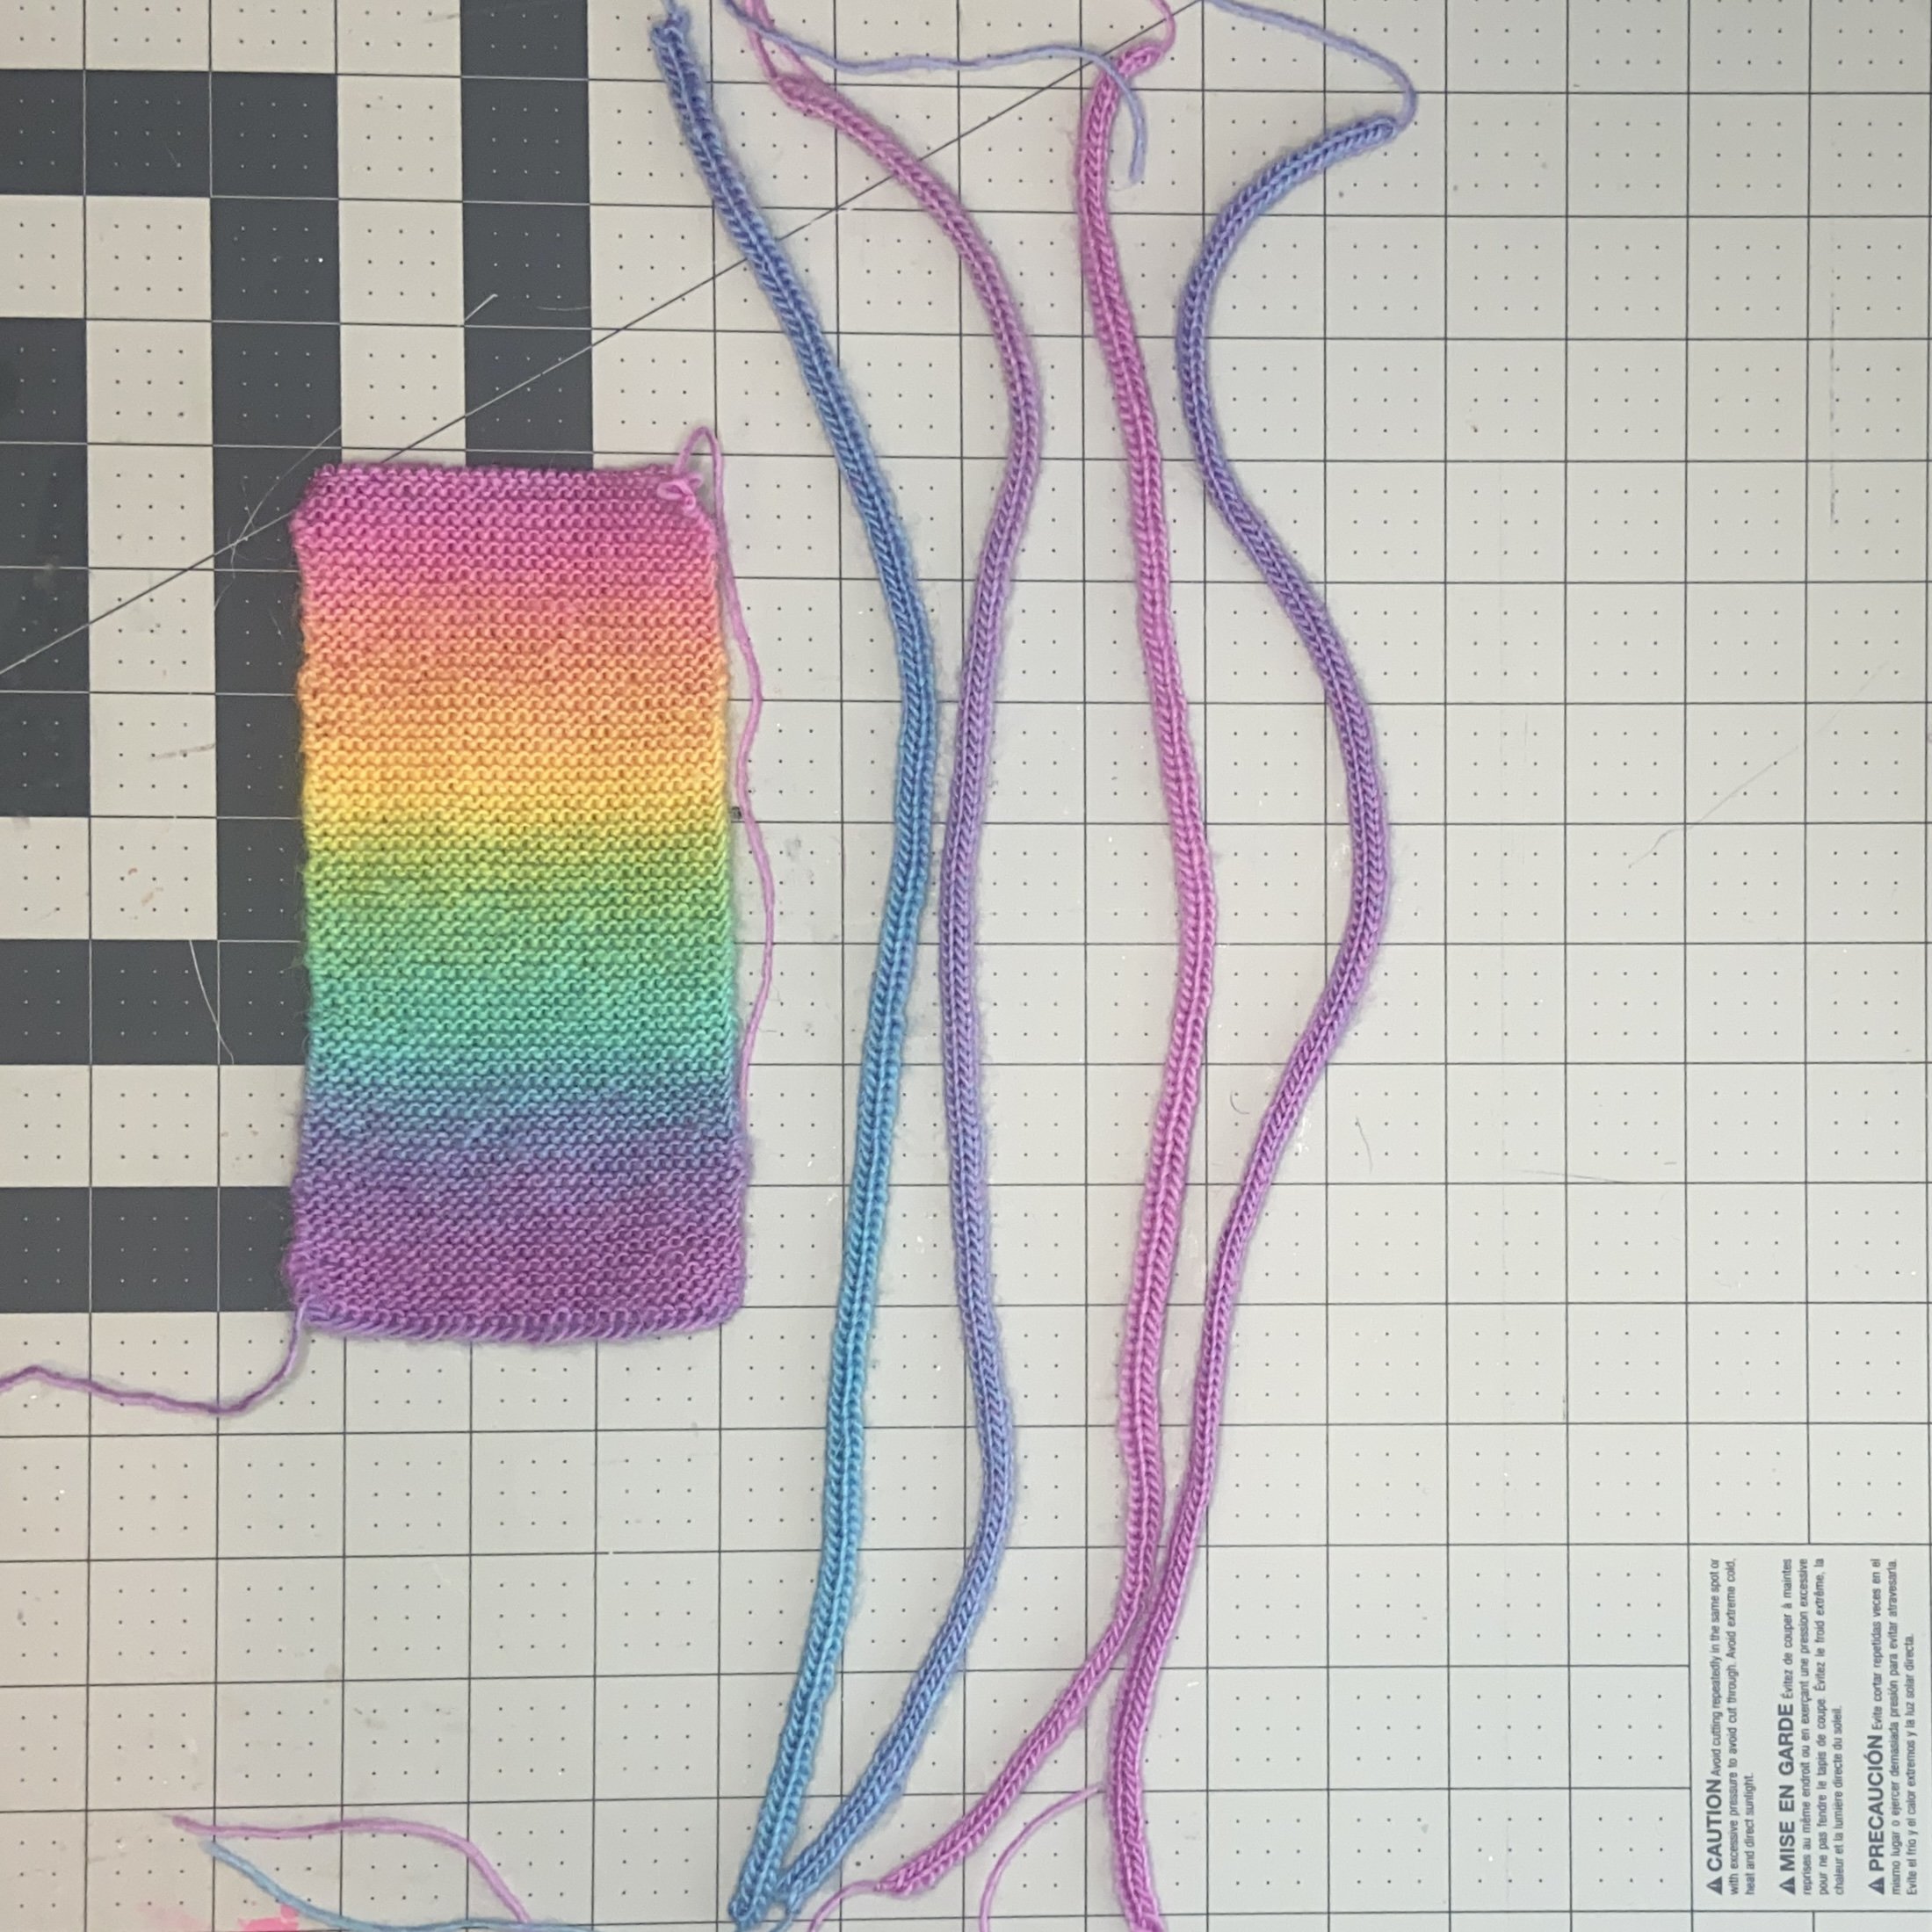
Okay, “innovation” is probably overstating it…I just liked the alliteration. But I am always looking for fun ways to use icord and today’s project fit the bill. I’ve had a skein of Crystal Palace’s Mini Mochi yarn in lovely pastel rainbow shades for a long time. So long, in fact, that the yarn has been discontinued. I did knit up a swatch in garter stitch just to admire the color changes.
When I started making my icord sections, I experimented a little bit and decided that for this yarn and these needles, a 4-stitch icord would work the best. A little reminder about what icord is and how it’s made…icord is a tiny tube of knitting. It’s made by casting on a set number of stitches (in my case 4) onto a double pointed needle, then pushing them to the other end of the needle and knitting them again. This brings the working yarn from the last stitch on the left around to the first stitch on the right. You do this again and again until the cord is as long as you want it, then you cut the yarn and draw it through all the stitches and make a knot so it doesn’t come loose.
I will point out that when you are bringing the yarn across the back of your work to start a new row, you will need to tighten it so that it forms a tidy closed tube and doesn’t have a sloppy open section on the back. To make that work, knit the first stitch. Then put your needle into the second stitch, but before you knit that one, pull on the yarn to tighten it up. Do this on every row and you will have icord that looks even on all sides. Here’s a short video to show how that looks in motion:
I ended up making four strands of icord, and since it didn’t take very much yarn, I ended up with shades in blues, purples, and pinks. None of the other colors made an appearance. I made each cord about 20” long, although when I do it again, I’ll make them longer. The initial length was estimated by stretching a single icord around my head. I forgot that they would be functionally shorter when braided. Ah well, live and learn.
Next, the braiding. First I tied the yarn tails together at the “top” of the braid, and then taped all four strands to my work surface, so that they laid side by side. The braid isn’t complicated at all…it just requires that you number the positions of each strand from left to right. The strand on the far left is 1, and then you count across until you get to the strand on the far right, which is 4. Remember, the positions are numbered, not the actual icord strands.


To braid, take the strand that is in position 4, bring it over strand 3, under strand 2, and over strand 1. Essentially, you are weaving. Repeat this…take the (new) strand that is now in position 4, and weave it over, under, over the other three strands.
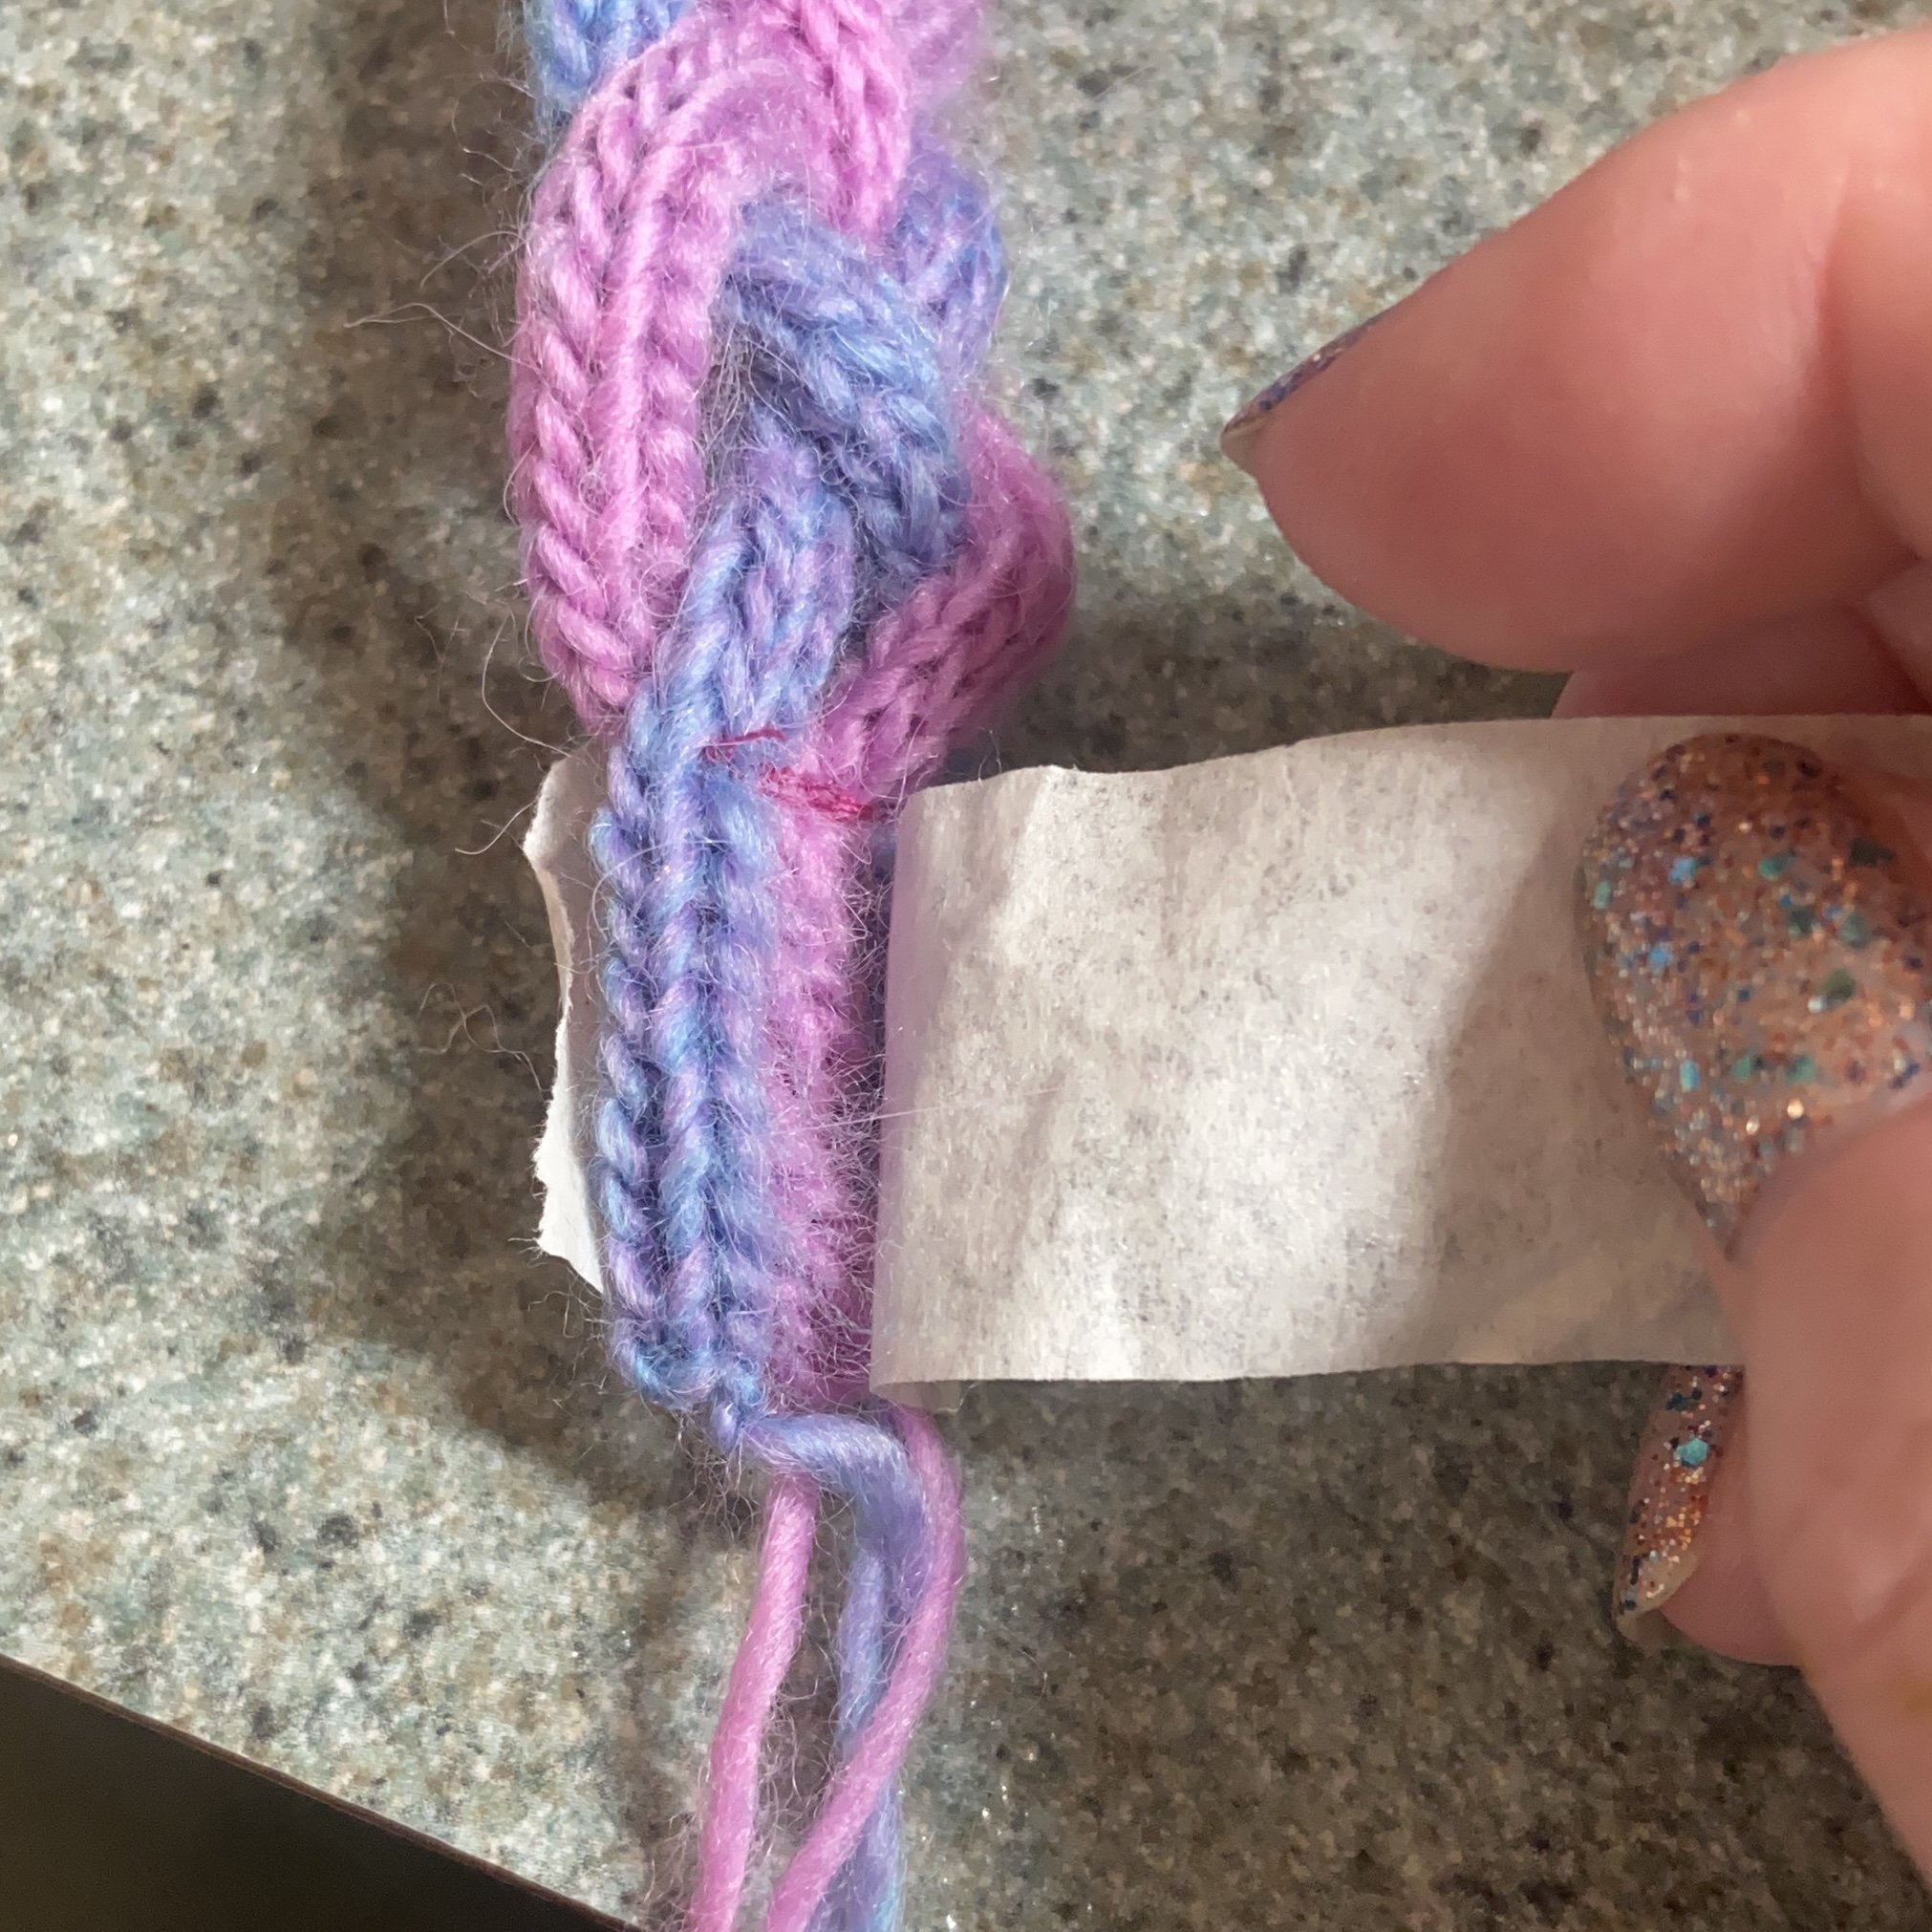
When I got to the end, I tied the yarn tails together. I found that this left my strands too loose at both ends, so I taped the ends with masking tape and then stitched over the ends right next to the tape with my sewing machine. Once the ends were secured, I removed the tape. My braid seemed a little uneven…looser in some spots than others. Grabbing both ends and stretching the braid a few times evened it out nicely.


Rather than trying to graft the ends of my icord together to make a complete circle of the braid, I’d opted to join the two ends of the braid with a pretty piece of fabric, which would both bridge the gap and cover up the messy ends. I had a scrap piece of jelly roll fabric from an earlier project which was very pretty and in the right general color family. I cut a 6” length, ironed it, and used my nifty little hot ruler tool to press in a 1/4” hem on all four sides. Then I folded it in half, wrong sides together, and pressed again.


Next, I tucked one end of the braid into one end of my fabric piece, and then the other end of the braid into the other end of the fabric piece. I did have to double check to make sure I hadn’t put a twist in the braid, since I wanted it to lie flat when being worn. Then I clipped everything together, and sewed around the three open sides of the fabric piece.


In the sections where the sewing machine was trying to go over the thick yarn encased in fabric, my hump jumper was very helpful. In the photos below, you can see in the side view that as the machine approaches a big hump it needs to sew over, the presser foot tilts dramatically. When it’s tilted like this, the feed dogs (the part underneath that feeds the fabric through) don’t work very well because they are not getting even pressure from the presser foot. That’s where the hump jumper comes in. You just place it under the back end of the presser foot as it’s tilting, and it levels out. As the machine moves the fabric through, the hump jumper just drops off the back and can be retrieved at one’s leisure.


Et voila! A pretty, stretchy, comfortable headband. If it’s worn with the hair down in the back, then the fabric is not visible. I’ve already started knitting more icord to make another, since this was fun, fast, and satisfying. I’ll be making these icords longer, so as to have a shorter piece of fabric bridging the gap. I did think about getting a little hand-cranked icord maker like my mother had when I was growing up. And if I were making a whole lot of these (to sell, for example), then I’d certainly want to increase the speed and reduce the labor of making icord. But since I’m only making a few for fun, I’ve just been knitting the icord by hand. It’s easy, relaxing, and satisfying.
