Adventures In Pillboxes
As an Amazon associate, I may earn a small commission if you navigate to Amazon from my site and buy something. This will not result in an extra cost to you.
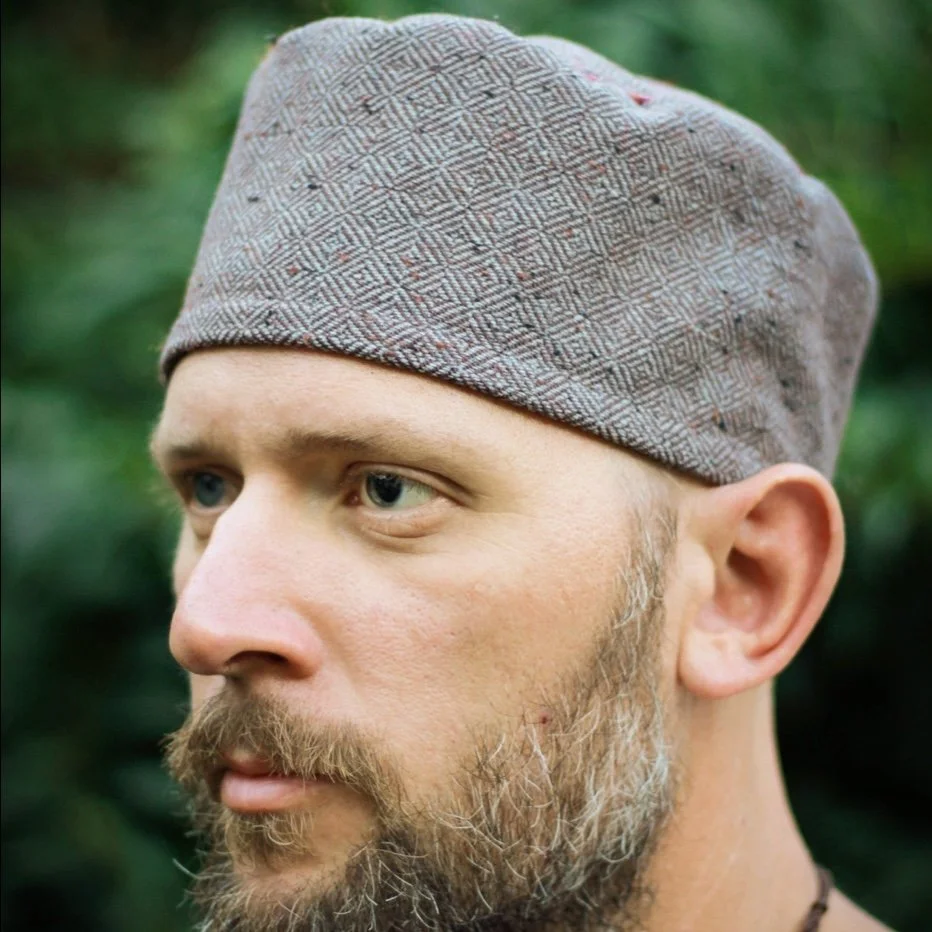
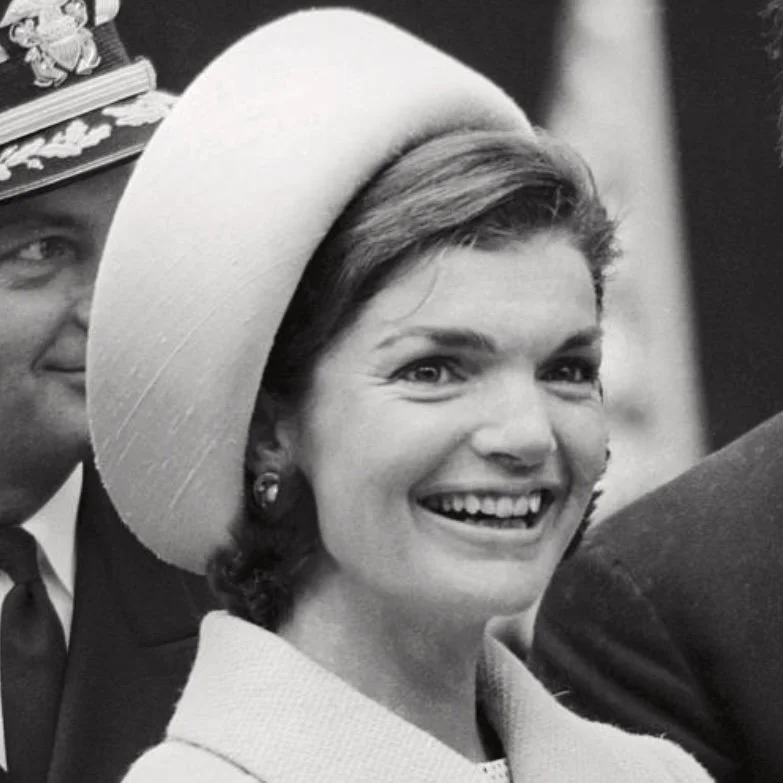
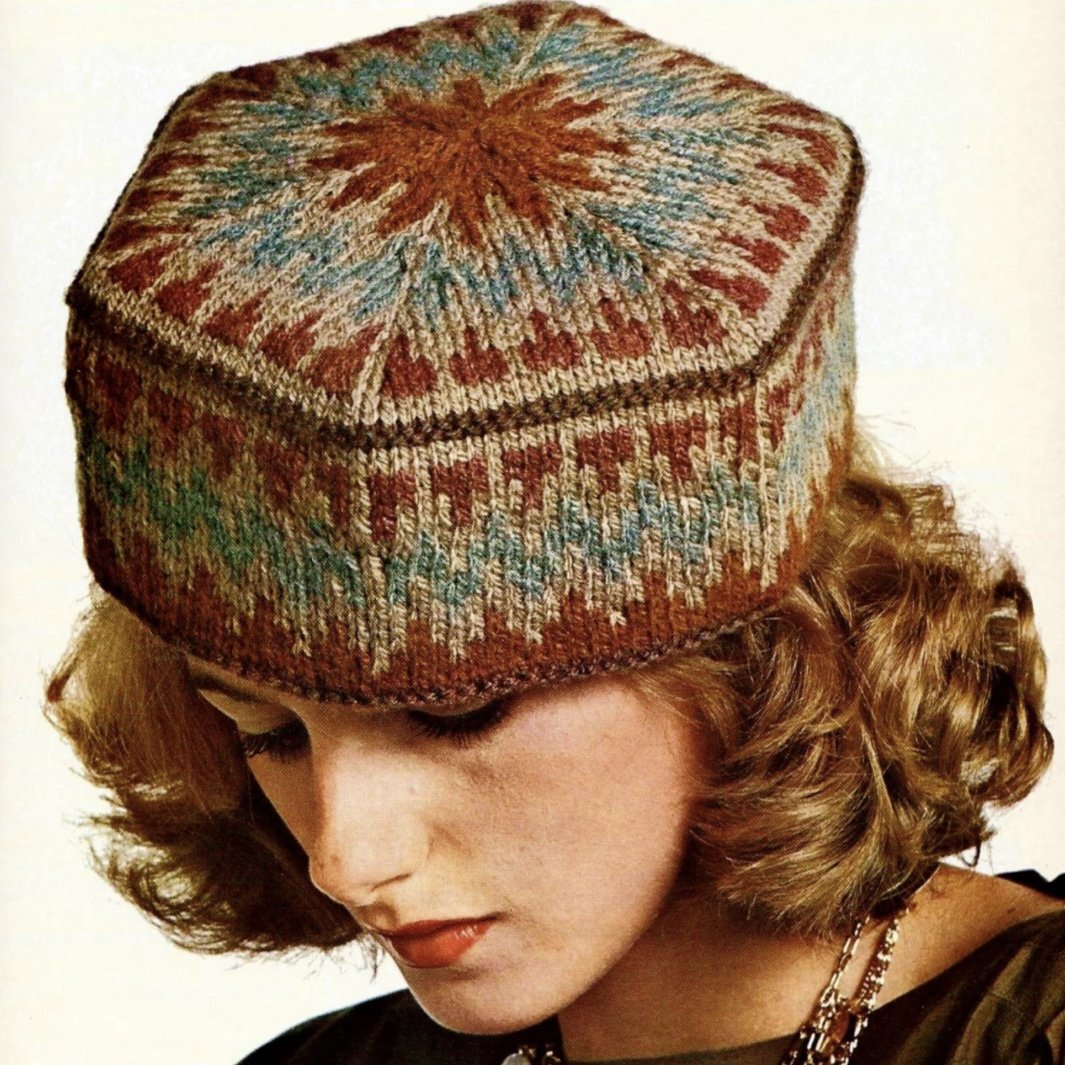
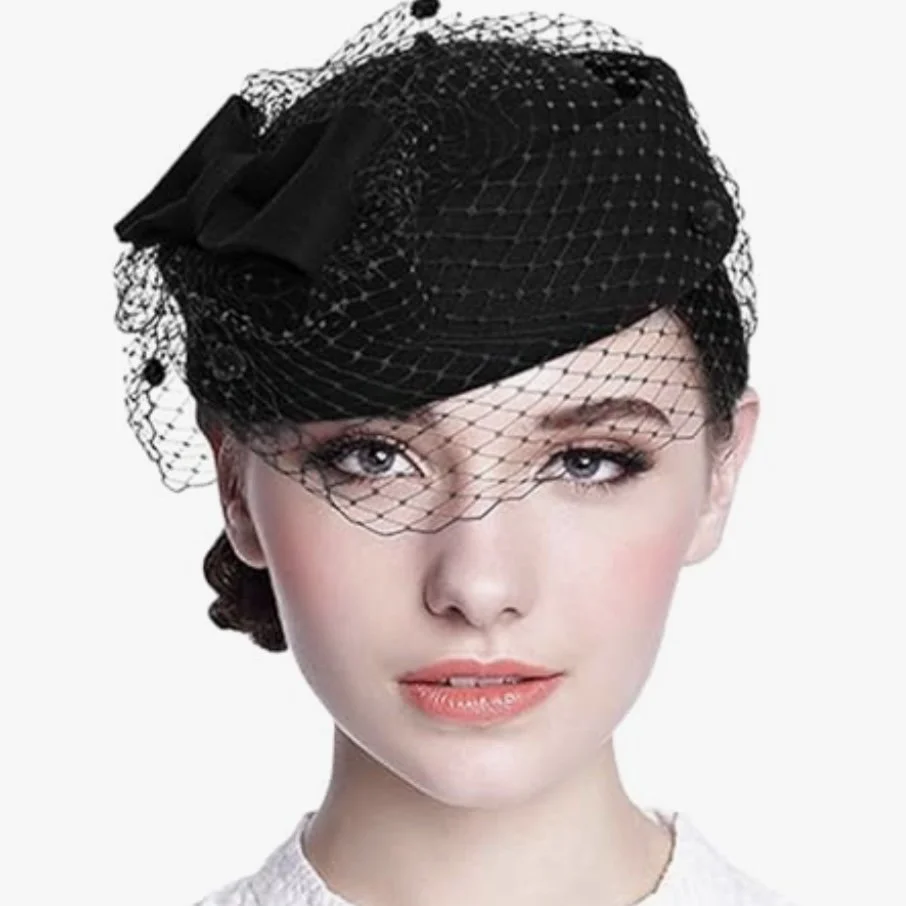
Definition: A pillbox hat is a small hat with a flat crown, straight and upright sides, and no brim. It is named after the small cylindrical or hexagonal cases that were used for storing or carrying a small number of pills. This style of hat has been around for a long time…according to Wikipedia, even the Roman Empire used a version. In modern times, they have gone in and out of fashion…Jackie Kennedy is probably the most famous modern fashionista to regularly sport the pillbox hat. Below, you will see a cloth version that was likely modeled after Roman or Nordic styles, Jackie O, a gorgeous knitted colorwork version, and a version you can buy off Amazon. I particularly like that last version with the veil…so classy and mysterious!
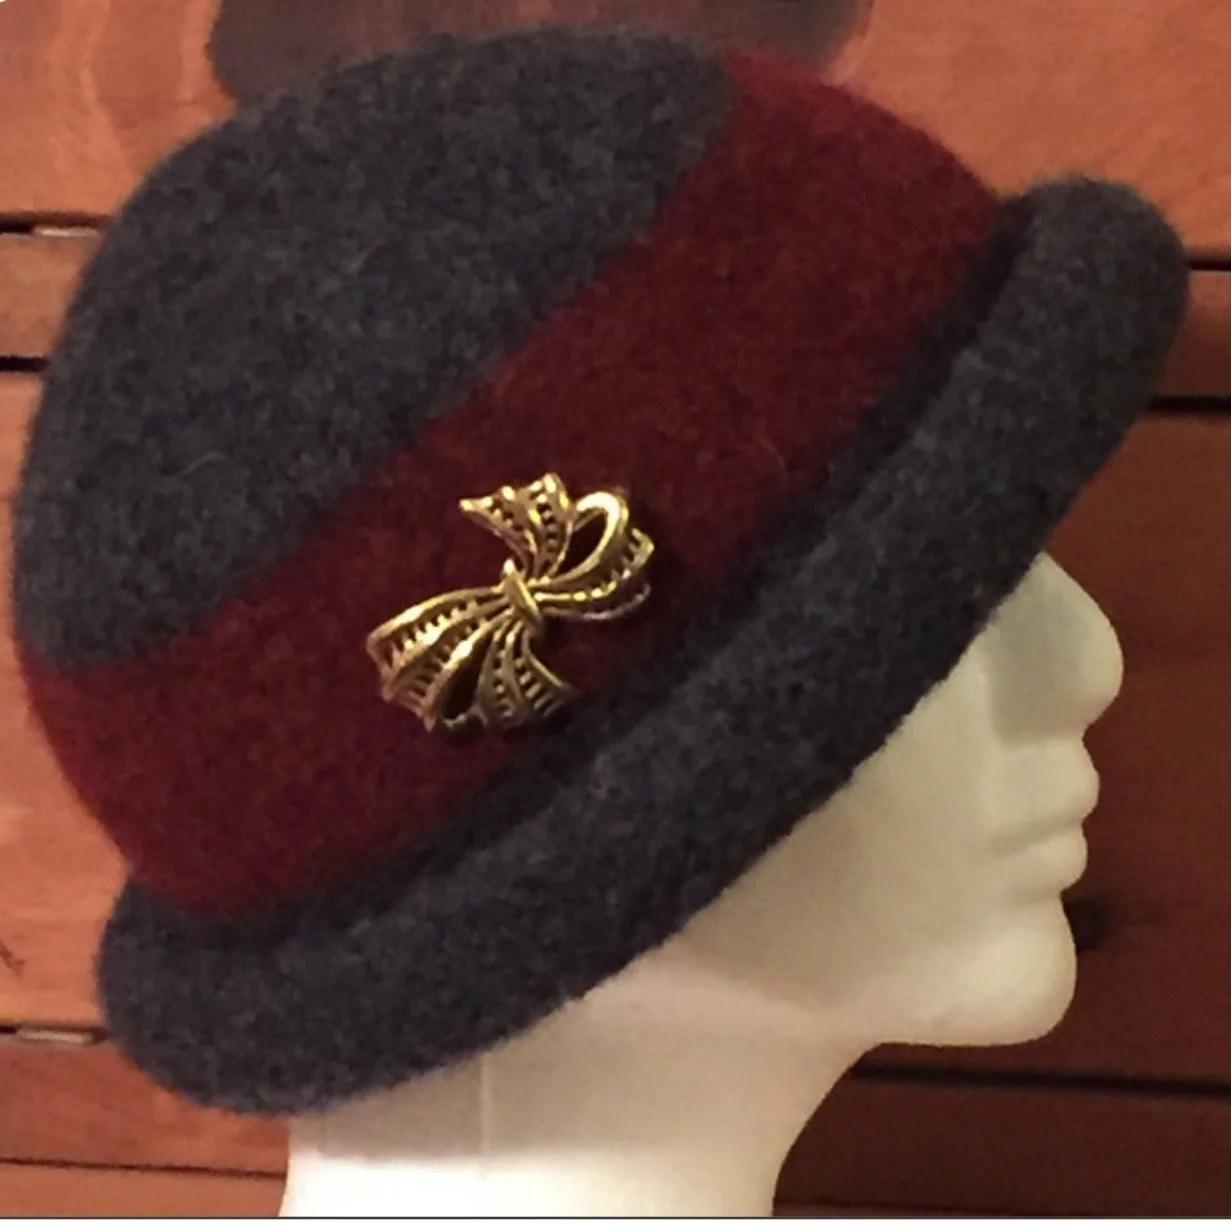
Speaking of pillbox hats, I have a pattern for one in the fabulous Vogue Knitting: The Ultimate Hat Book. I bought this book ages ago, and I highly recommend it. In addition to simply being a gorgeous book (as one would expect from Vogue), it’s got a number of hats in it that I have knit, including the felted bowler, which I have made many times, and the lacy beret.

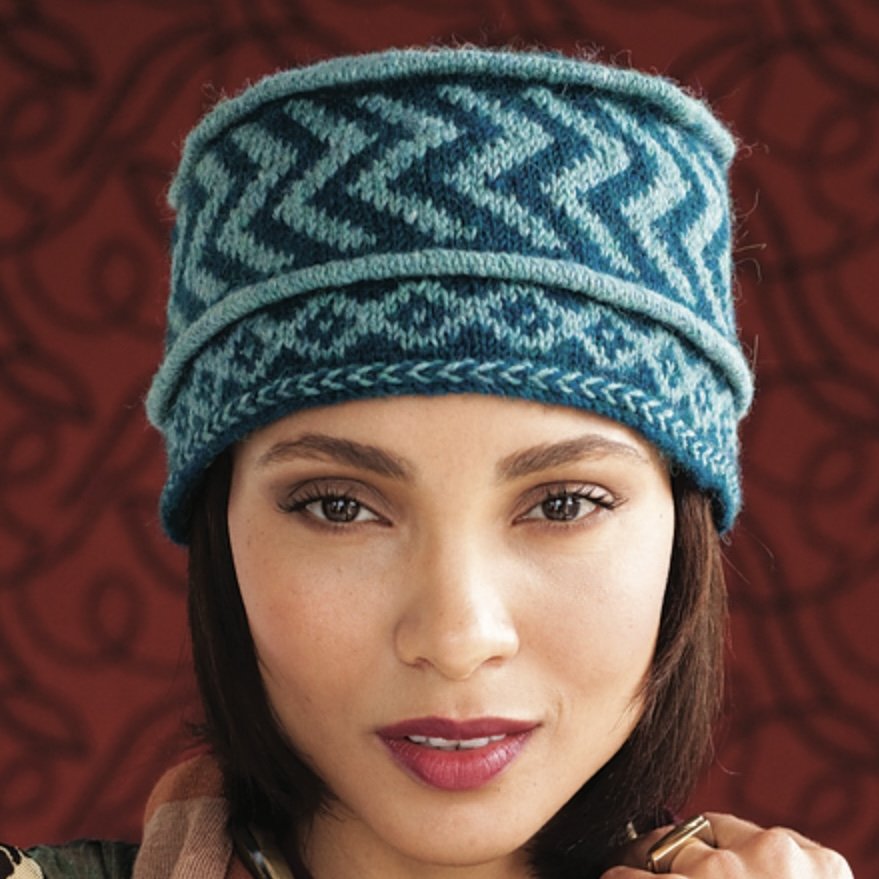
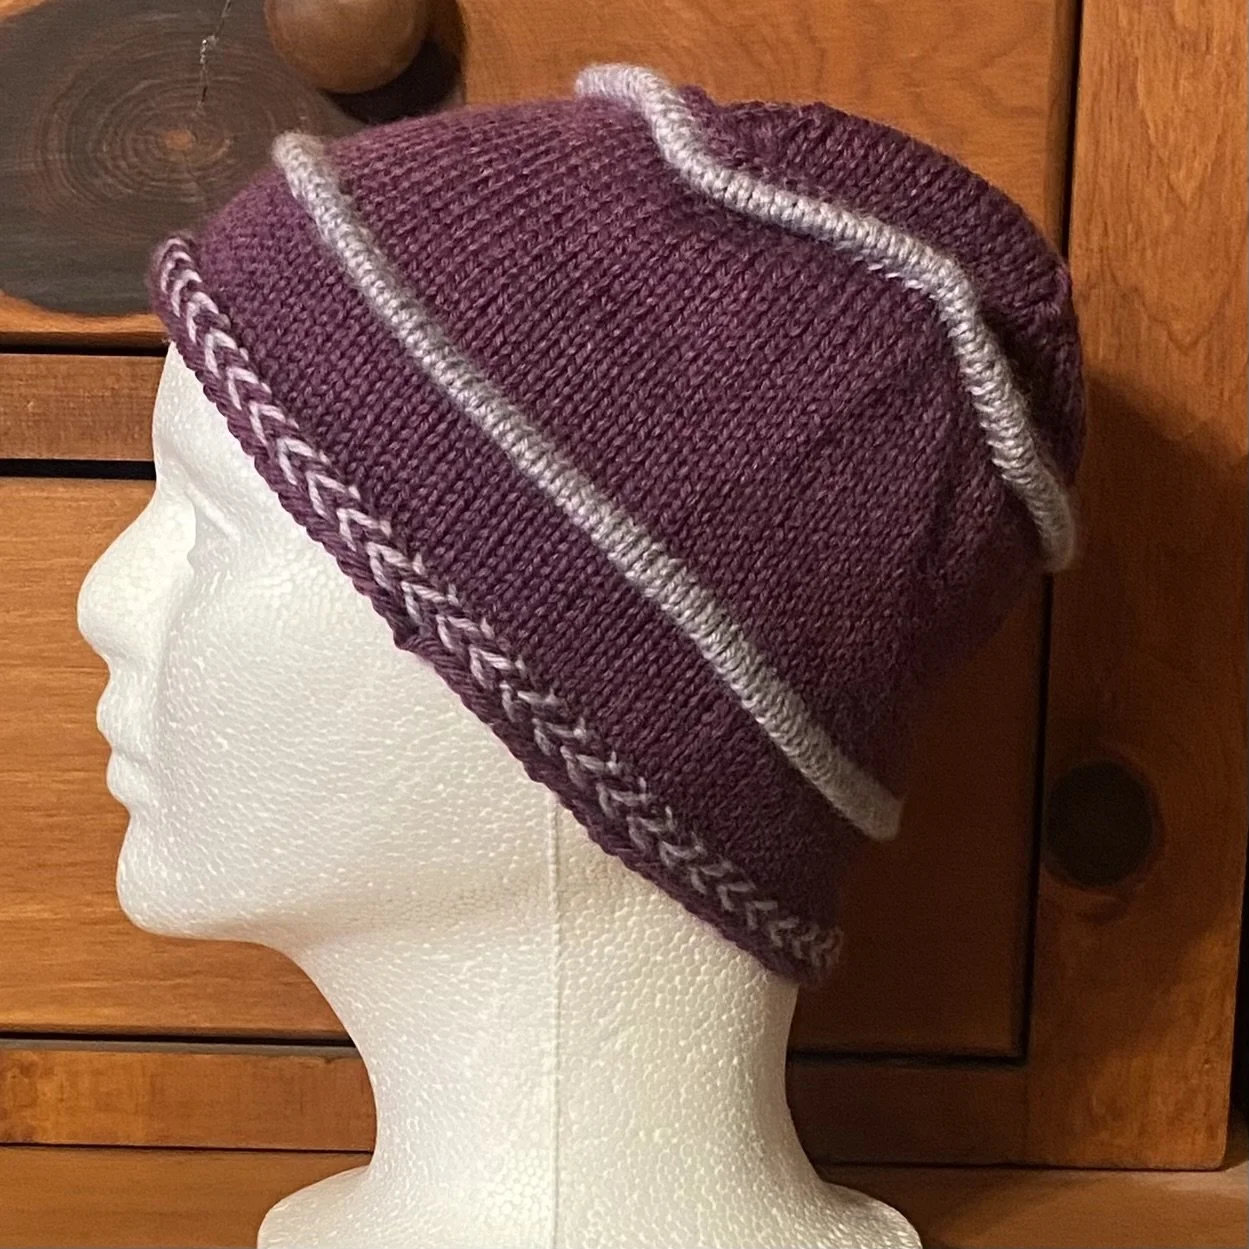
And it has a colorwork pillbox hat, which I decided to take a whack at. I decided on KnitPicks Swish yarn in DK weight, opting for shades of purple instead of the blue/green palette shown in the pattern. The instructions said to make a gauge swatch working in the round and doing the colorwork pattern. I did start the pattern and then I remembered how tedious I find colorwork. I decided to use both my colors but not do the colorwork pattern. And my tiny bit of gauge swatch was enough for me to realize that I was knitting much more loosely than the test knitter apparently did. So instead of casting on the 140 stitches called for in the pattern, I cast on 120 stitches and placed my marker.
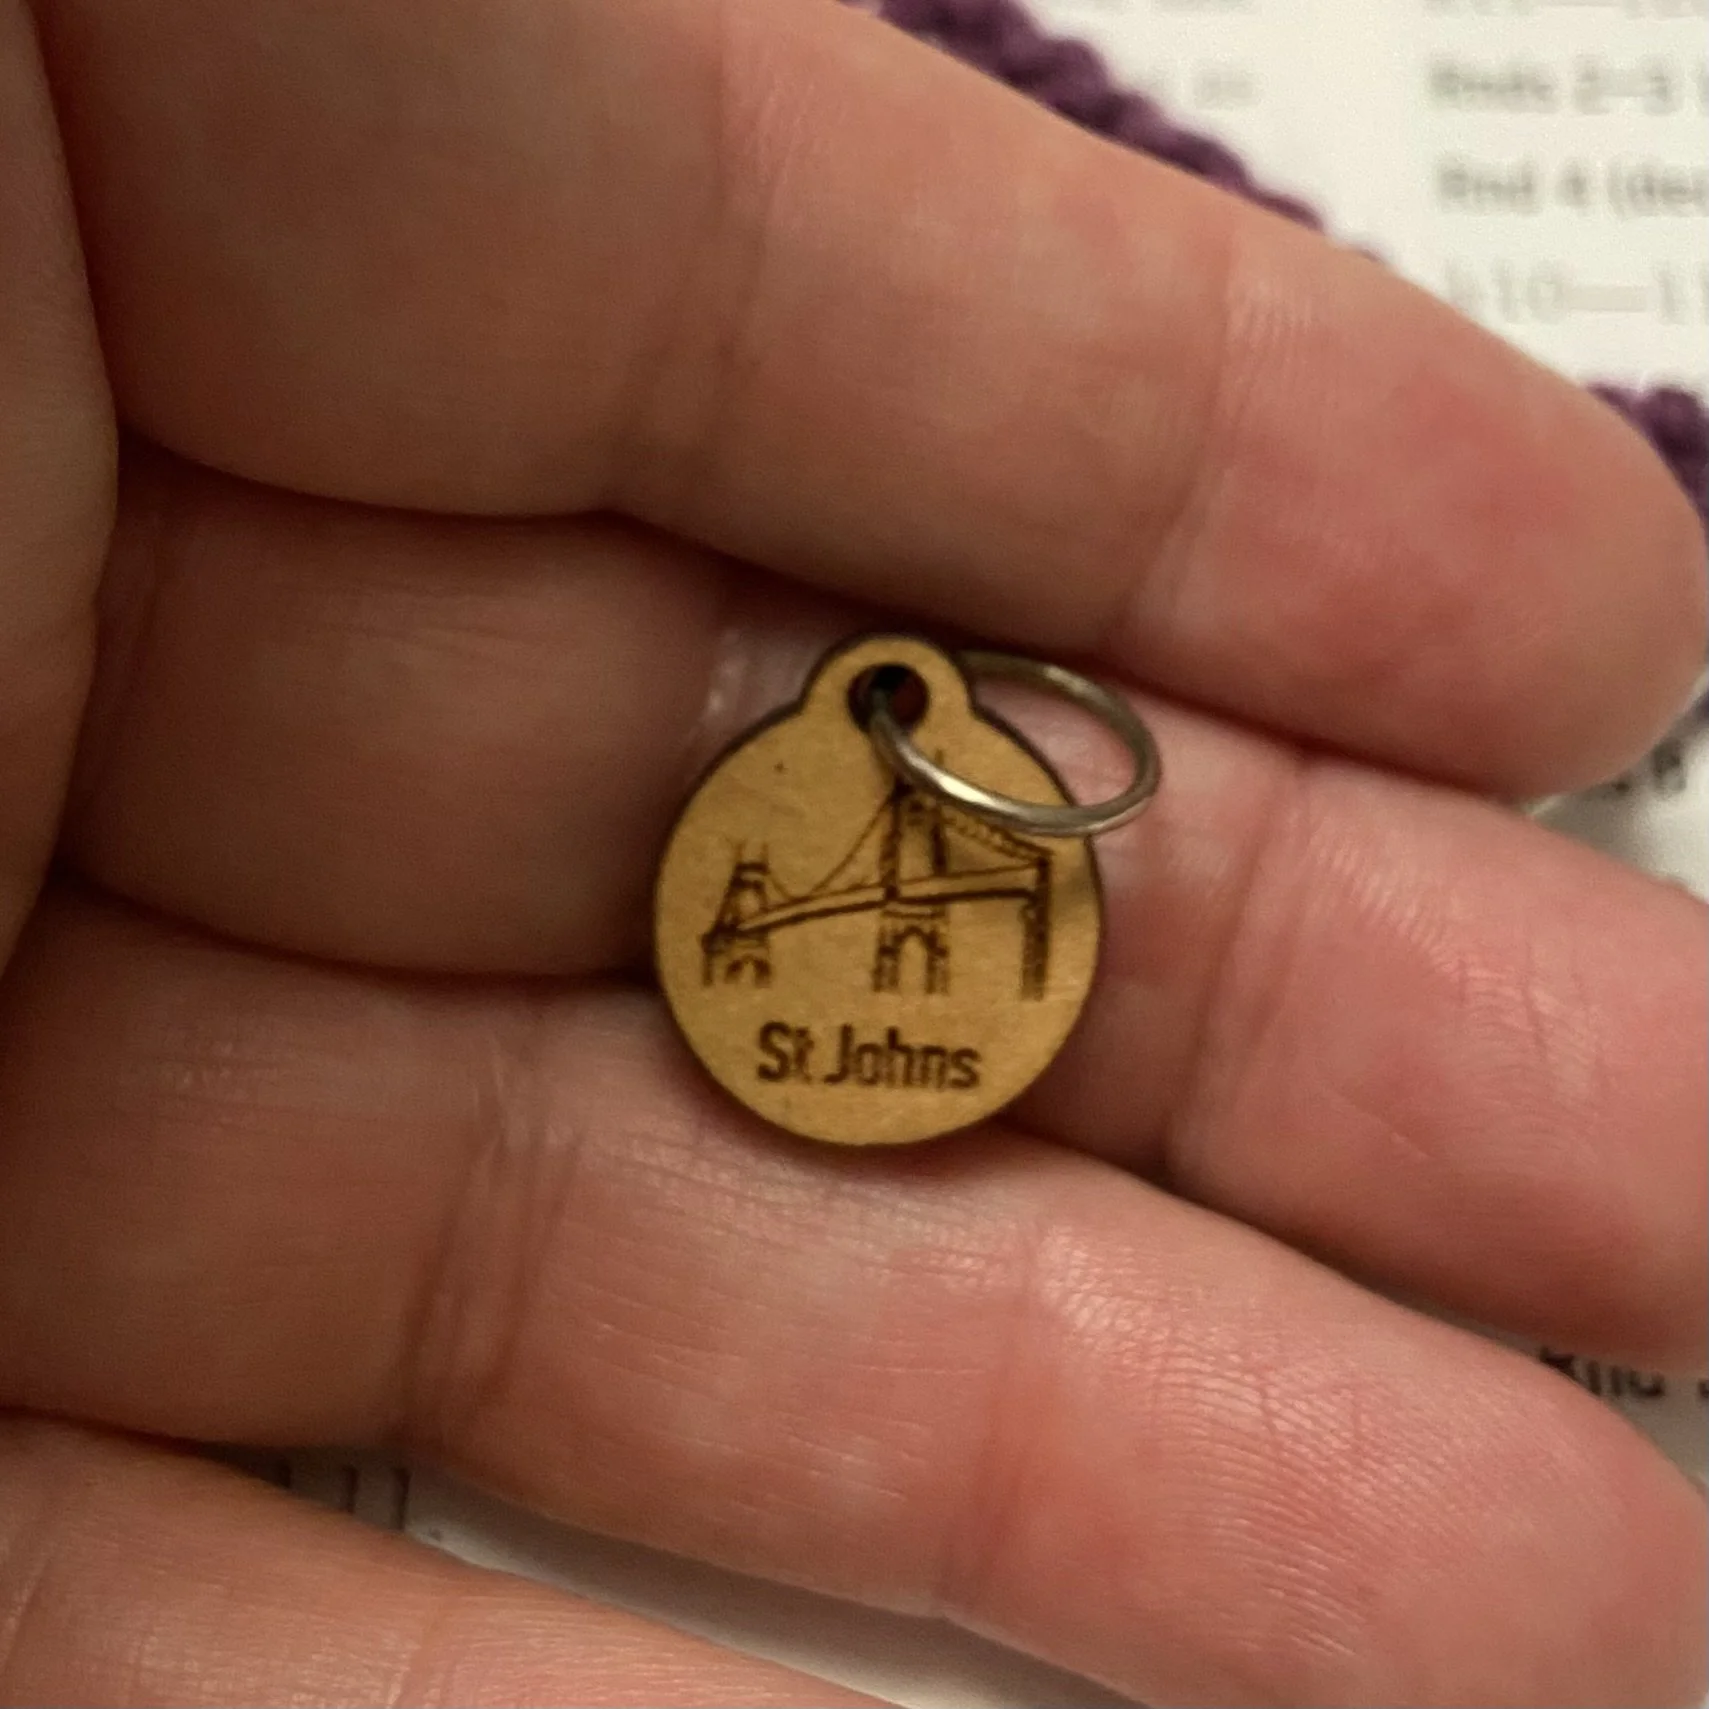
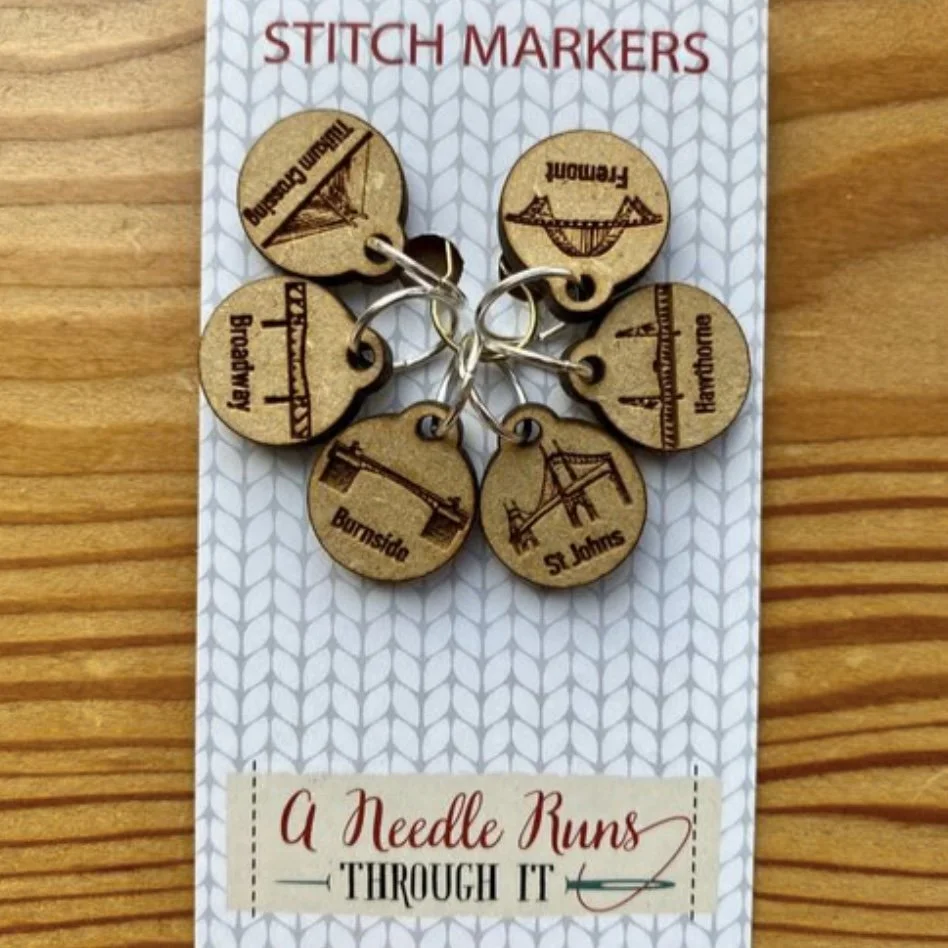
Just because I think it’s cool, here’s a picture of the marker: it’s my favorite Portland bridge! The St. Johns Bridge, of course. This is part of a set of stitch markers all showing different Portland bridges. This set was a gift, and you can get your own set here. I couldn’t always get this link to work, so you might have to do a search for “Portland Bridges” when you get to the site.
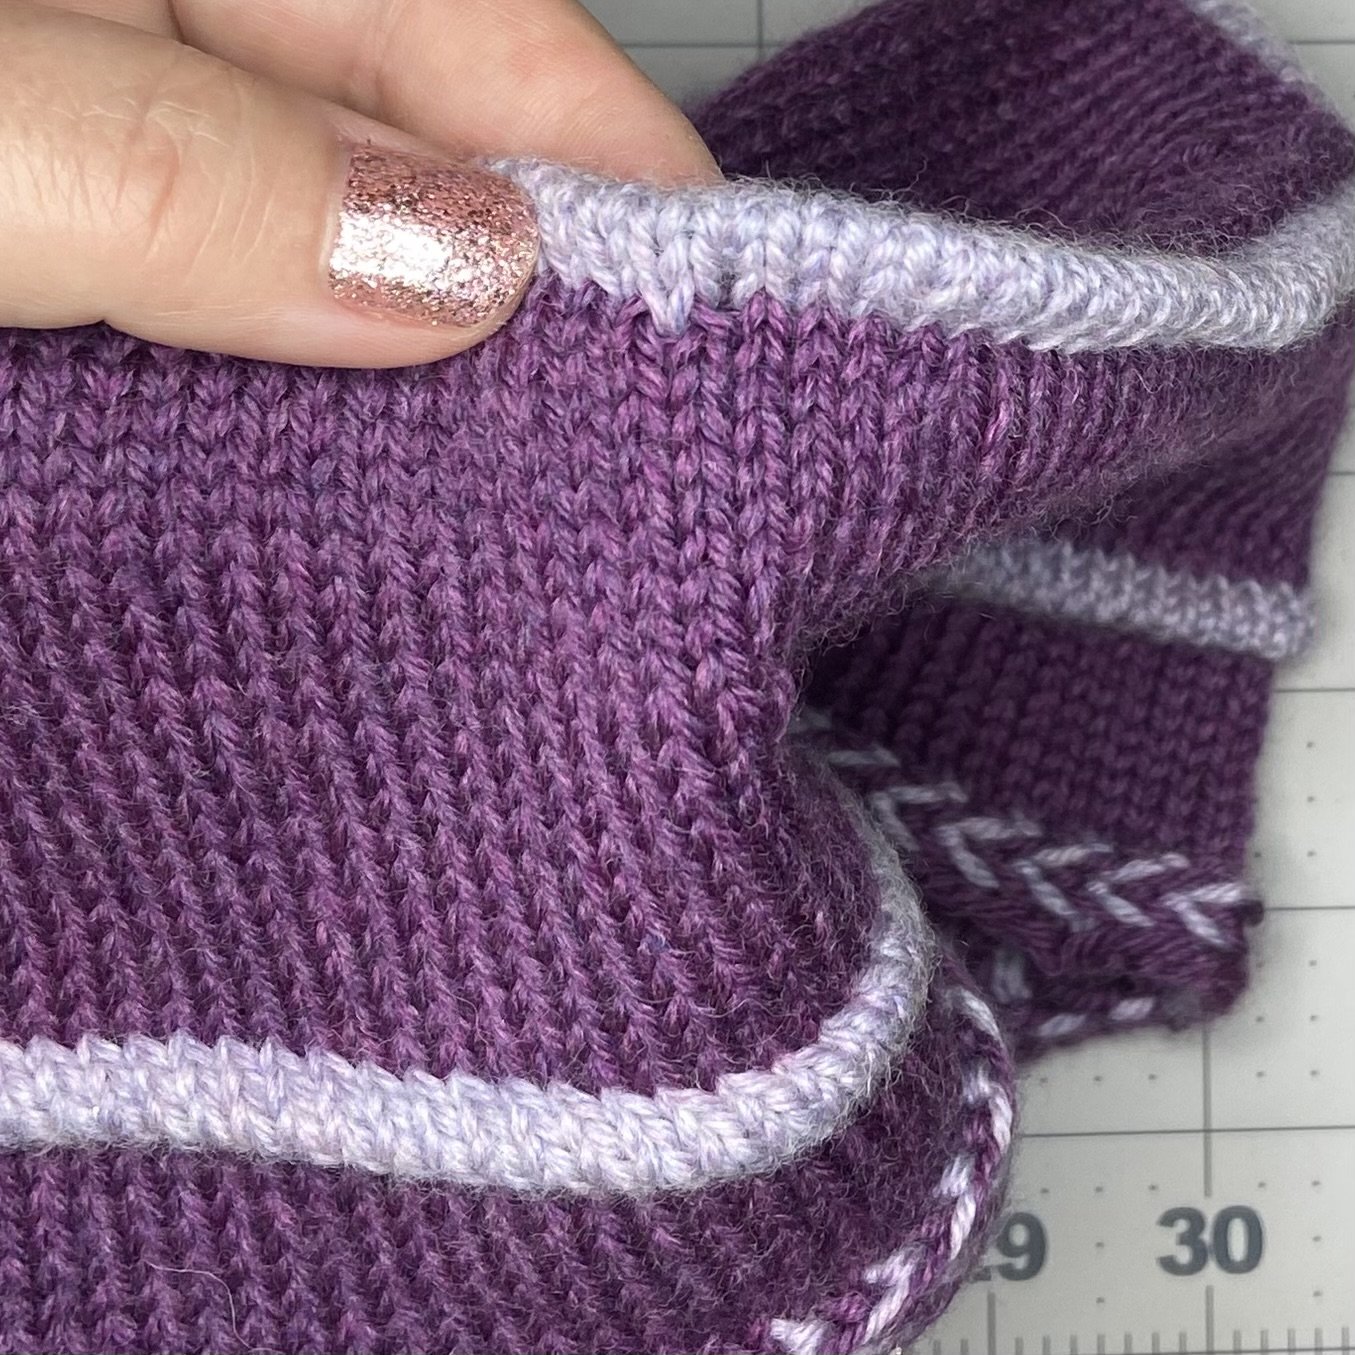
First up was something I’d never done before, a Latvian braid. It looks really complicated, but honestly, it’s so easy! Essentially, you need to be working with an even number of stitches (if you are working in the round) and do a round of knit stitches that alternate your two colors of yarn. On the next round, you will be purling all your stitches, which means the yarn will be in front. You are still knitting with the alternating colors, making sure that your colors match the previous stitches. The trick here is that for the first round, every time you change colors, you bring the new color UP OVER the color you just finished using.
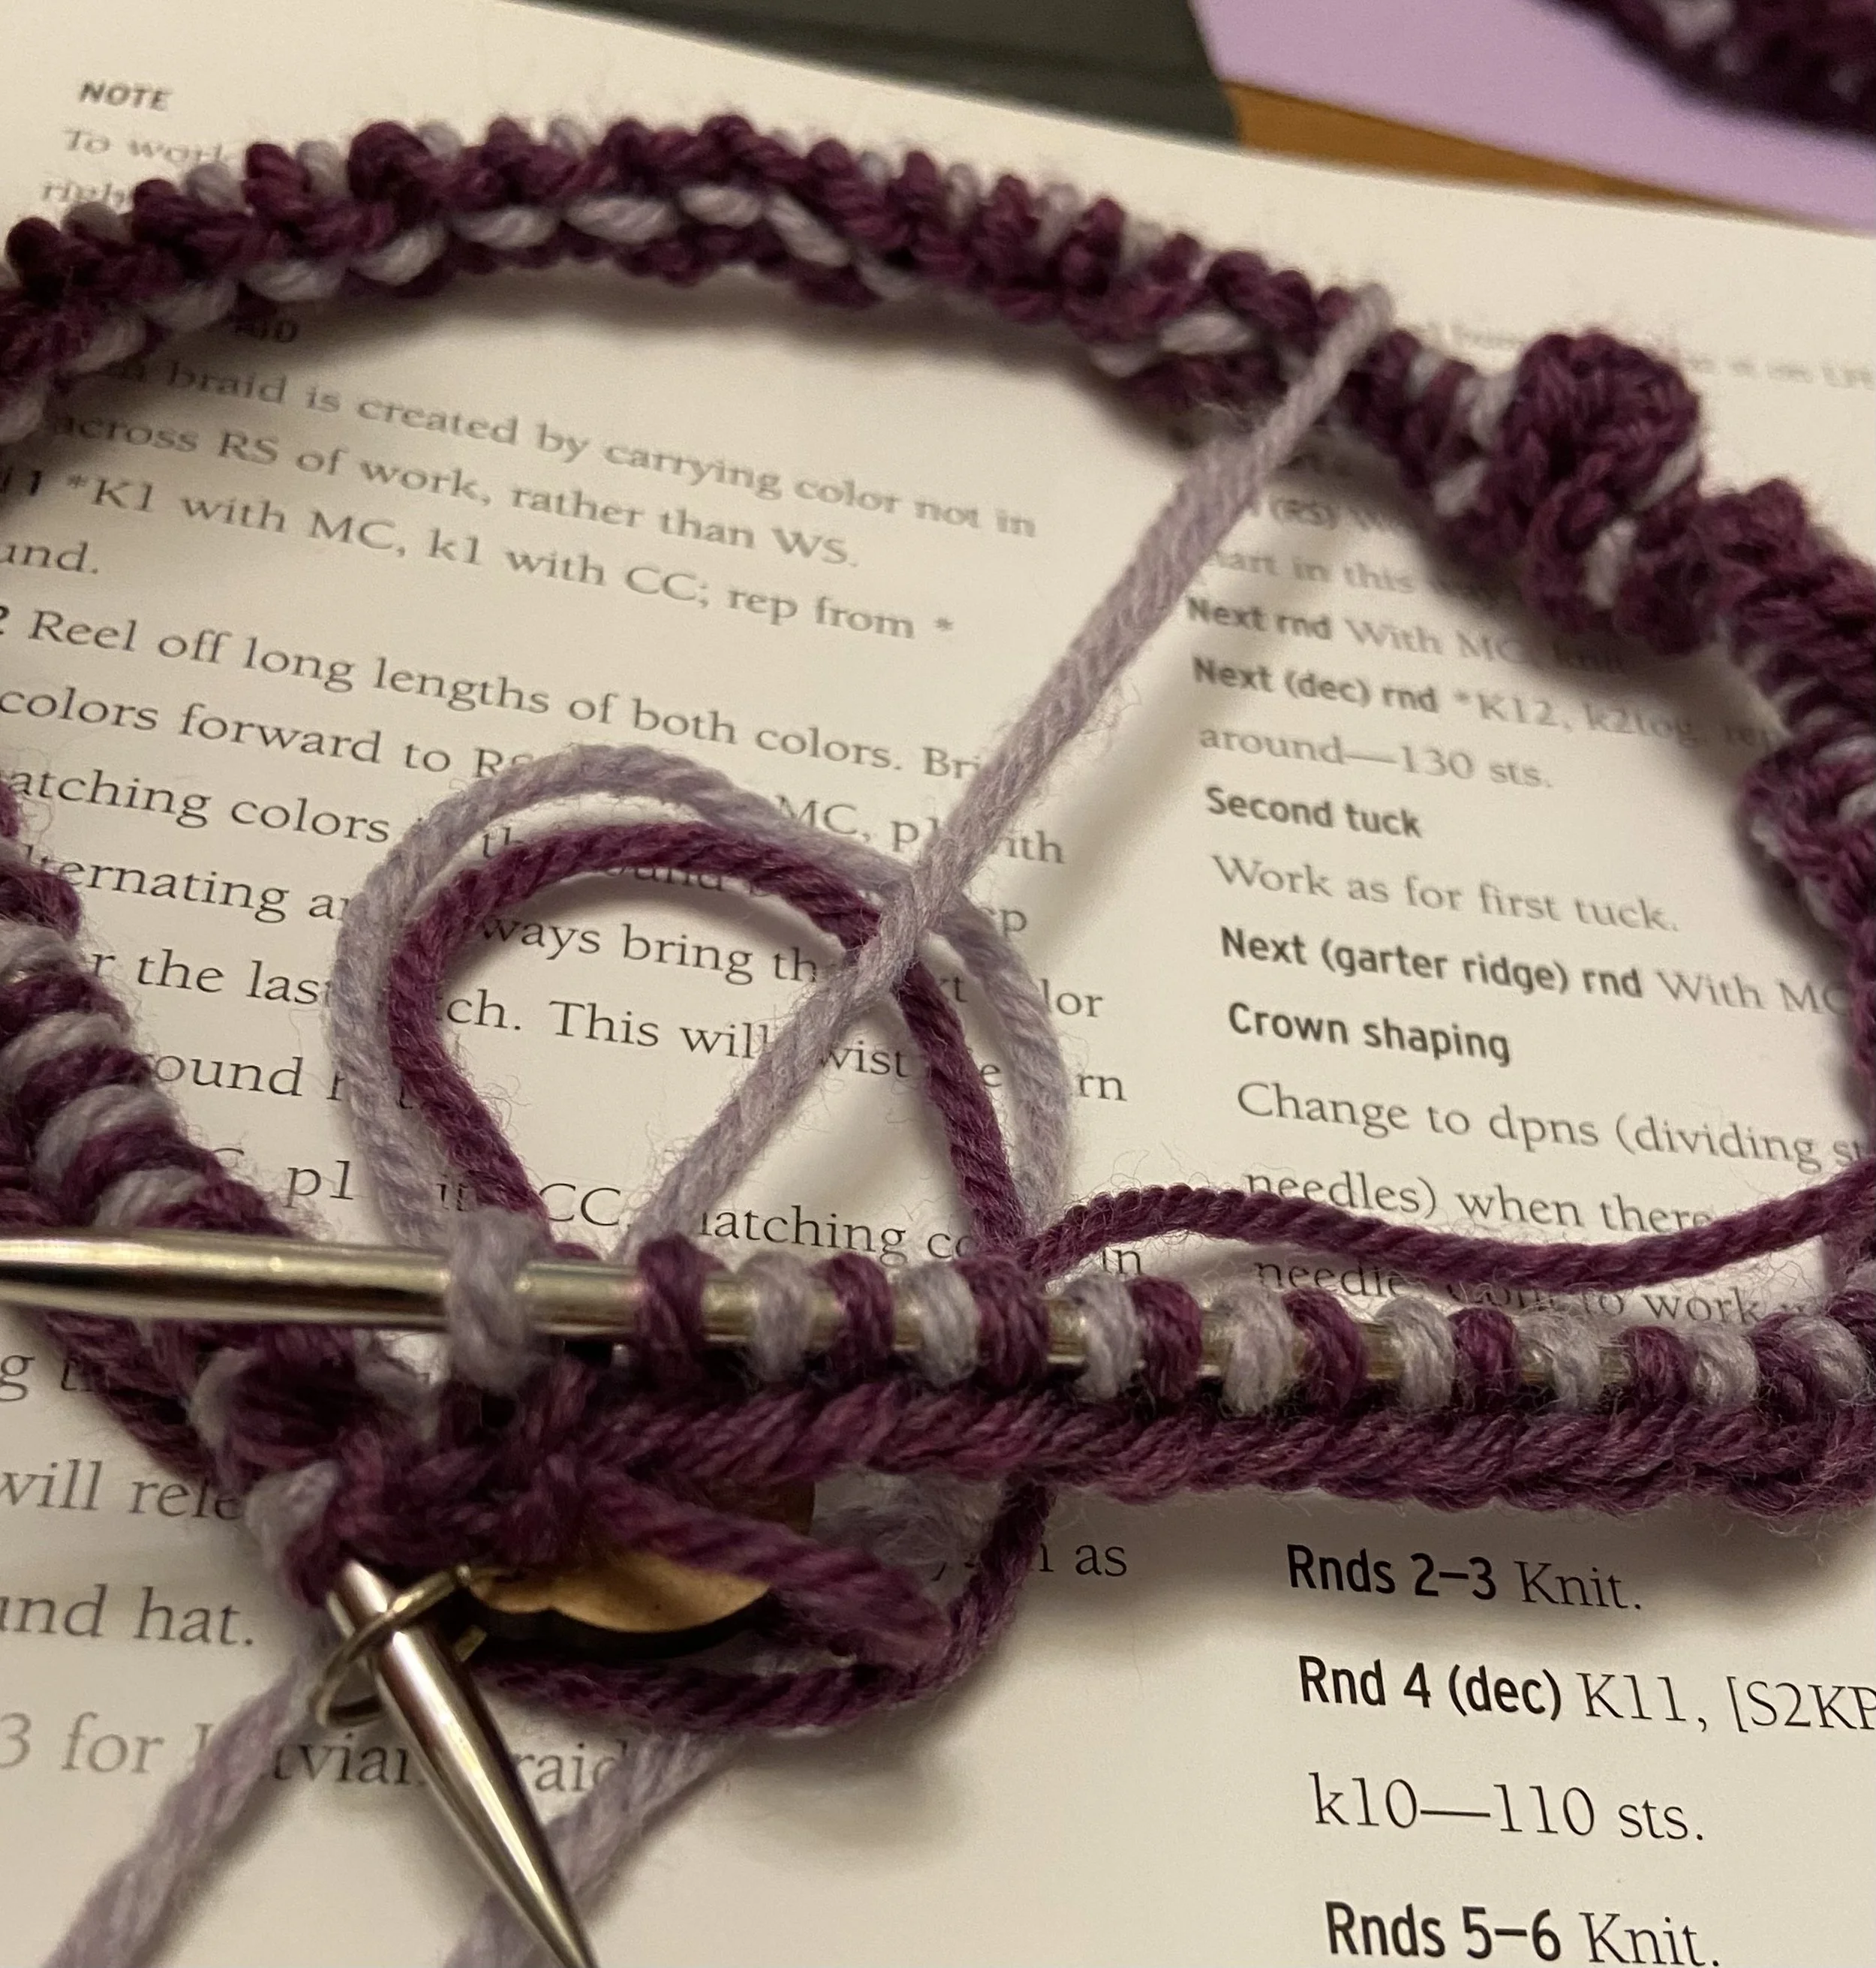
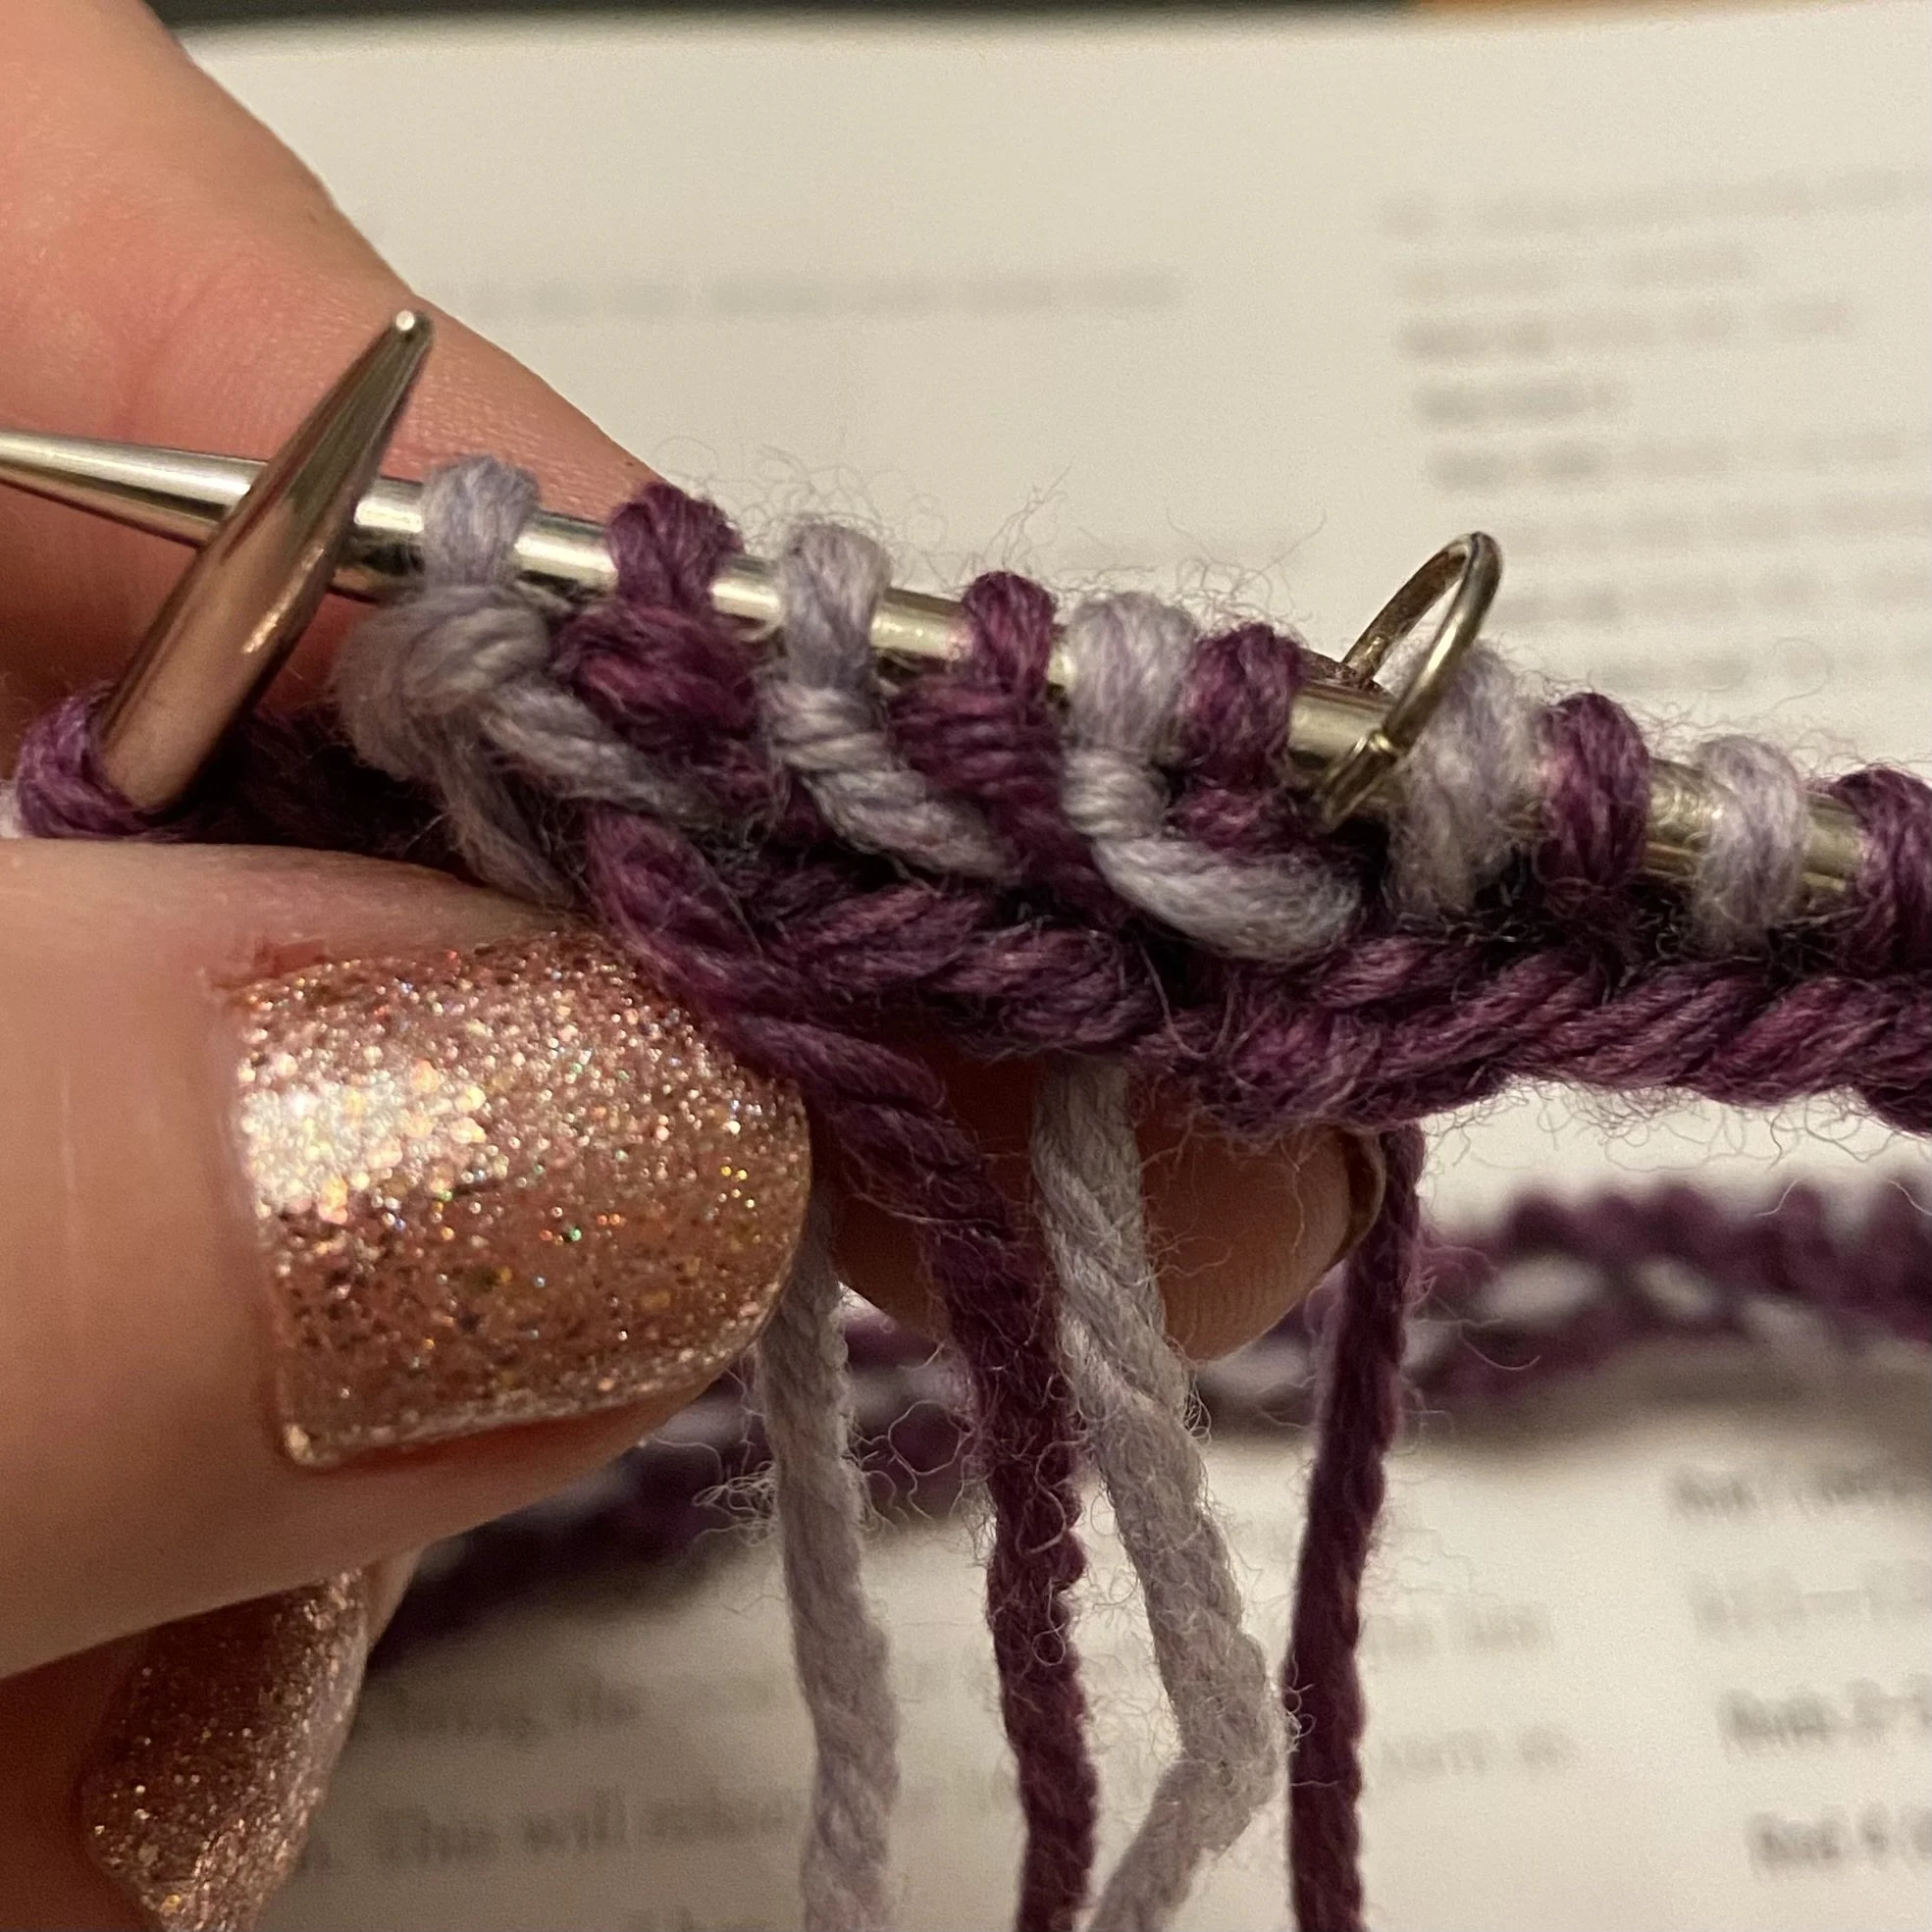
Every time you bring a new color up and over, it twists your two yarn strands together, which is why the instructions say to pull out two long lengths of each color before you start. When the round is finished (and your yarn is thoroughly twisted up!), you do another round exactly the same EXCEPT that you bring the new yarn UNDER the color you just finished using. The first round gives you a slant that leans to the left and the second round slant leans to the right. Seen together, this gives the appearance of a braid. Also, on the second round, you will be undoing all the twisting you did in the first round. It was like magic!
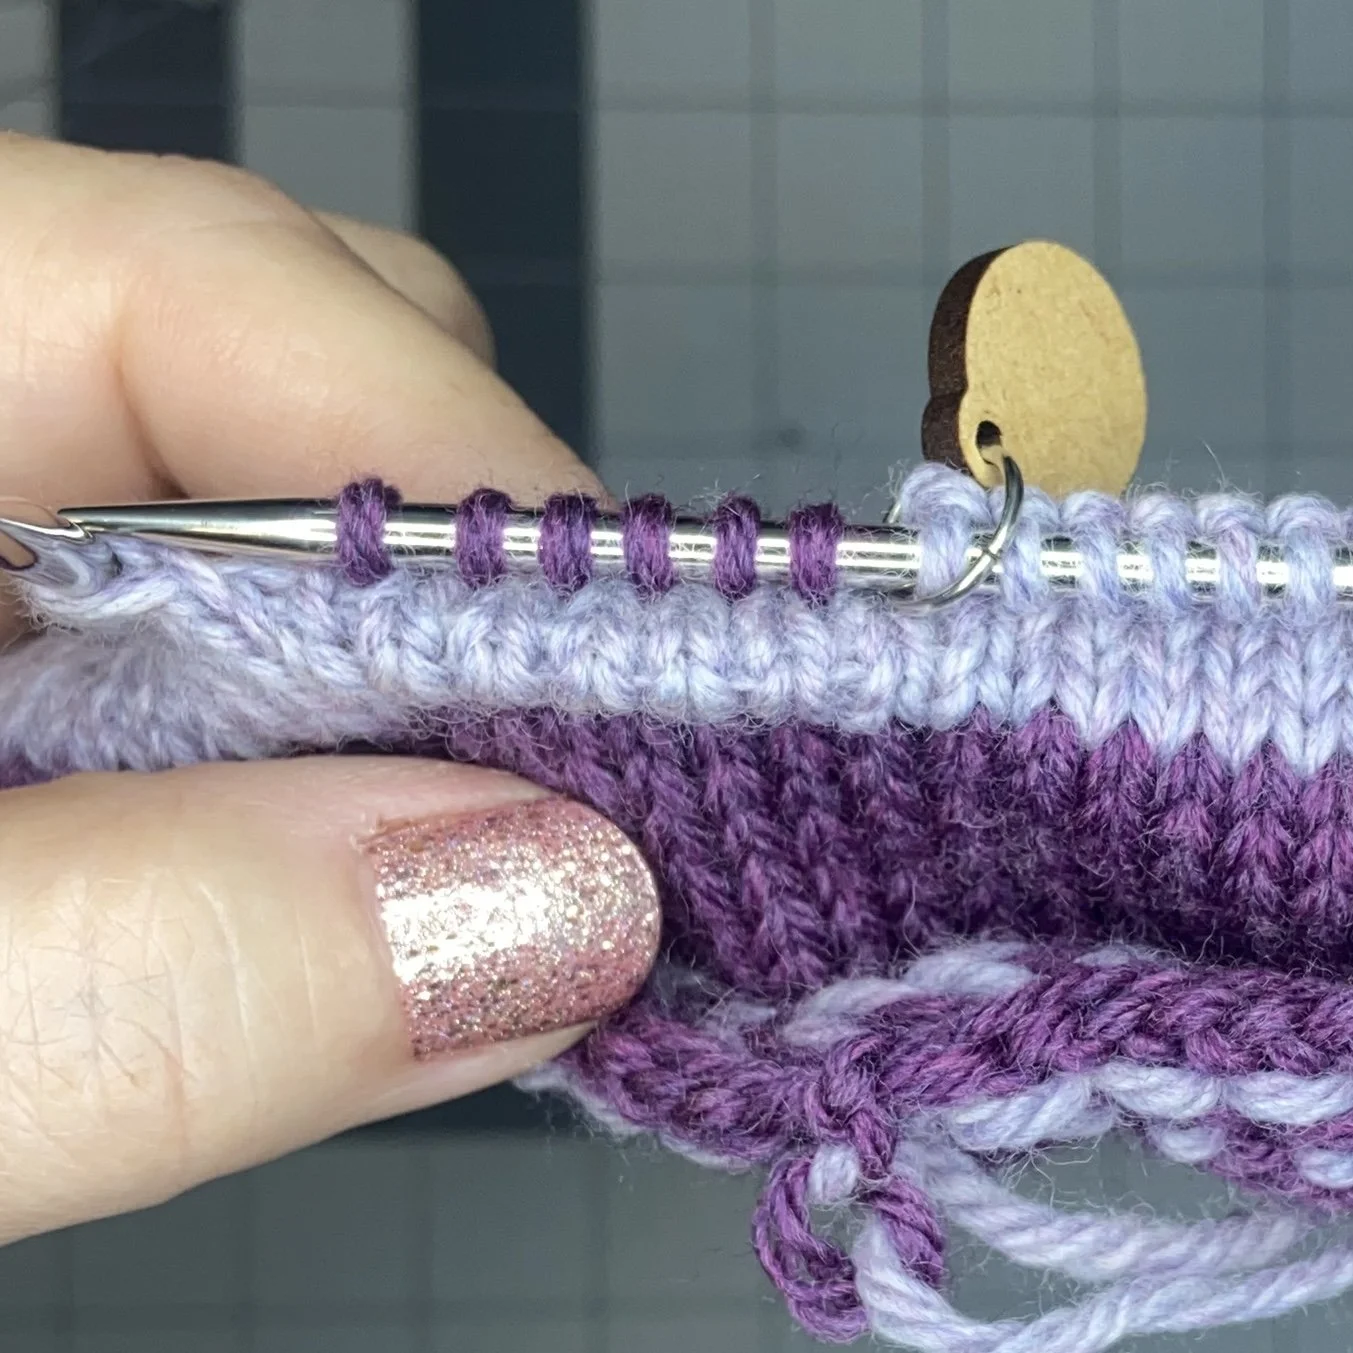
After that, it was mostly single-color stockinette stitch knitting. When I got to the first tuck, I was apparently a little sloppy during my execution. A tuck is just six rounds of the contrasting color, then back to the main color, reach down past the contrasting color rows to pick up the purl bump of the last main color row you did, and knit together with your current stitch. This folds the contrasting color over, leaving your tuck on the outside of your work.
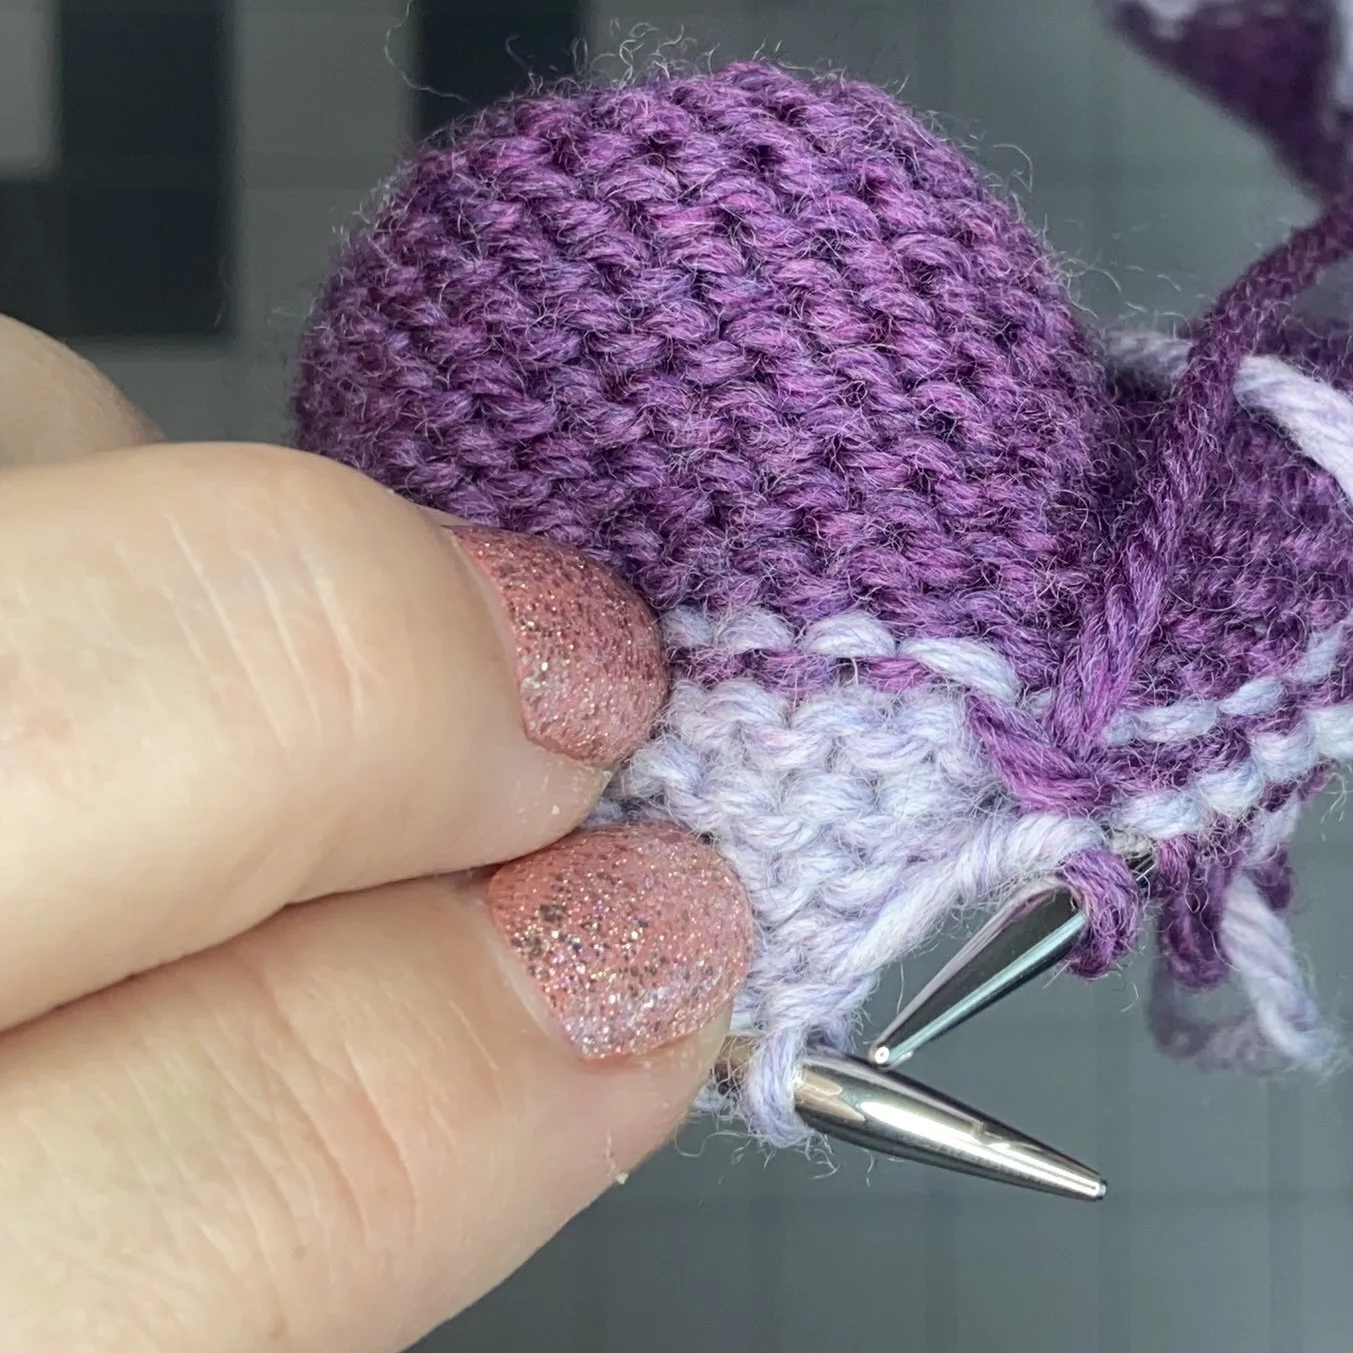


However, when I was bringing up purl bumps, I didn’t always get the right one, and that left a noticeable jog in the work that was extremely visible due to the two colors sitting right together. I did not notice this until I was wayyyy past the point where I was willing to rip back. I decided to live with this in the prototype hat and do better on the second version.
Once I got to the crown, I needed to make some adjustments. Since I’d cast on fewer stitches than the pattern called for, I had to start on row 7, because row 7 was where my stitch count matched what was in the pattern. This did not cause me a problem. But I couldn’t get my double decreases to lay flat and look nice. The instructions just said to slip 2 stitches, knit 1 stitch, and then pass the 2 slipped stitches over the stitch I’d just knitted. It did not specify whether I was to slip knitwise or purlwise. On the first hat, I slipped knitwise, and on the second, I slipped purlwise. I think slipping purlwise gave a slightly smoother result, but it still looked bulky and awkward.
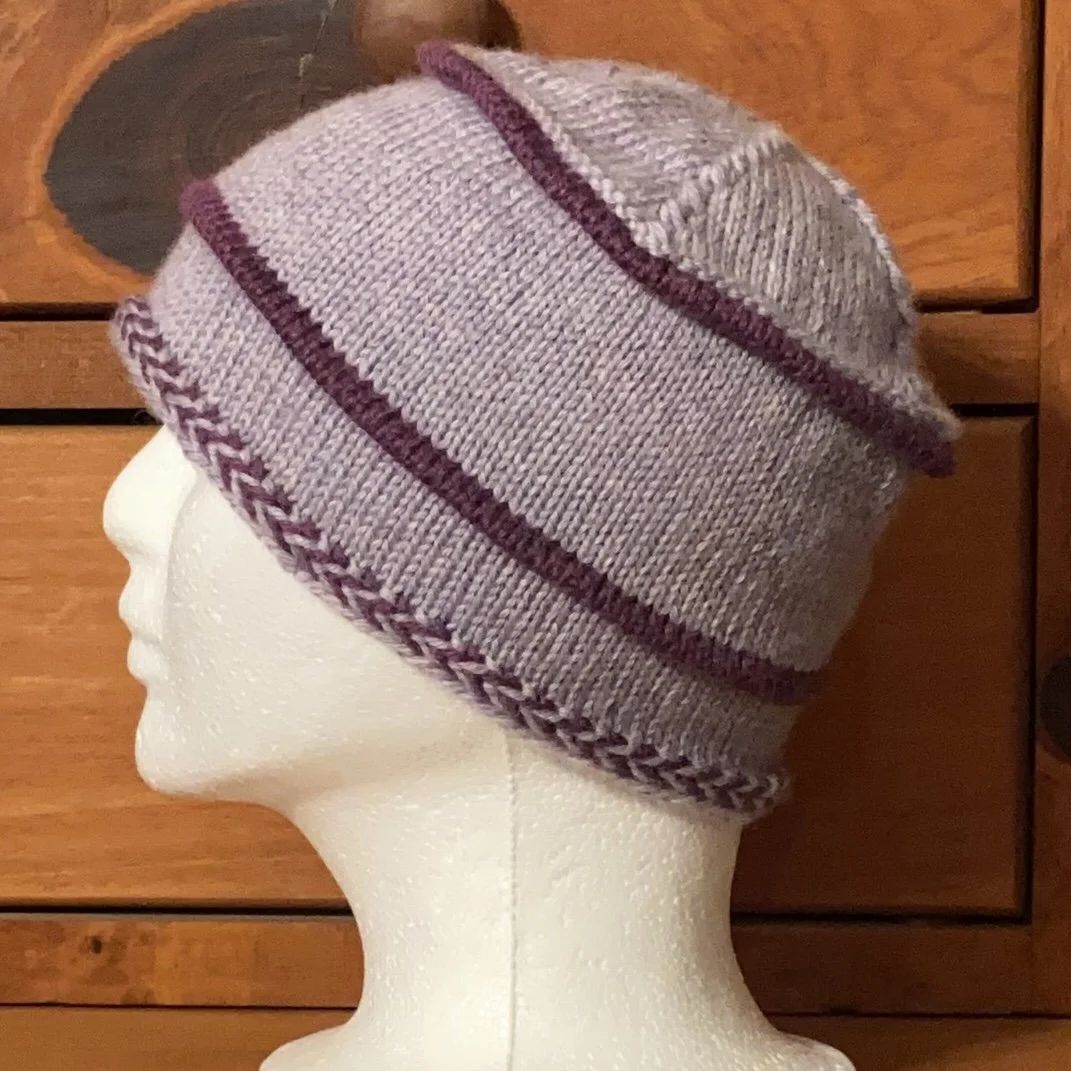
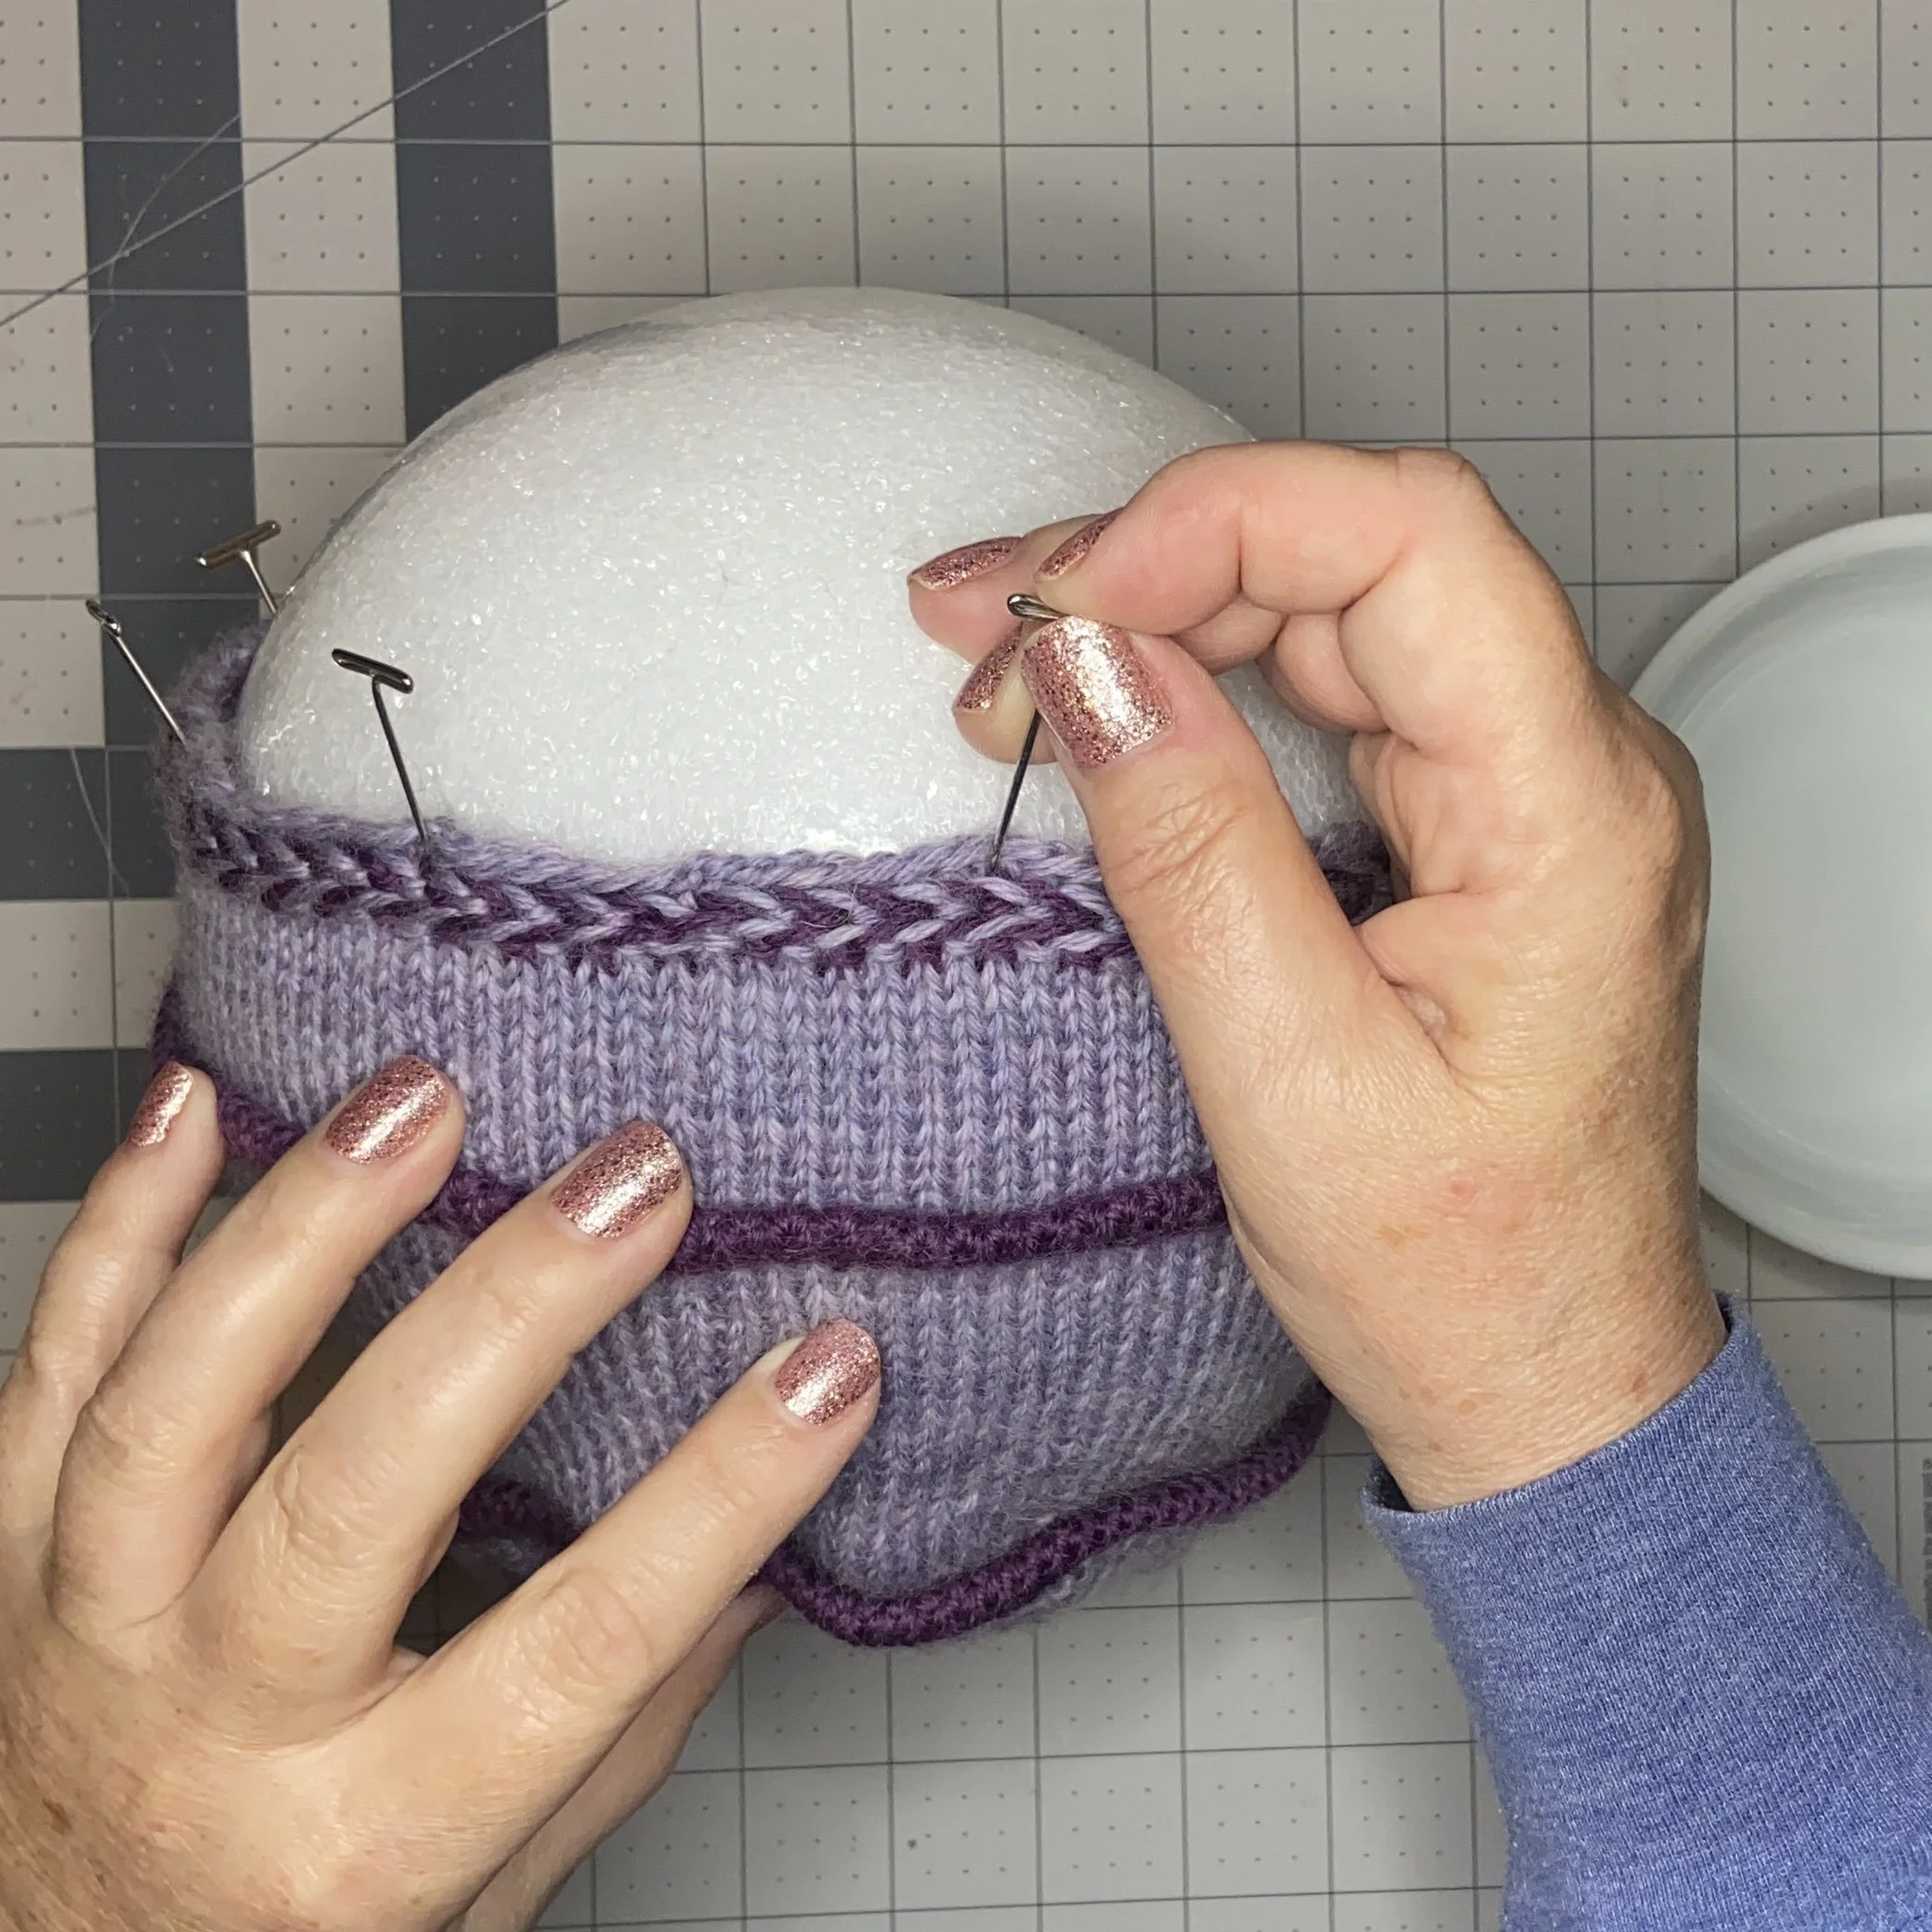
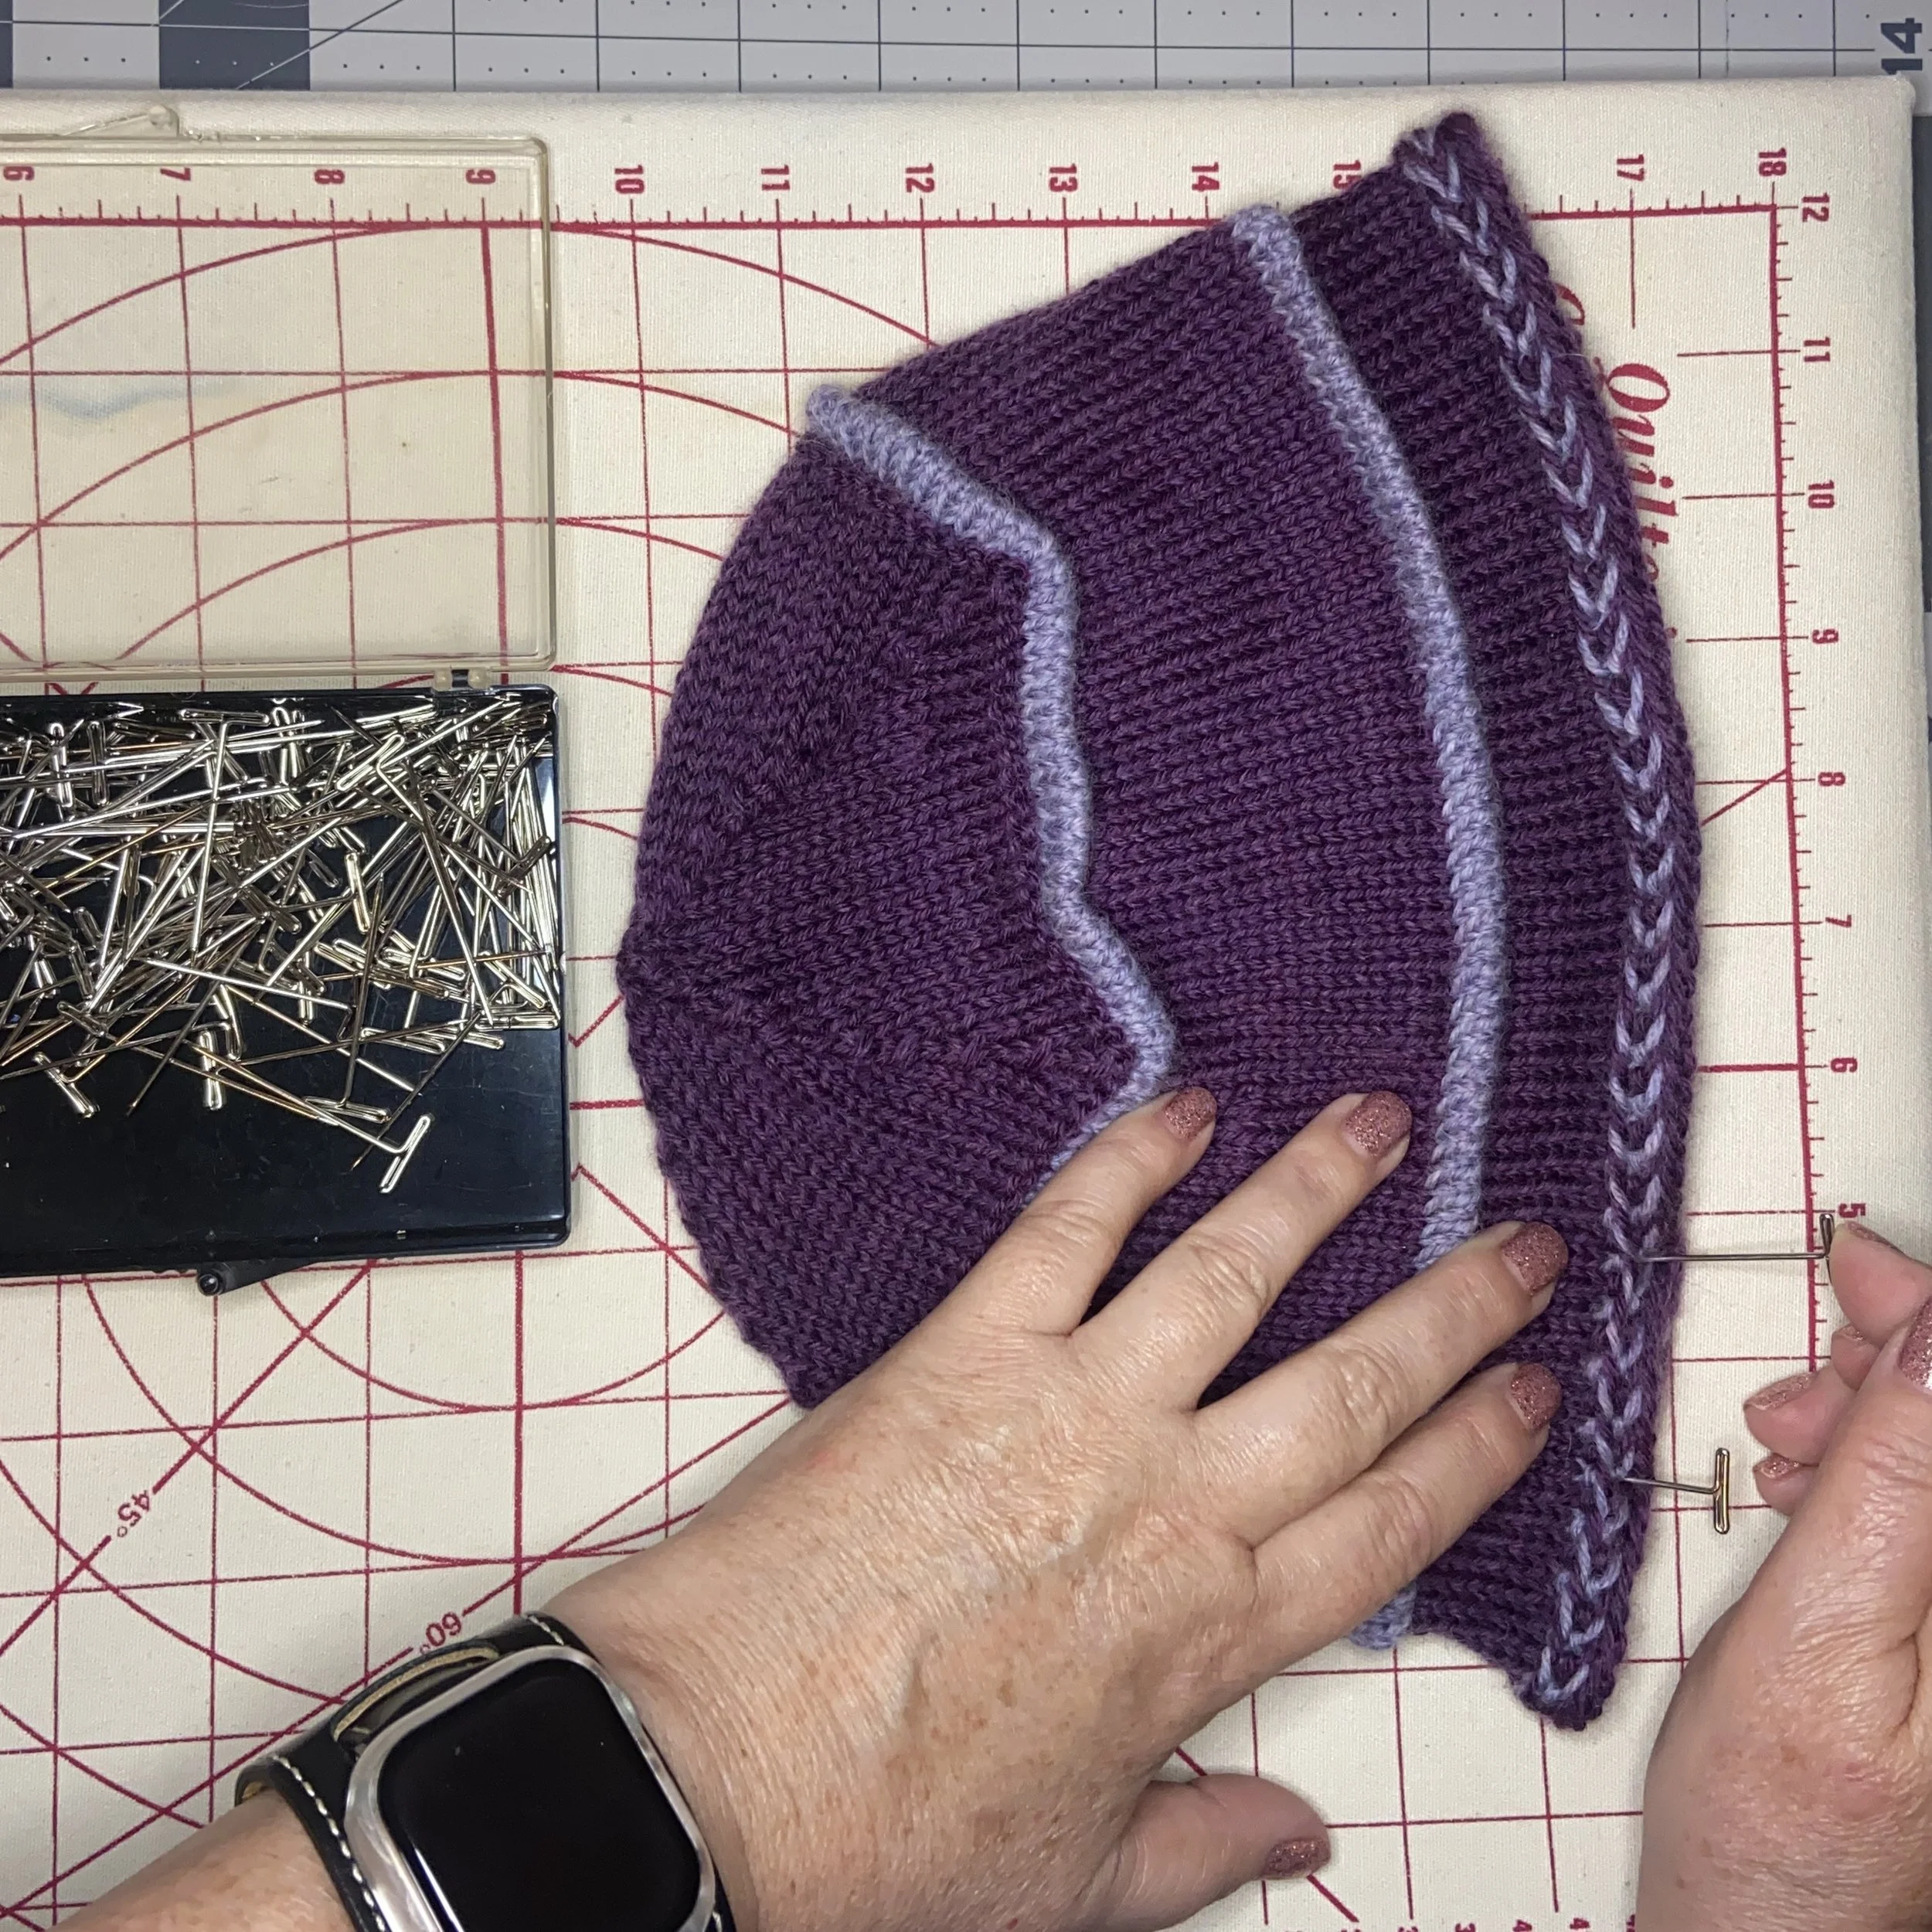
Once both hats were done, I washed them in my favorite Kookaburra wool wash from KnitPicks and blocked them. I blocked my second hat on my 7” styrofoam ball. The beauty of that ball is that it’s about 22” in circumference, the same as my head. Since the Latvian braid wanted to roll up, I used T-pins to hold them in place while the hat dried. The original prototype hat I just laid flat to dry on a little ironing board. Again, I had to use the pins to hold the braid flat. After a day, I turned this hat over and pinned again, since wool doesn’t dry as quickly when it’s folded in a double layer. Both blocking options worked, although the styrofoam ball gave slightly better results.
And done! My mother said the hat was pretty but she didn’t think she’d wear it because it does not cover the ears. I agree that ear coverage is essential in really cold or windy weather. This hat is a bit more of a fashion statement, although it will certainly keep the head warm.
I just love the pillbox style of hat and I think these hats turned out quite beautiful. I’m a little annoyed about my sloppiness in the first hat, because any errors in the tuck area are extremely visible. So I was extra careful with the second hat and it looks absolutely perfect. Well, except for the decreases on top, but I’ve decided I can live with that.