Adventures In Preventable Mistakes
As an Amazon associate, I may earn a small commission if you navigate to Amazon from my site and buy something. This will not result in an extra cost to you.
I’ve been having fun recently sewing garments for myself. Although my mother and grandmother did teach me this skill when I was a teenager, I’m afraid it didn’t stick. So I’ve been basically re-learning many of the skills. YouTube is a serious advantage in some ways…you can learn almost anything off YouTube these days. Wish it had been around when I was trying to learn to knit…At any rate, being able to watch a short tutorial on almost any skill has been a boon to my (re)burgeoning sewing abilities.

My most recent attempt involved a pattern called the Skye Sundress, which I planned to make into a shorter version that would be more of a blouse. The pattern is quite simple…since I opted to leave out the pockets, there were only three pattern pieces to cut. Well, four, if you count the fact that I had to cut the skirt piece twice, and five if you count the bias tape needed.
I got the pattern printed by PDFPlotting and then held onto it for a few months while I pondered what exactly I wanted to do with it. Now, before I explain my decision, I want to lead with the fact that I KNOW BETTER than to try to make a flow-y garment out of quilting cotton. Quilting cotton is wonderful for many things, but it doesn’t have much drape to it, which would be a disadvantage in a garment like this.

However. I found some absolutely gorgeous batik quilting cotton on clearance at Craft Warehouse a few months ago, and I loved it so much that I bought everything they had. Just look at it! All the colors of the rainbow on a creamy background…so gorgeous! I foolishly decided to use it to make the Skye dress.
I did come to regret this decision but I’ll get to that later. I traced the size I needed onto tracing paper, and then used those tracing paper pieces to cut out my fabric pieces. The pattern did have some pieces that could be used to cut out a bunch of short 1” wide strips to be sewn together into continuous bias tape, but I went a different route. There are a number of (relatively) short videos on YouTube that show you how to take a square of fabric, and with only two seams, get lots of continuous bias tape. This is the tutorial I worked from and honestly, it was like magic.
I started with a 14” square of fabric and managed to make just under 5 yards of 1” wide (1/2” when folded) single fold bias tape. I will suggest that you do not mark with a heat erasable pen, since you have to do some pressing along the way and that didn’t work out great for me. But I decided to live with the minor imperfections. I used my bias tape maker to fold and press the bias tape, which is always very satisfying. The only problem with this method of making bias tape is that you get places where the two seams you sewed are either very close to one another or are overlapping. This wasn’t terrible, since the bias tape would not be visible in the finished garment, but it definitely made working with a little more challenging.


When I started working on the garment, I decided to use my overcast foot to overcast every raw edge of the fabric pieces (not the bias tape, obviously) before I started doing any assembly. Once I’d done that, I read the first instructions, which were to do stay-stitching all around the neckline and armholes, to prevent stretching. Since I’d done overcast stitching there already, I decided that would work and skipped the stay stitching.
I stitched the bodice pleats in place, then sewed the bodice side and shoulder seams. At this point, I decided to try on the top and see how I was getting on. The neckline was waaayyy too low for me…I don’t like to show that much cleavage and I definitely don’t like my bra showing. Amazingly, the armholes were fine…plenty big enough to allow for easy movement but without unfortunate gaping which would again showcase the bra.

I set it aside for a day while I pondered and then I decided to try shortening the shoulder straps. In a rare moment of wisdom, I decided to safety pin my new seam in place and try it on before I cut off any extra fabric. I believe I ended up cutting the better part of an inch off the end of each shoulder piece and resewing the seam. And overcasting the new raw edge.
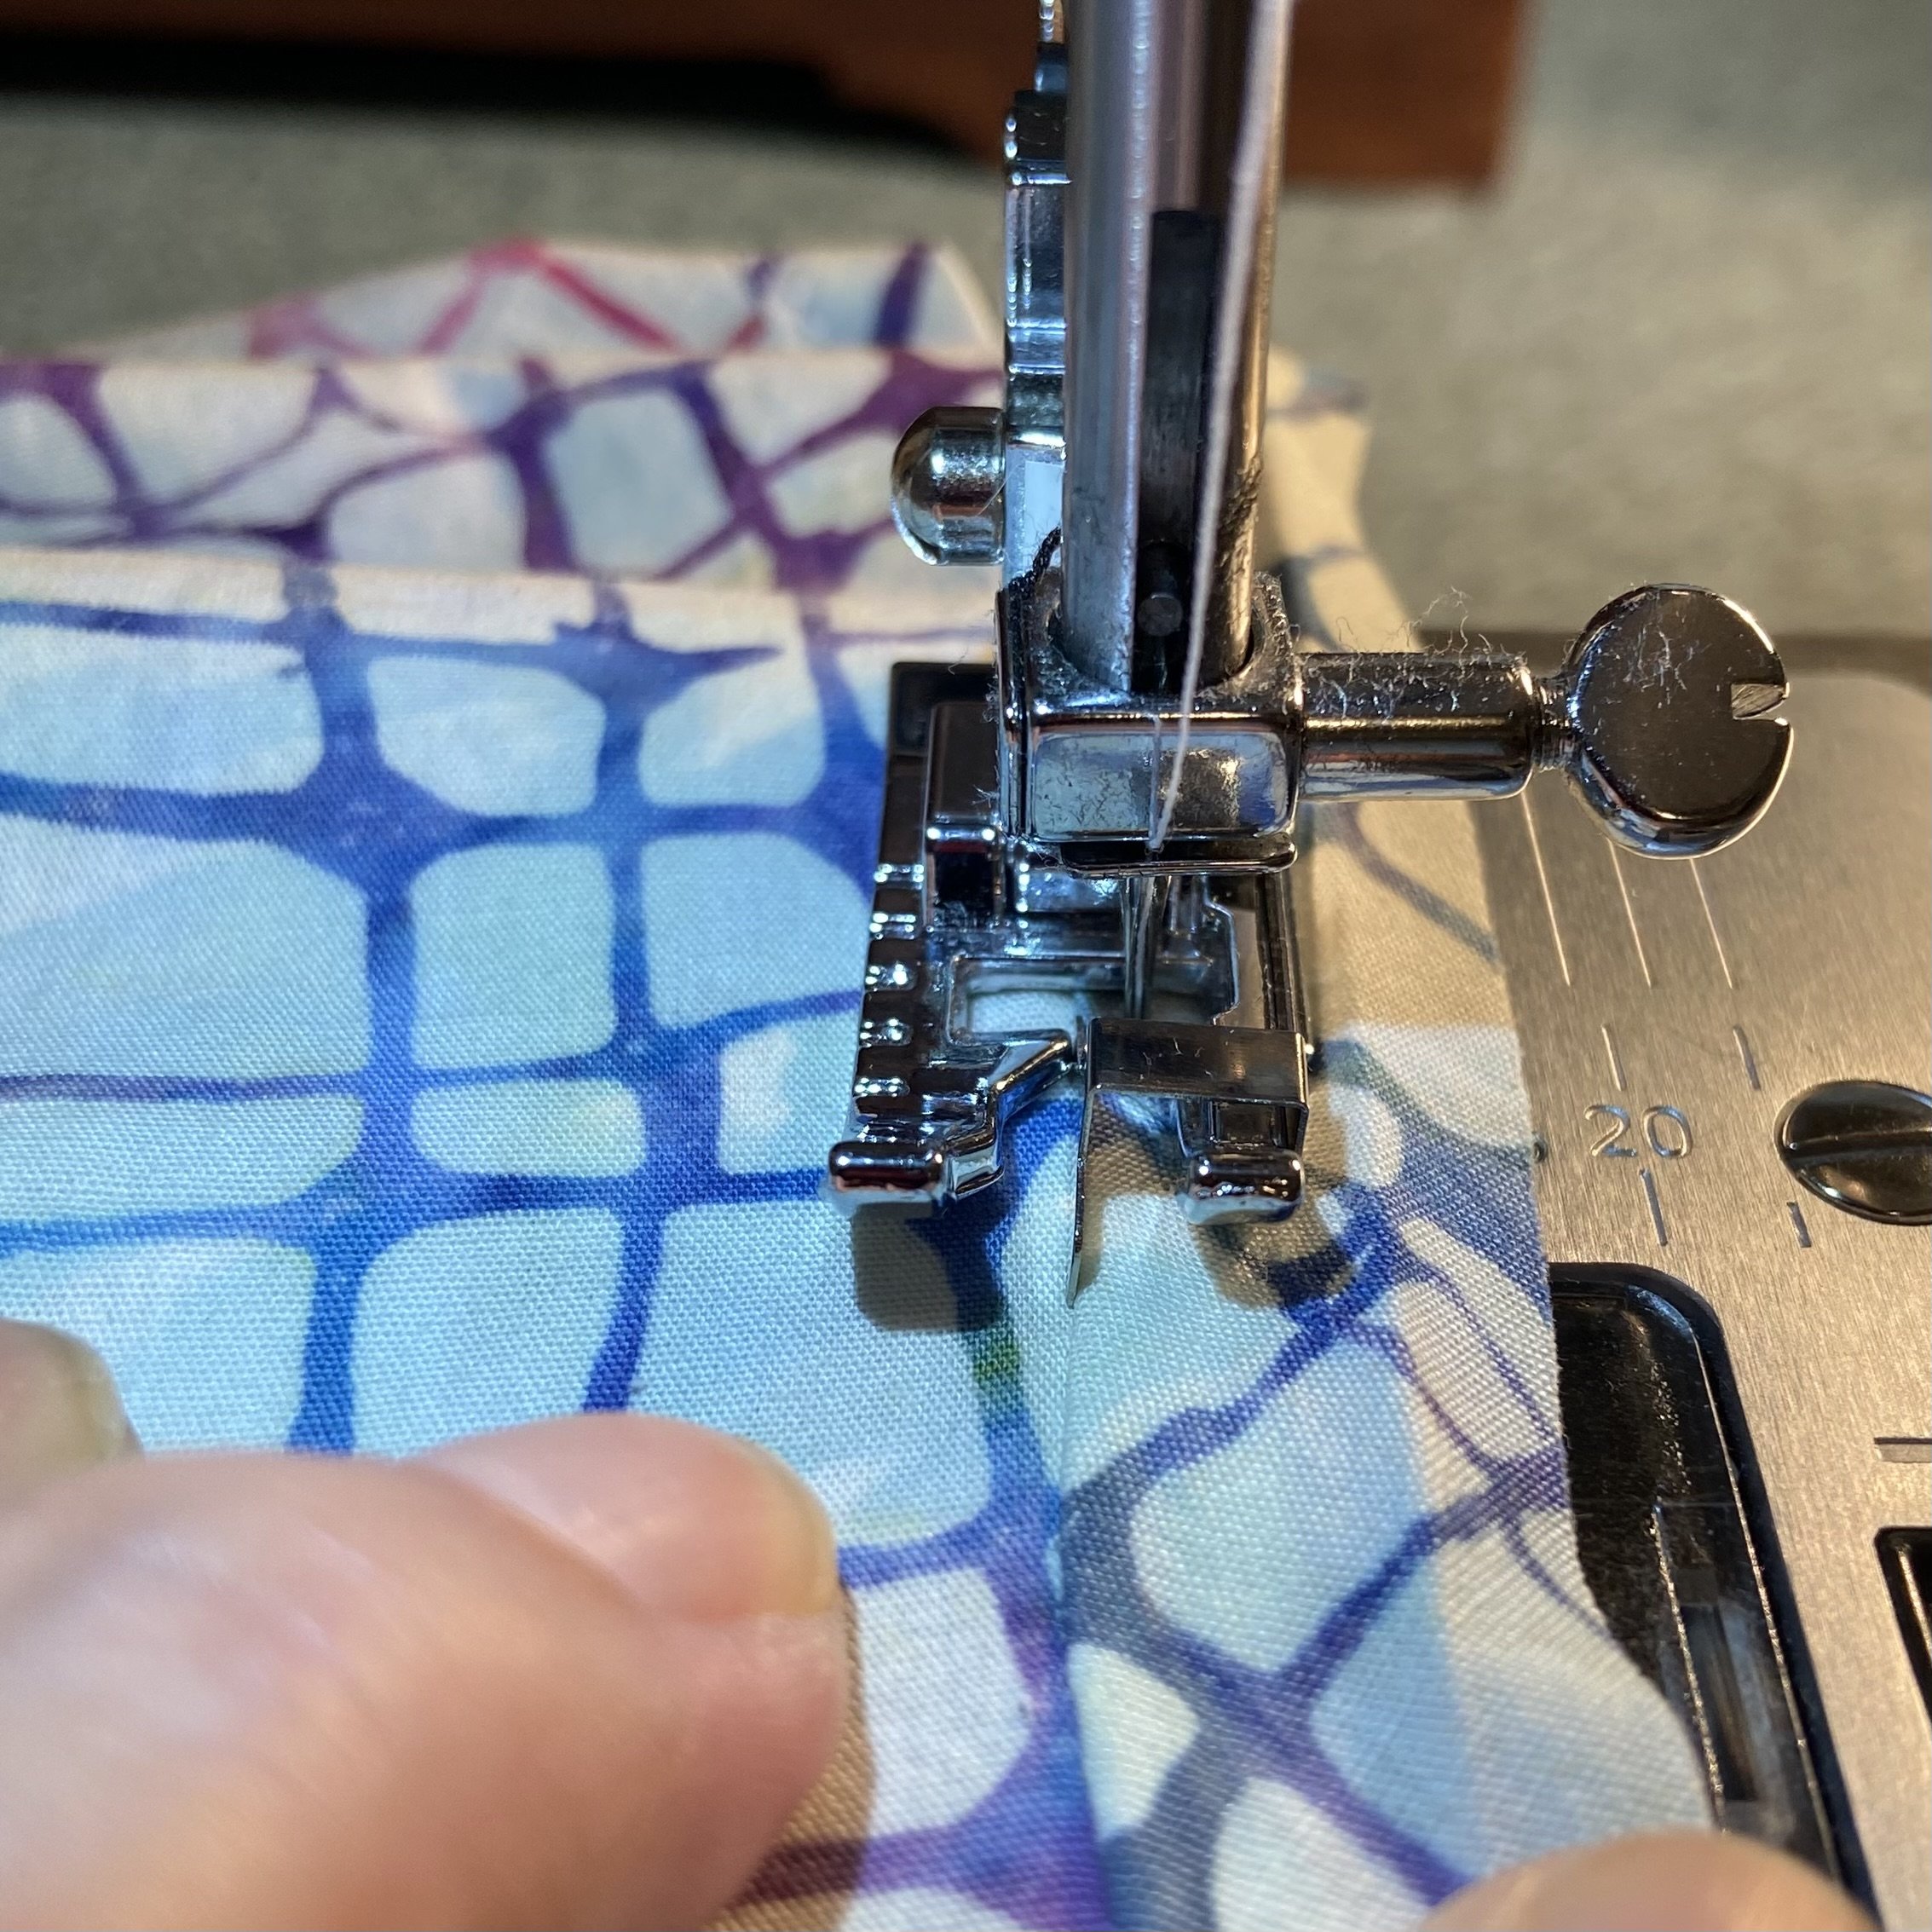
Then it was time to add the bias tape facing. This involved stitching the bias tape onto the neckline and armholes with right sides together, trimming the resulting seam allowances, and then understitching the bias tape to the seam allowance. The stitch-in-the-ditch foot comes in very handy for this.
Honestly, I always used to skip understitching when I was busy being sloppy about my sewing, but now that I do it faithfully, I totally understand why it’s essential. It makes the facing or lining fabric fold completely to the inside of the garment, leaving none of it showing from the outside. Pressing alone will not accomplish this…it requires both understitching and pressing. Lesson officially learned.
And finally, the bias tape was pressed to the inside of the garment and secured with top stitching. That wasn’t difficult, although I struggled to keep the neckline smooth around the sharper curves. I pressed the heck out of it and decided to live with it.
Then on to the skirt. First, the side seams were sewn together, and then two lines of gathering stitches in a contrasting thread were sewn around the top of the skirt. I pinned the side seams and center points on both pieces with the right sides together and then pulled on the gathering threads to gather up the skirt fabric to fit the bodice. There isn’t a great deal of gathering…just enough to give the skirt a little fullness. Then after everything was gathered and pinned, I sewed the skirt and bodice together and removed the gathering stitches.


I decided on the final length the skirt and cut off the excess. Then I used my handy hot pressing tool to press up 1” along the hem, and then folded and pressed another 1”, before top stitching the hem down. And done!

And what a disappointment. As you can see on Lady Anne, the whole garment is a bit stiff, and it doesn’t look any better on a person than on my mannequin. Additionally, you can see in the areas I marked that the neckline was still too low and wide, showing a smidge of bra strap. And the shoulder straps were quite narrow and would barely cover the straps. It was unwearable.
So, while I was showing my mother my new favorite fabric store (Bolt Neighborhood Fabric Boutique in Portland), I found some double gauze fabric and decided to make the blouse again with appropriate fabric. Yes, I even consulted the fabric recommendations on the patten this time, and double gauze was on the list. The fabric I selected was a pale sort of dusty rose, with slightly darker dusty rose pinstripes. I’m not usually a “pink person,” but this fabric is just gorgeous and I’m so glad I bought it.

Before I started re-making the blouse, I decided to alter my pattern pieces and used some scrap quilting cotton to test out my alterations to the bodice. I essentially widened the shoulder straps, raised the neckline, and made it more of a gentle curve than the sort of squared-off style the pattern called for. And when I tried on the test bodice, it fit beautifully.
This time around, I remembered that I didn’t really need to do overcast stitching around the neckline or armholes, because those areas would be completely encased in the bias tape facing. This meant that I did need to do the stay stitching in those areas, but I forgot that where the bias tape was attached, there was only a 1/4” seam allowance, not 5/8” like the rest of the garment seams. This meant that I was a bit sloppy with my stay stitching and in multiple places, it was more than 1/4” from the edge.

I used some cream-colored quilting cotton from the stash to make bias tape for this second iteration, because I didn’t think I’d manage to make decent bias tape with the more delicate double gauze. I opted for the simpler method of just cutting 1” wide strips on the bias, then sewing them together to make a continuous strip before I used the iron and bias tape maker to press them into the proper shape. This worked okay, but the quilting cotton is a little more stiff than the double gauze, so the neckline and armholes are a little more stiff than they should be. I can live with this. What I couldn’t live with was the sections of the stay stitching that were showing on the outside of the garment once I’d finished with the facings. I had to carefully pick those out, which took a little time.
After I got the skirt attached and hemmed, my final step was to add what pattern called “bra strap stays” and I call “keepers.” The pattern recommended using a thread chain to do this, and I honestly did give that a try but I made a terrible mess out of the whole thing and decided to use some ribbon I had in the stash instead. In case the reader is unfamiliar with the idea of keepers, they’re to keep the bra strap in place underneath the garment’s shoulder straps. You put the garment on, arrange the bra straps on your shoulders so that they sit right under the shoulder straps, and then snap on the keepers and everything stays right in place.
I opted to use some 1/4” ribbon I had in the stash. I planned to use my electric lighter to melt the ends so they wouldn’t fray, but remembering my recent flaming cushion disaster, I made sure the ribbon was 100% polyester before I started melting anything.


Once I’d fused one end of each of my pieces, I sewed on some tiny snaps that I’ve had in my sewing stash for as long as I can remember…one half of the snap to the melted end of the ribbon and the other half of the snap to the inside edge of the shoulder strap seam.


Once the snaps were attached, I left a little slack in the ribbon before gauging where to attach it on the other side of the shoulder strap seam. Once I knew the length I needed in the ribbon, I trimmed it down, melted the other end, and then sewed it to the shoulder strap by stitching in the ditch of the shoulder seam. When it was all attached, there was enough slack to slide my thumb under the ribbon, which was perfect.


And done! It’s beautiful. And made up in the double gauze, it’s so light and breezy…absolutely perfect for a hot summer day. I’ve been wearing it with the palazzo pants I recently bought off Amazon…the sage green of the pants goes nicely with the dusty rose of the top. I’m very pleased with the result!