Adventures In Window Features
As an Amazon associate, I may earn a small commission if you navigate to Amazon from my site and buy something. This will not result in an extra cost to you.
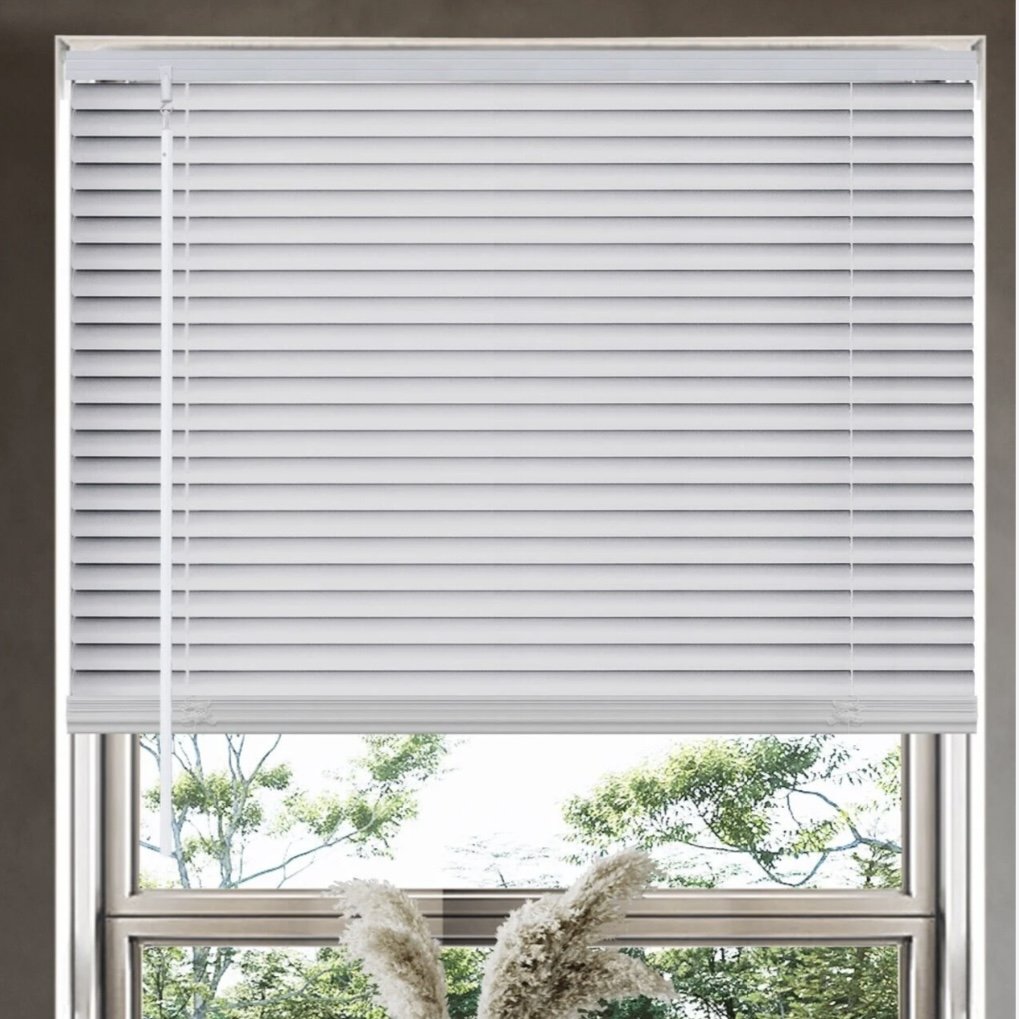
When I moved into my house a million years ago, I discovered that the window coverings consisted of standard blinds, and really chintzy valances at the top. I mean, very thin, cheap fabric, strung along the most basic curtain rods money could buy. Now, I don’t particularly dislike blinds. At least, I didn’t at the start. They work well, letting in light or blocking it out, as the case might be.
However, I could not get them clean. The surfaces collected dust like crazy but a duster wouldn’t take all of it off. The duster would take most of the dust off but always leave a residue. I would sort of expect that to happen in the kitchen area, where grease from cooking gets everywhere. But this was happening with every set of blinds in the house. I did try taking them down and scrubbing them with soap and water in the bathtub, but even that didn’t really get them clean. I ultimately decided to replace all the blinds with curtains that could be hauled down at will and run through the washer/dryer.
Over the years, I’ve made a pretty double-layered set of curtains for my bedroom, hung some Ikea curtains in some other rooms, and made some rather unique shades for a couple kitchen windows. I’ll have to explain the shade process on some other blog post. But I still had one set of blinds in the window right over the kitchen sink. I decided it was time to make a set of curtains for that window. I wanted a colorful layer that would face into the room, and a light-colored layer between the colored layer and the glass.

I did some online shopping at my favorite fabric store (Bolt Neighborhood Fabric Boutique) and found an absolutely gorgeous, richly-colored striped fabric where the color was woven in, rather than being printed on one side or dyed in later. And for the lighter layer, I went with a lovely white cotton eyelet fabric.
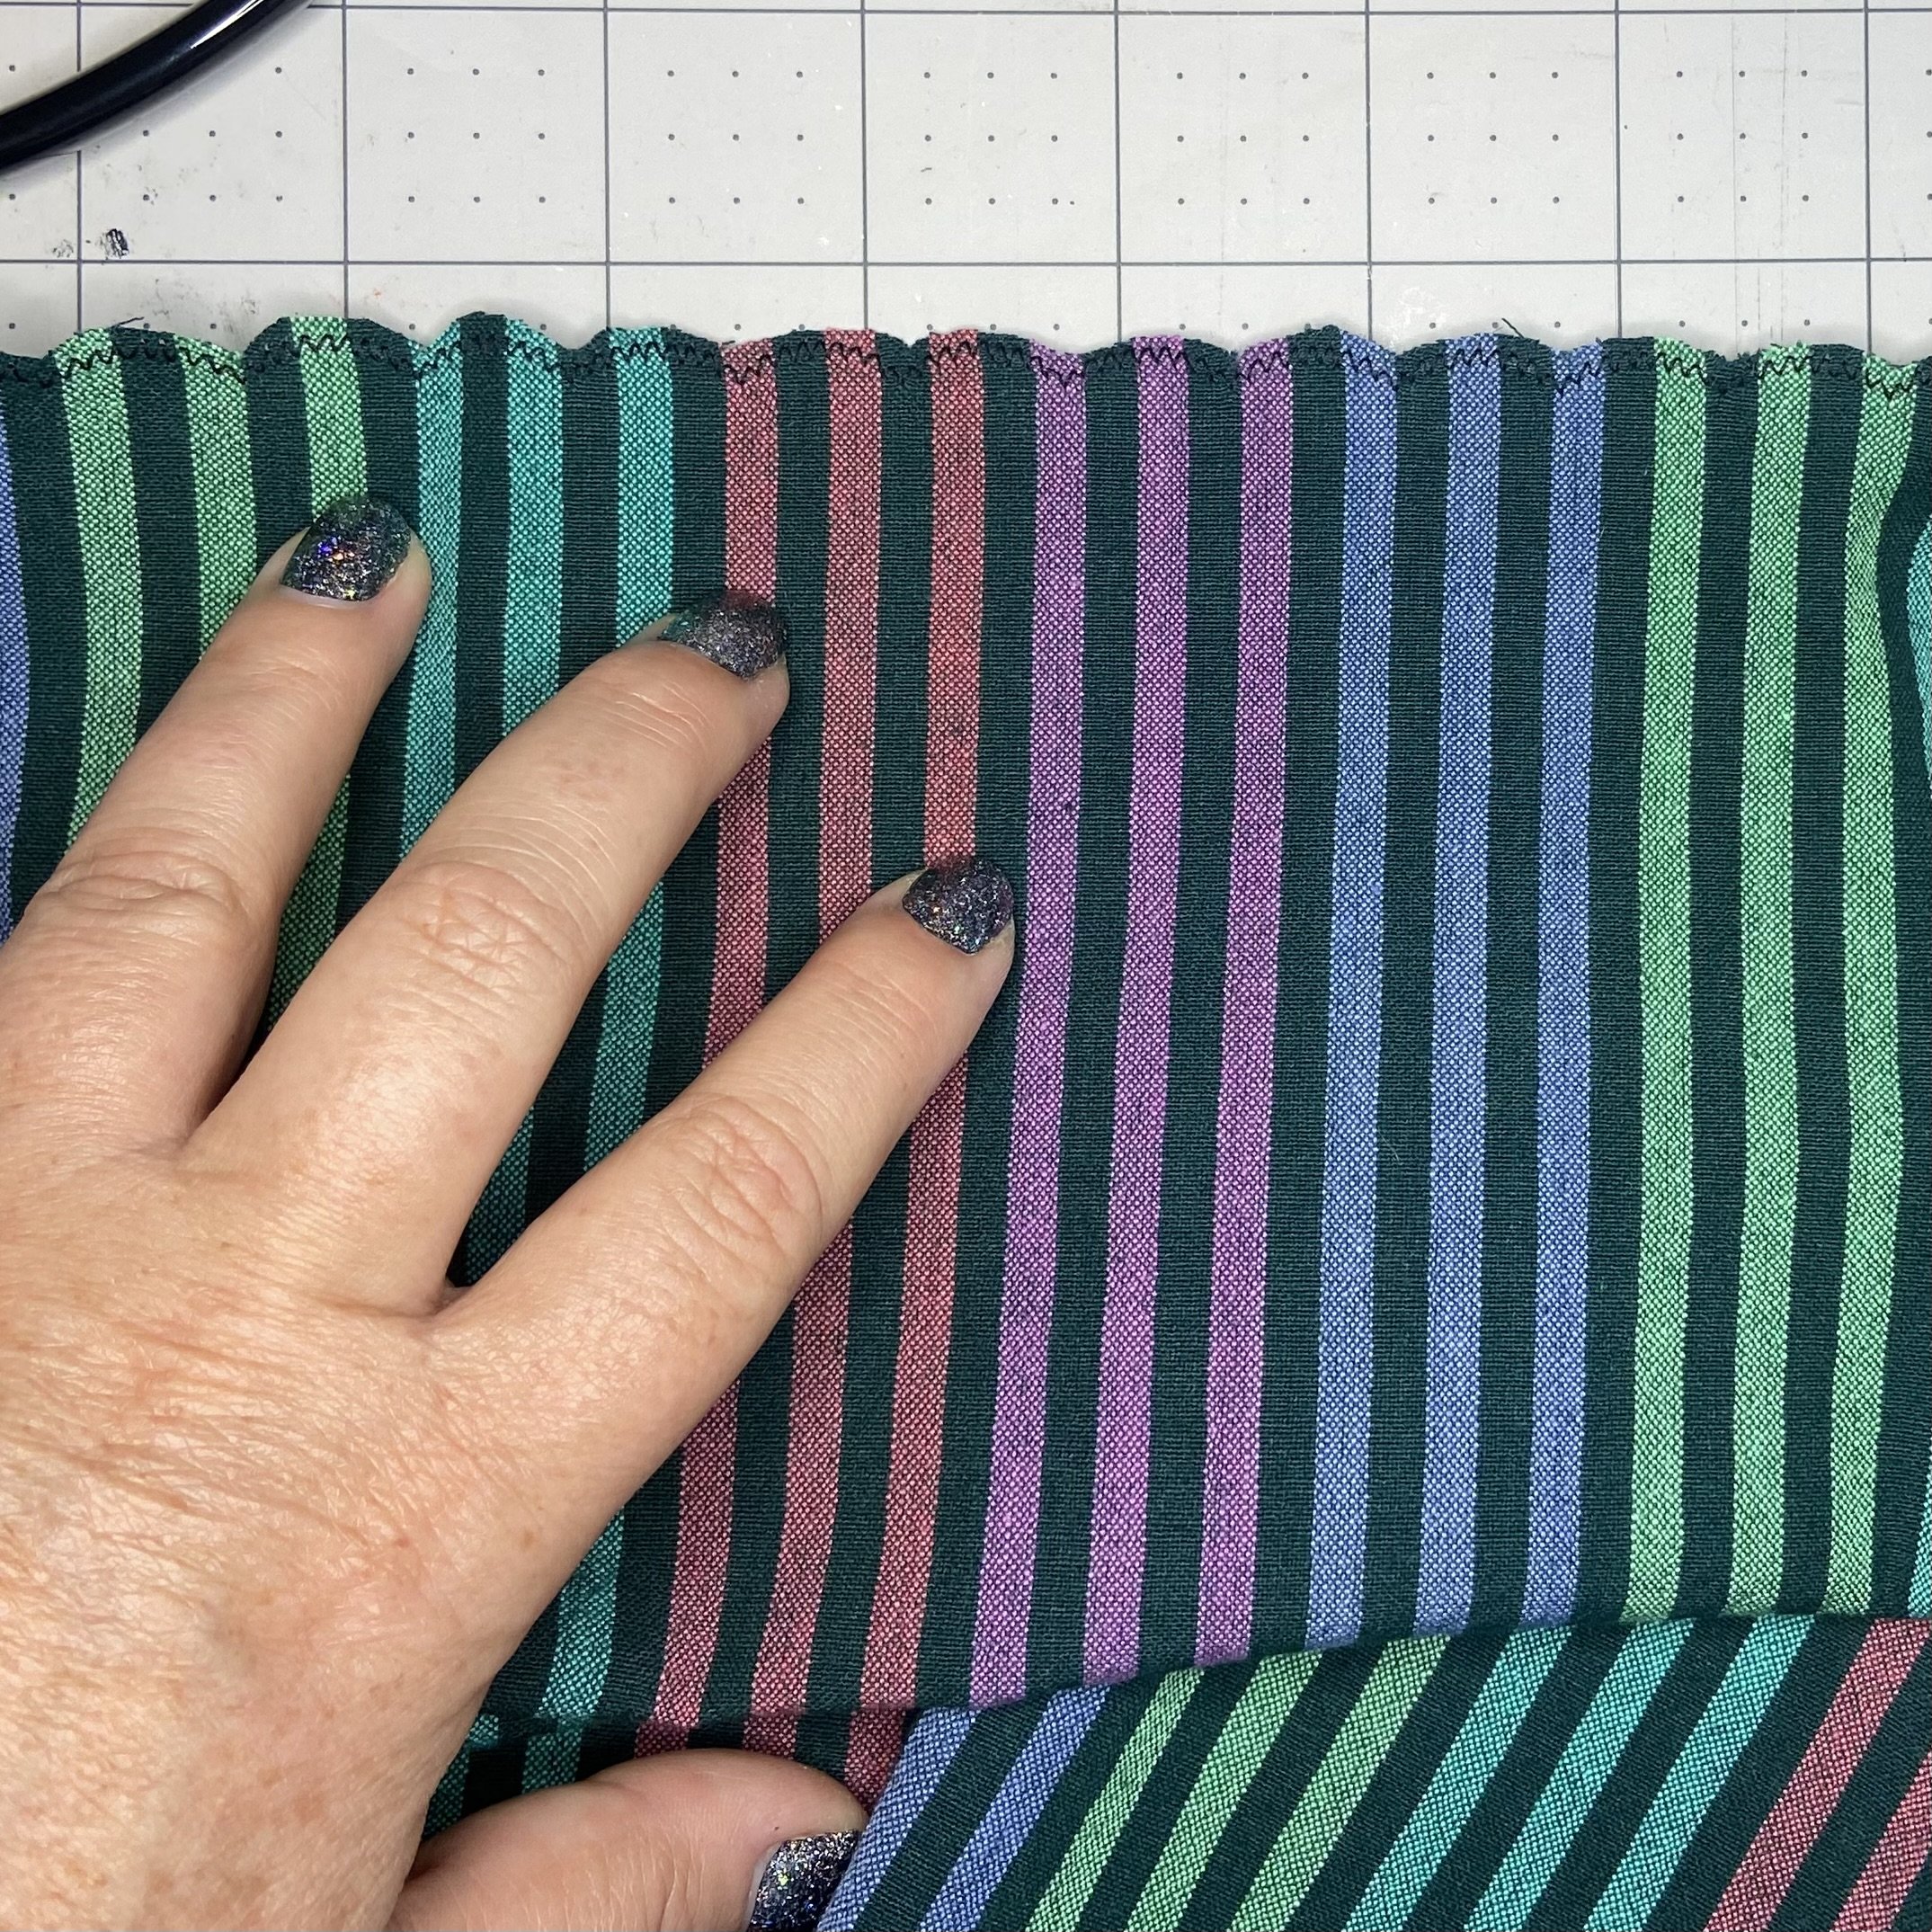
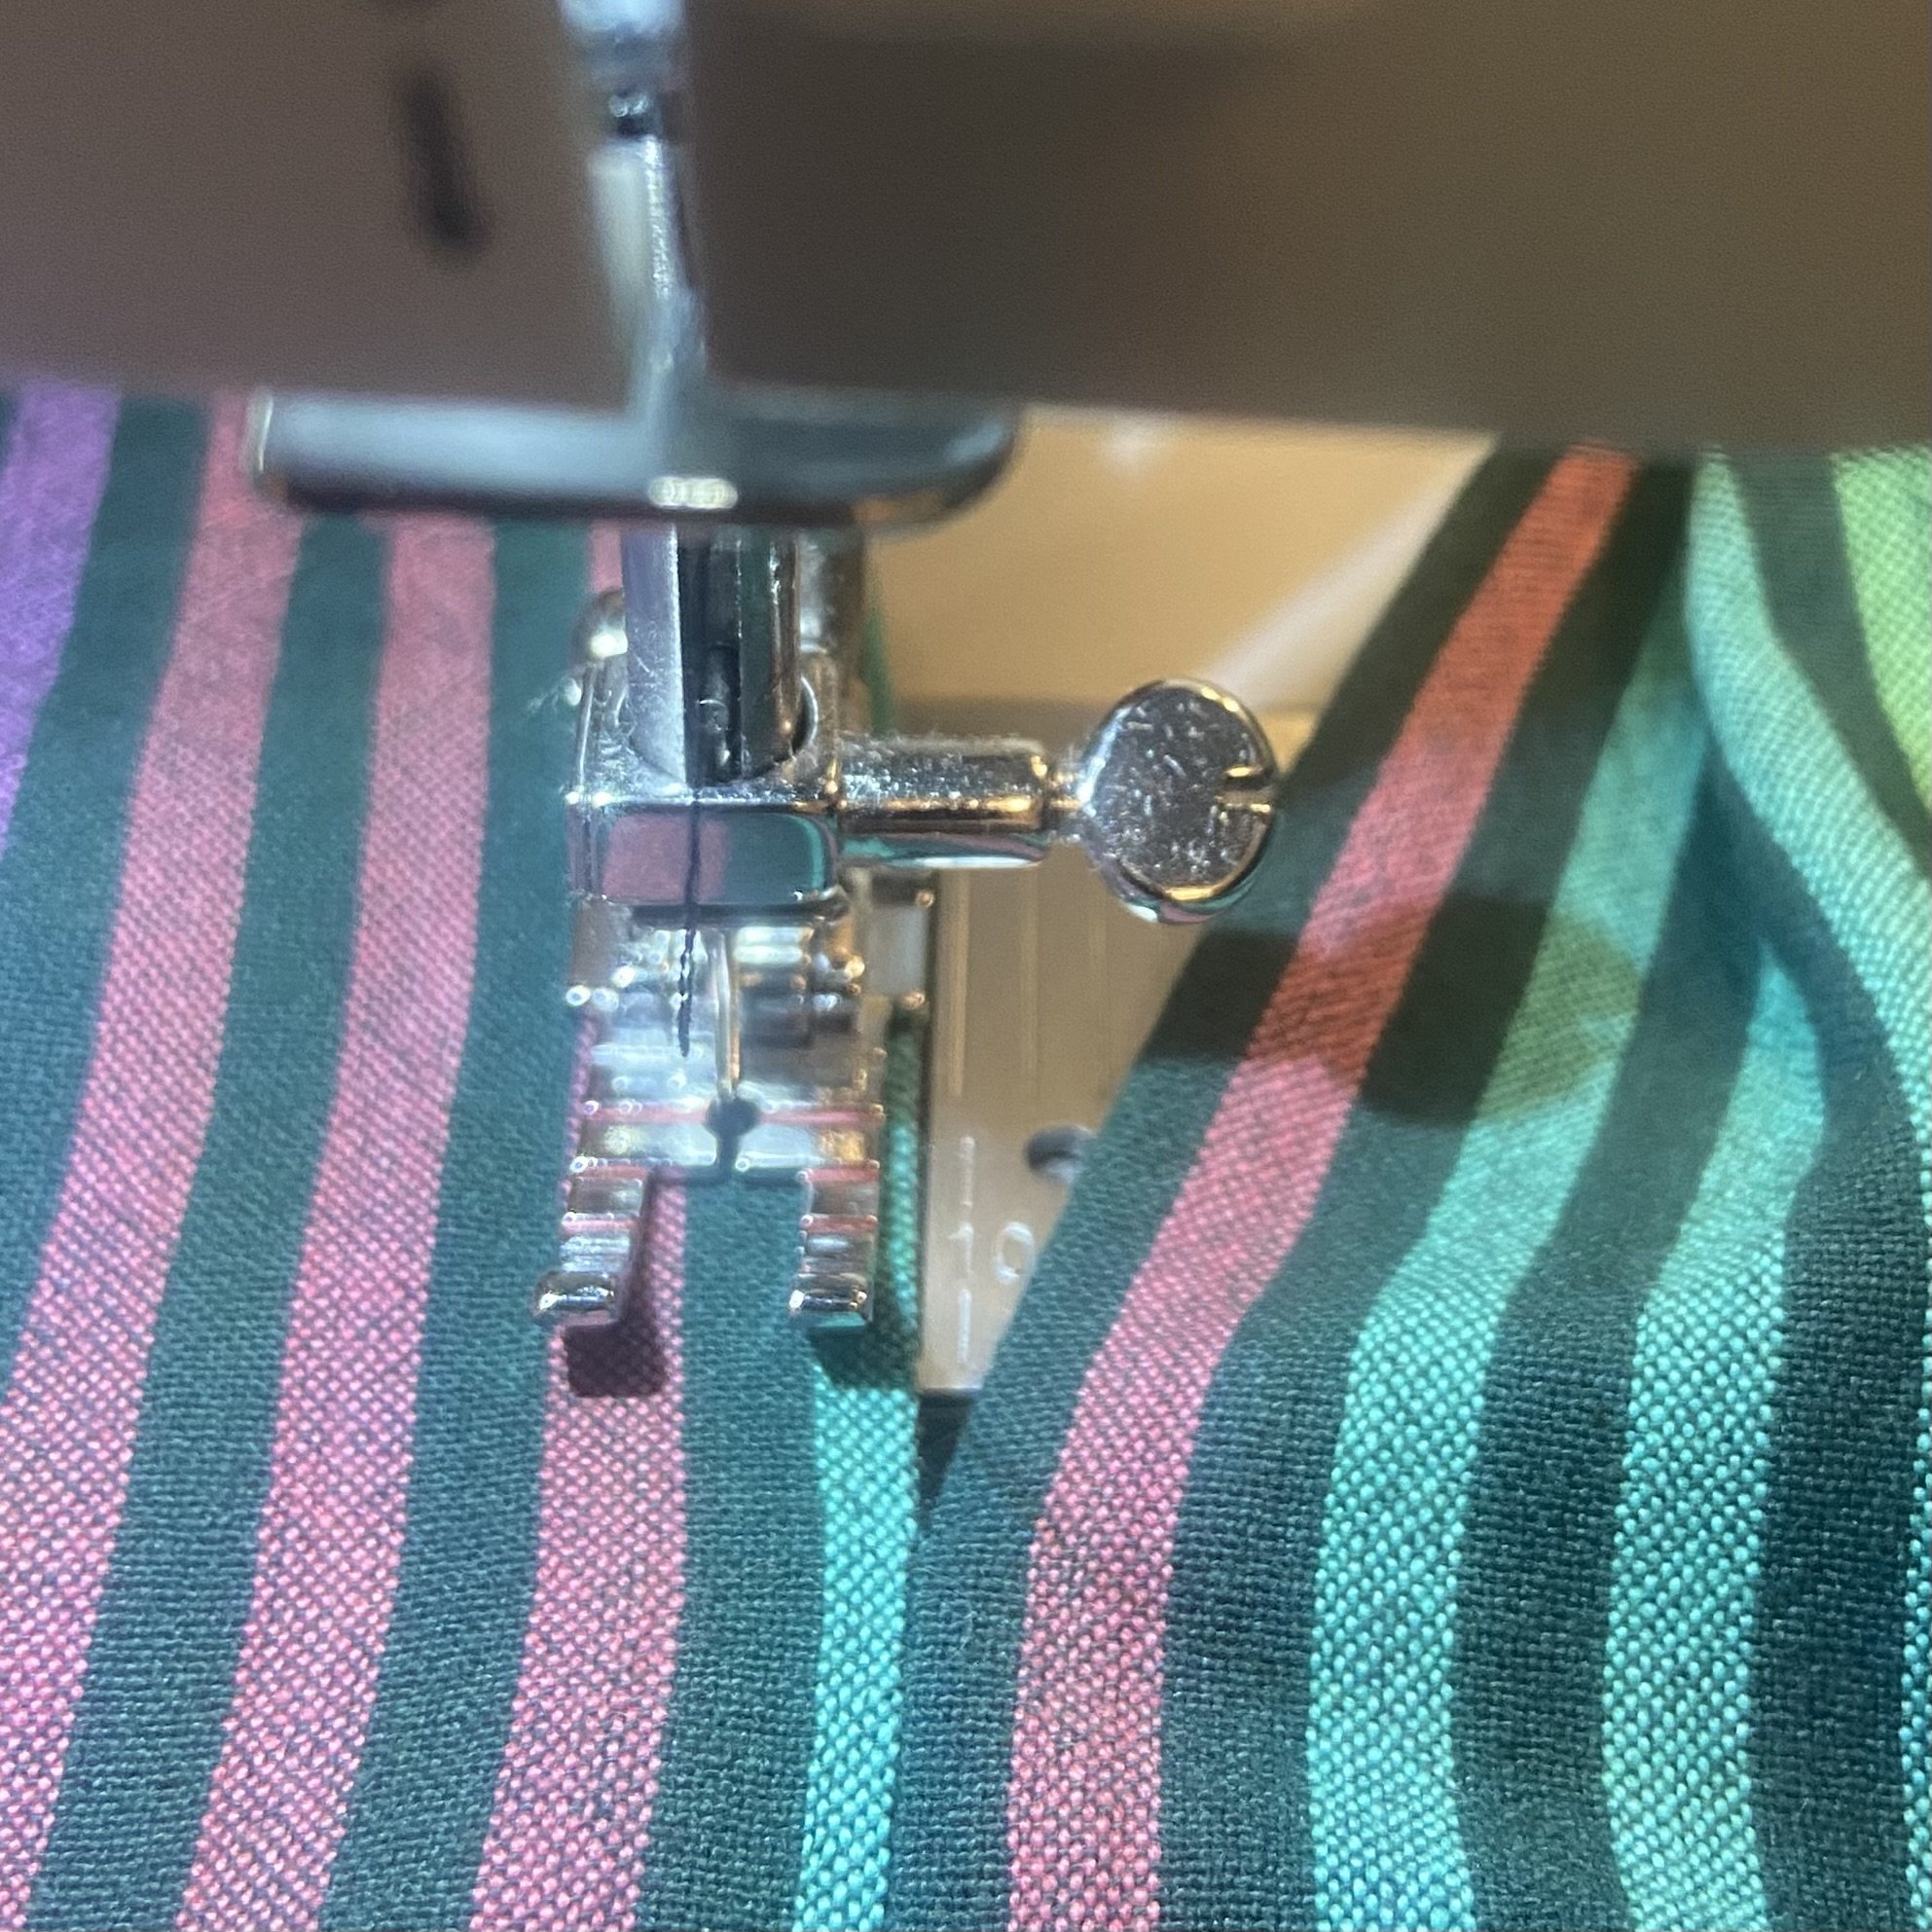
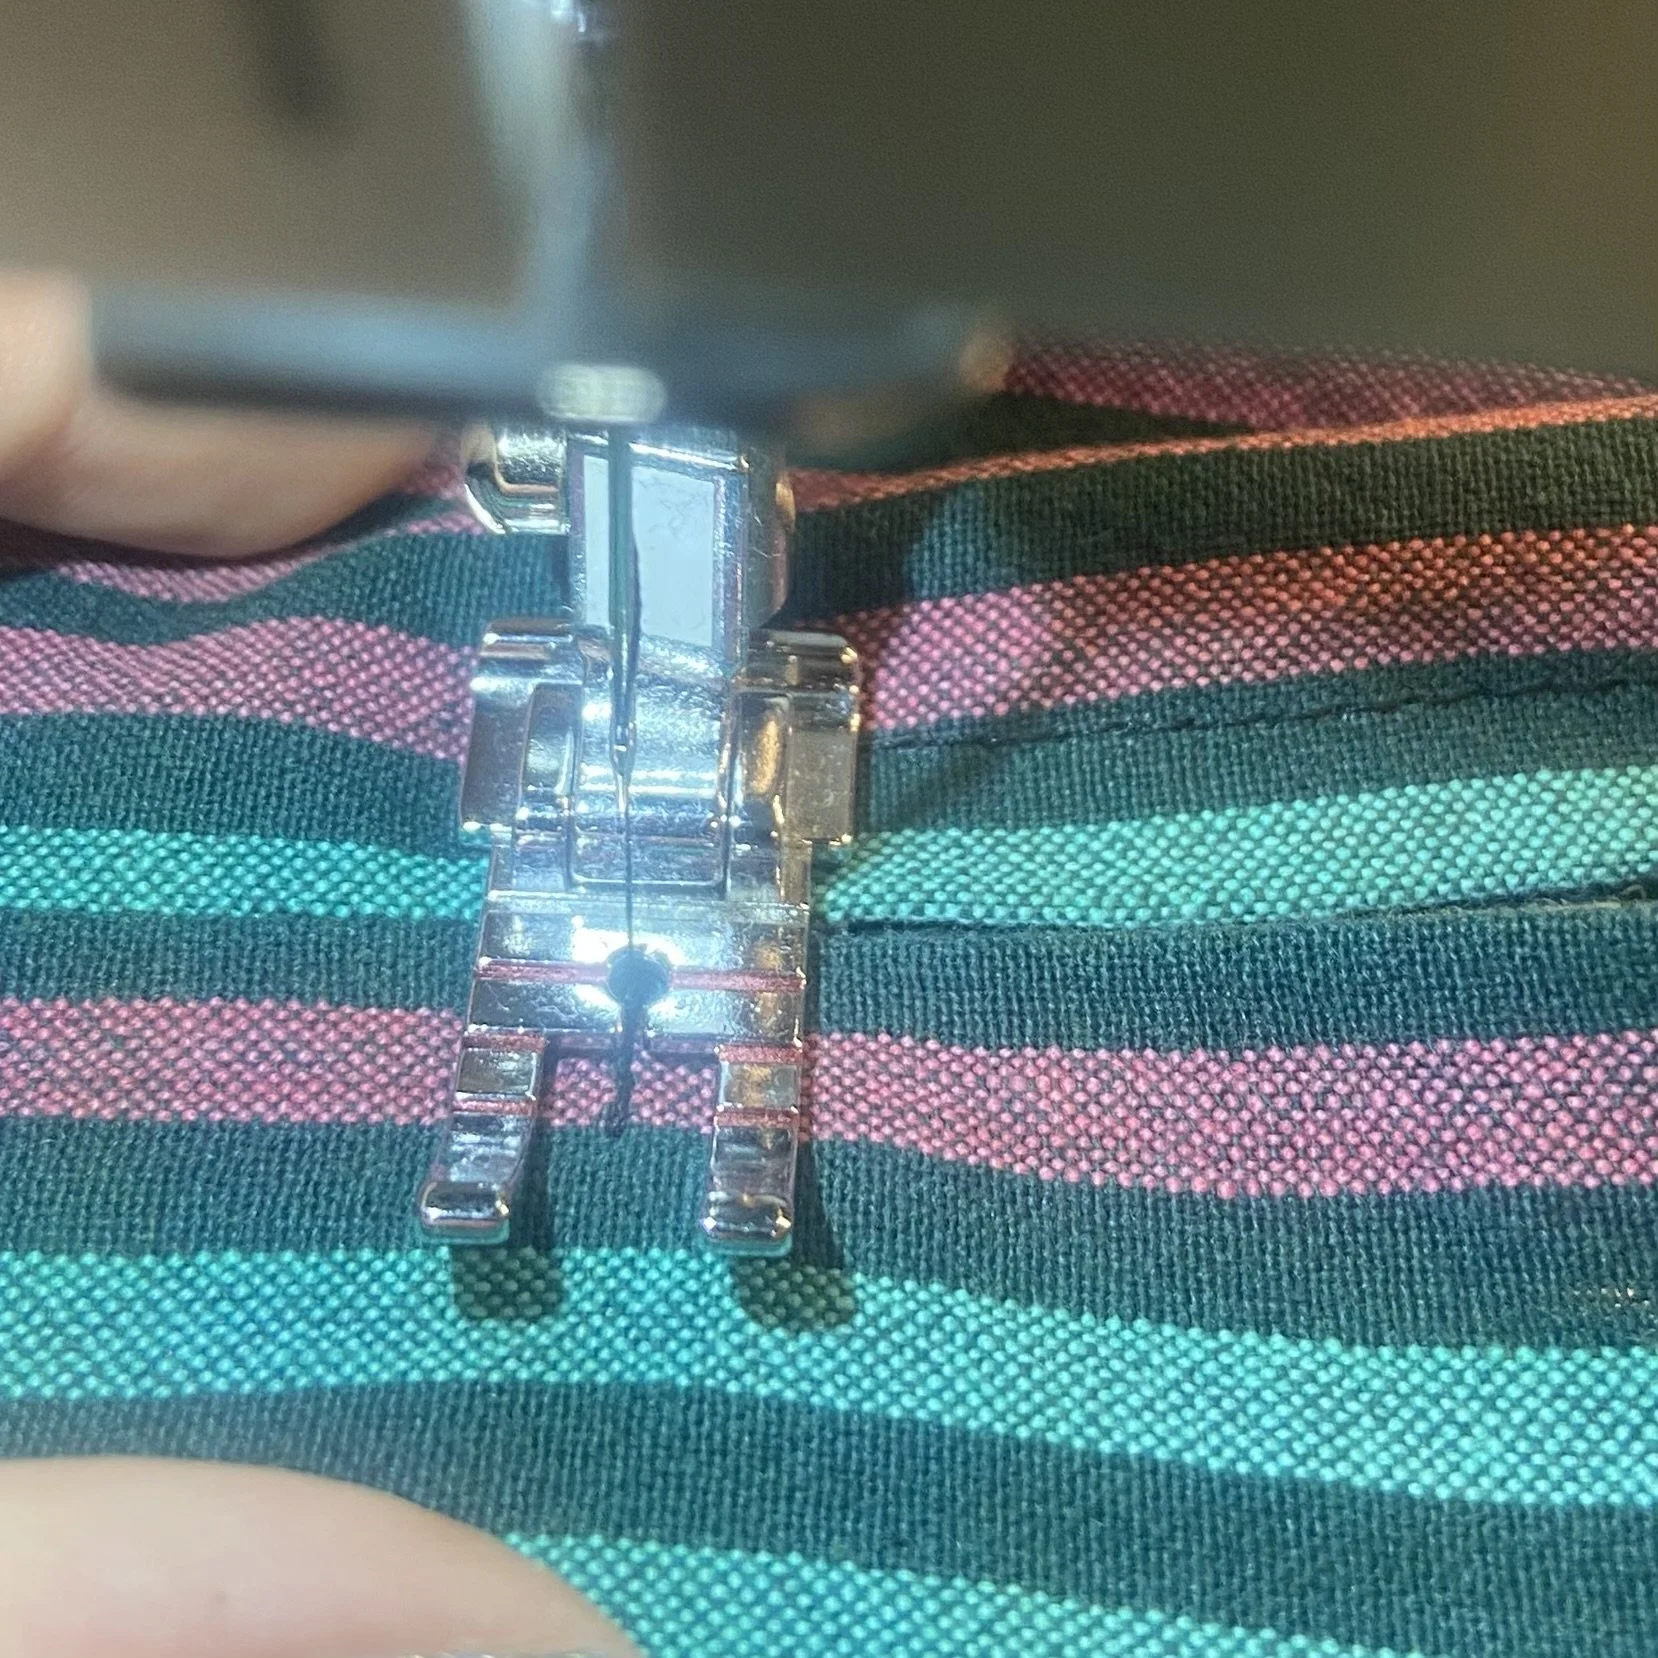
I initially thought that instead of hemming the edges, I’d do a decorative edge stitch and then trim away the extra fabric. And it looked kind of pretty but ultimately, I went with a double fold hem in most places.
I first took two lengths of my colorful outer fabric, and sewed them together for a few inches at what would be the top of the curtains. My goal was to have an opening at the center of the curtains so I could draw them to the sides, but without separating them at the top. I did no calculations on how far down I should extend this seam, which did come back to haunt me later. (When will I ever learn? Measure, measure, measure!) When I’d done my short little seam, I pressed the seam allowance open and then pressed that same width all the way down the sides. This was along the selvedge edge, so no need to do a double turn. Then I top stitched up one side, across the top where my seam ended, and back down the other side.
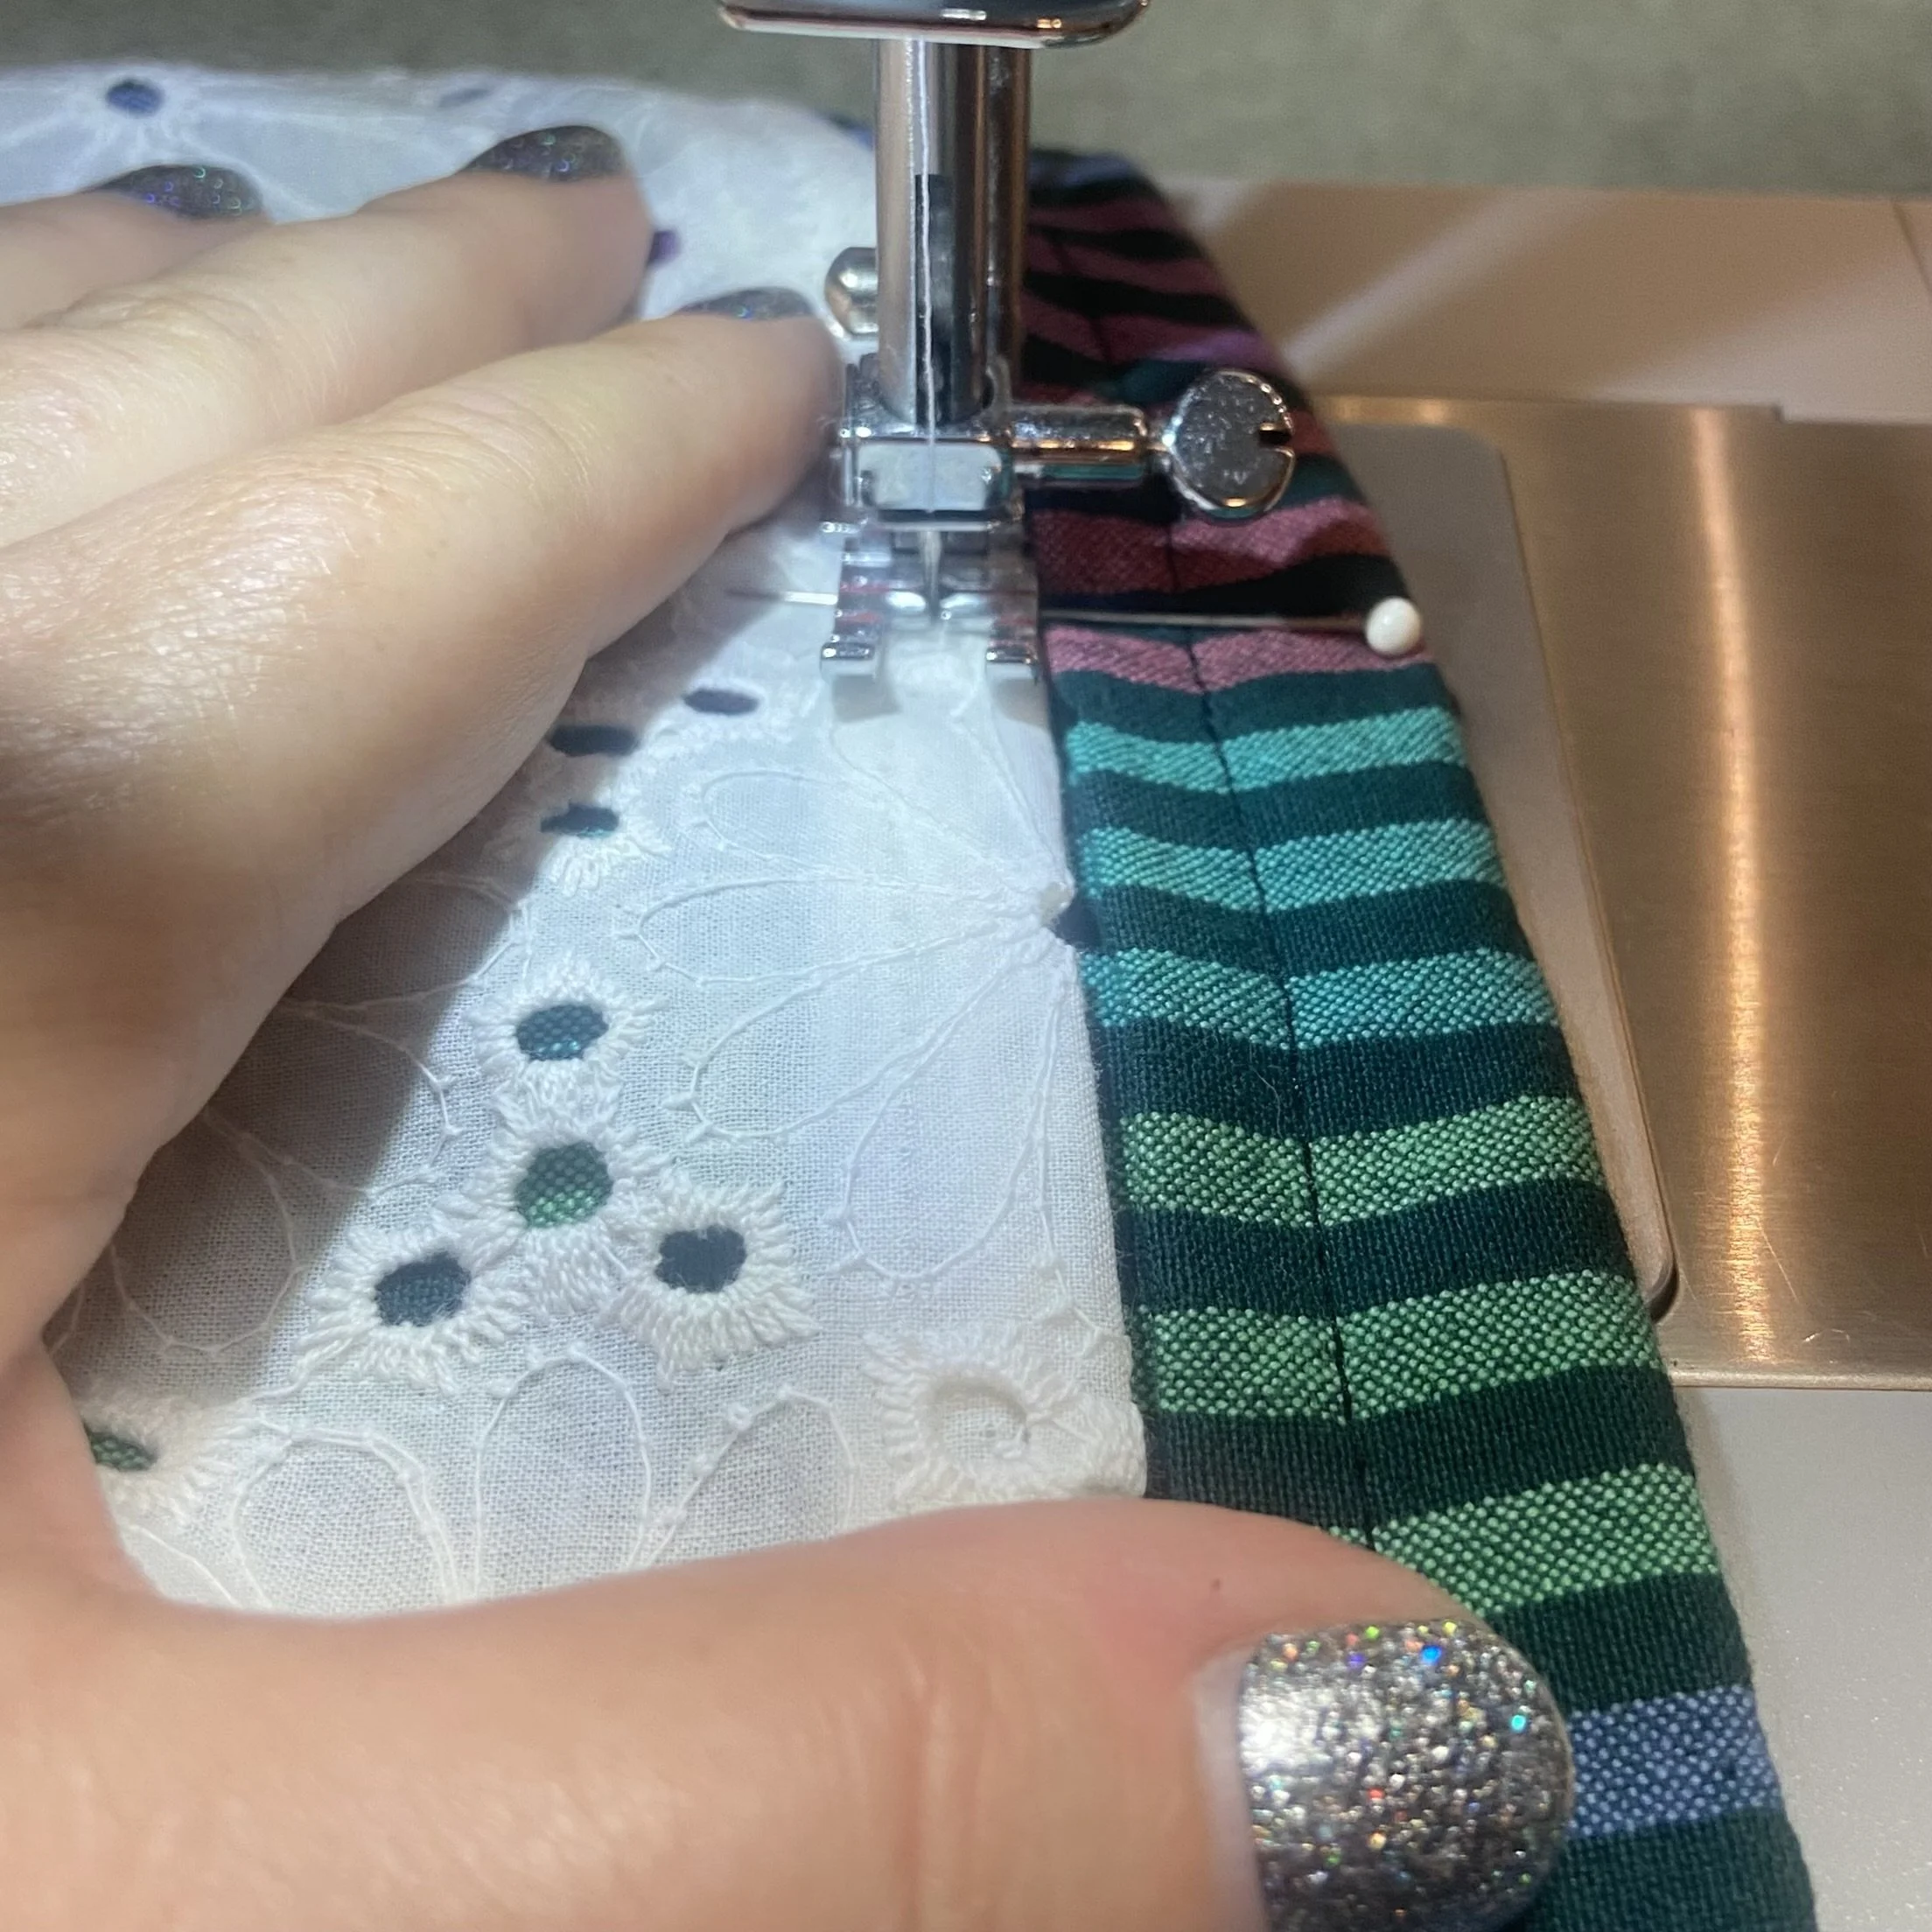
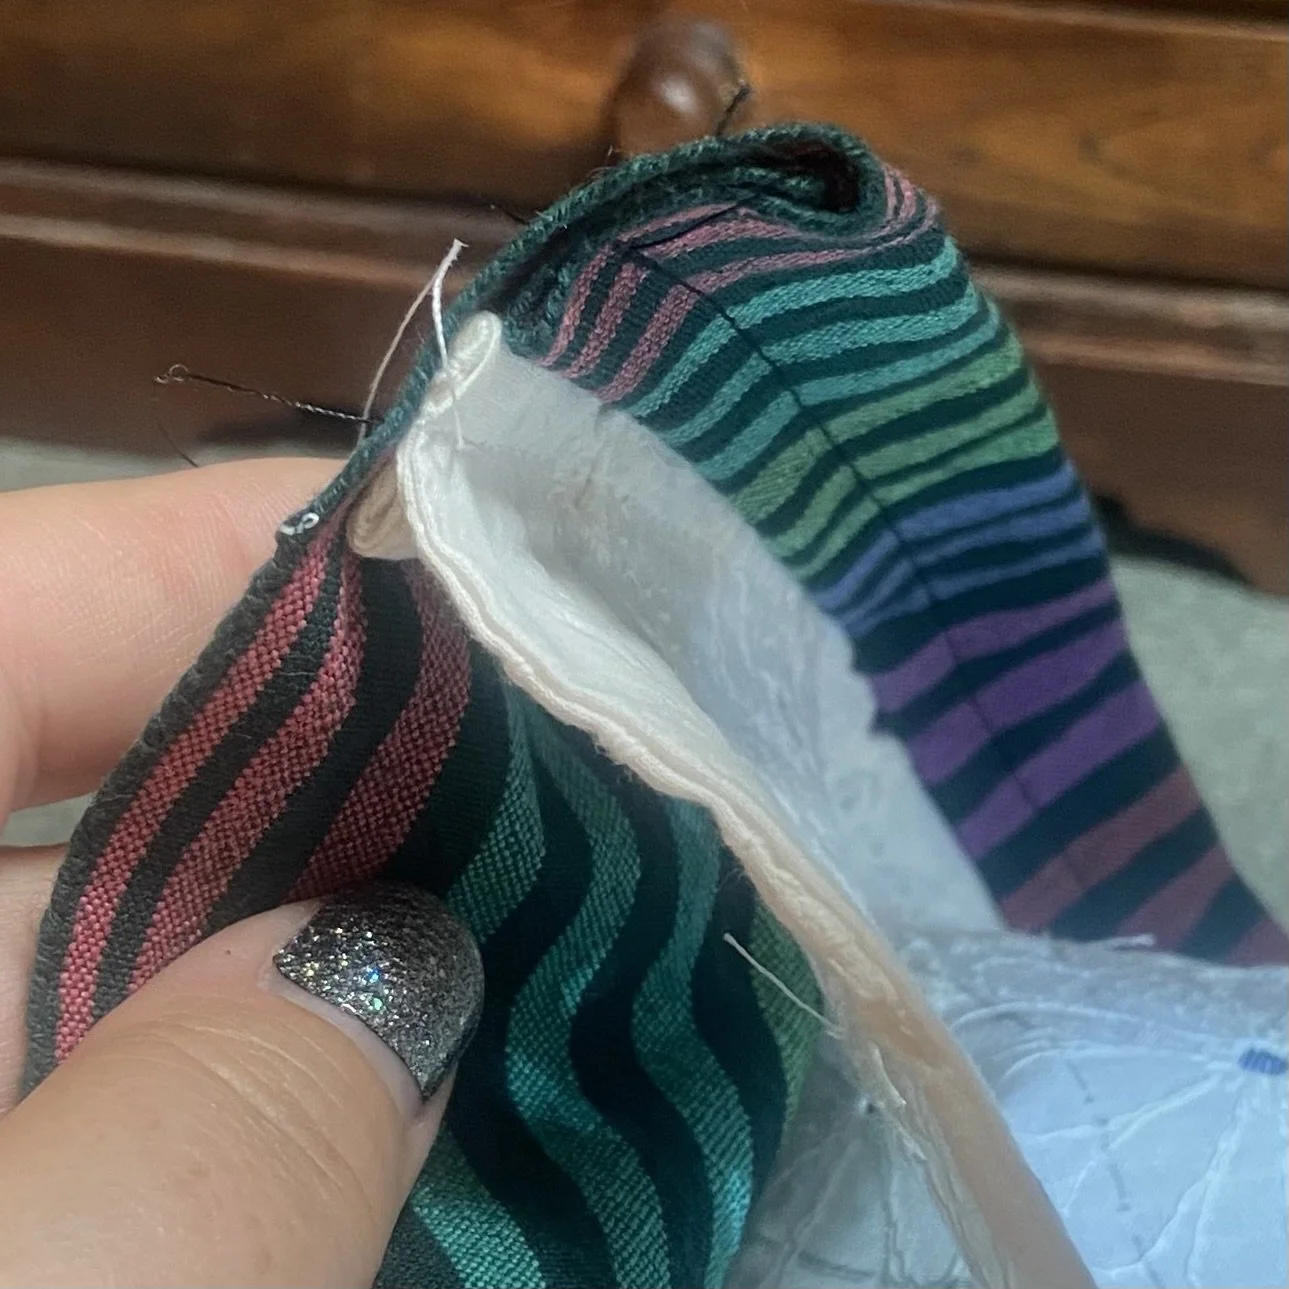
I did a double-fold hem across the top of both pieces, then laid them out so I could see how wide the whole piece was. I laid my eyelet fabric out over the outer fabric, and trimmed off the excess. Then I did a double-fold hem on the sides of both eyelet pieces and across the top as well. I did not sew the eyelet pieces together. Then I pinned the hemmed top edges of the eyelet pieces to the outer fabric piece, making sure my eyelet hem snugged right up underneath the outer fabric hem. The eyelet pieces were wide enough that they overlapped slightly in the middle (where I’d seamed the outer fabric). I stitched the top edge of the eyelet down and then I stitched another seam about 1.5” underneath the first one, so I’d have a casing for the curtain rod.
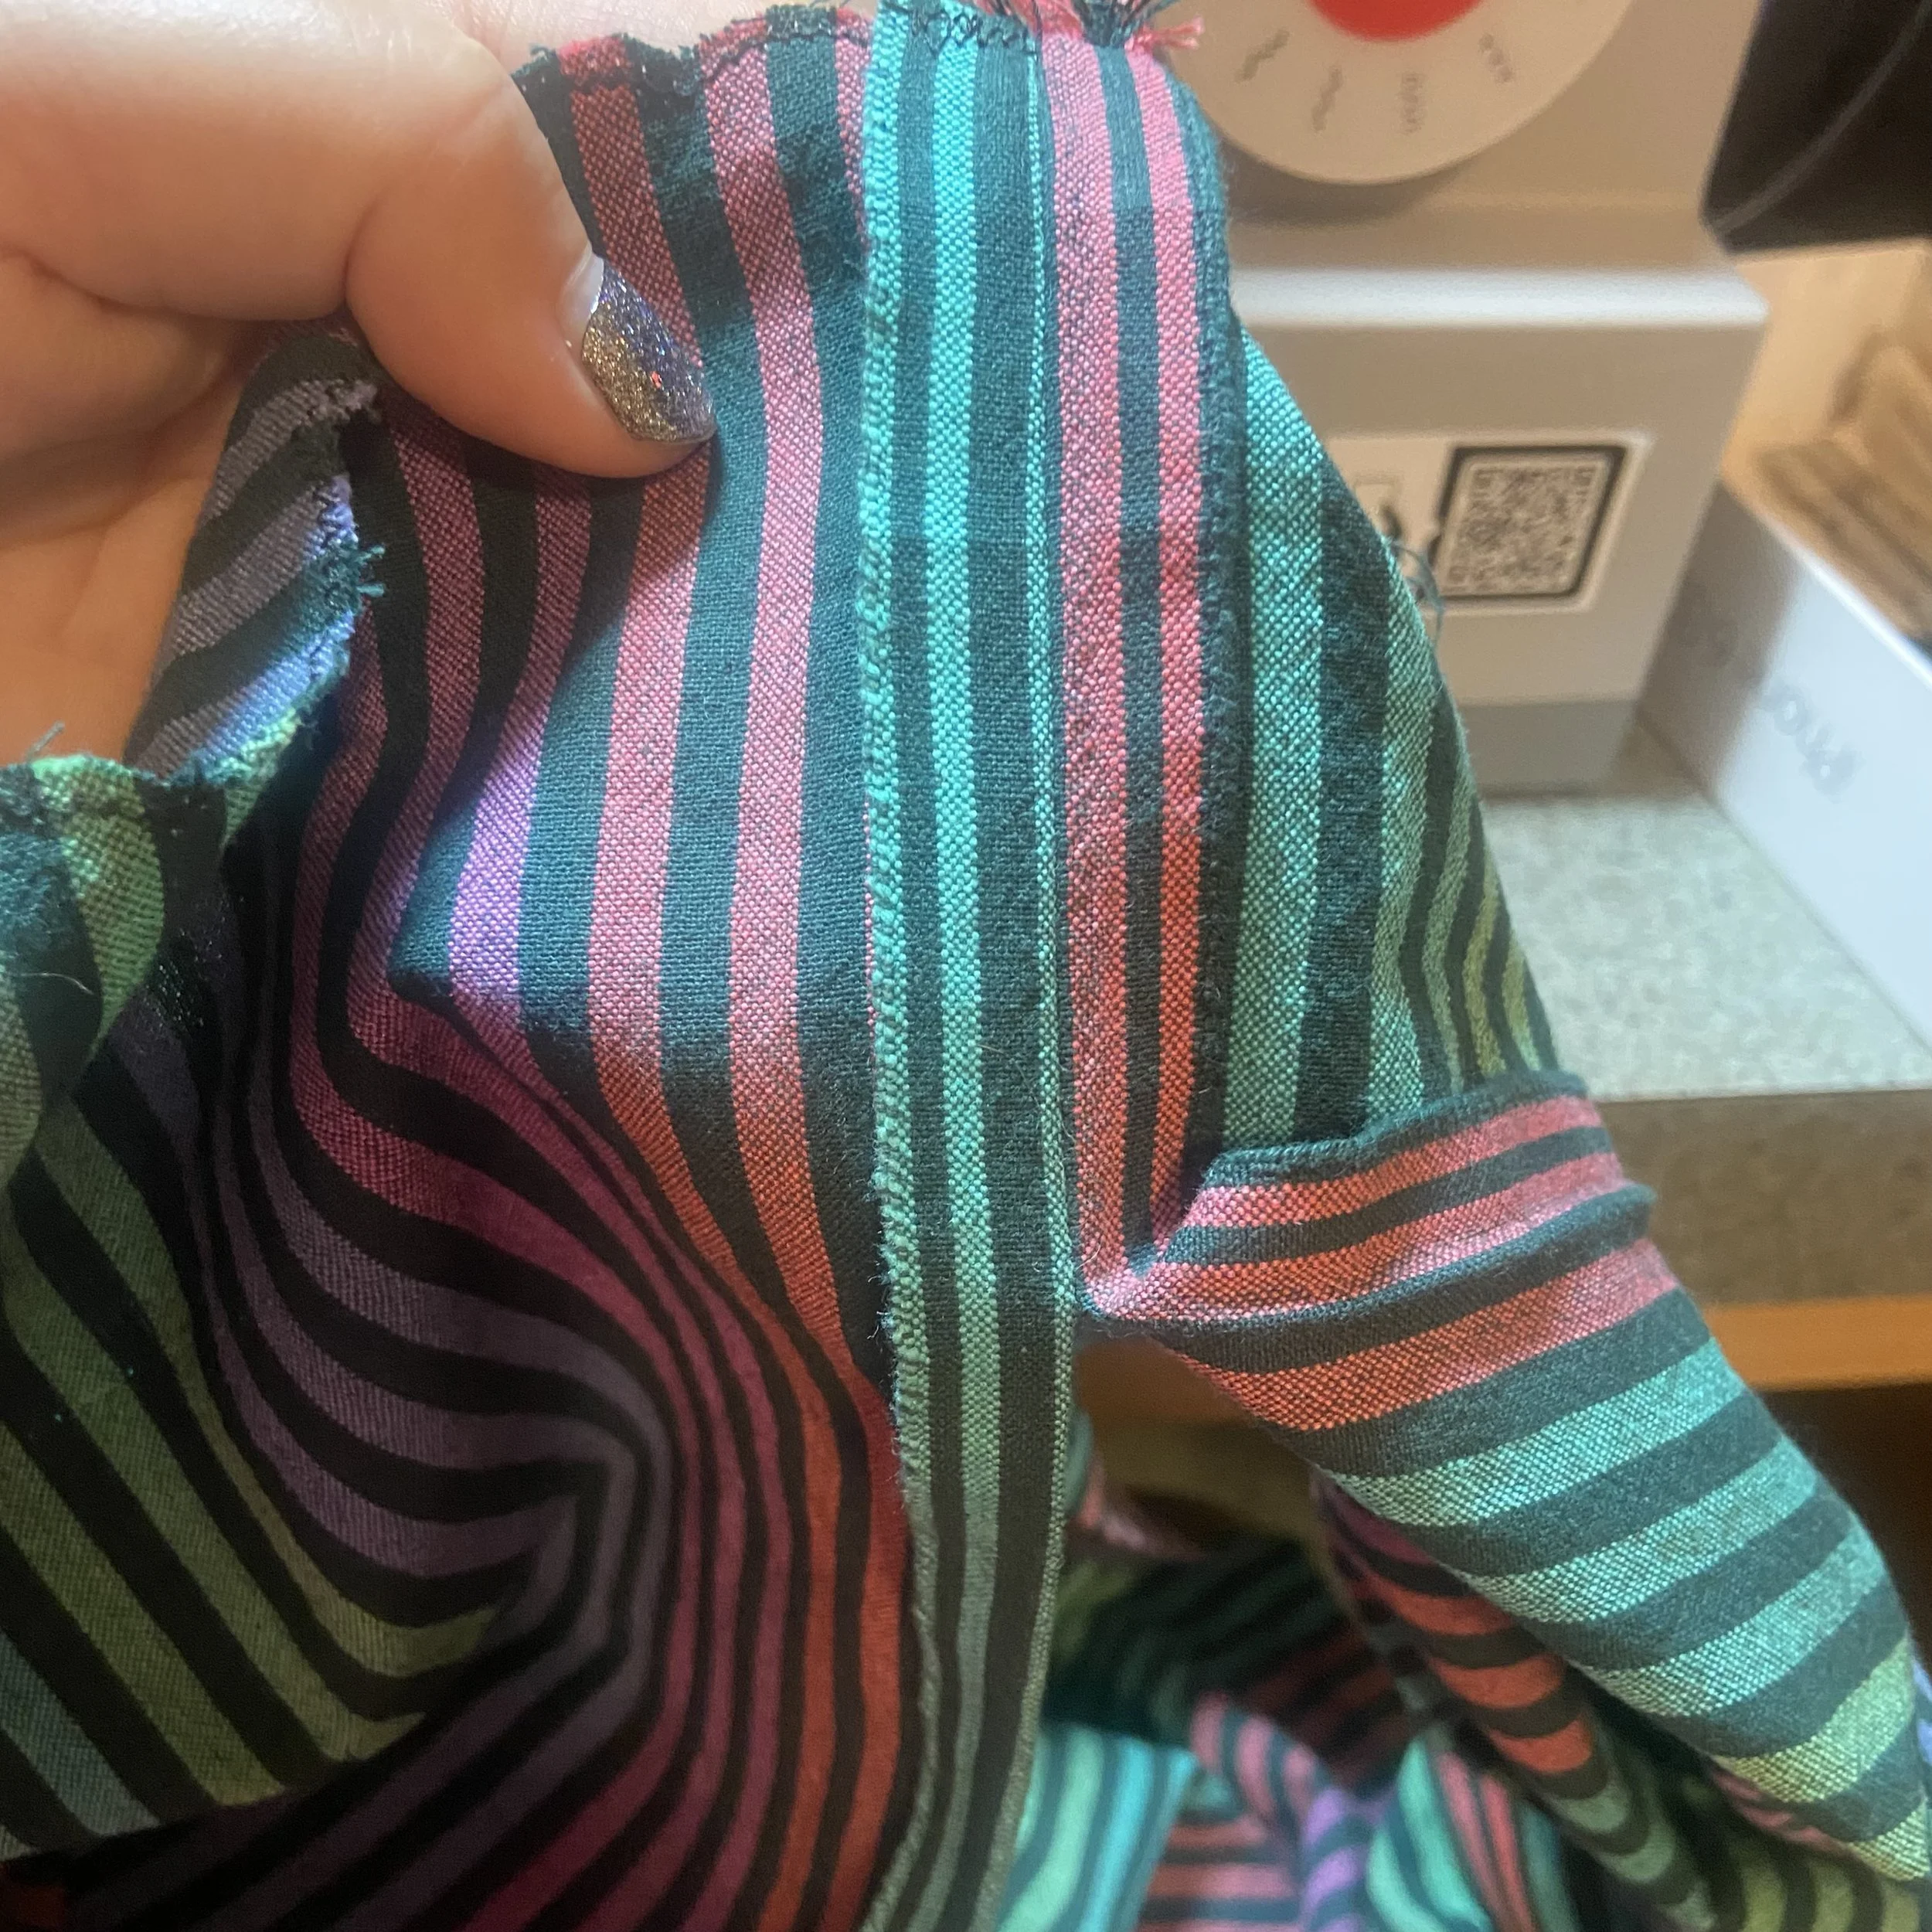
I was busy congratulating myself for remembering that I needed two thread colors (white for the upper to match the eyelet, and black for the bobbin, to match the outer fabric) when I noticed that my second seam, the one which would be the bottom of the casing, was below the point where I’d ended the seam in the outer fabric. This was extremely obvious and very ugly.

So I hand-stitched the gap in the outer fabric closed and did a sort of tacking stitch at the (new) bottom of that outer seam so it wouldn’t pull apart when the outer curtains were pulled back to let some light in. Really, just measuring ahead of time would save me a lot of grief. As you can see in the picture, it looks messy. There’s the tacking on the original seam (which was too short), plus a reinforcement on the original seam (still too short), and finally, the bottom casing seam over the newly-lengthened center seam. I decided that anyone who looked that closely at my curtains deserved to see something a bit ugly, and so I left it.
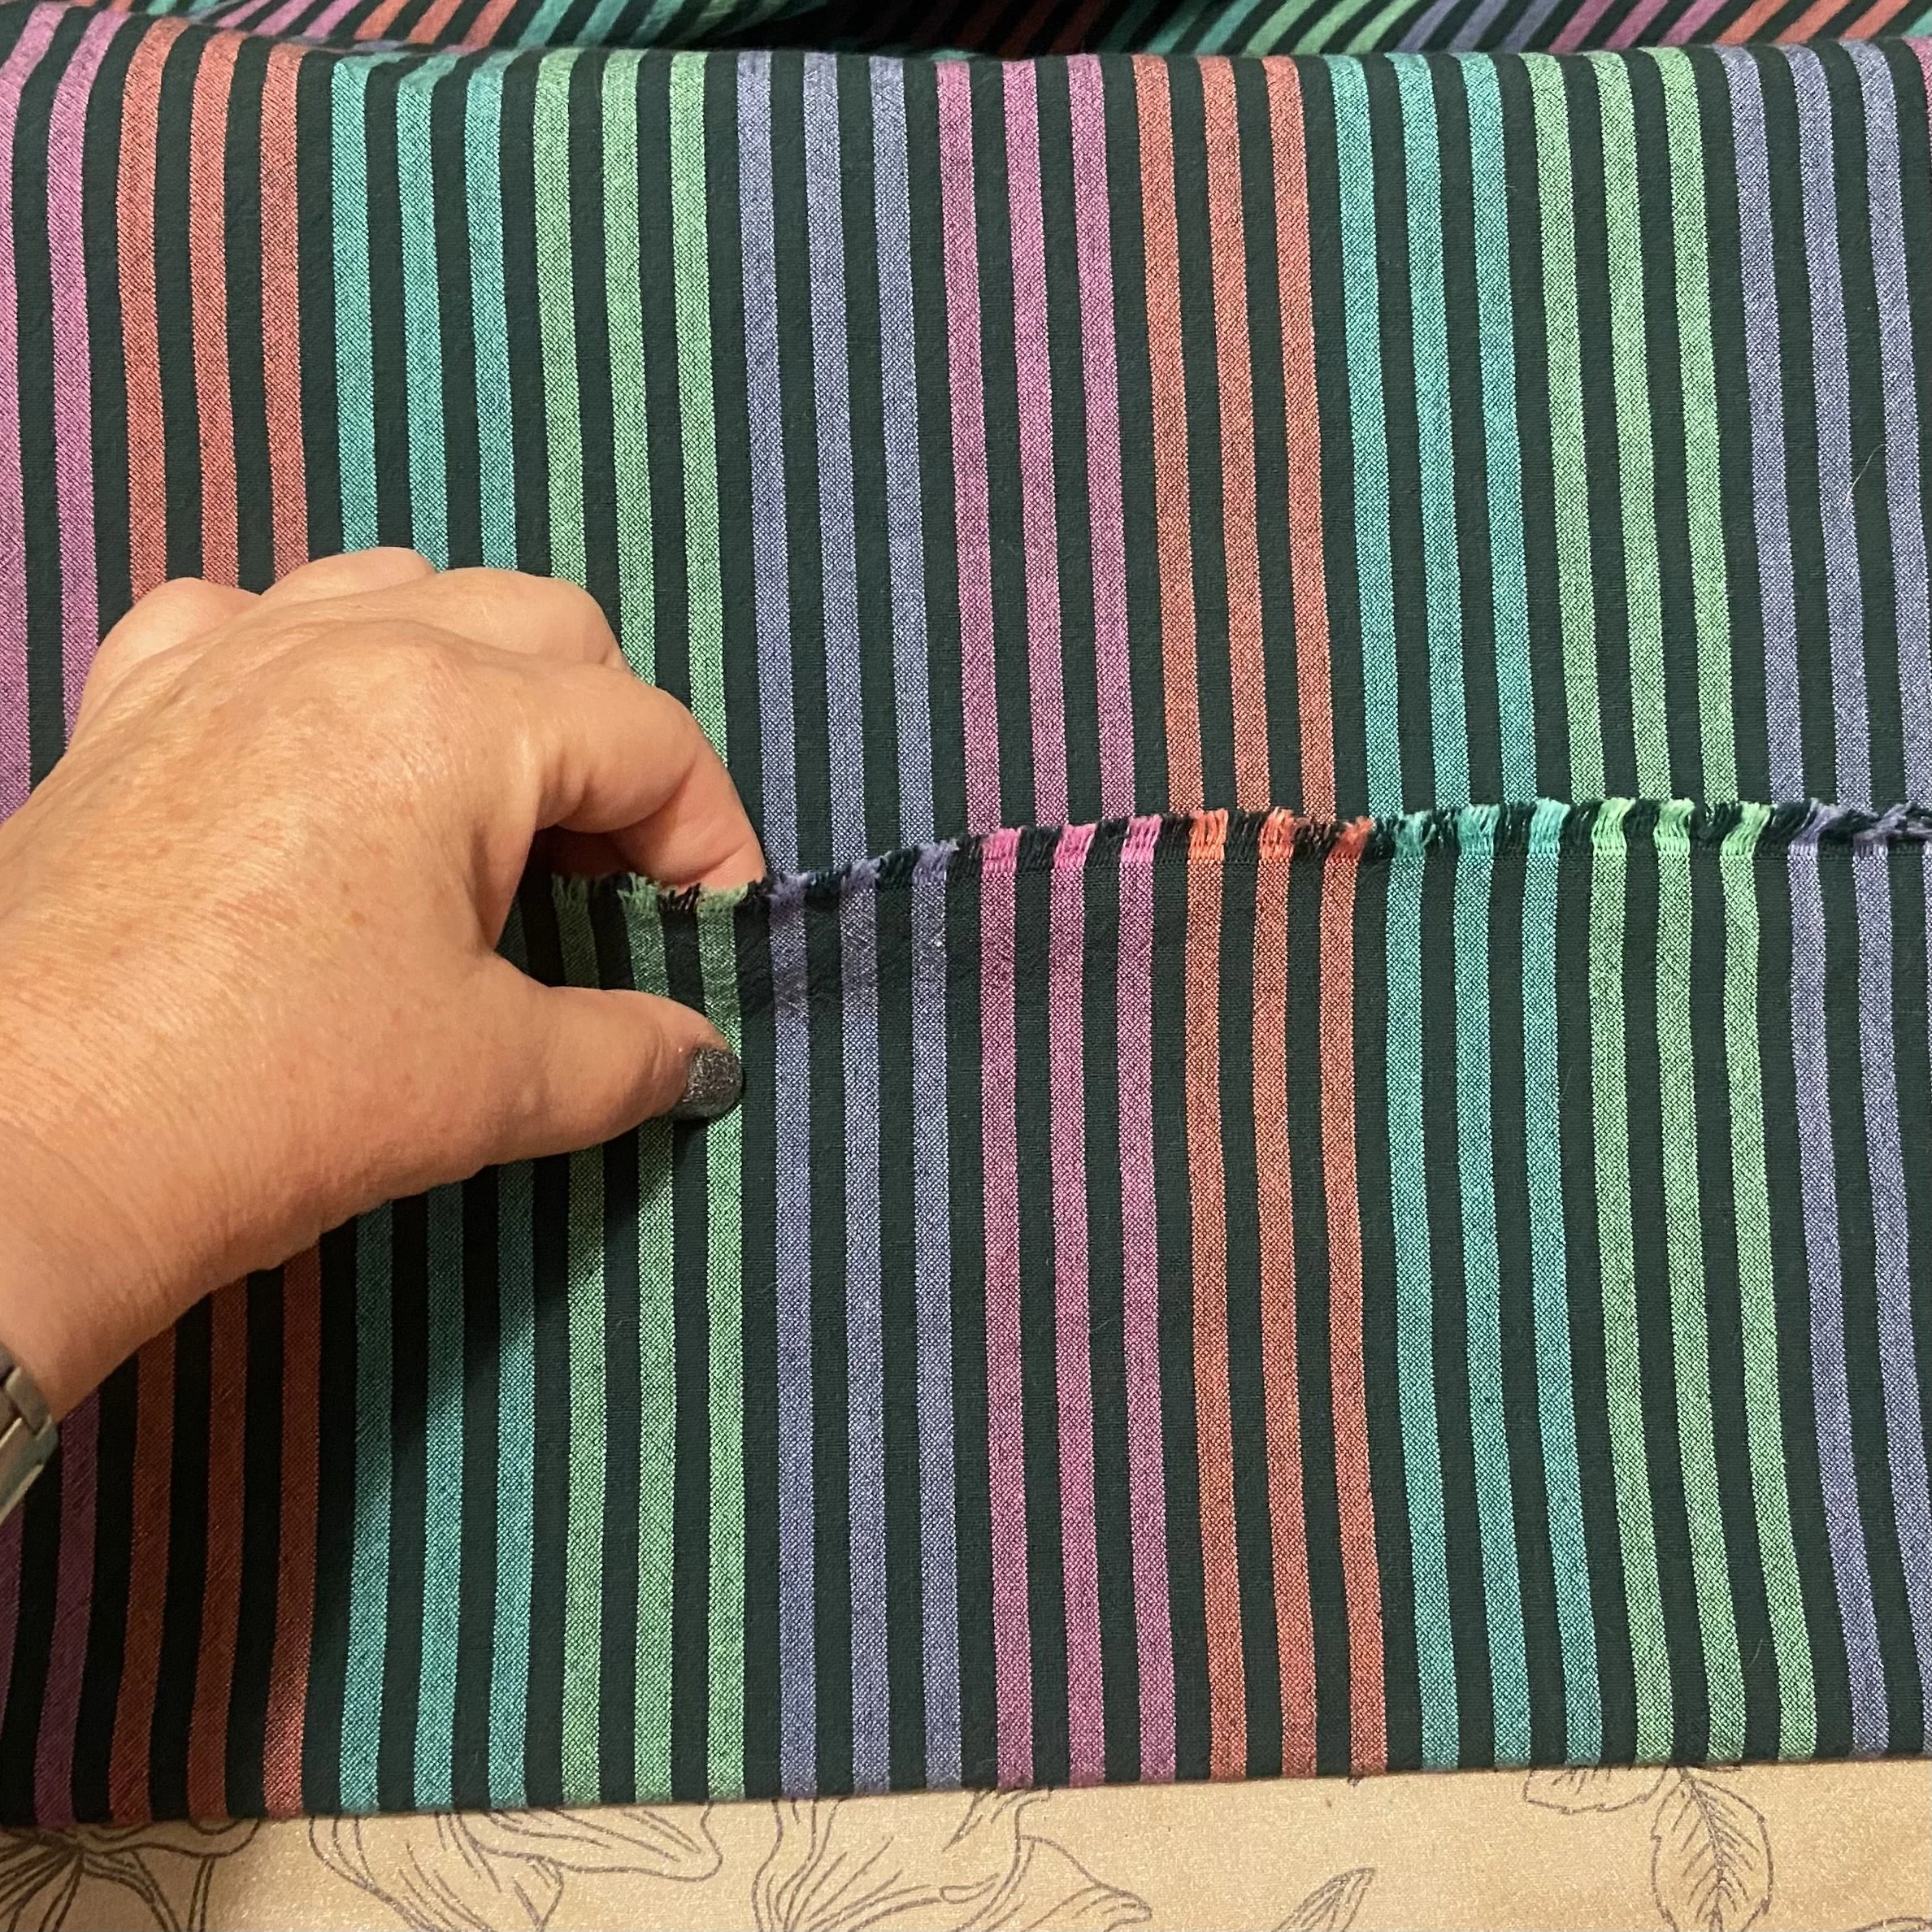
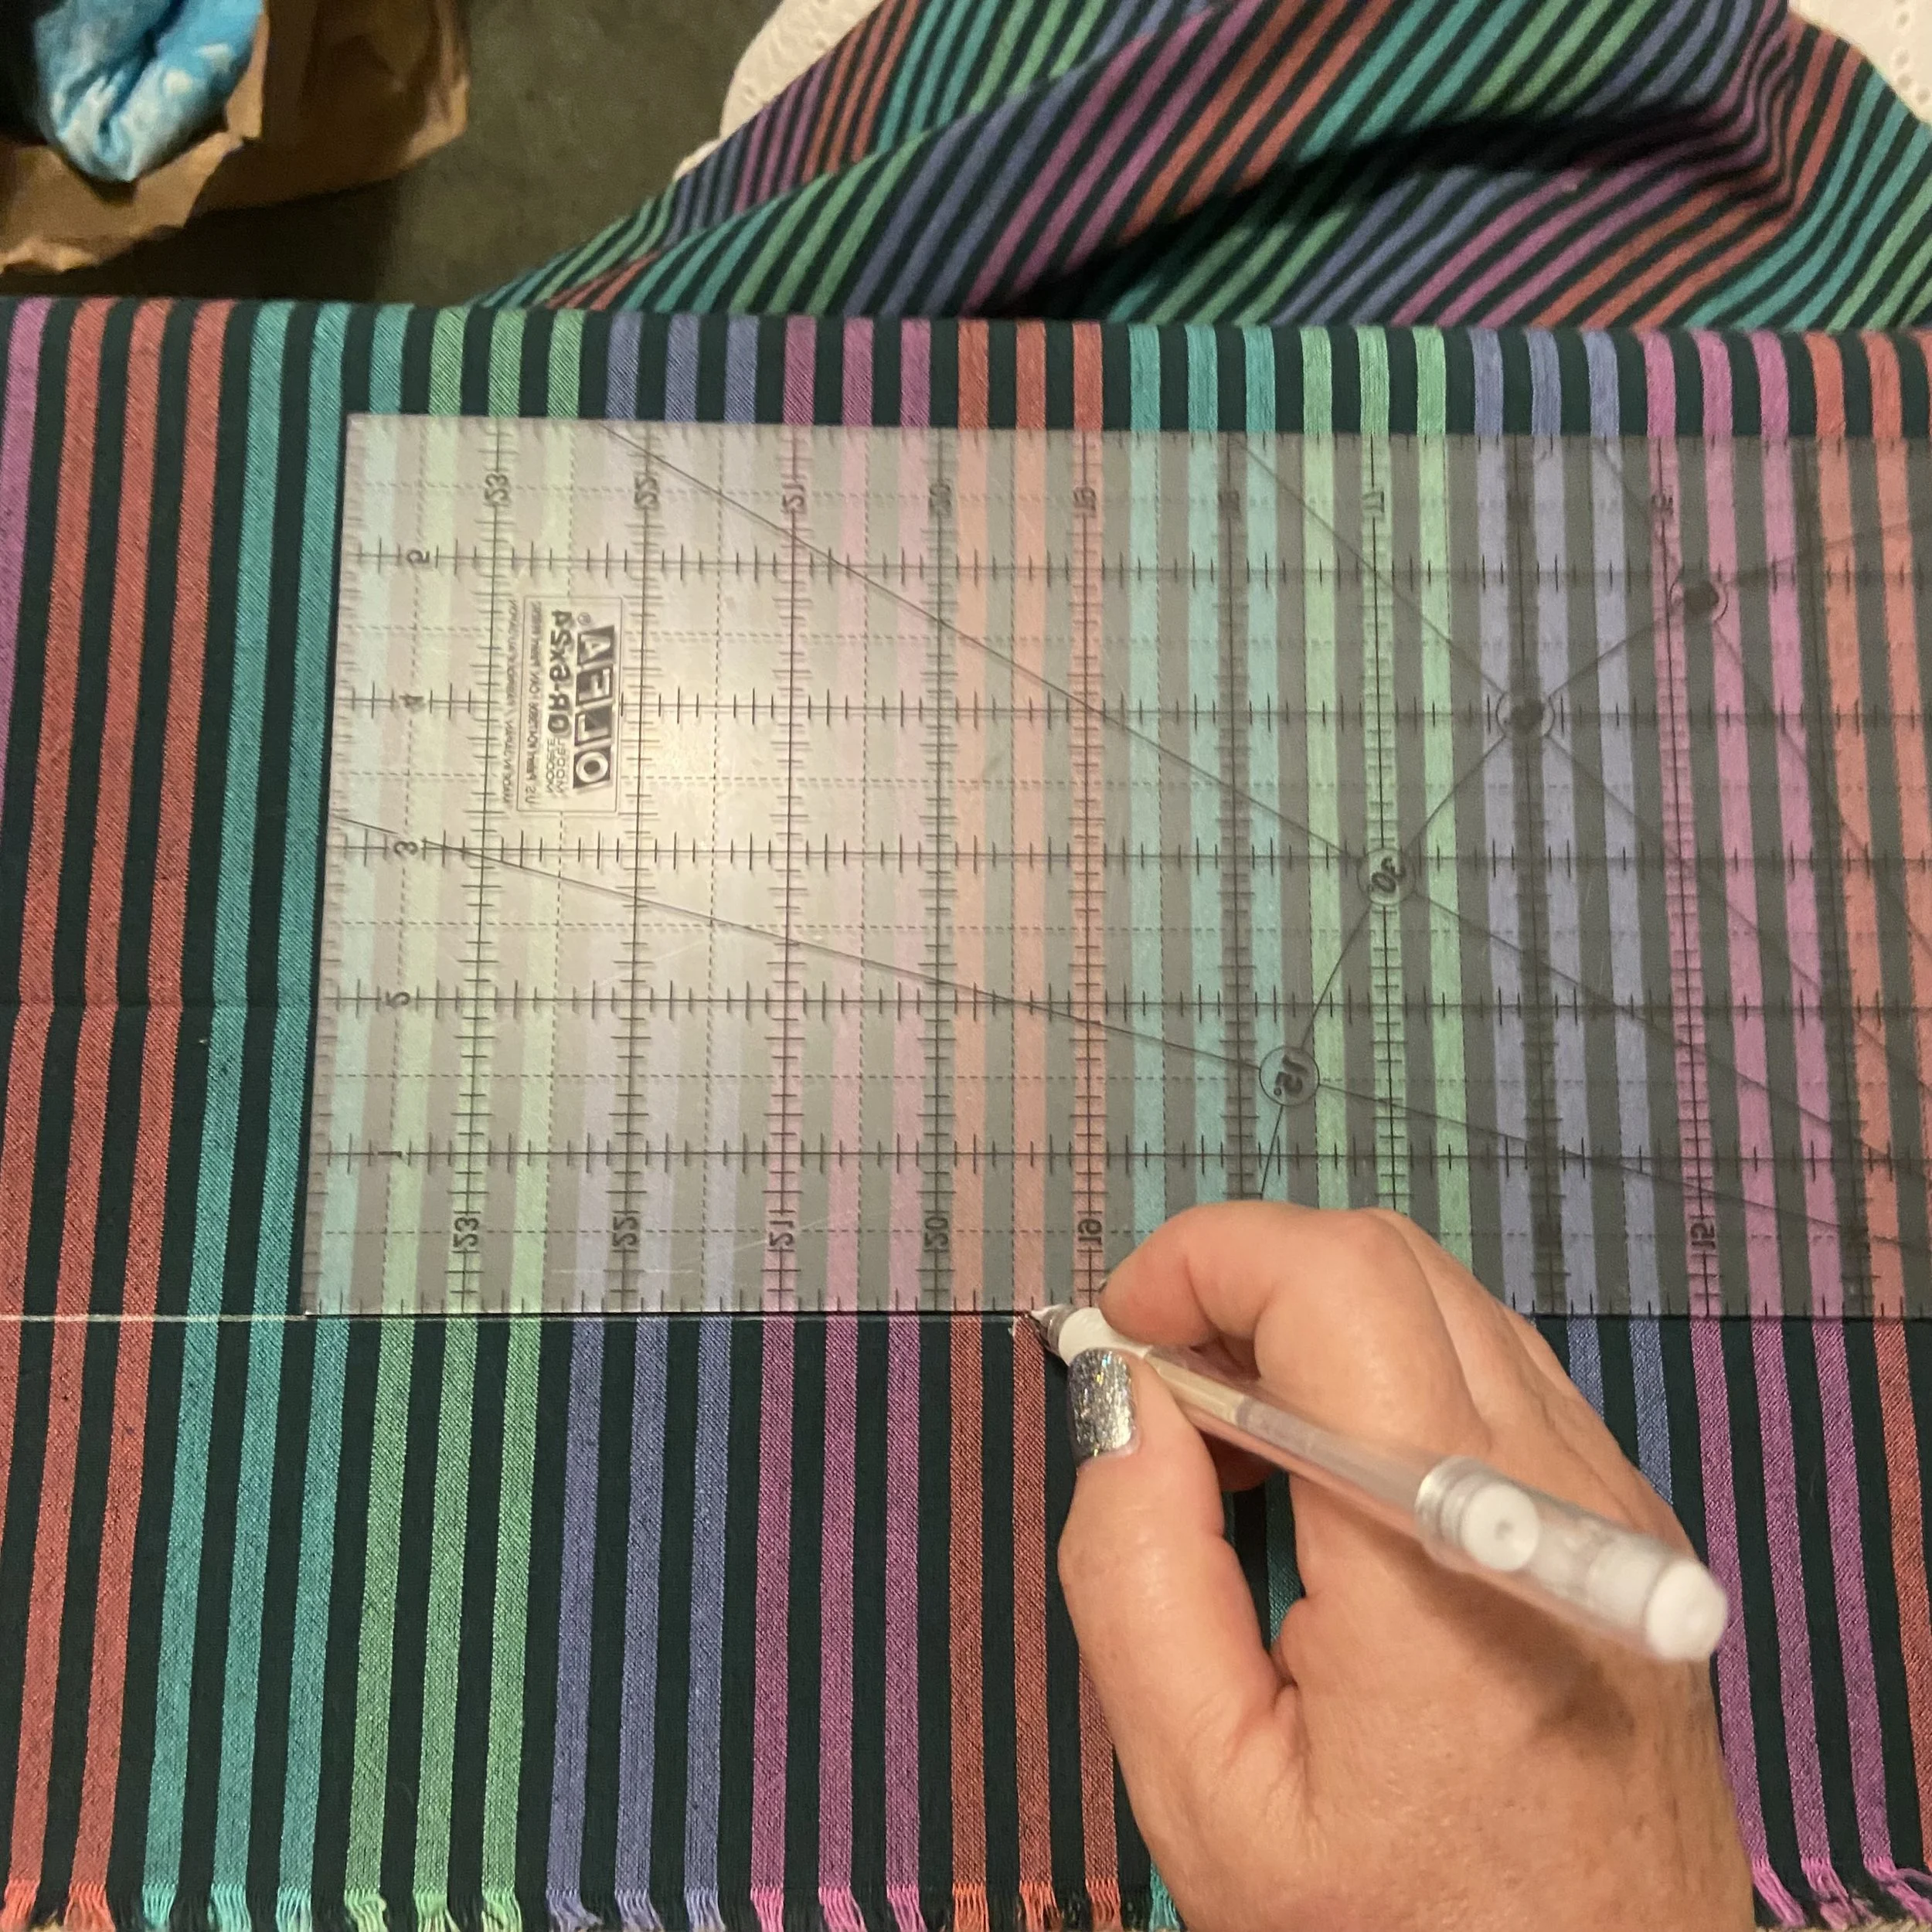
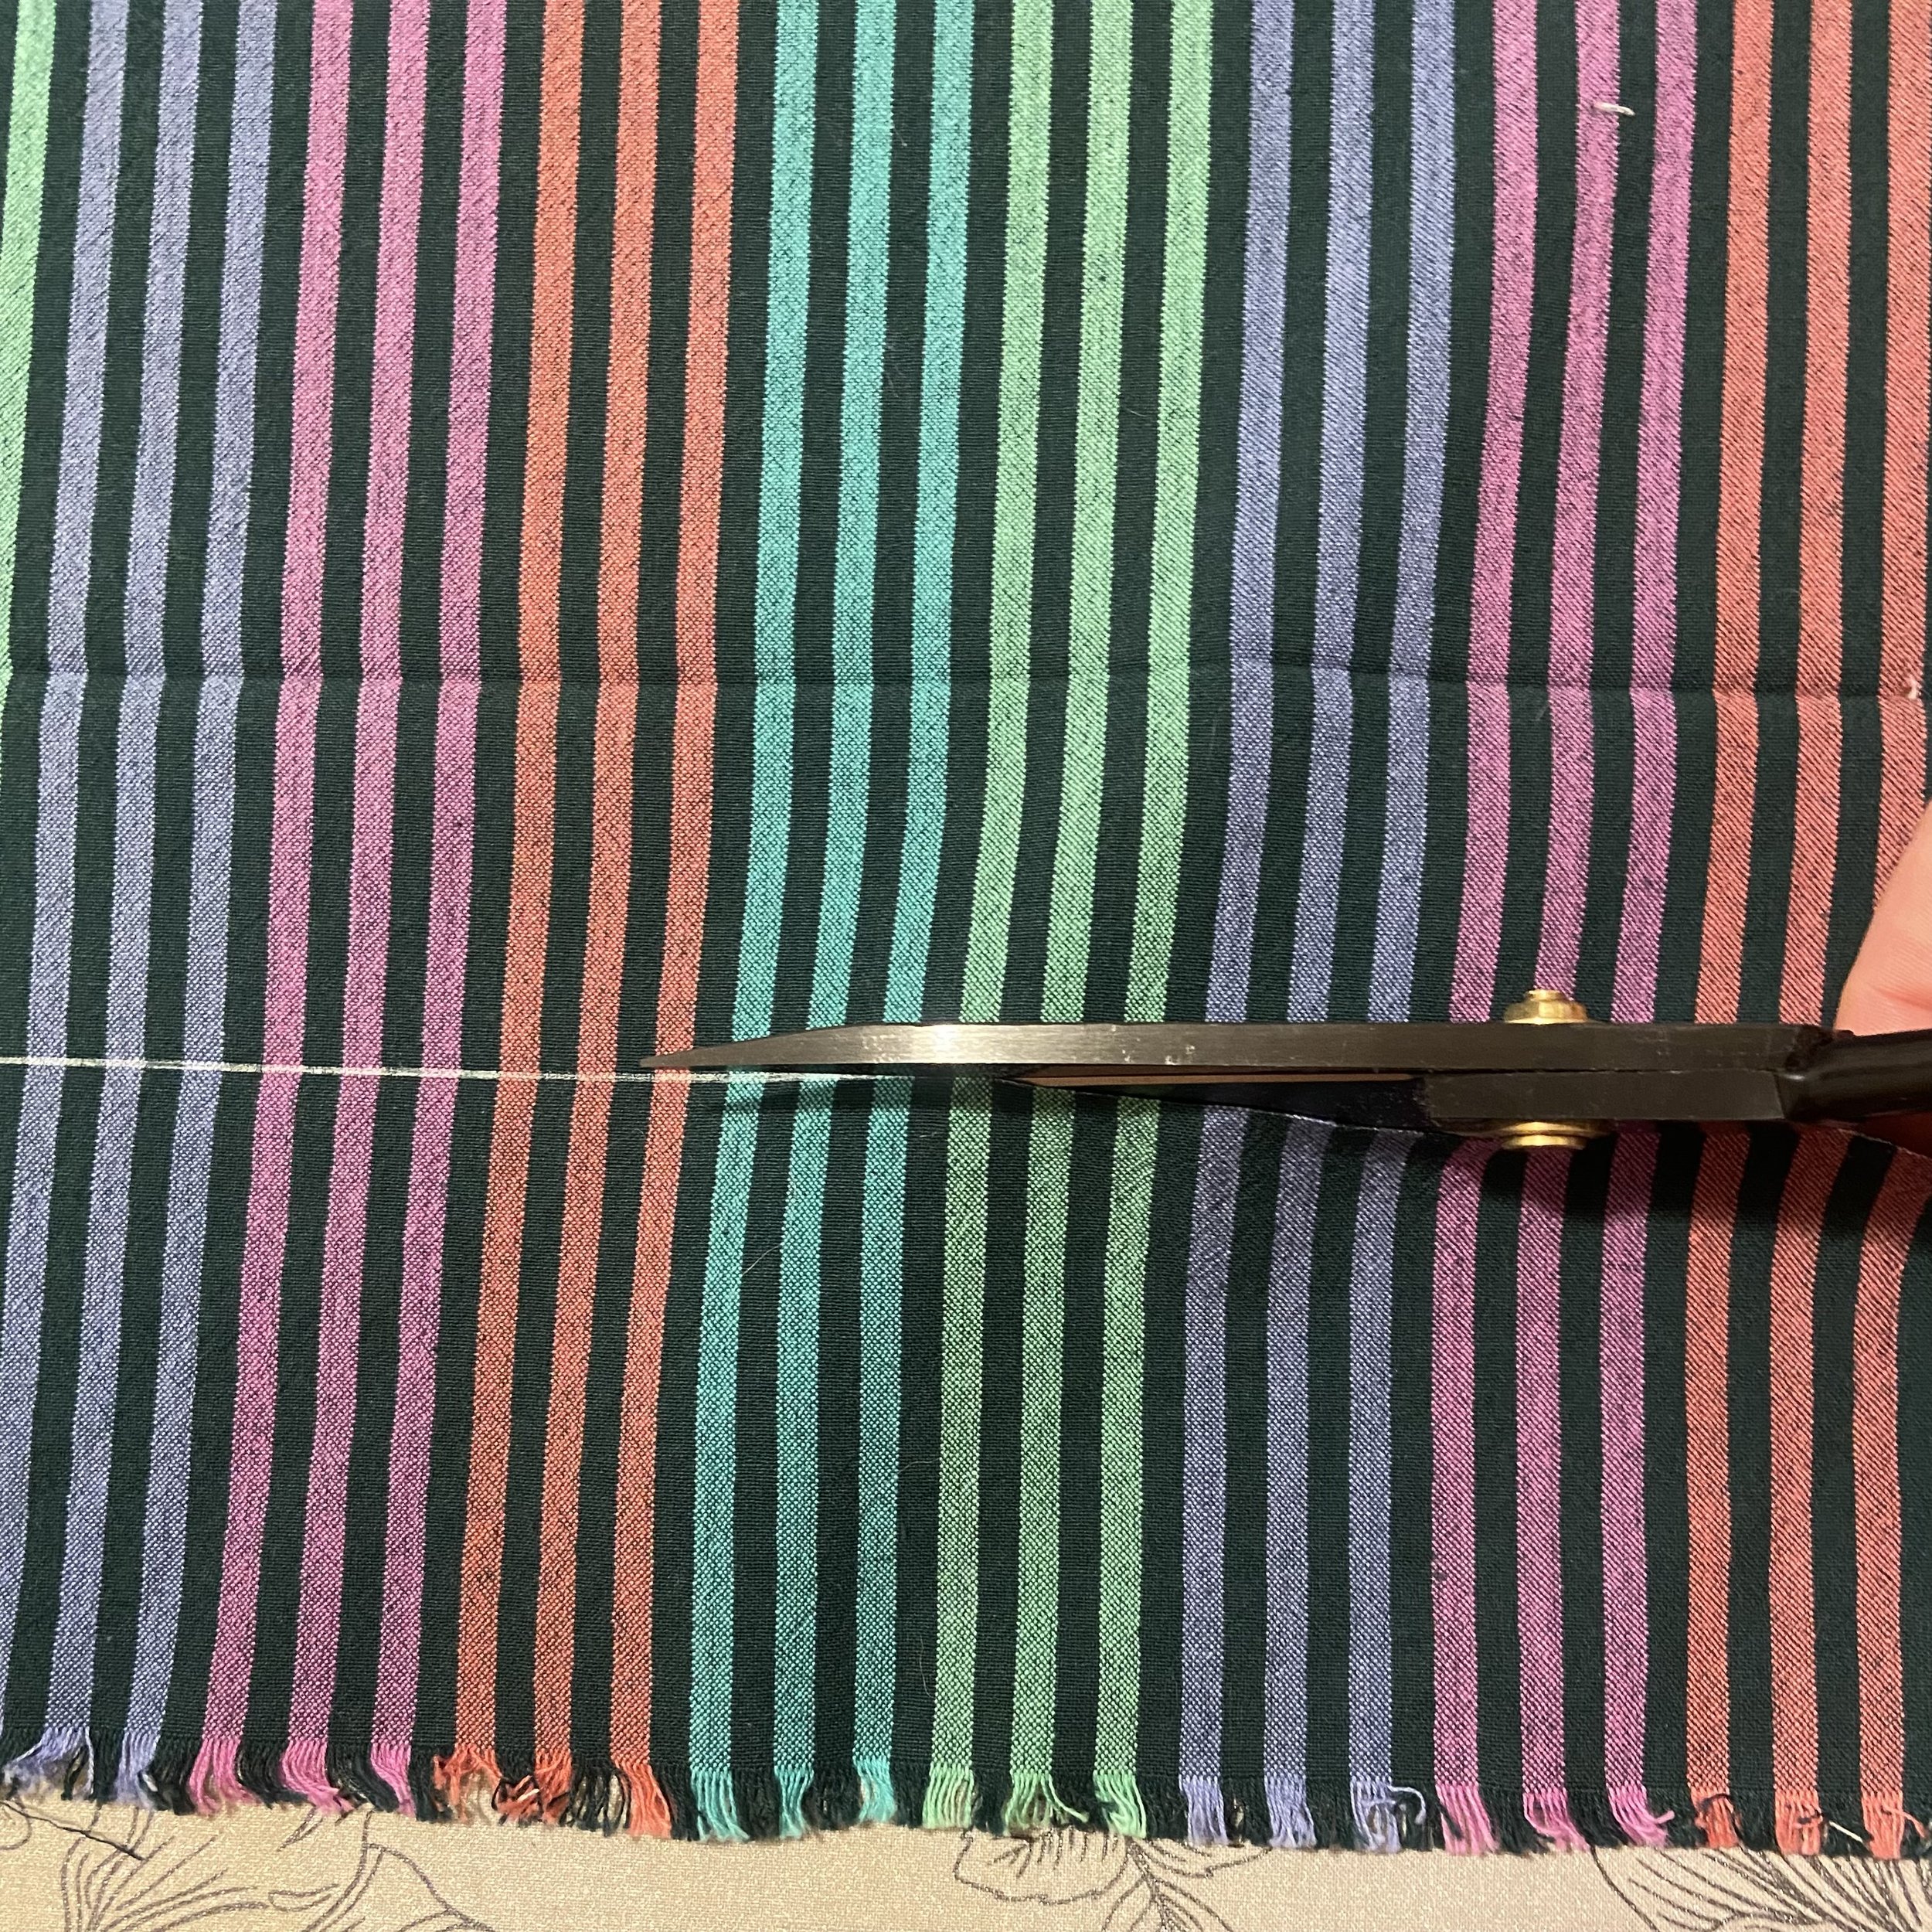
I threaded the original curtain rod through the casing and hung the curtains, so that I could mark the proper length for the bottom hem. Then I hauled everything off the window and back into the studio to finish. Turning up the outer hem was easy. I’d marked where I needed the bottom to be, then folded up at that point. It’s super easy to get a straight line on stripes like this, because you can just line up your stripes and everything is straight. I pressed my turned up fabric, then used my quilting ruler and a heat erasable pen to mark two inches down from my fold. Then I cut off the excess fabric along my marked line, and did a double-fold hem on that remaining two inches. Once the outer fabric was hemmed, I matched the inner eyelet fabric length and did the same thing.

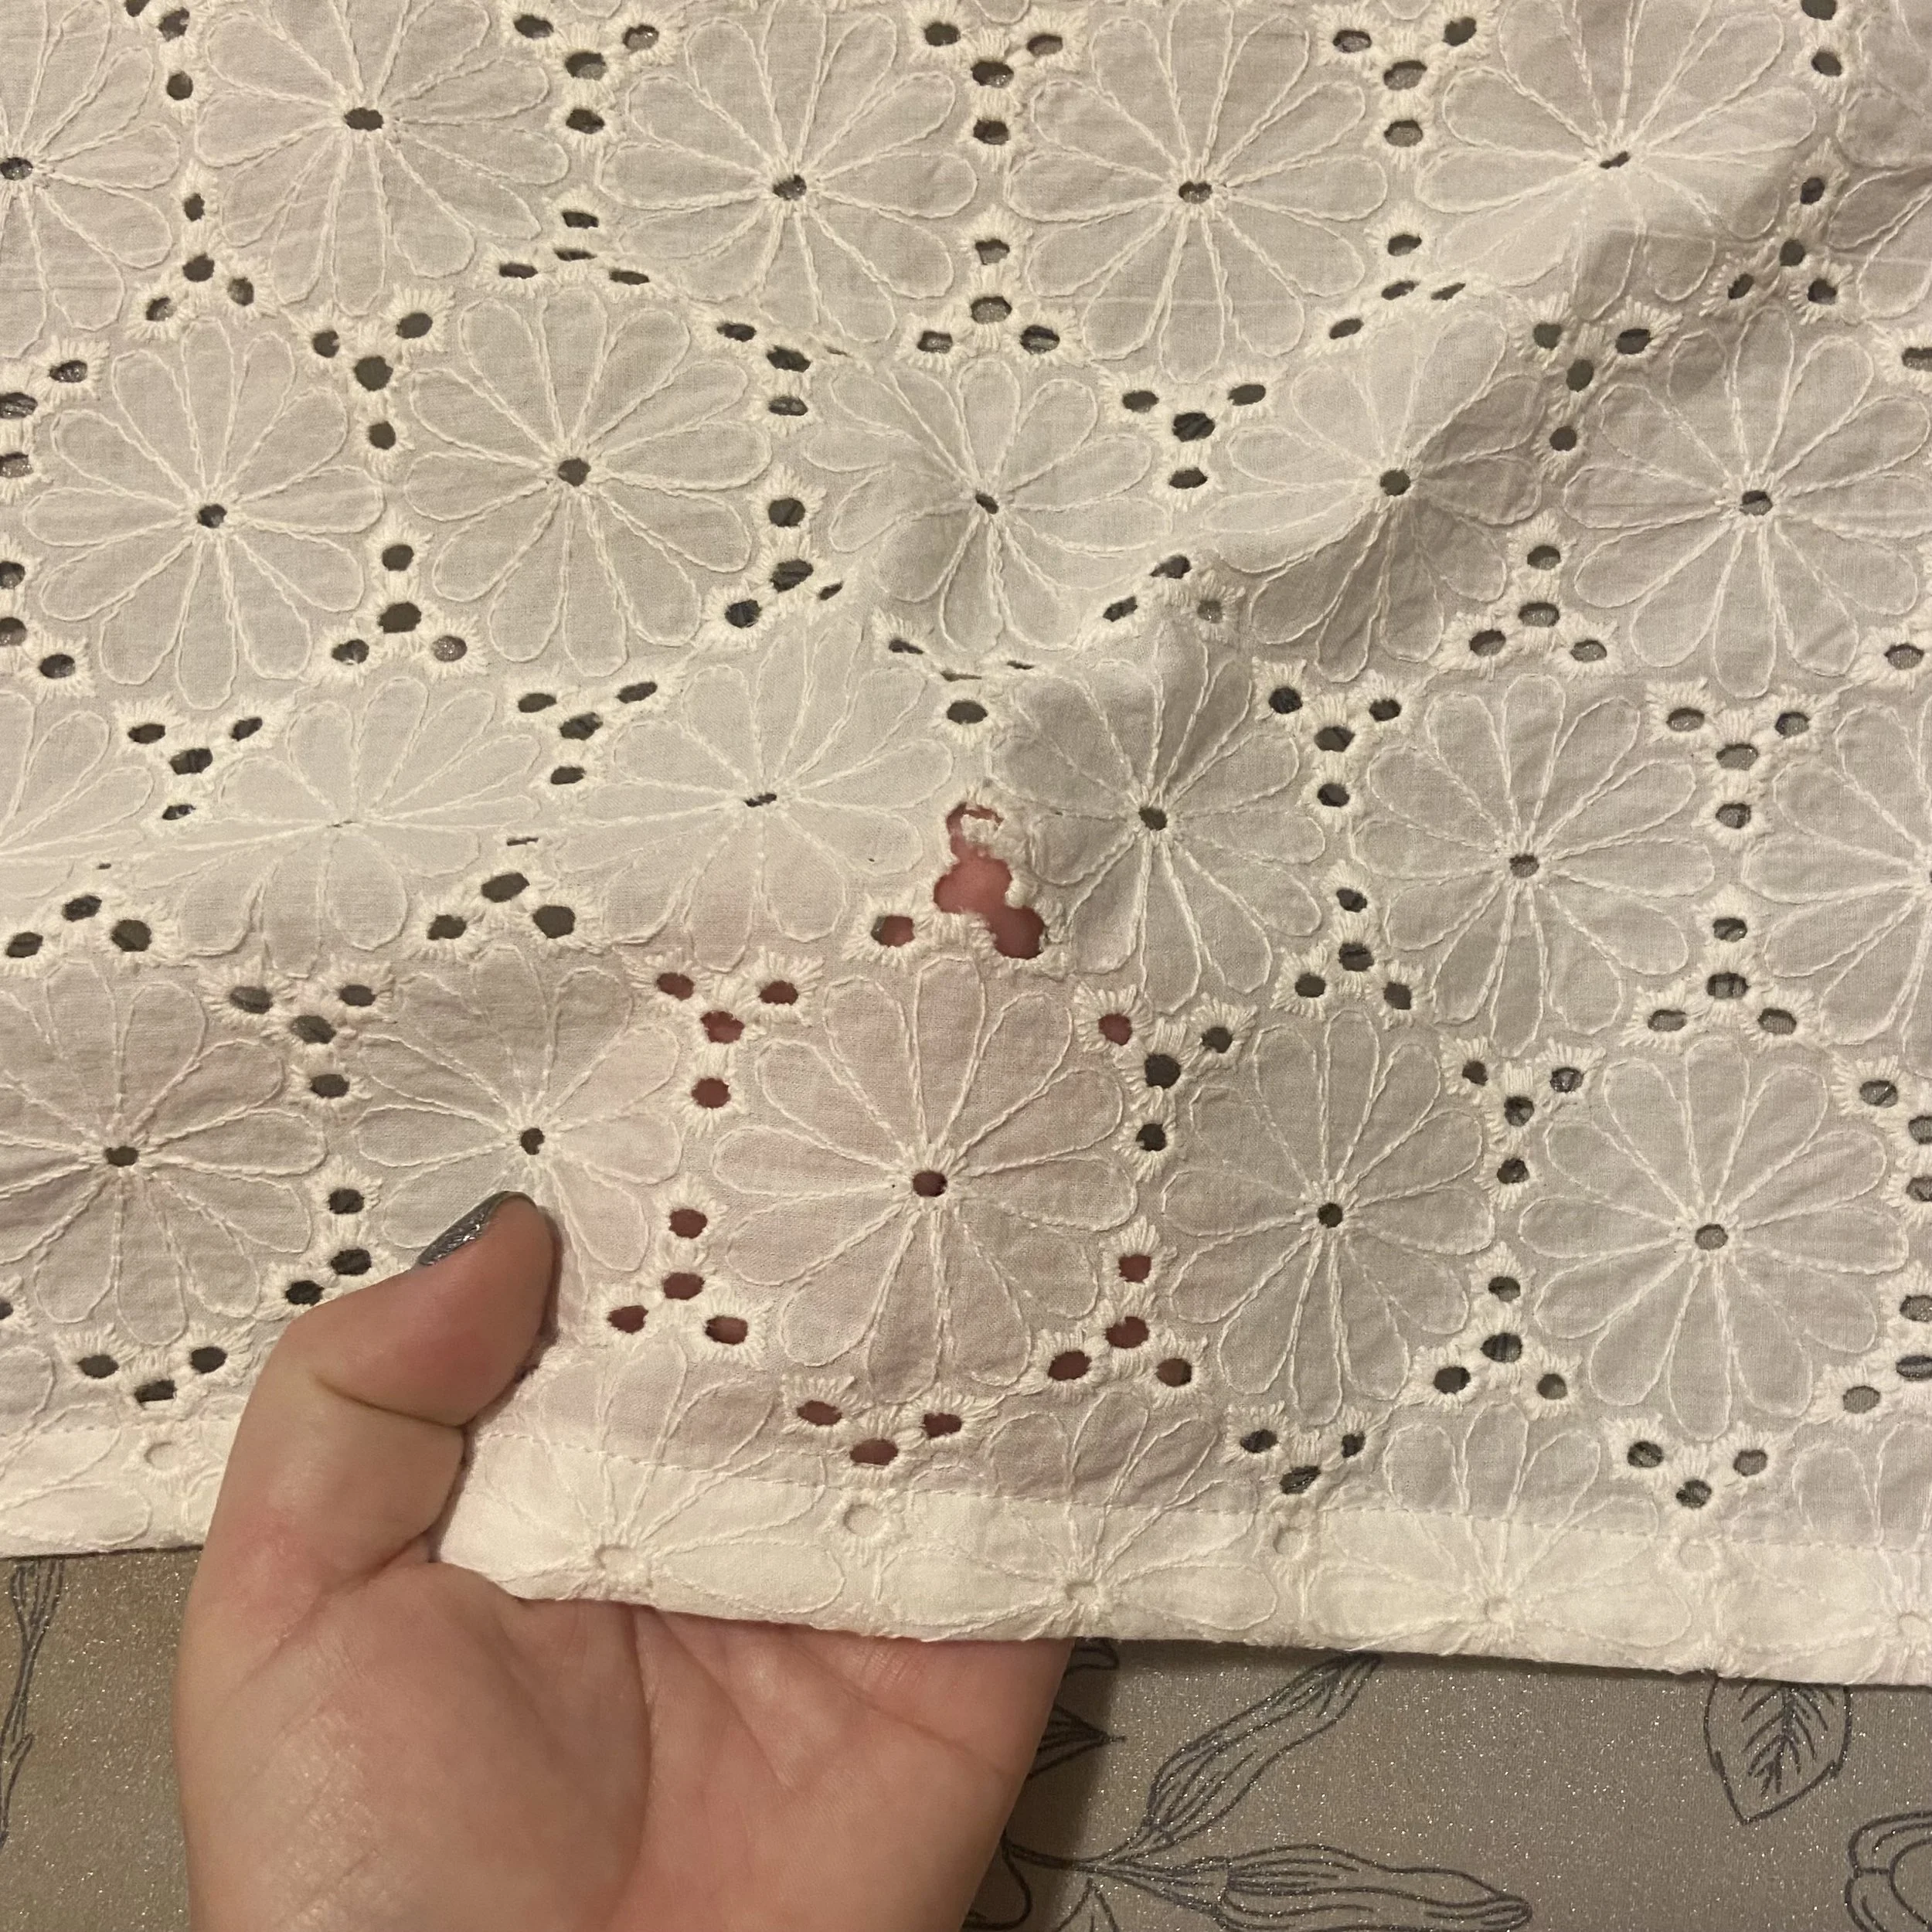
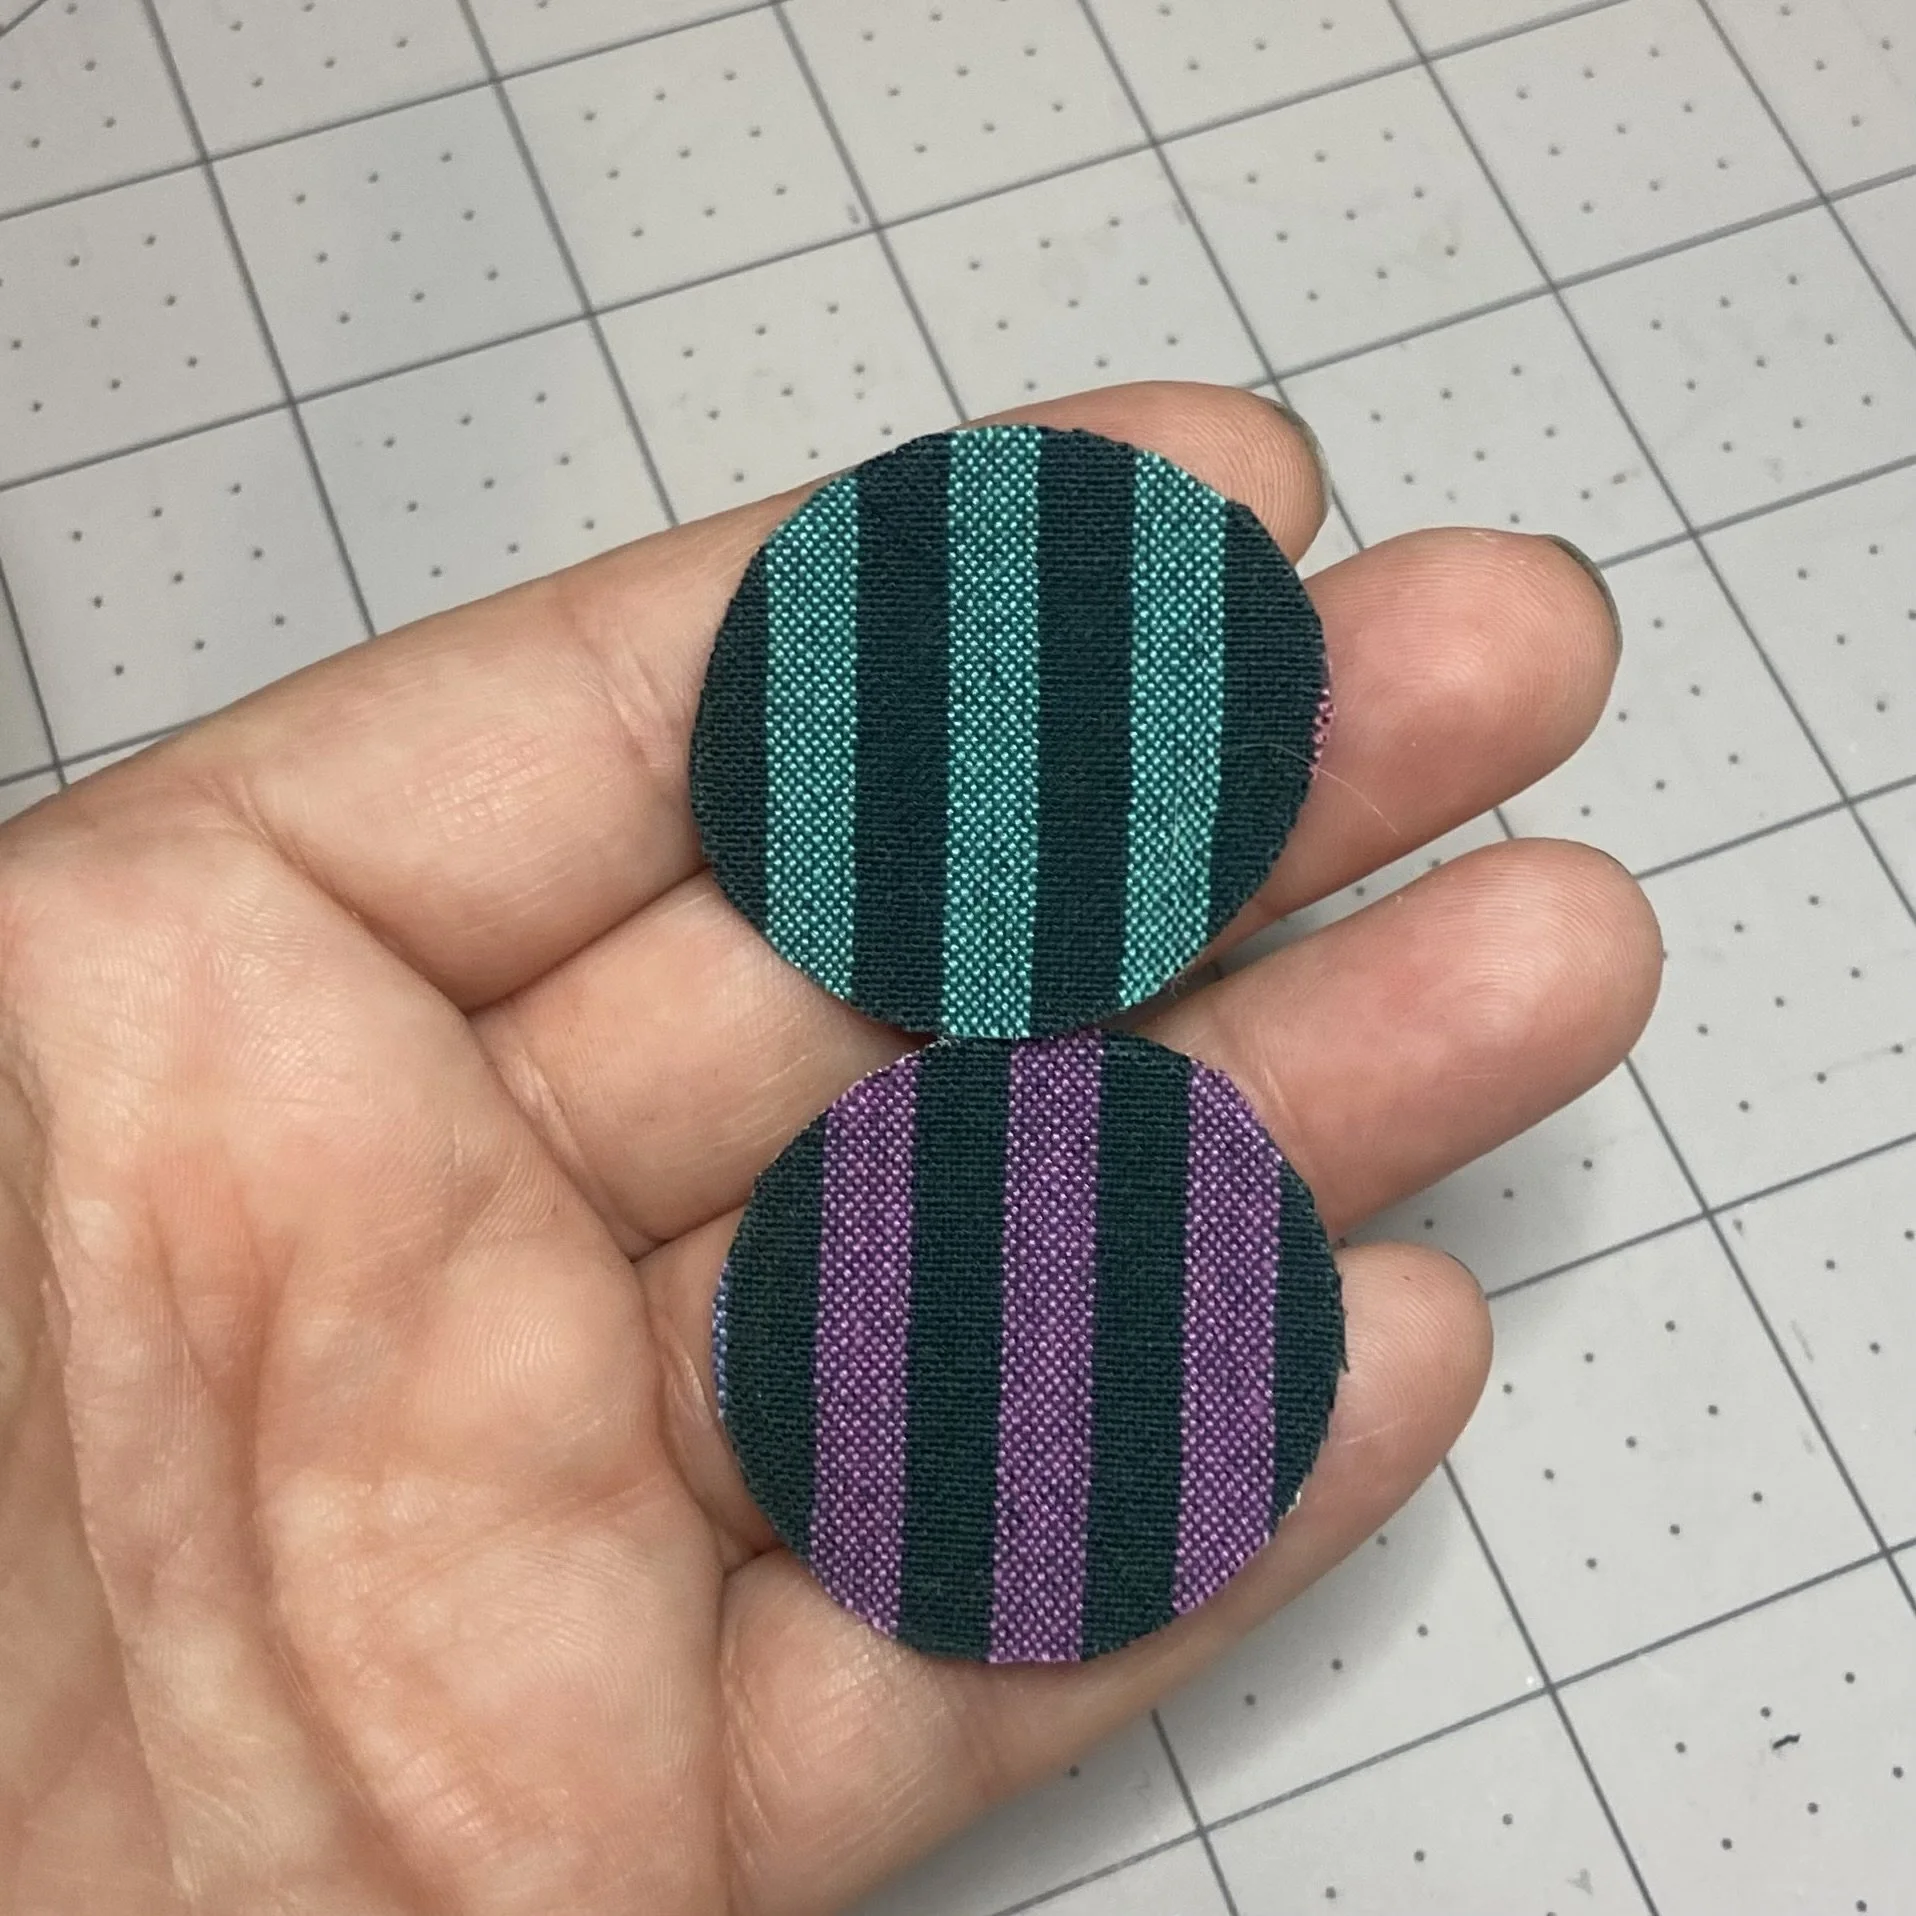
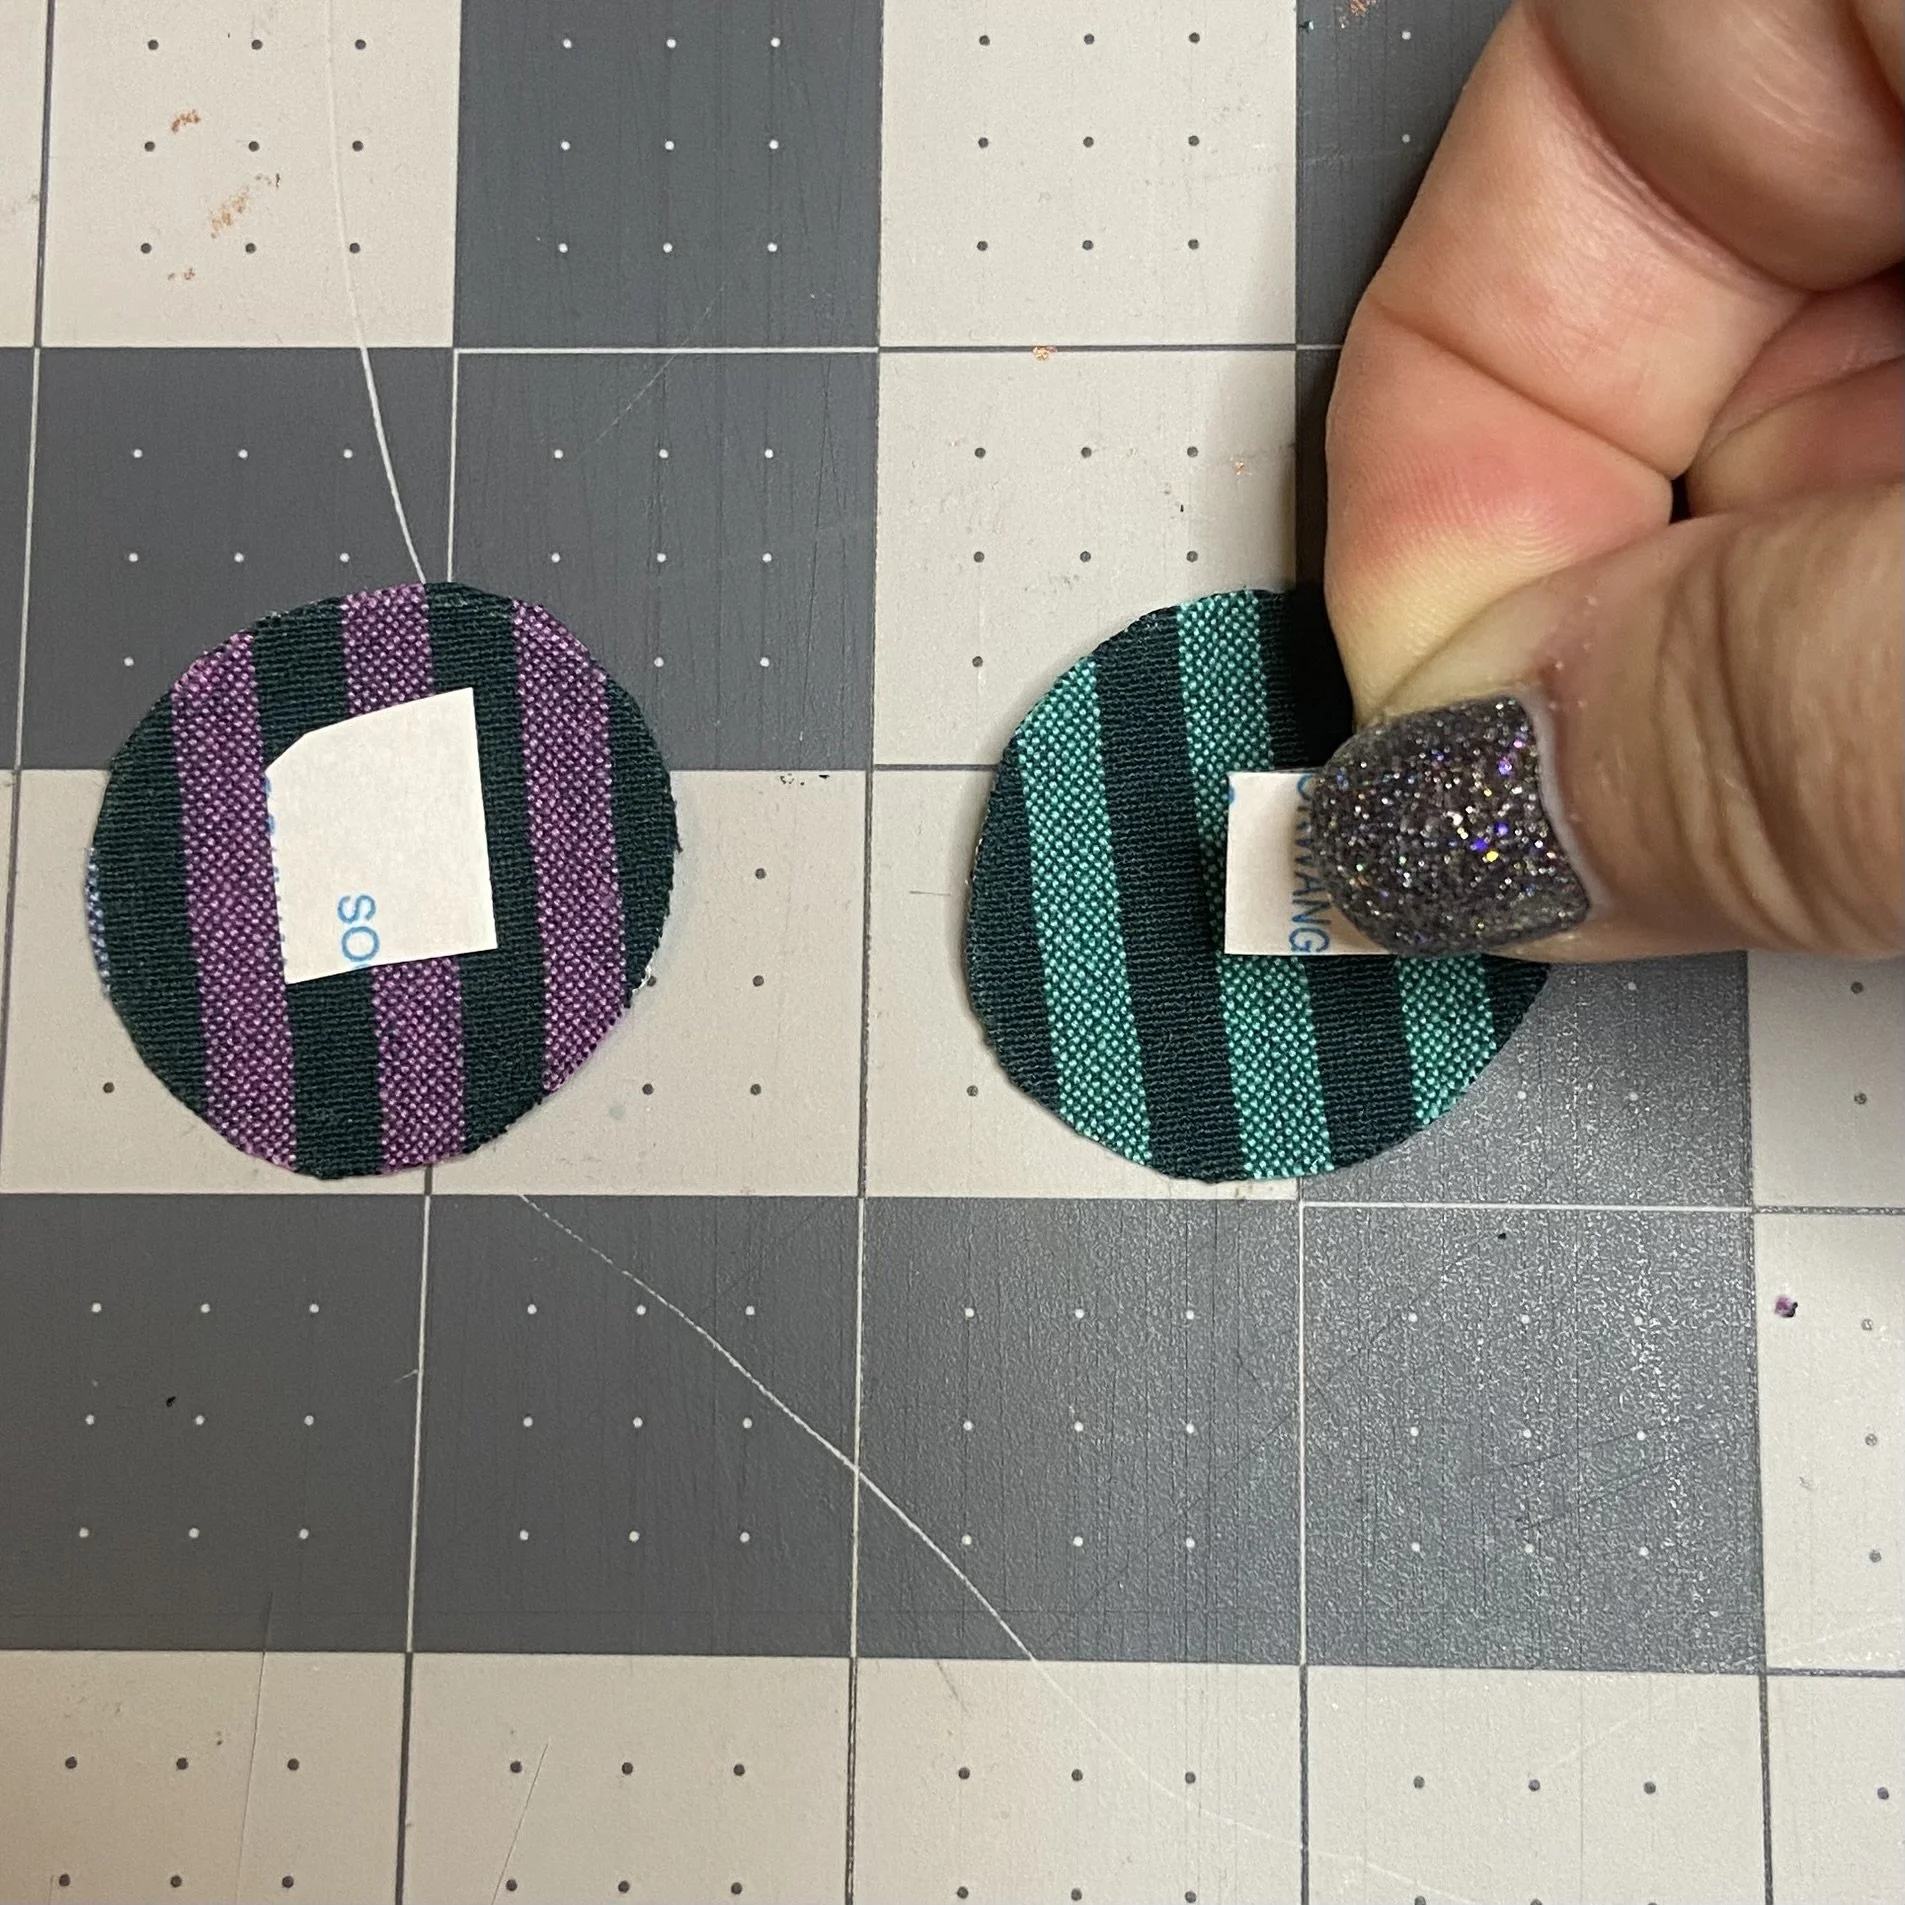
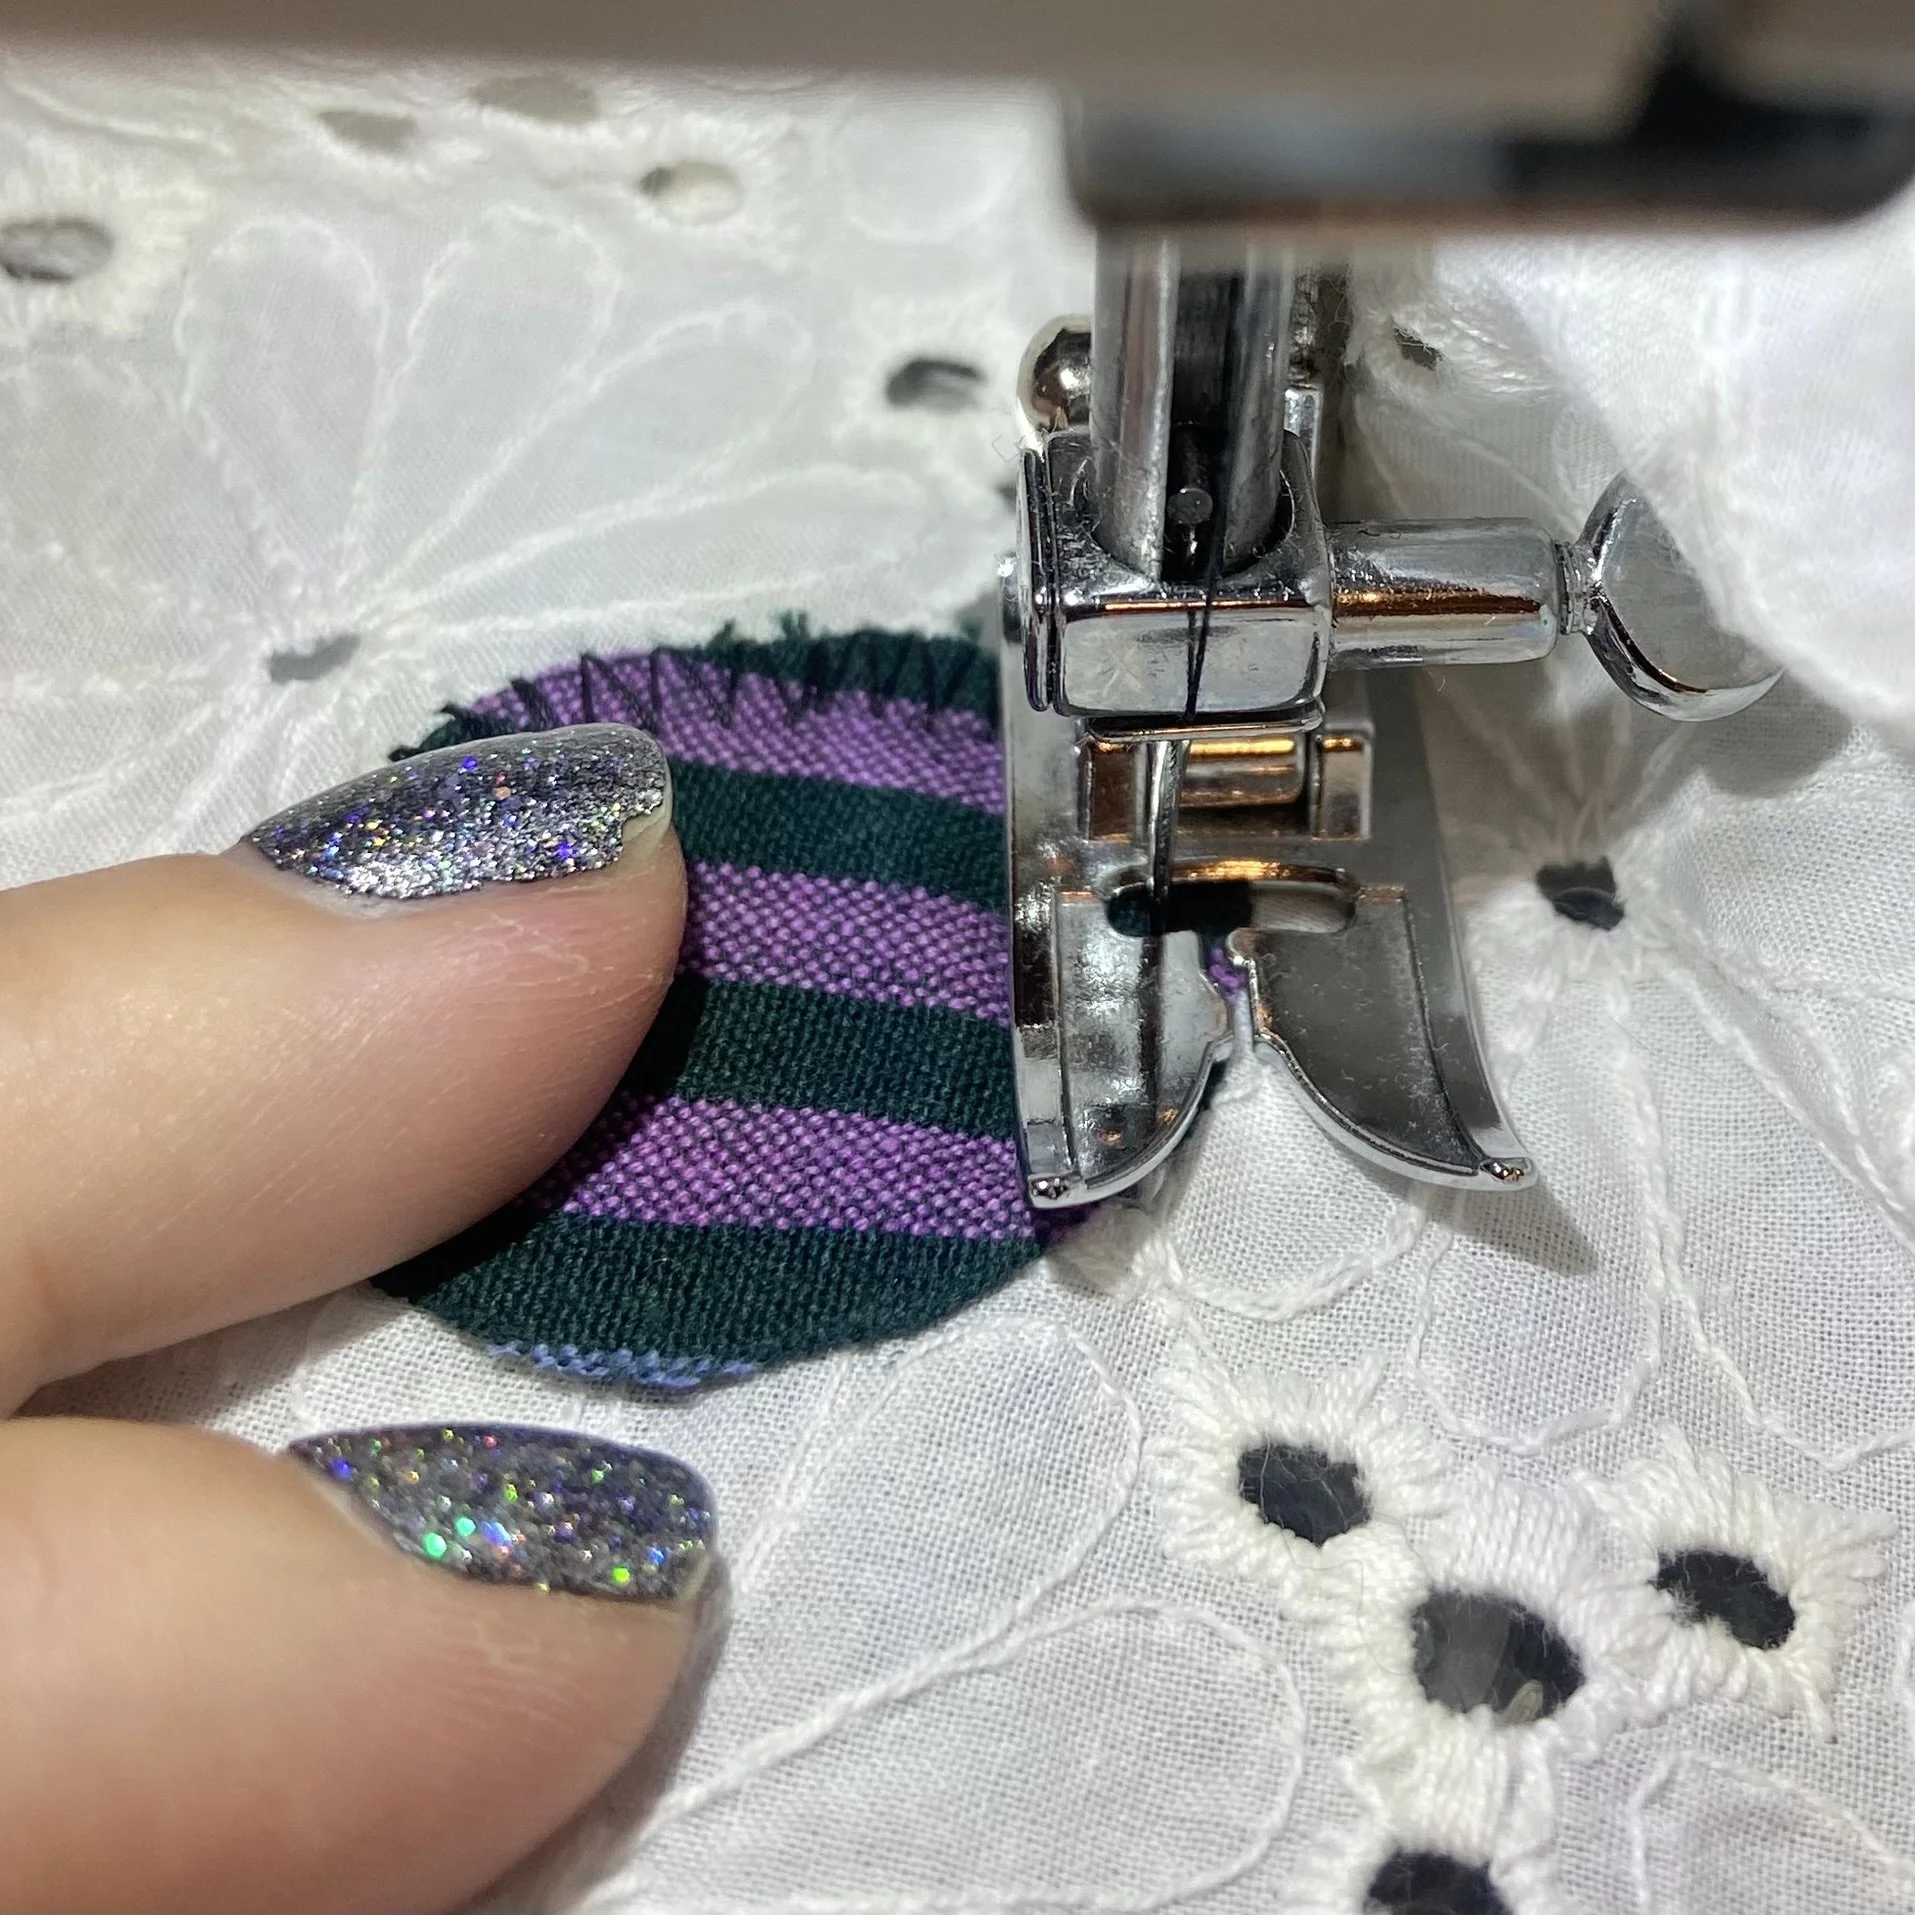
Before I hung up the finished product, there was one final step. My eyelet had a hole in it. There are many ways I could have fixed it but I opted for a very visible mend, using two circles cut from the outer fabric. I used just a tiny bit of double-sided tape to hold a circle on either side of the fabric over the hole, and then I used black thread to zigzag stitch around the circle. I think it’s quite cute.
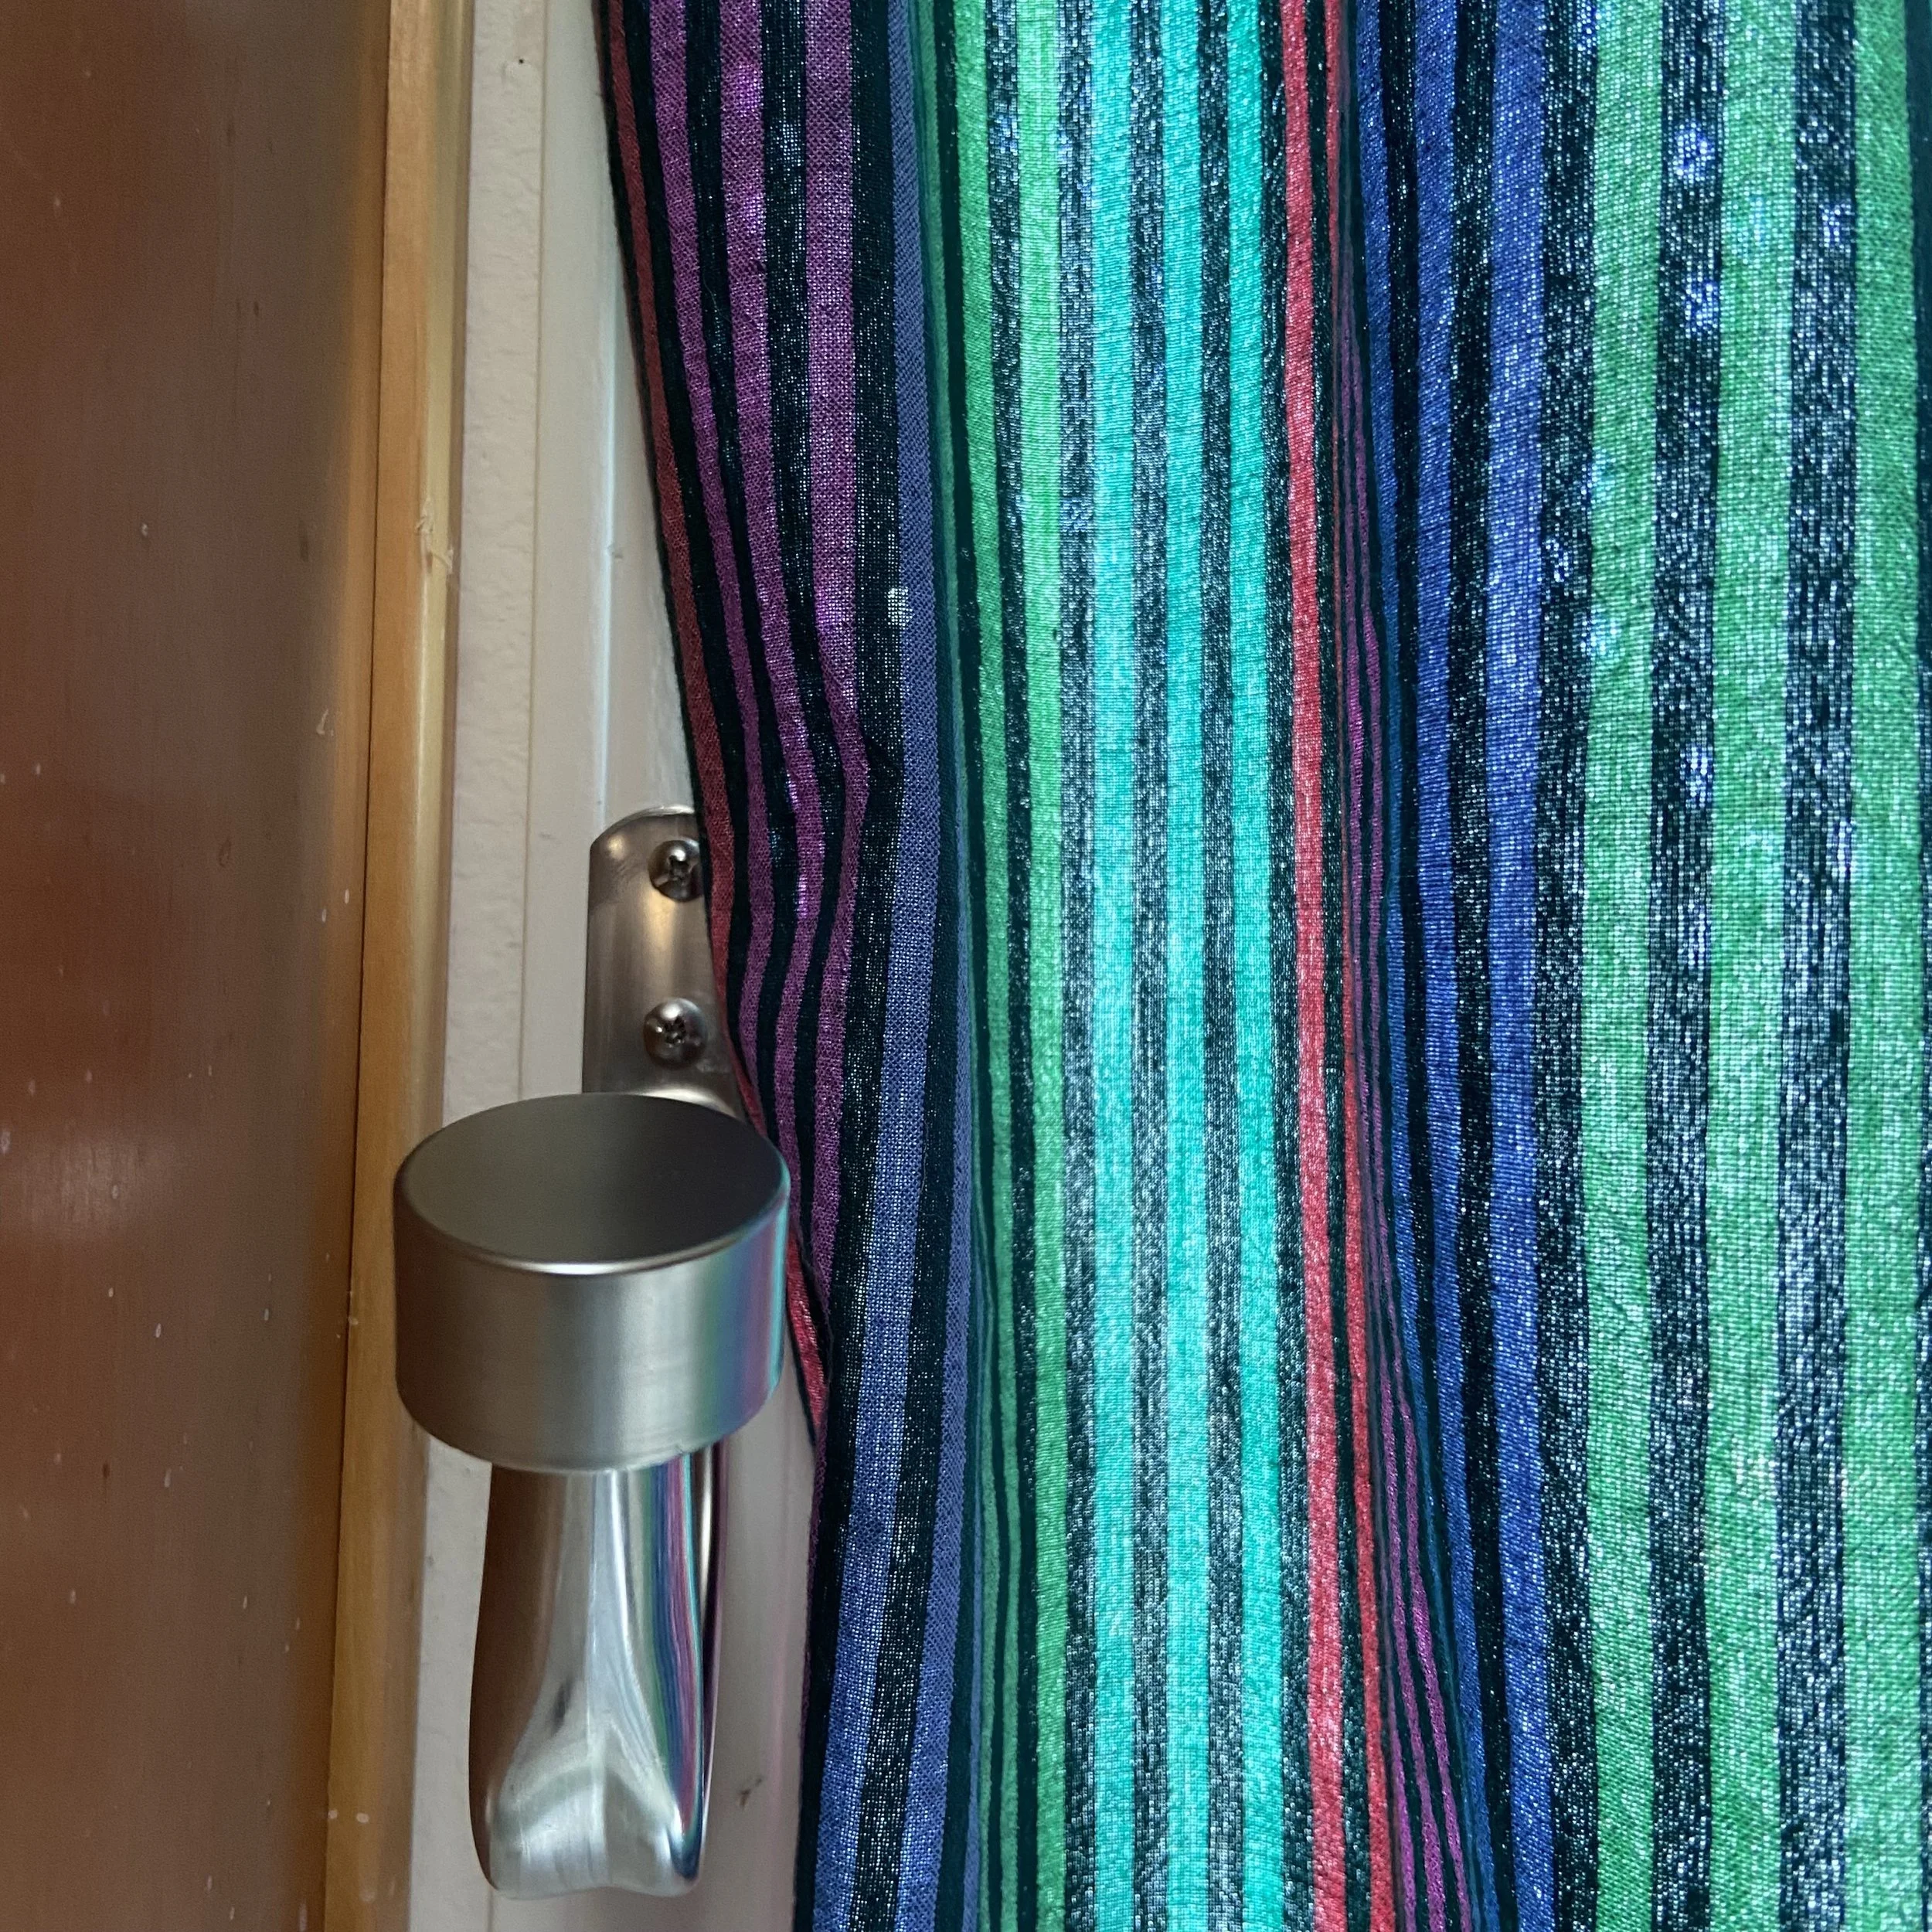
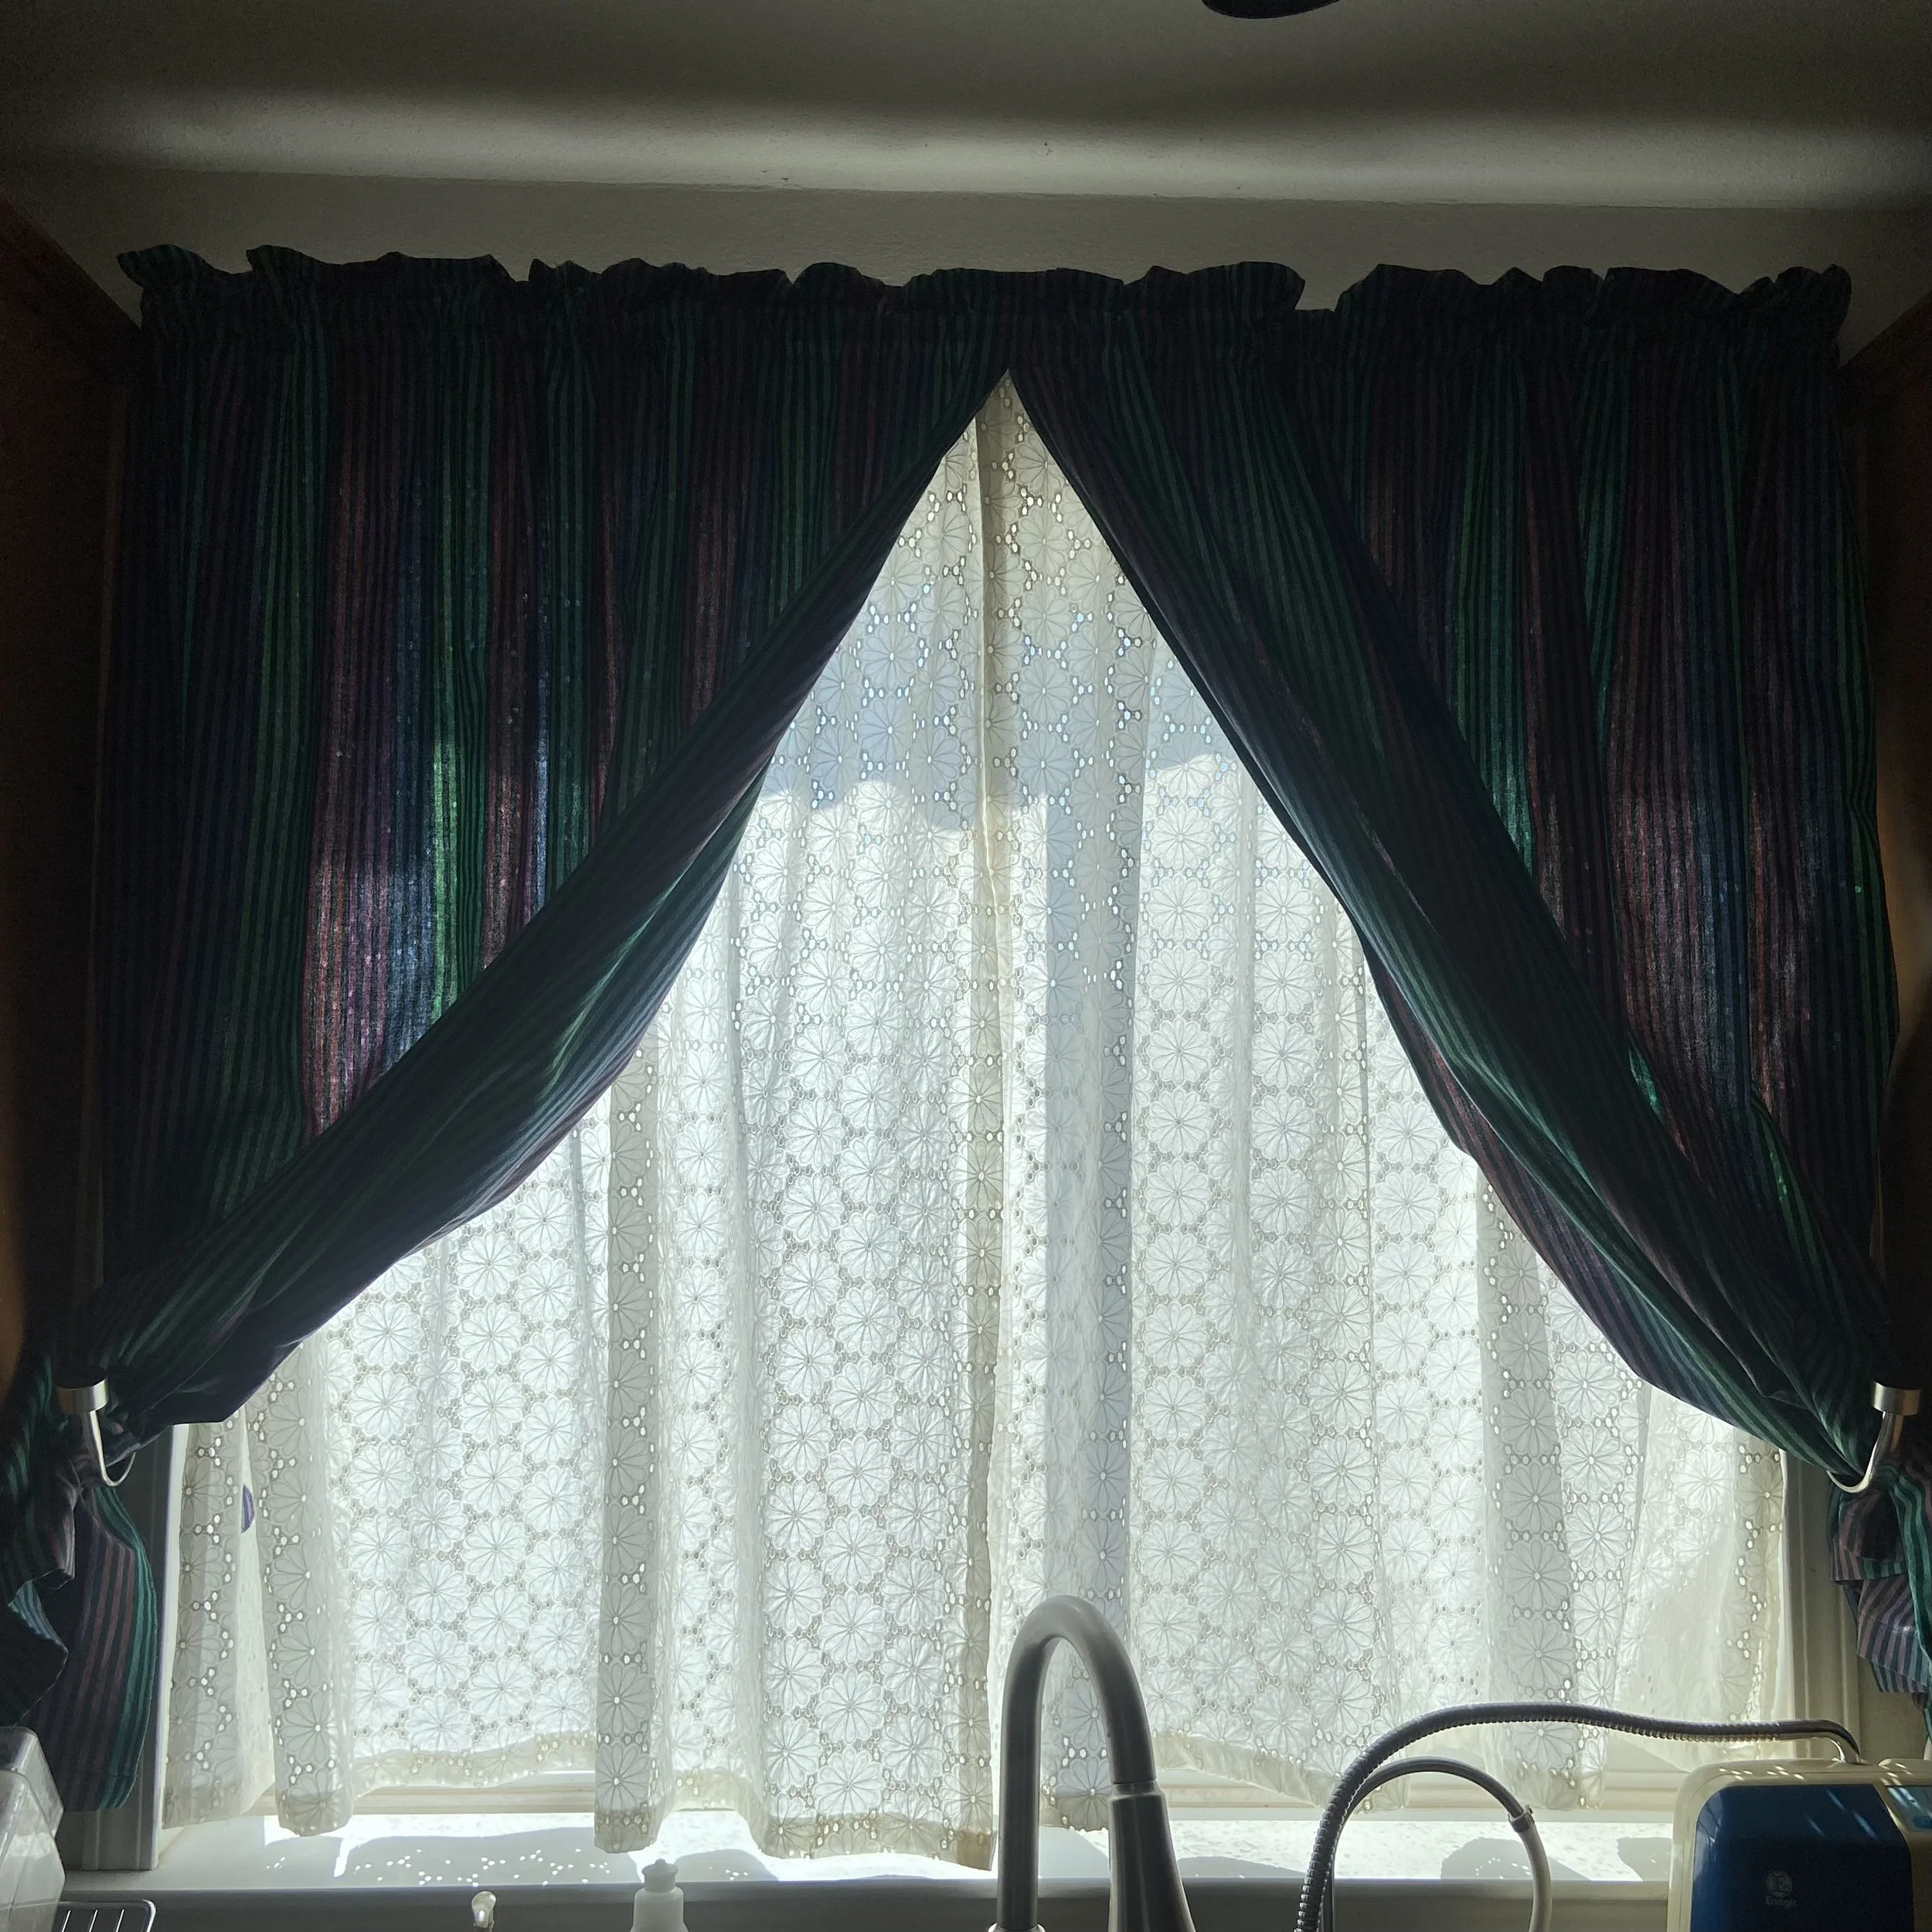
And done! I confess that I didn’t realize the original curtain rod was not hung completely level until I had put up these curtains. The right side rises a little bit. I’m pondering how to level the curtain rod without making a huge mess of new holes in the wall. For now, I think I’ll see if I can live with it. But these curtains sure are pretty! When the light comes through, the rich colors of the striped fabric give a lovely glow to the kitchen. And when the sun is coming directly through the window, you can see little dots of light from the openings in the eyelet fabric. So pretty!
I put up a couple metal “hold back” brackets on either side of the window so that I can look out through the eyelet. Or I can pull back the eyelet as well and just look through the window.. I think these curtains are beautiful.