Adventures In Starry Nights
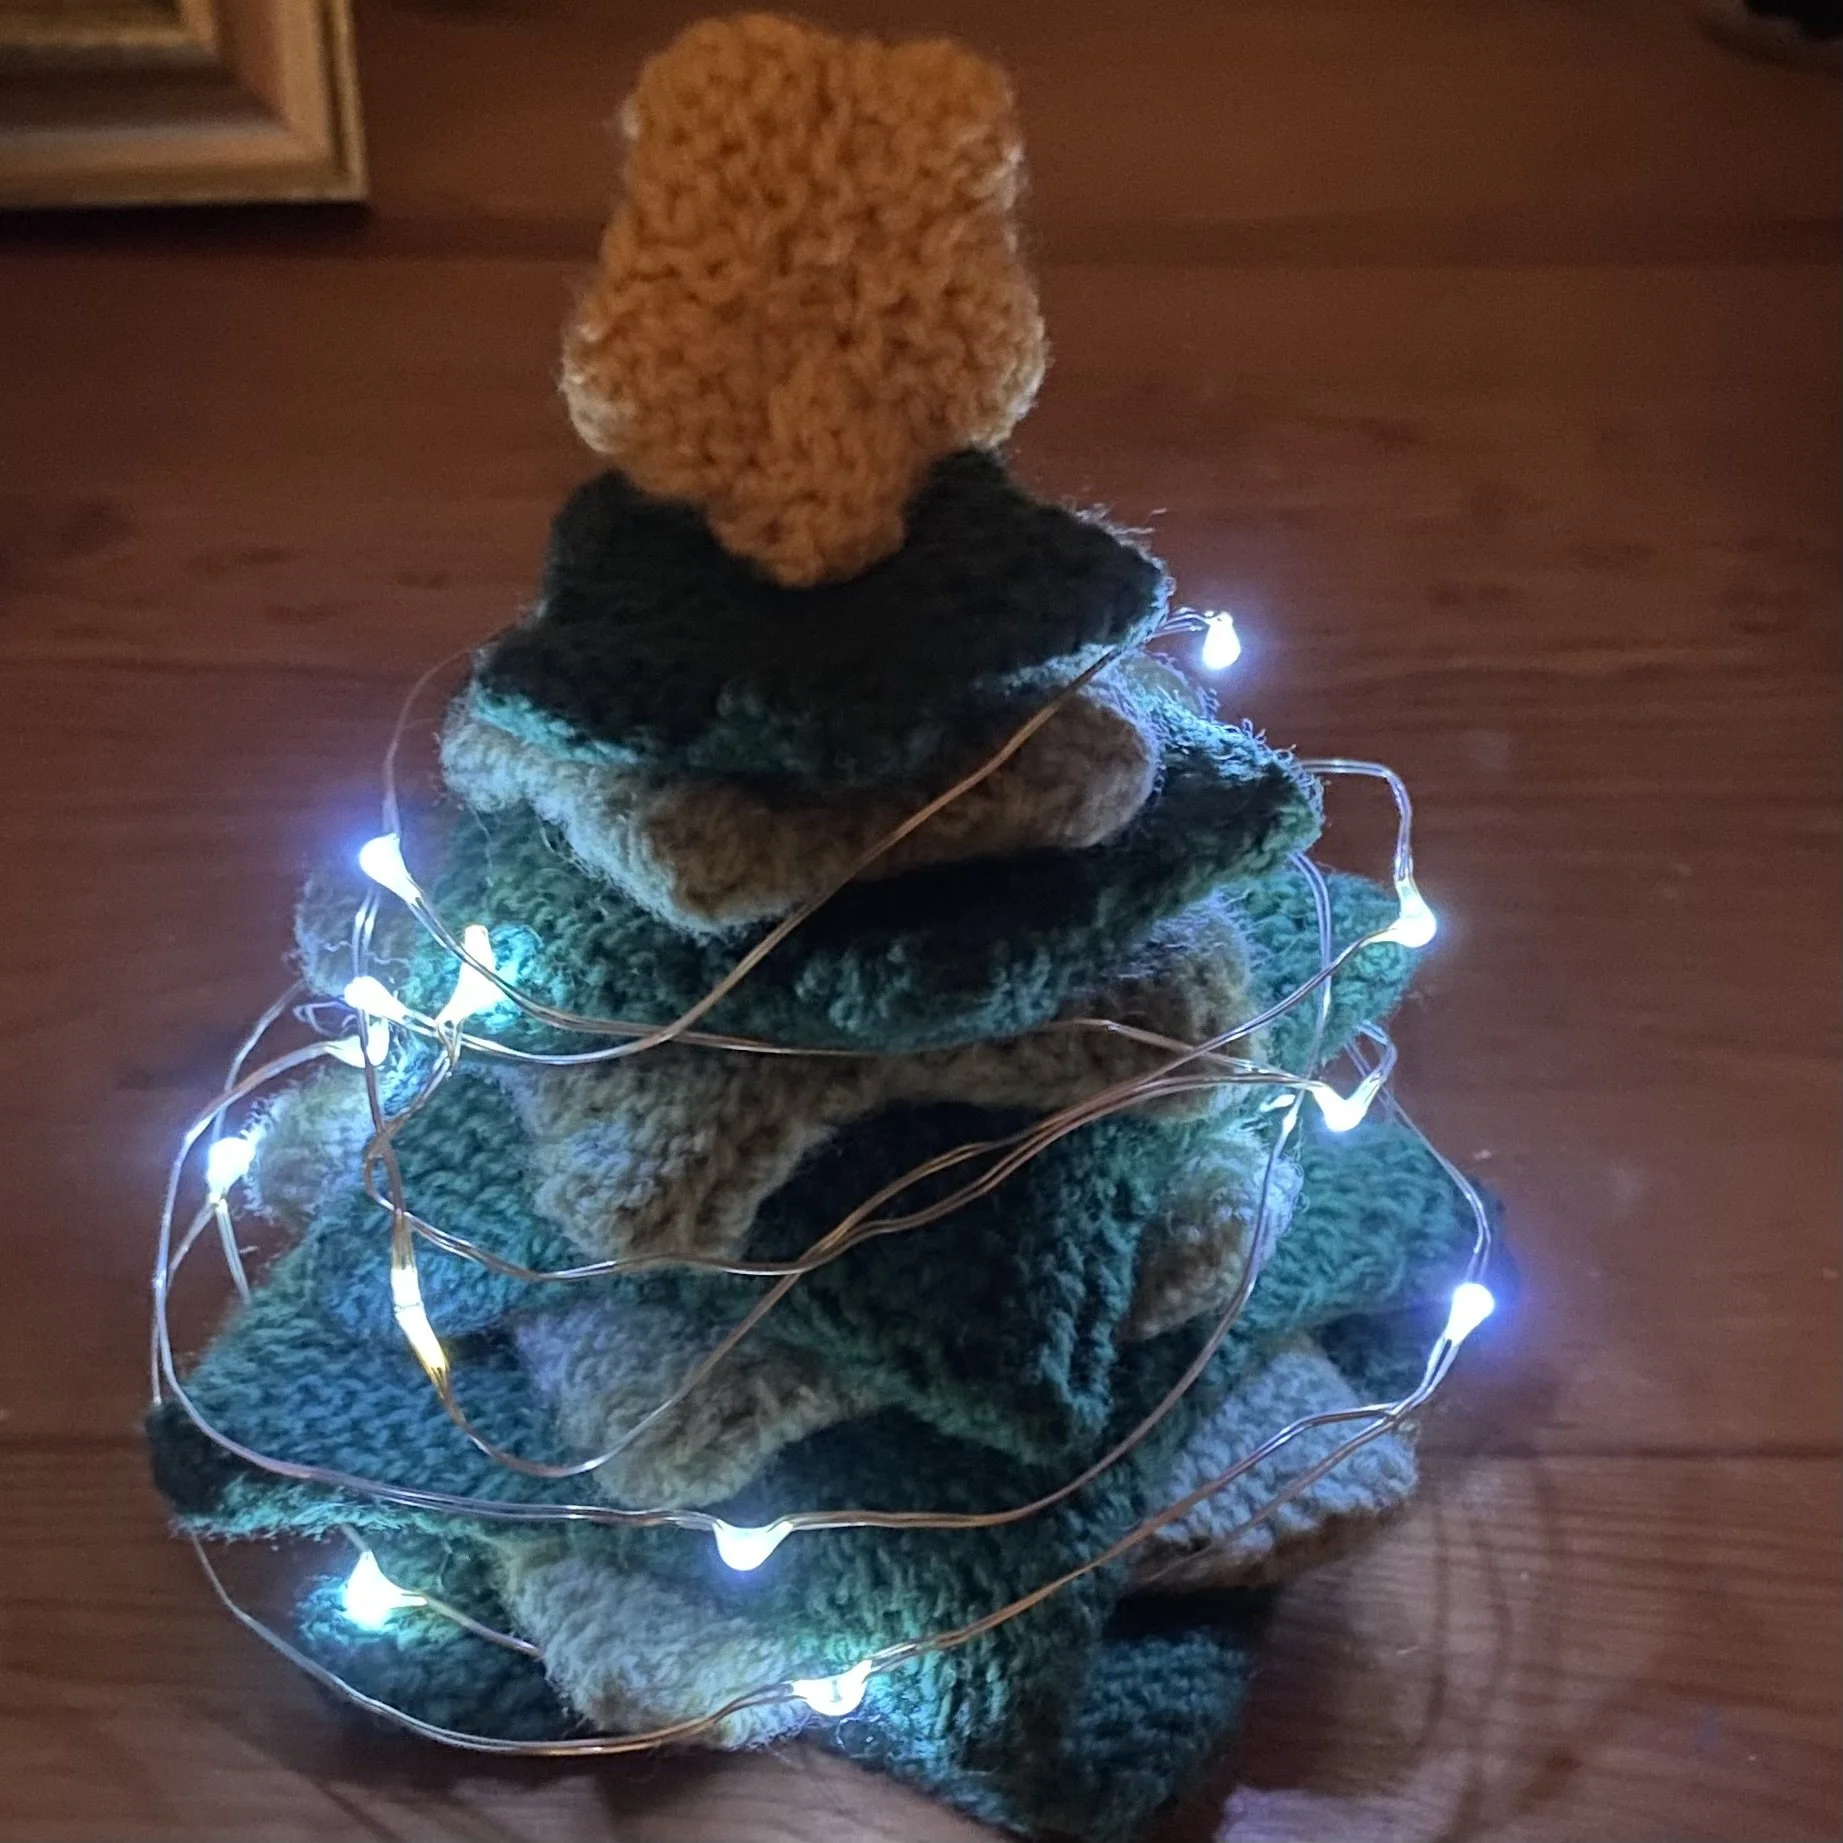
I have a confession: I don’t really decorate for Christmas. I don’t really have a good excuse for this…I have a number of Christmas trees growing on my property, and I have an old steamer trunk full of Christmas decorations, among them the ceramic nativity scene my grandmother hand-painted fifty years ago. And I have a hand-knitted Christmas tree. That one, I did myself.
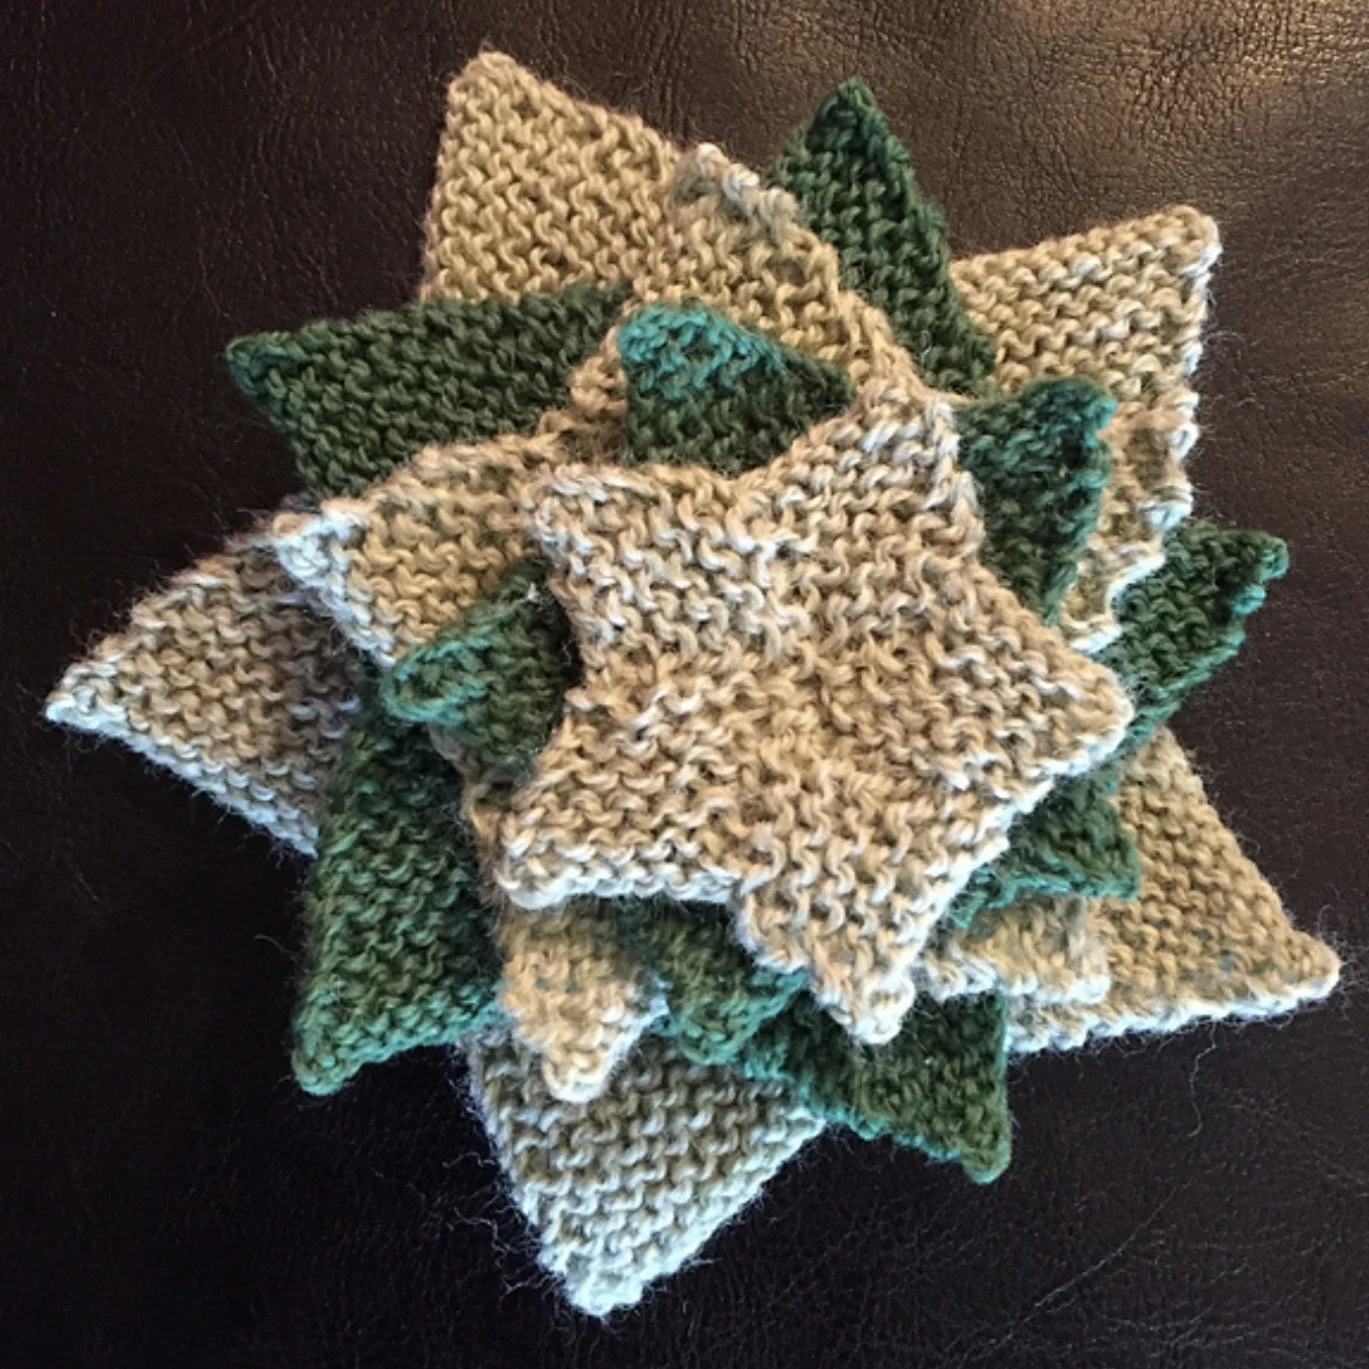
The base of the knitted Christmas tree is a pattern called Stacking Stars by designer Frankie Brown and which is available for free on Ravelry. (FREE!) The idea is that you knit two identical stars, and sew them together around the edges. This gives you a more substantial finished piece.
I went a little further and opted to lightly felt my stars, which I’d knit from scrap wool yarn in two shades of green. I knit several different sizes of the stars, and then sewed them together in a stack to resemble the branches of a tree. I even made a little tiny yellow star to put on the top. I then wrapped a string of fairy lights around the tree et voila! A tiny Christmas tree that doesn’t shed needles everywhere and can be reused year after year.
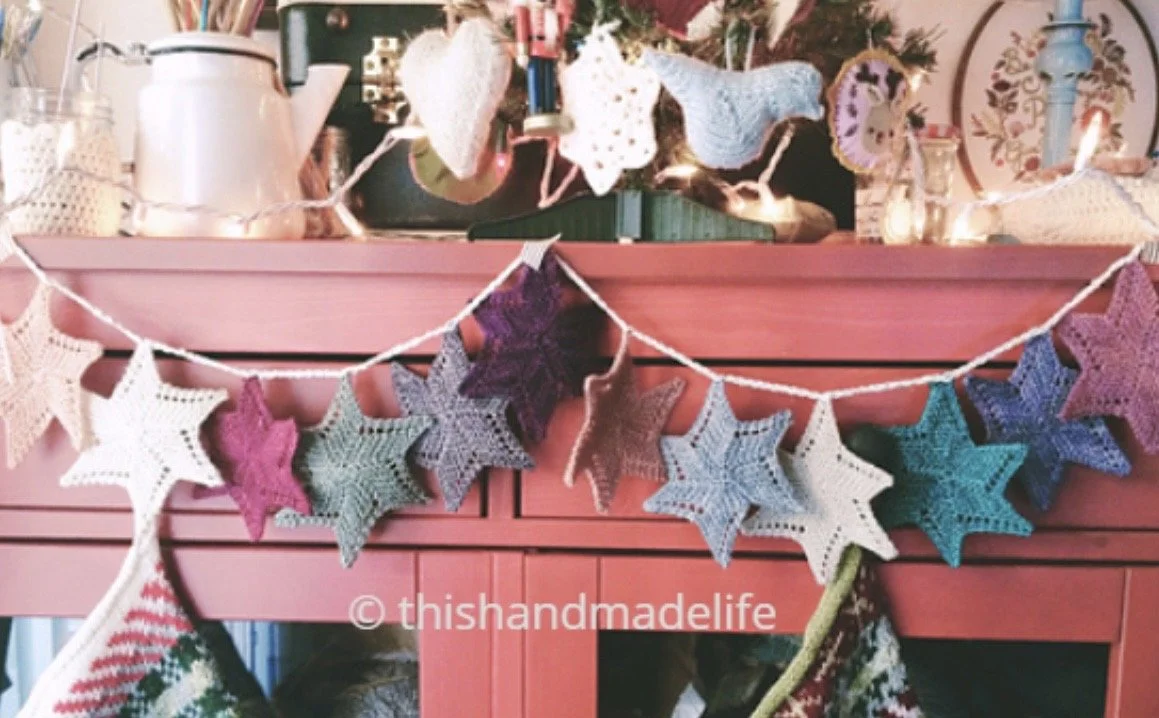
But a Christmas tree is only one thing to do with the stars…the options are almost endless. One thing that could be done for Christmas decorations would be to make a garland of stars. Easy to do and a lovely country look for Christmas. This particular photo off Pinterest uses a different star pattern, but the idea is there.
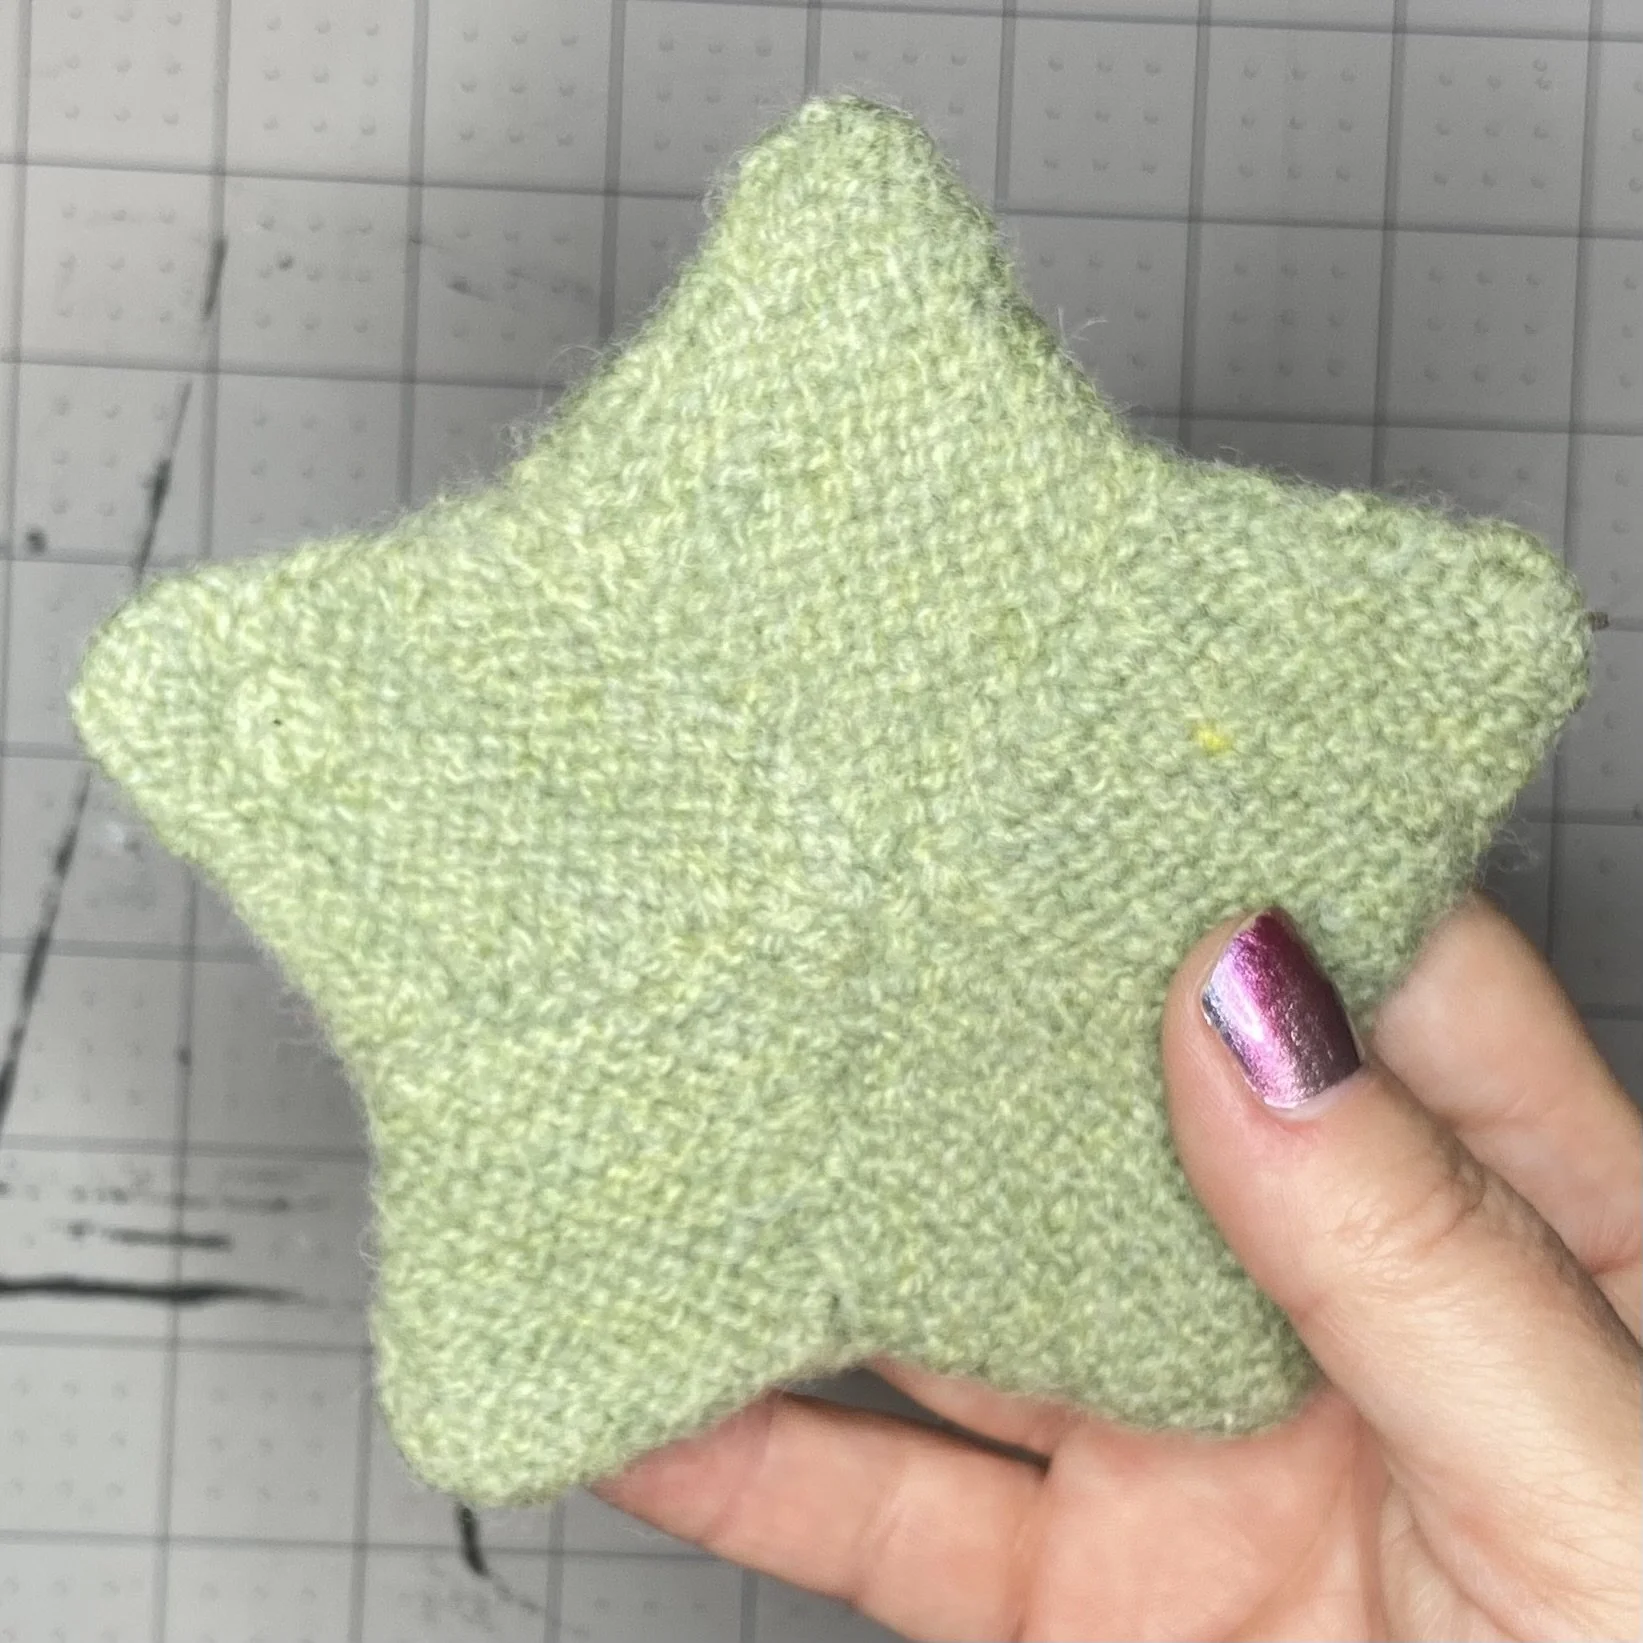
You can knit larger stars in cotton yarn and use them as coasters.
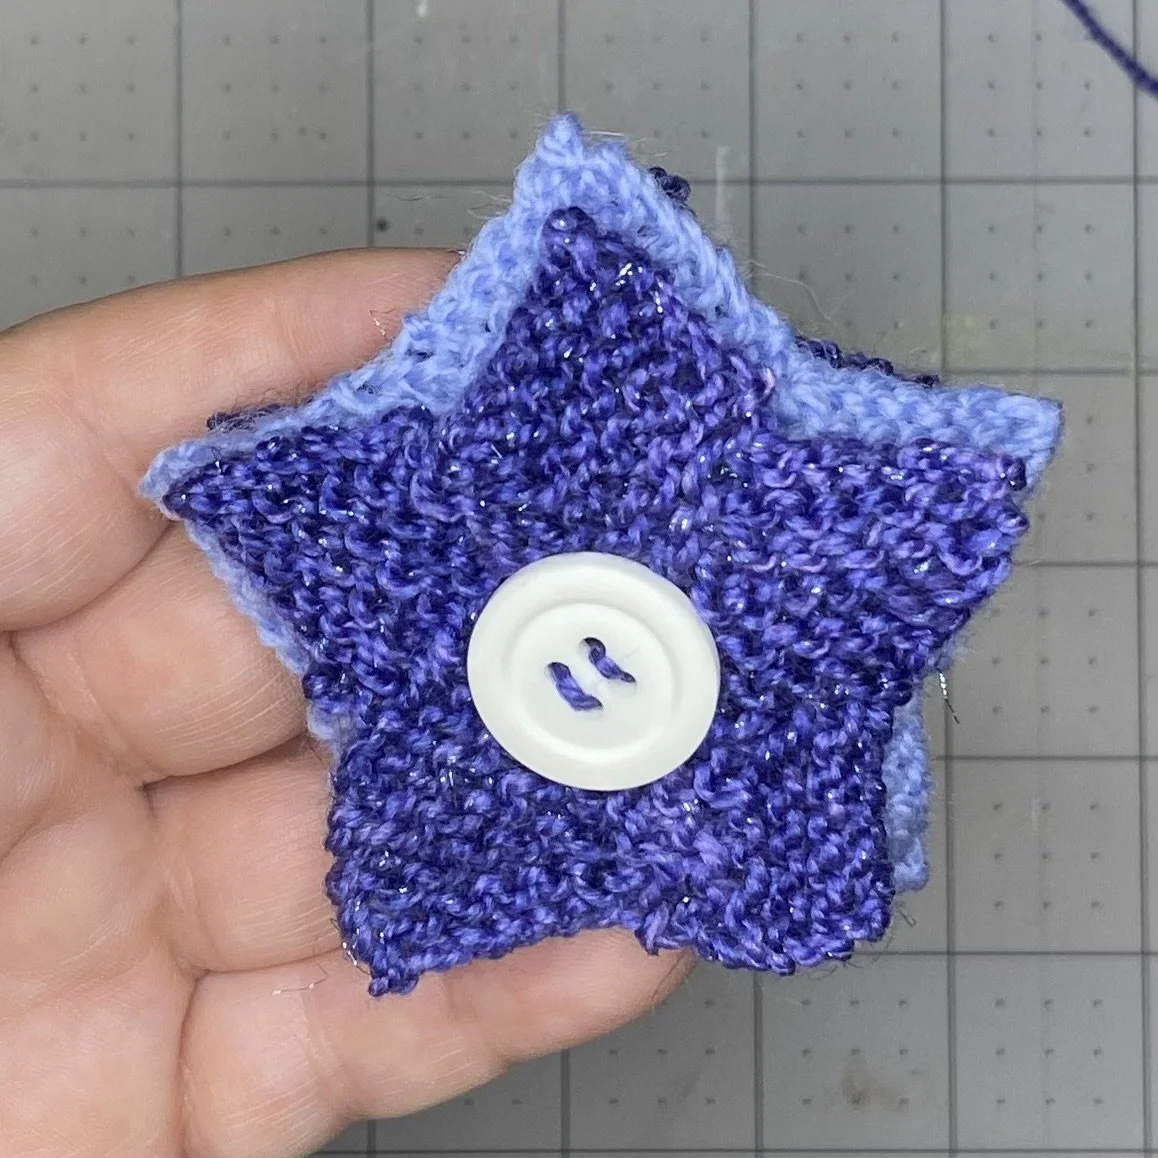
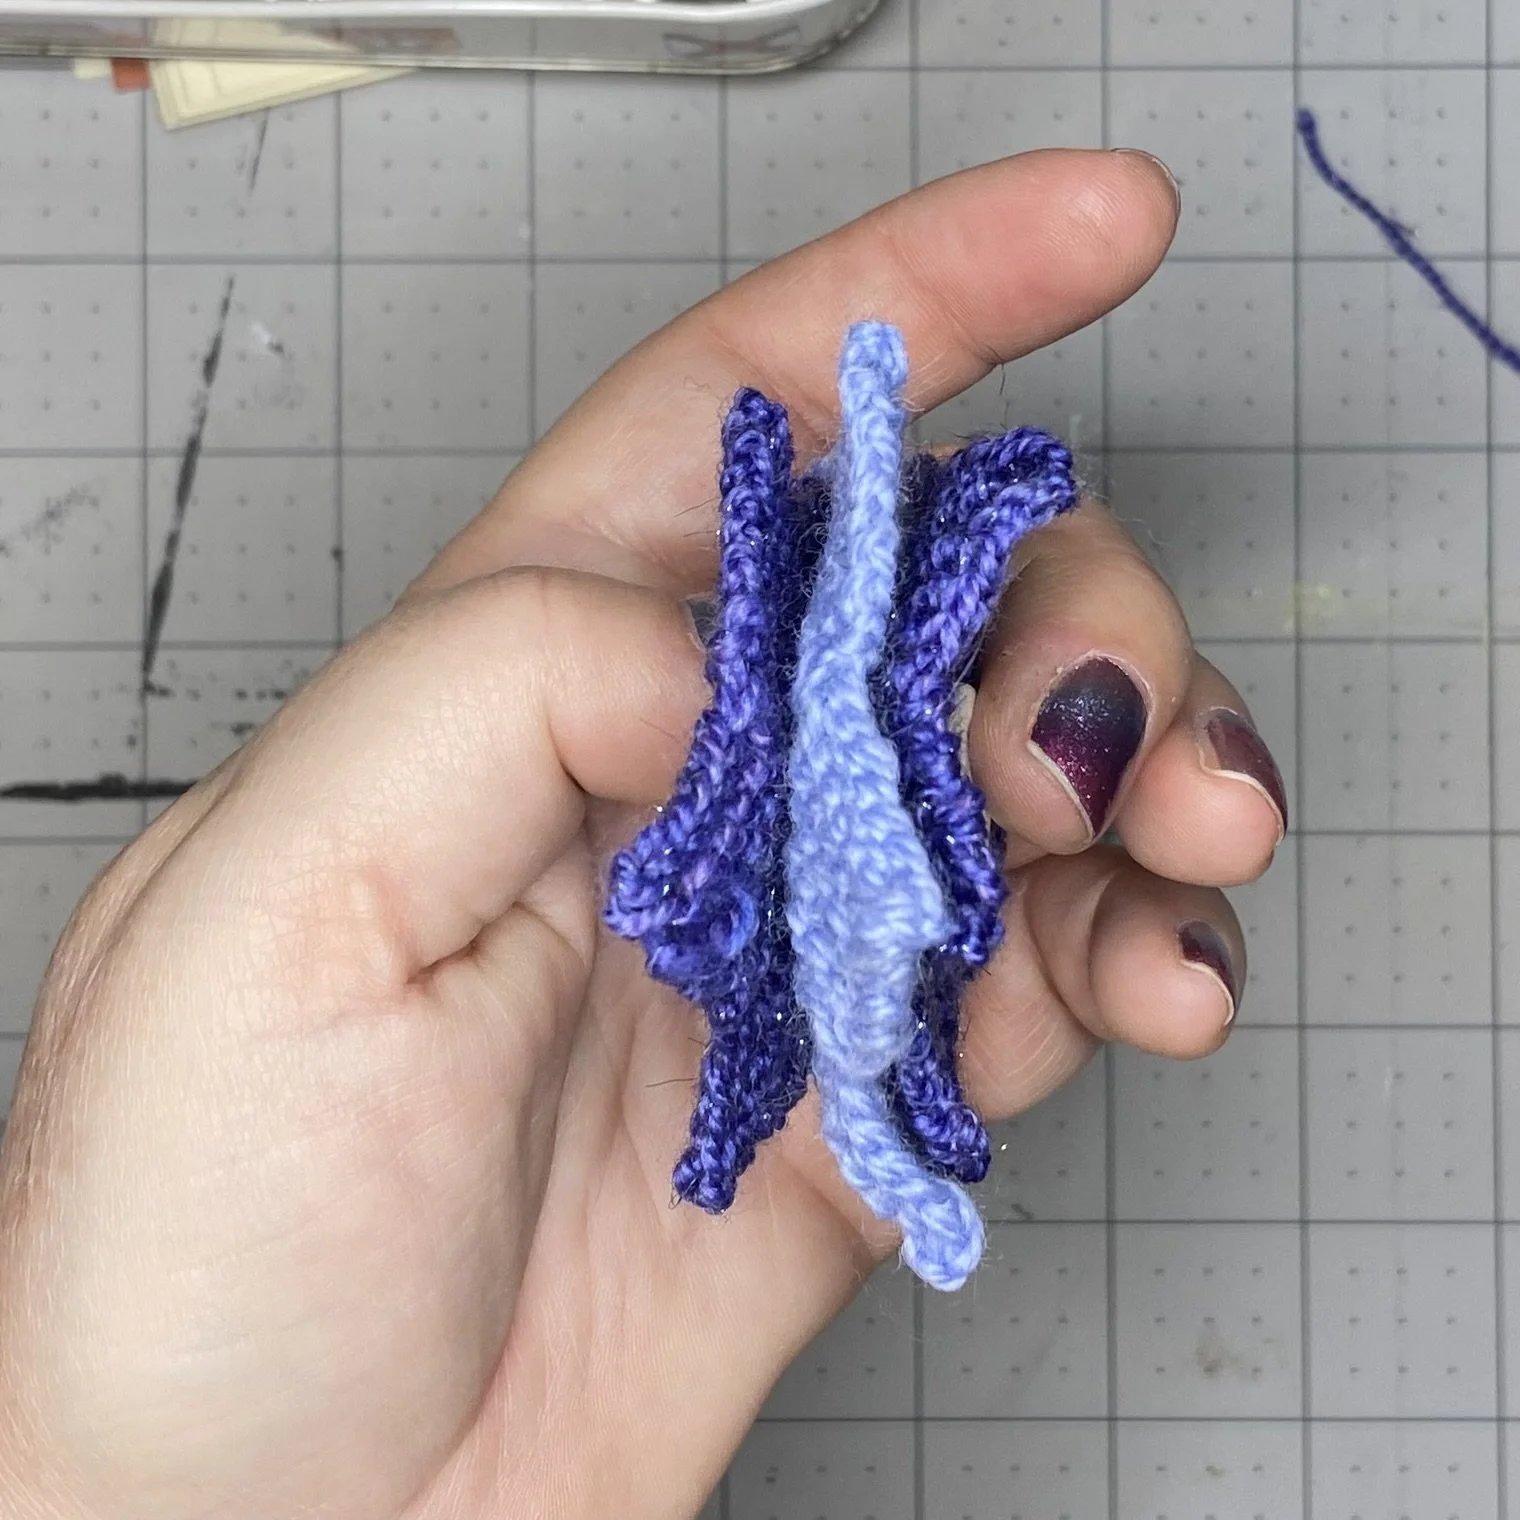
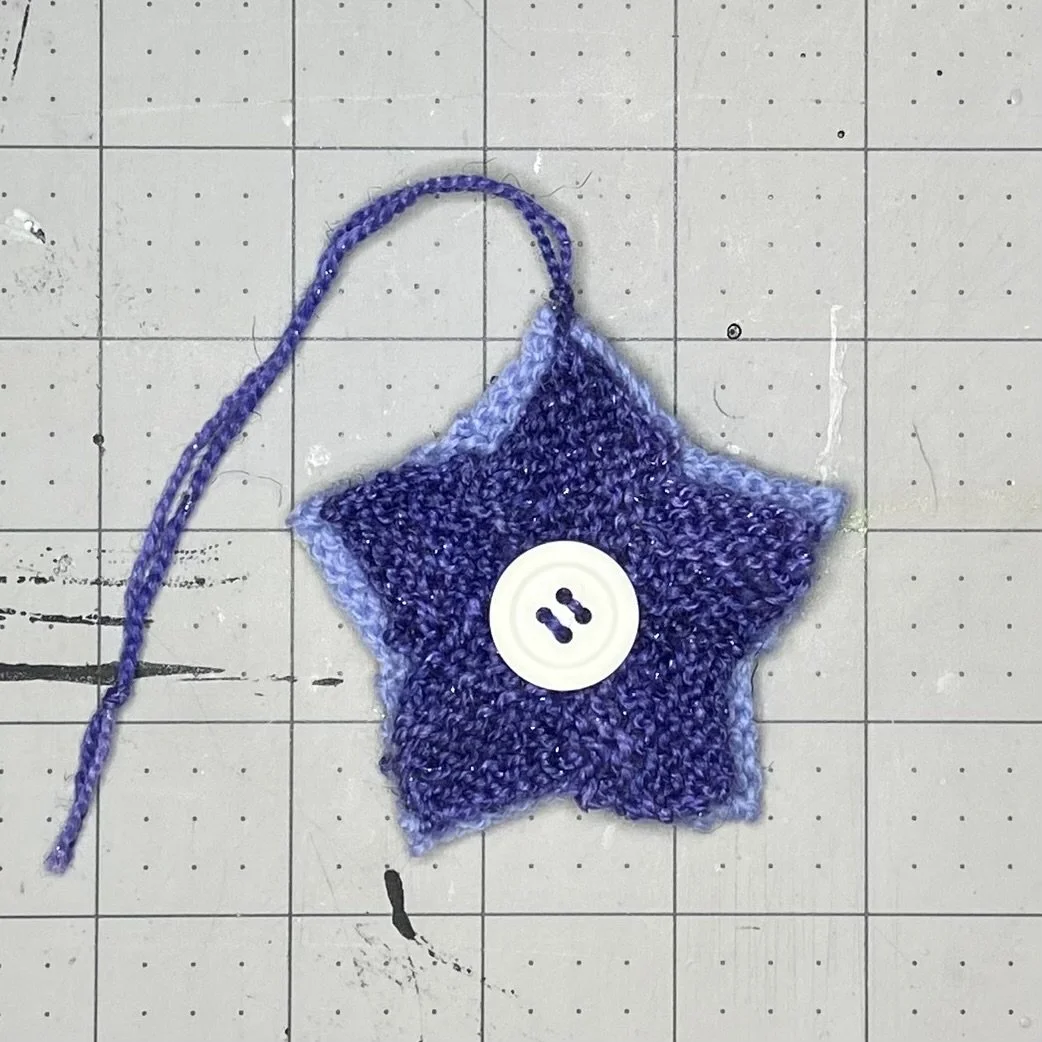
And you can make a Christmas ornament out of them, which is what I did for this blog post. I knitted two purple stars out of scrap sock yarn and one slightly larger blue star out of some scrap light fingering weight yarn. Then I layered the three stars together with the larger one in the middle, and sewed a button on either side to hold them together. They are a little floppy, which I like. If you wanted a tidier result, you could sew the three stars together around the edges.
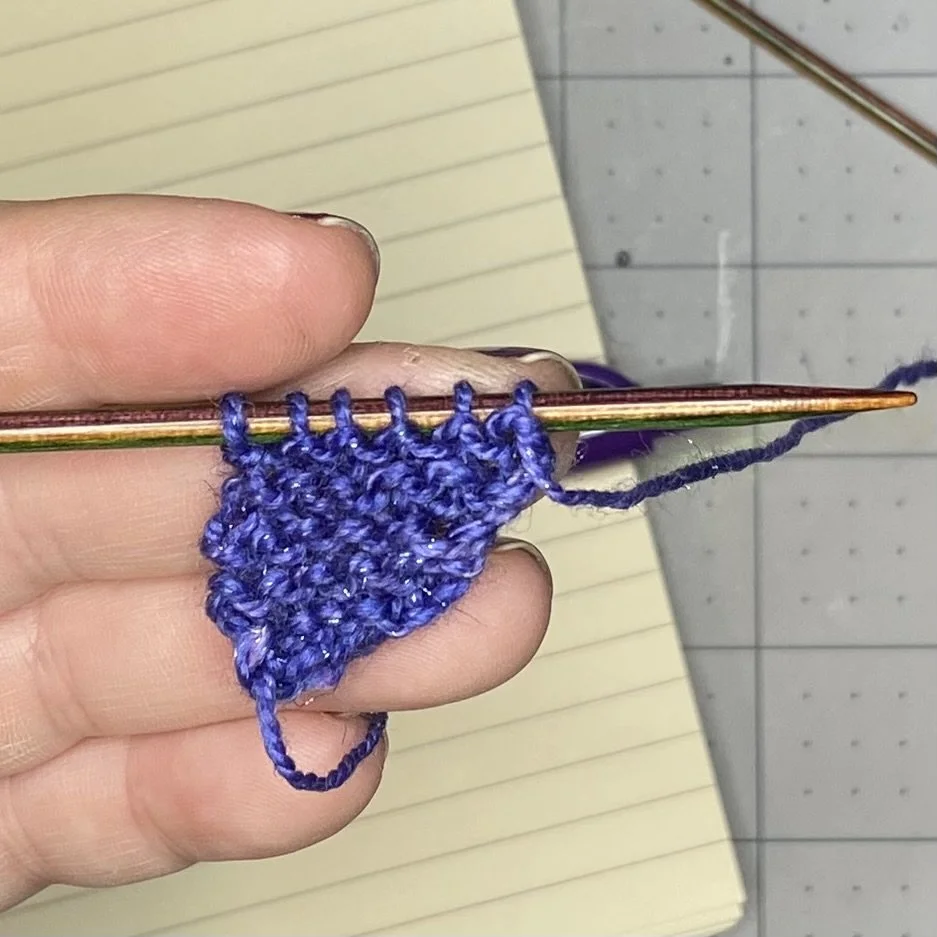
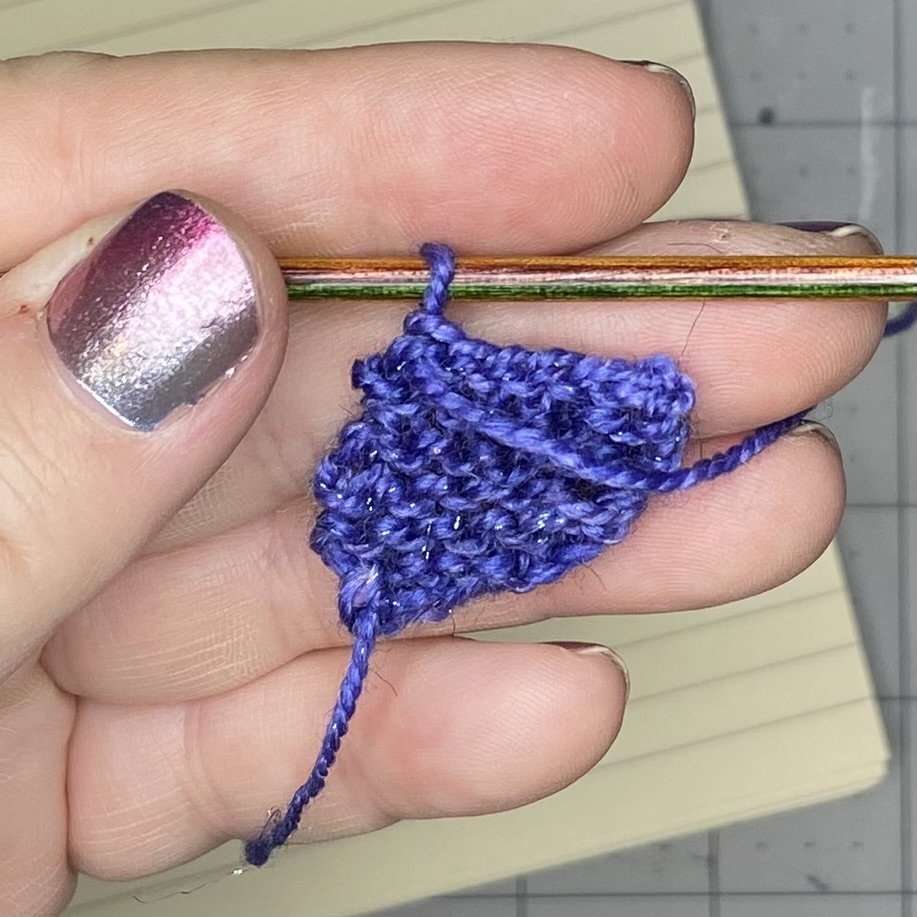
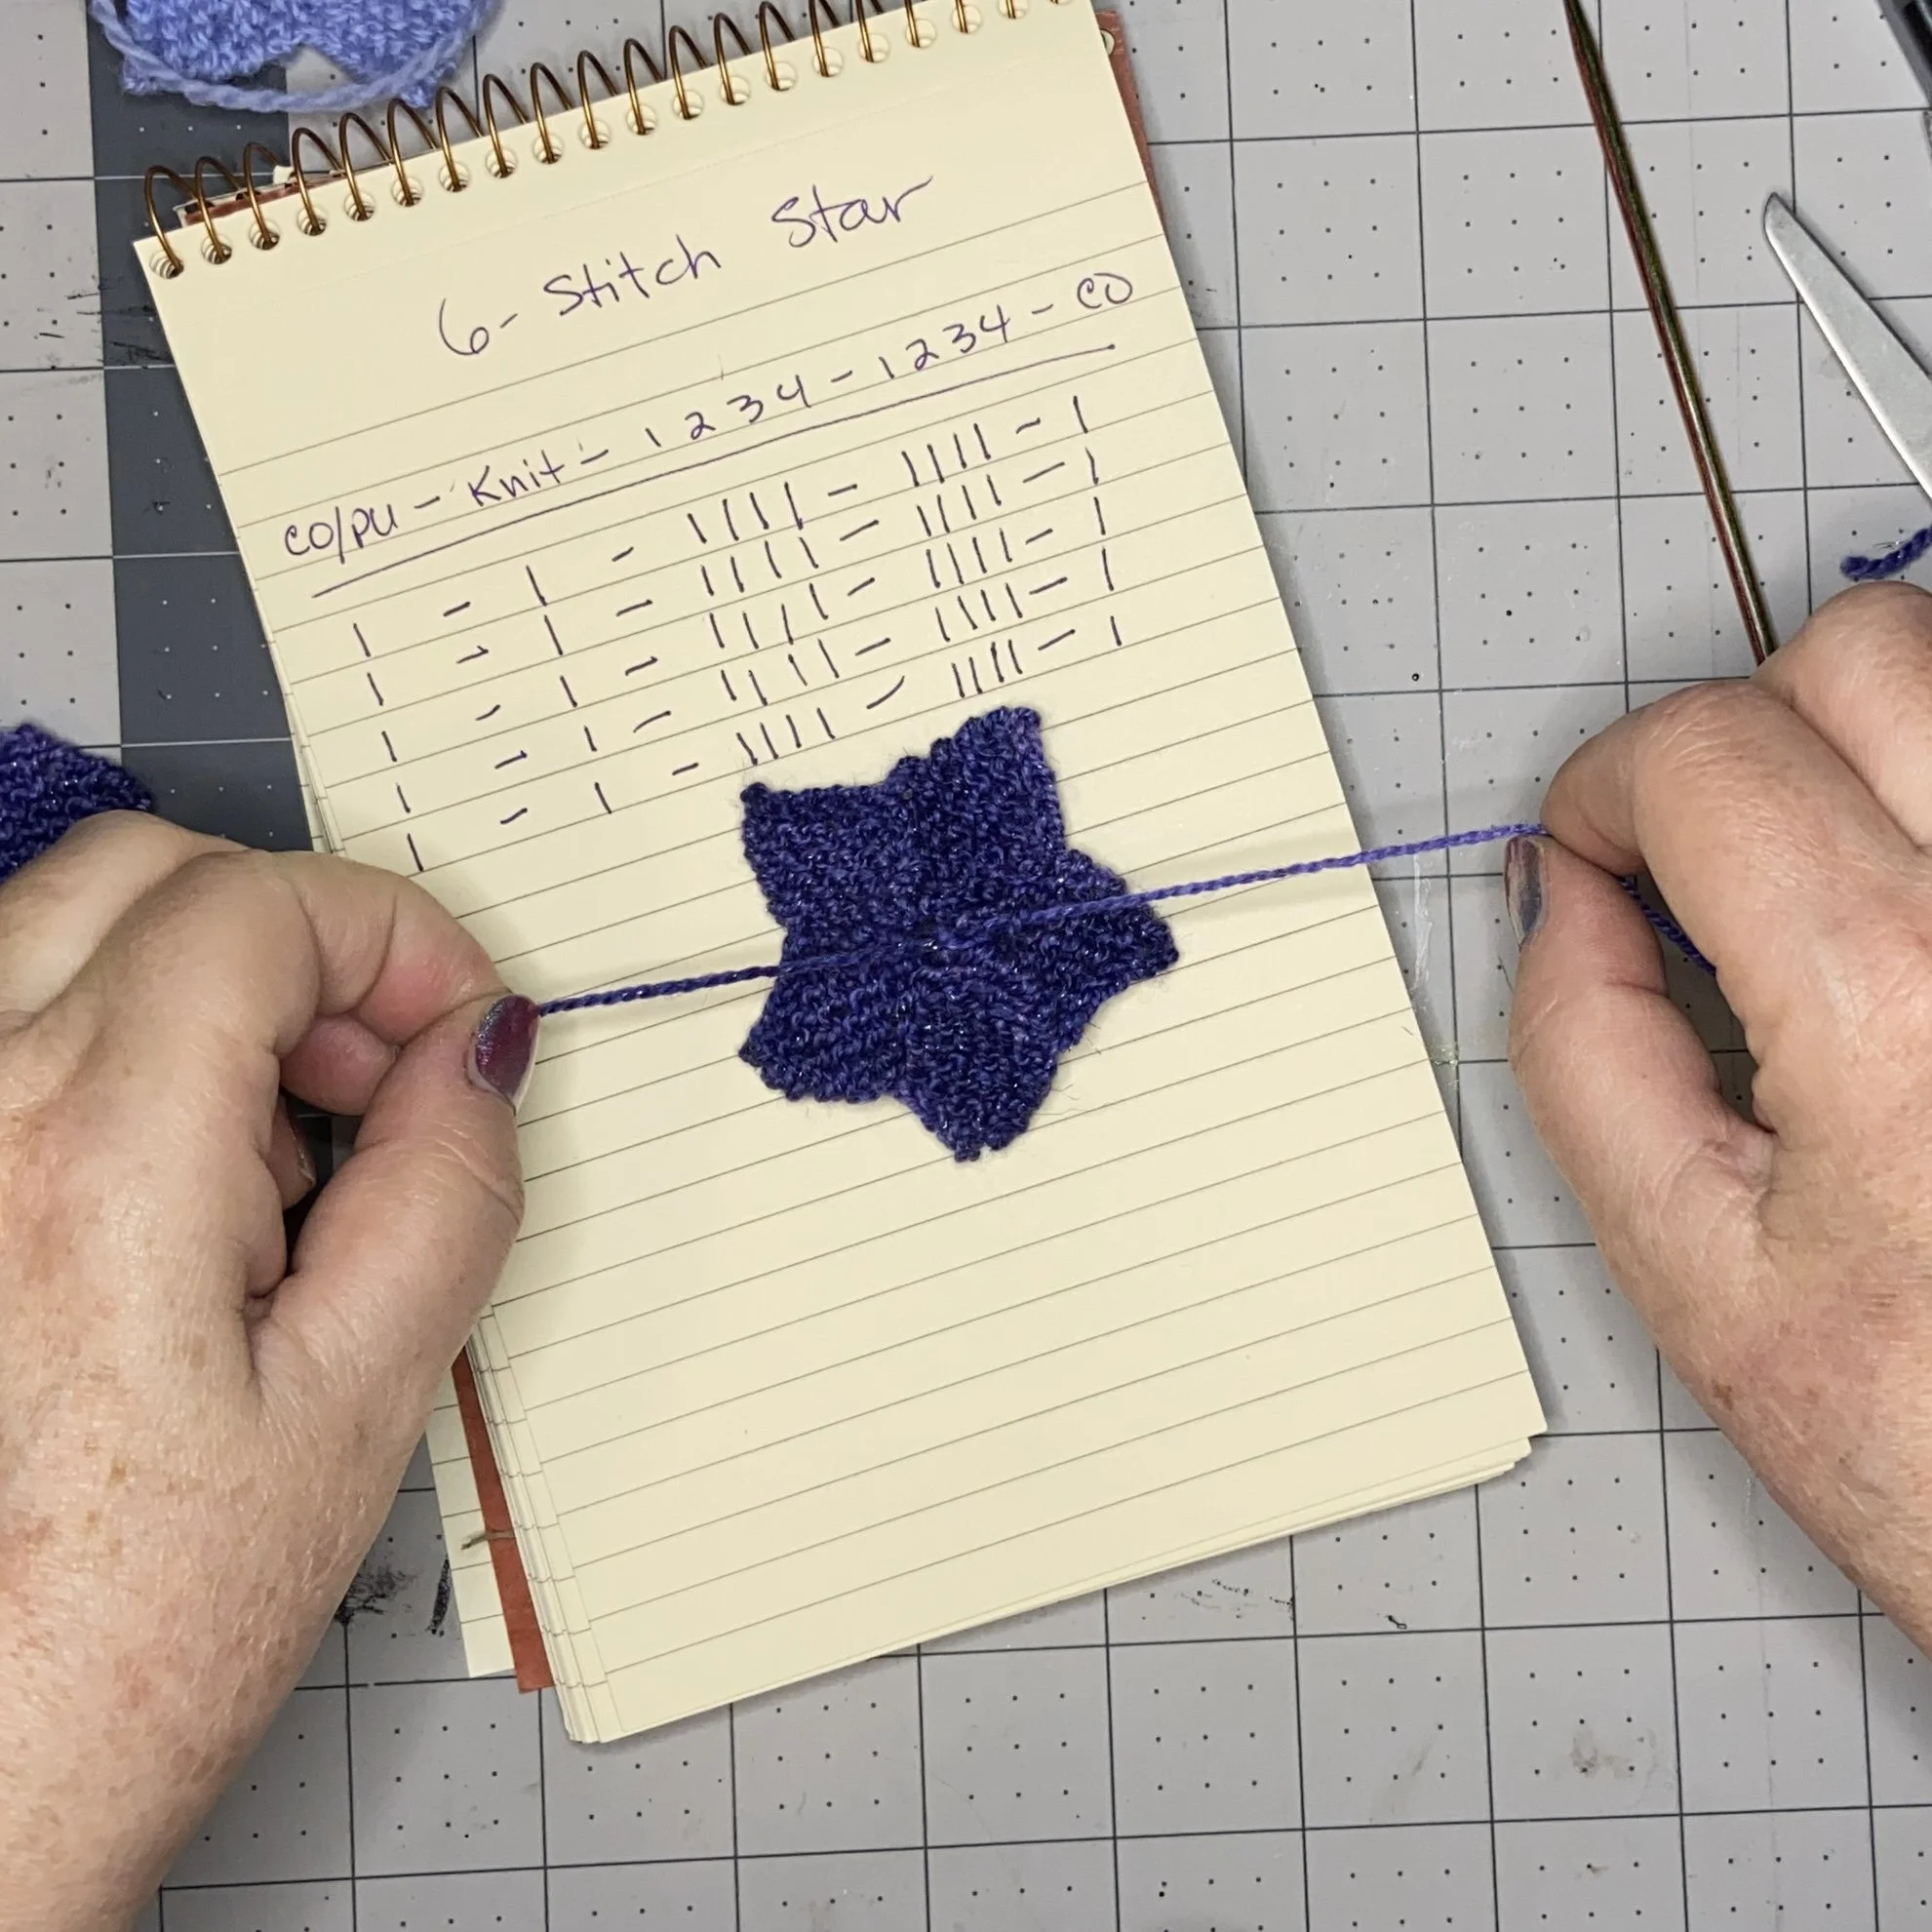
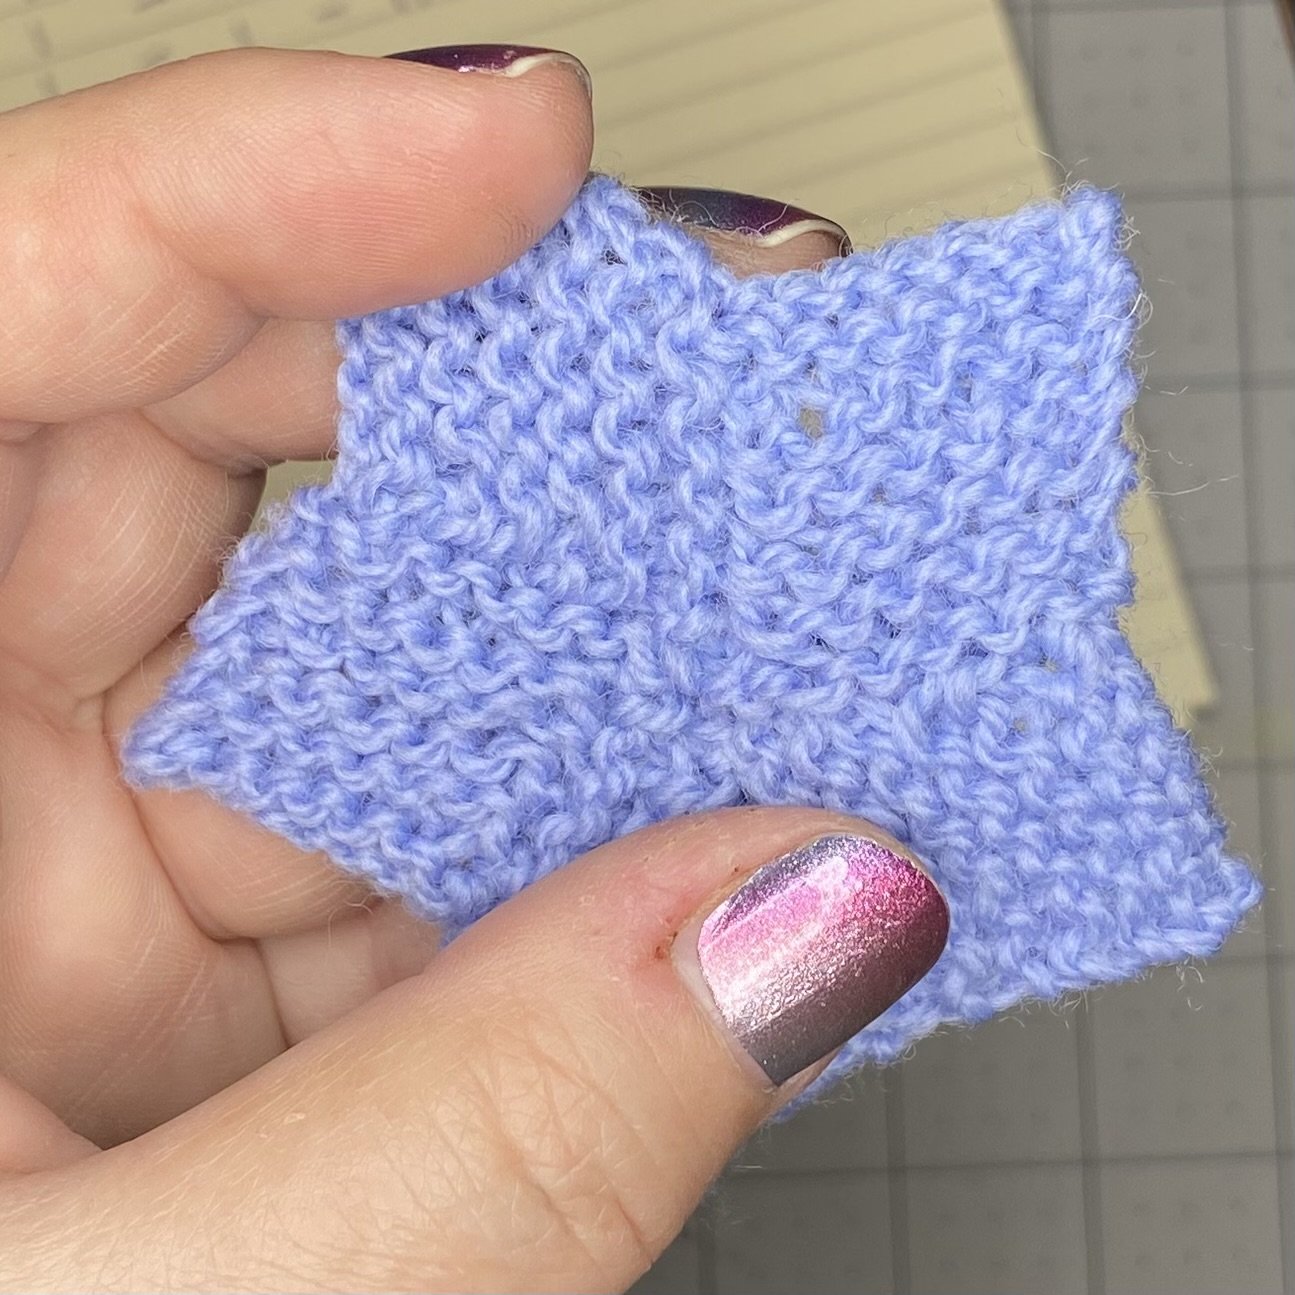
The pattern itself is very easy, but it’s also easy to get confused, so here are a few tips. Make notes and keep track of every row! Also, remember that the tail from your cast-on ends up at the center of your star, so when the tail is on the left, you are looking at the front side of your work. From the front side, the increases for each arm of the star happen on the right.
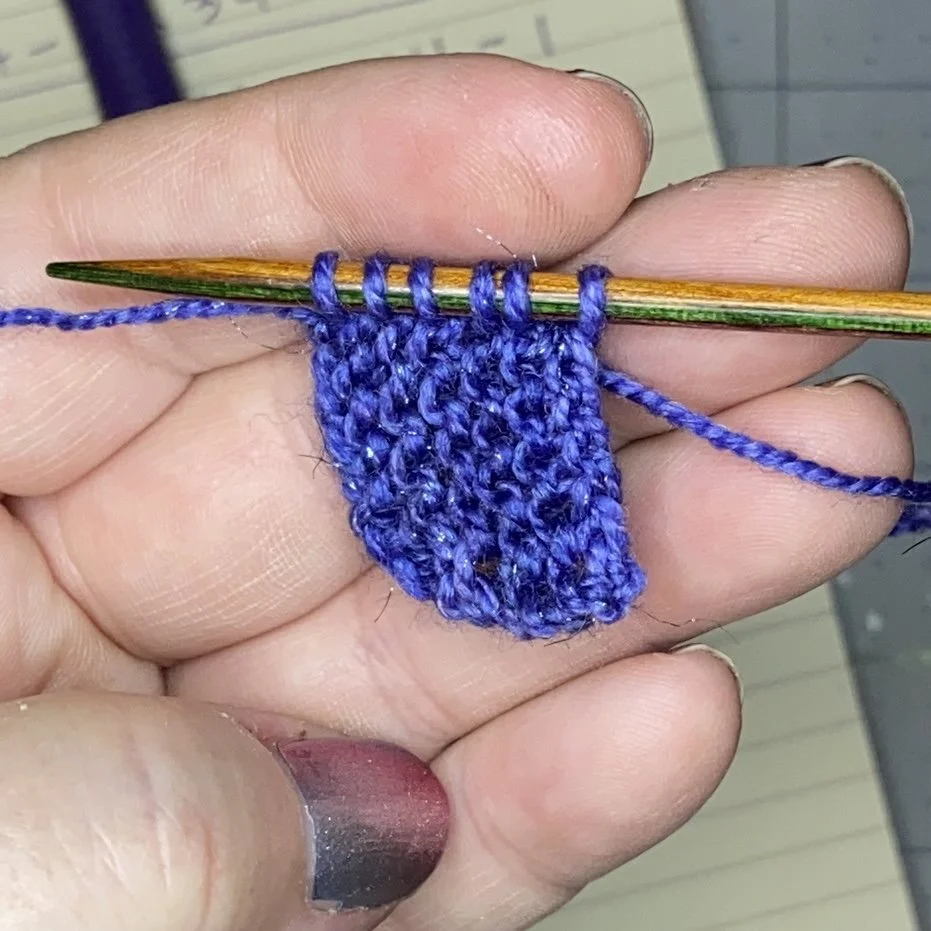
Okay, the general overview of the pattern is that you work one arm of the star, cast off all but one stitch, and pick up and knit stitches along the left side of the work. Then use those stitches to knit the next arm, and so on. Eventually, you will have five arms.
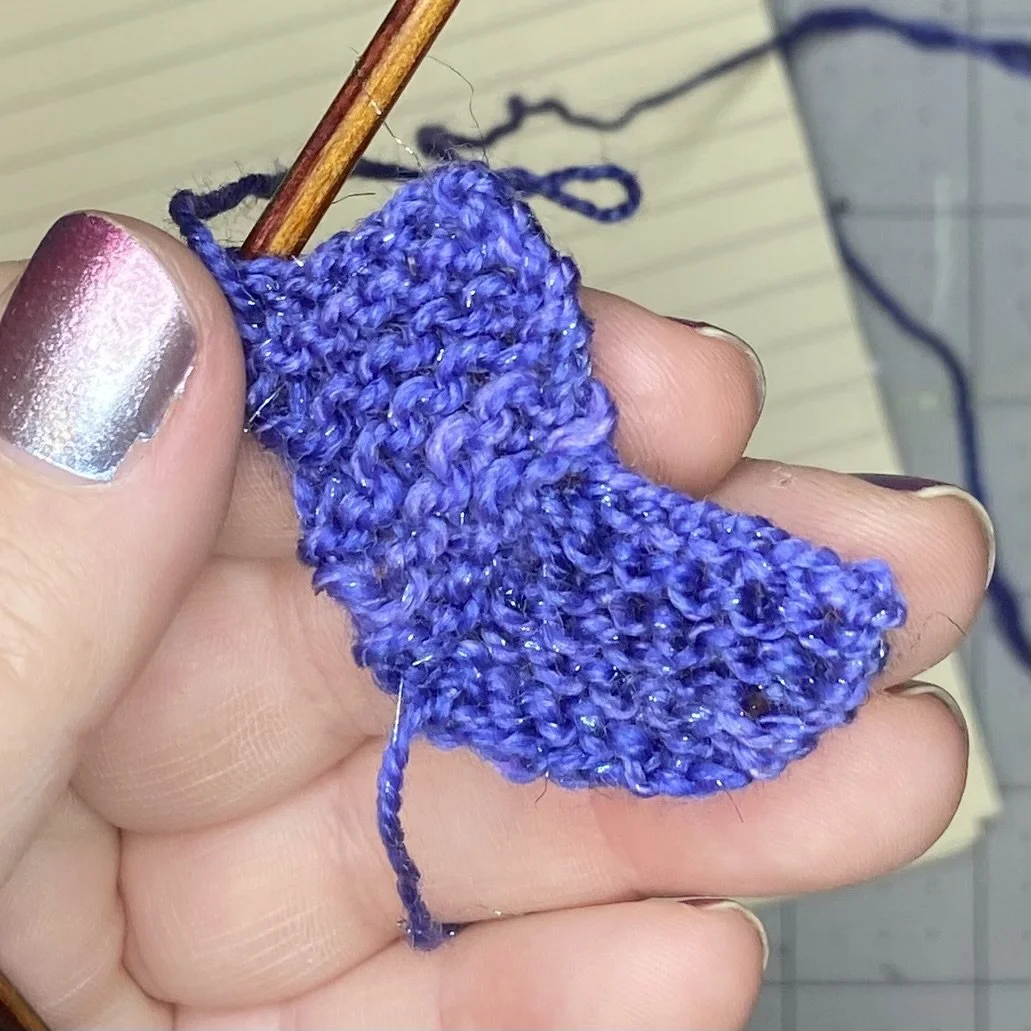

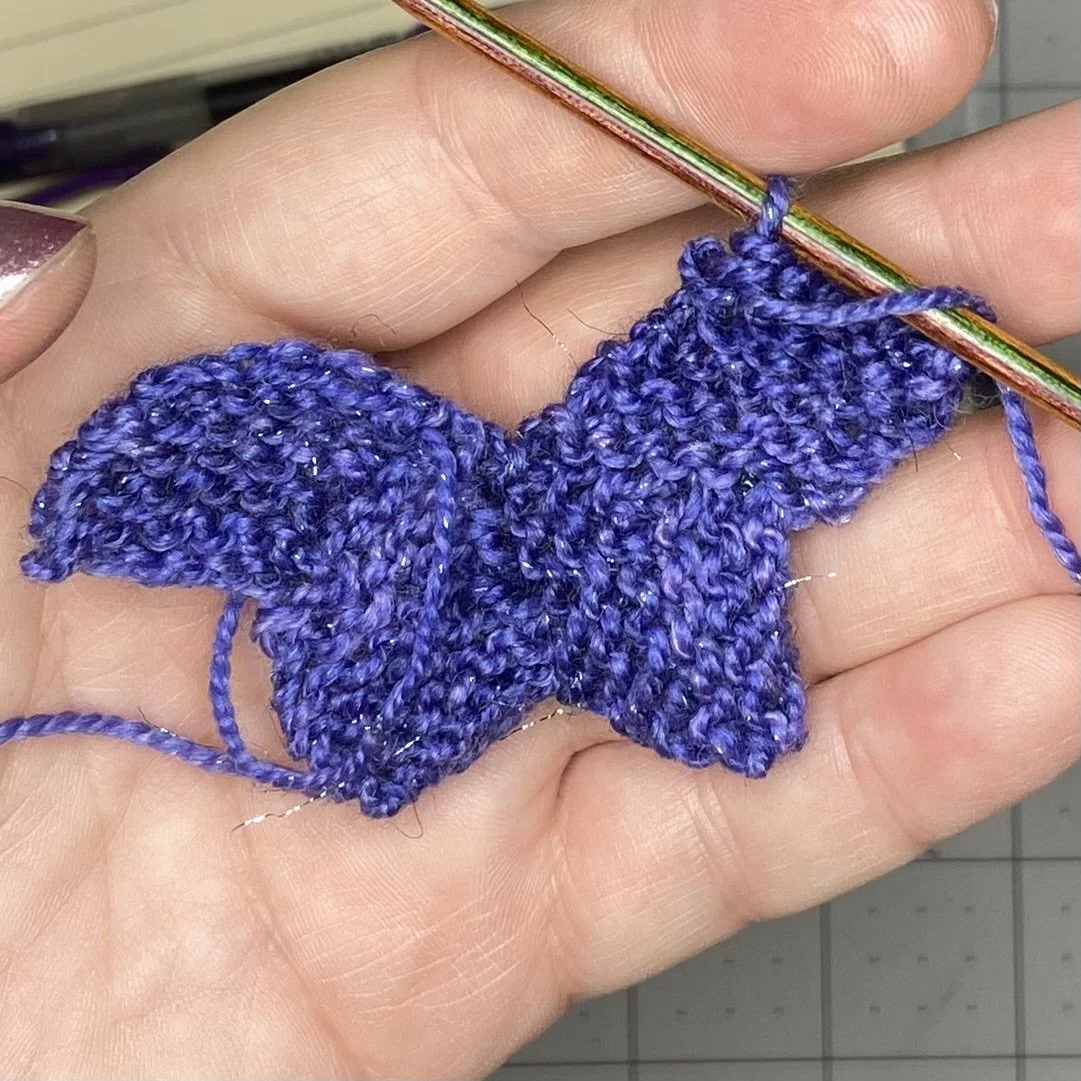
Cast off completely and sew the final cast-off edge to the initial cast-on edge. When the sewing was done, I opted to tie my ending tail securely to my beginning tail and then just cut the excess off. I didn’t bother weaving in the ends.

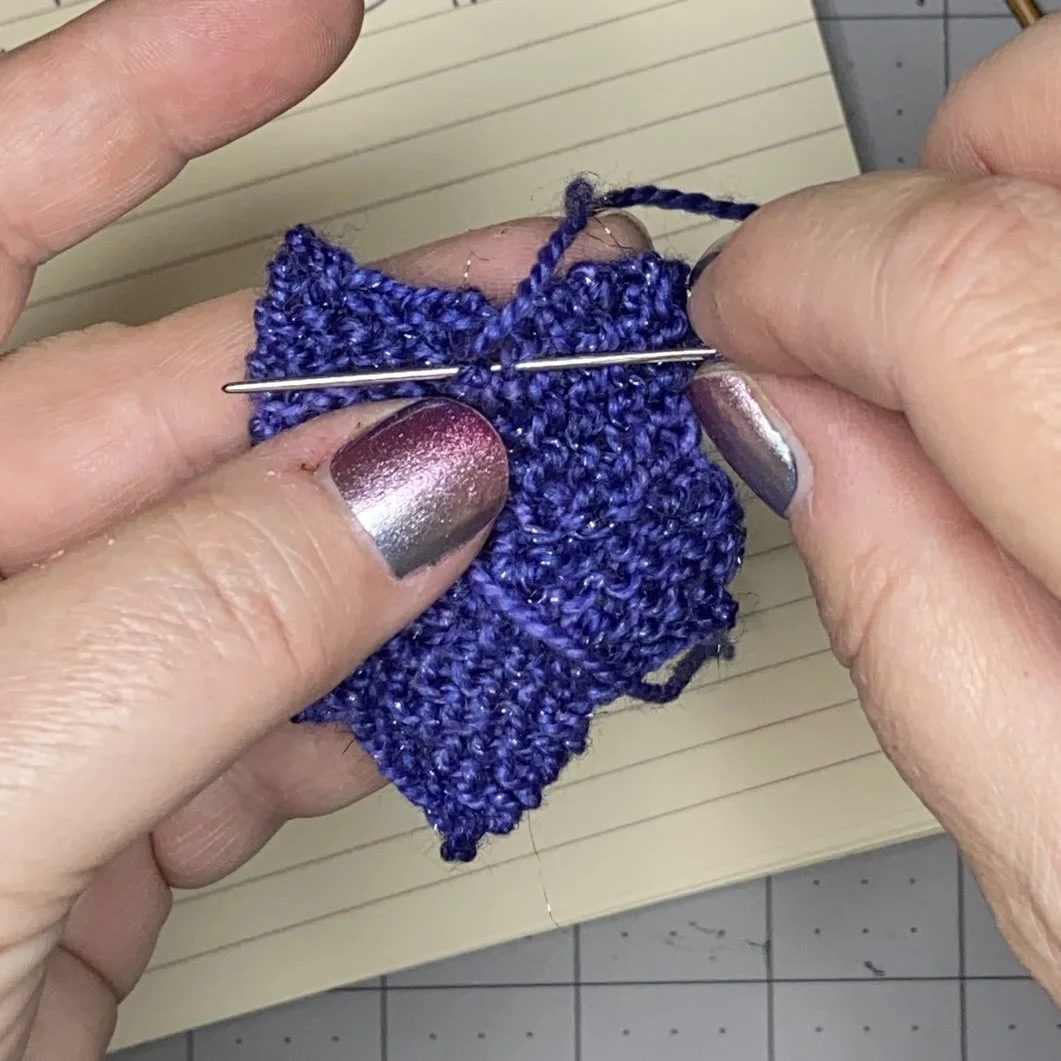
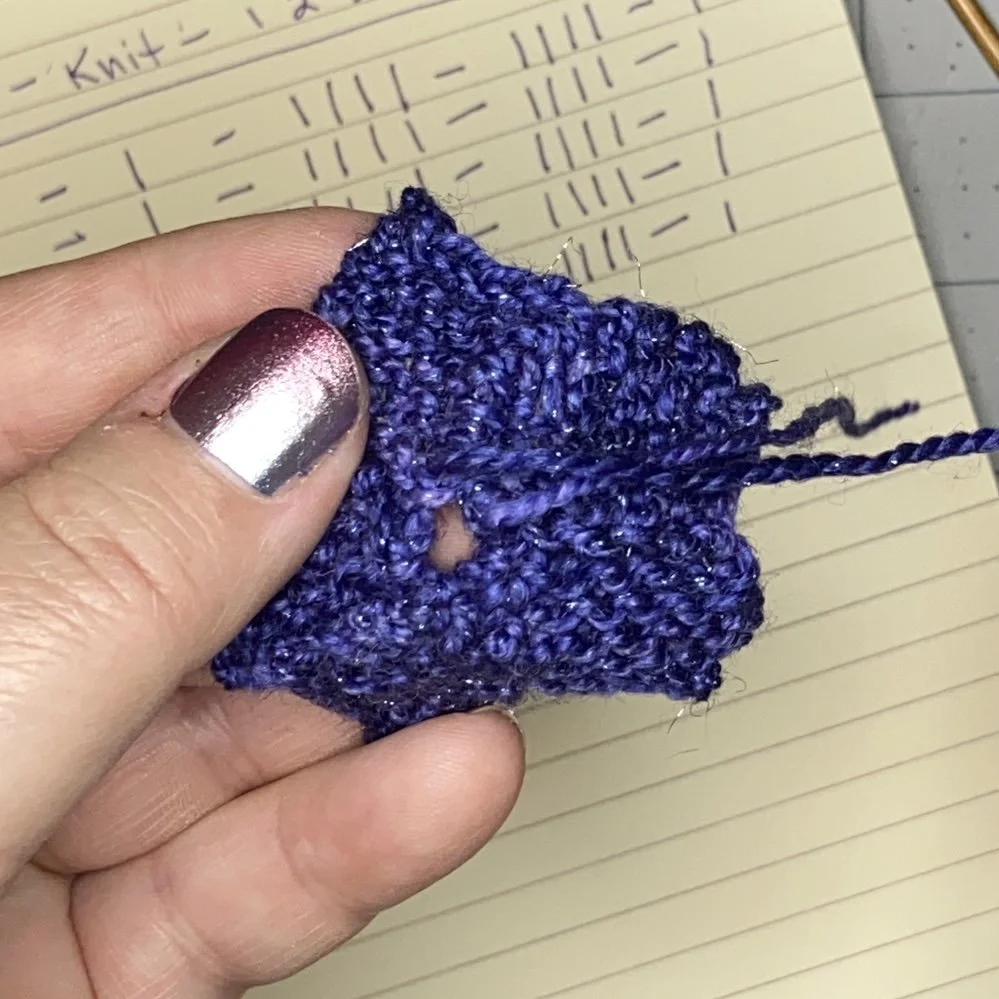
There is a front and a back to the star but the differences are subtle. The back side (visible in the picture below left) will show the ridges from the picked up stitches. If possible, you will want to do your sewing on the back side and make sure that the back side is not visible in the final project. Once the seam is sewn, you will find you also have a small hole in the center. If the center of the star will be visible in the final project, you will probably want to close up that hole.
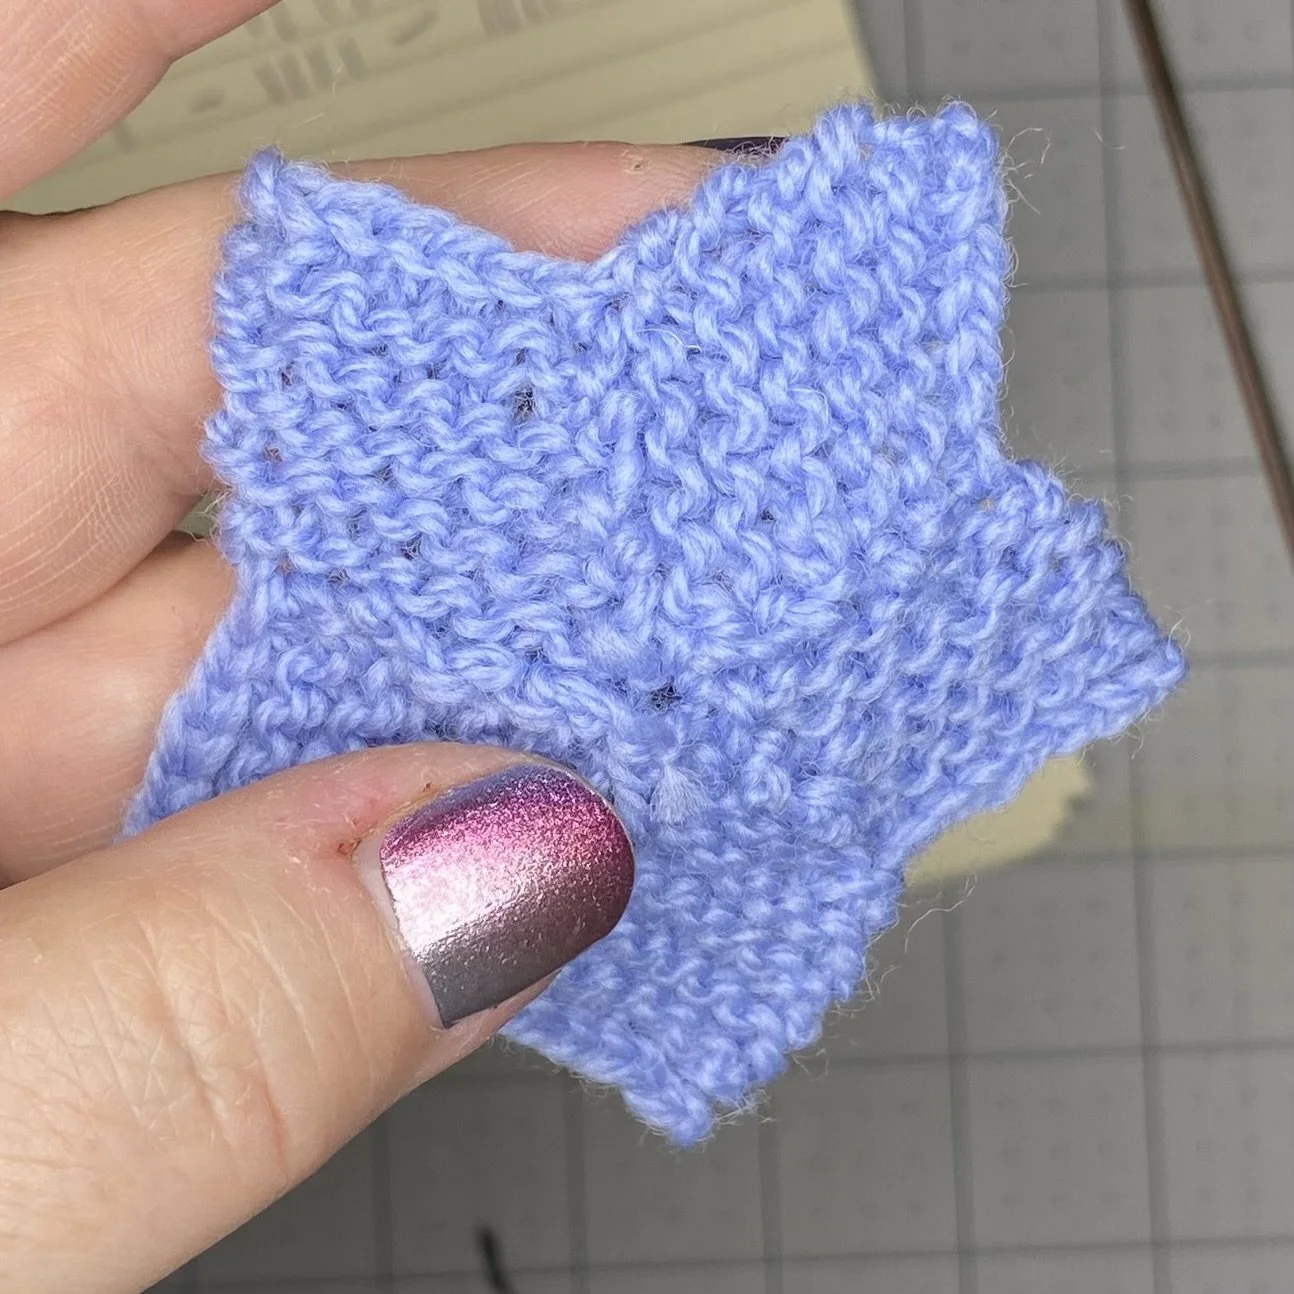
The pattern is quite easy (suitable for a beginning knitter) and it’s so very satisfying to have a stack of finished stars to play with and admire, before you turn them into some decorative project. It’s also a stellar way (ha! See what I did there?) to knit down your stash, as this pattern can be used with any weight of yarn.