Adventures In Trailblazing—Part 1
As an Amazon associate, I may earn a small commission if you navigate to Amazon from my site and buy something. This will not result in an extra cost to you.

I inherited my love of maps from my father. He spent some time in Army intelligence as a young man, where his job was to translate aerial photography into topographical maps. He has quite a treasure trove of old paper maps, and some of my fondest memories of my childhood are the times when dad pulled out his stash, spread the maps out on our dining room table, and we studied them together. I confess, I still struggle with interpreting topographical maps, but I sure like looking at them. I have a small collection of paper maps of my own, having made an effort to pick up at least one in every part of the country I’ve visited. Well, most parts that I’ve visited…

As my father’s birthday approaches, I’ve been pondering a new art project. Actually, I’ve been pondering a new project for several months, but since I’m not much of an actual “artist,” my projects take a loooong time, most of which is spent thinking about possibilities. I finally got a starting point when I bought an old compass off of eBay. What any trailblazer needs is a compass…and either a map or materials to make a map. You know, like Lewis and Clark! Okay, they also had a few expert guides, but they definitely had compasses and they definitely made a lot of maps. Here is an interesting site that showcases their cartography.
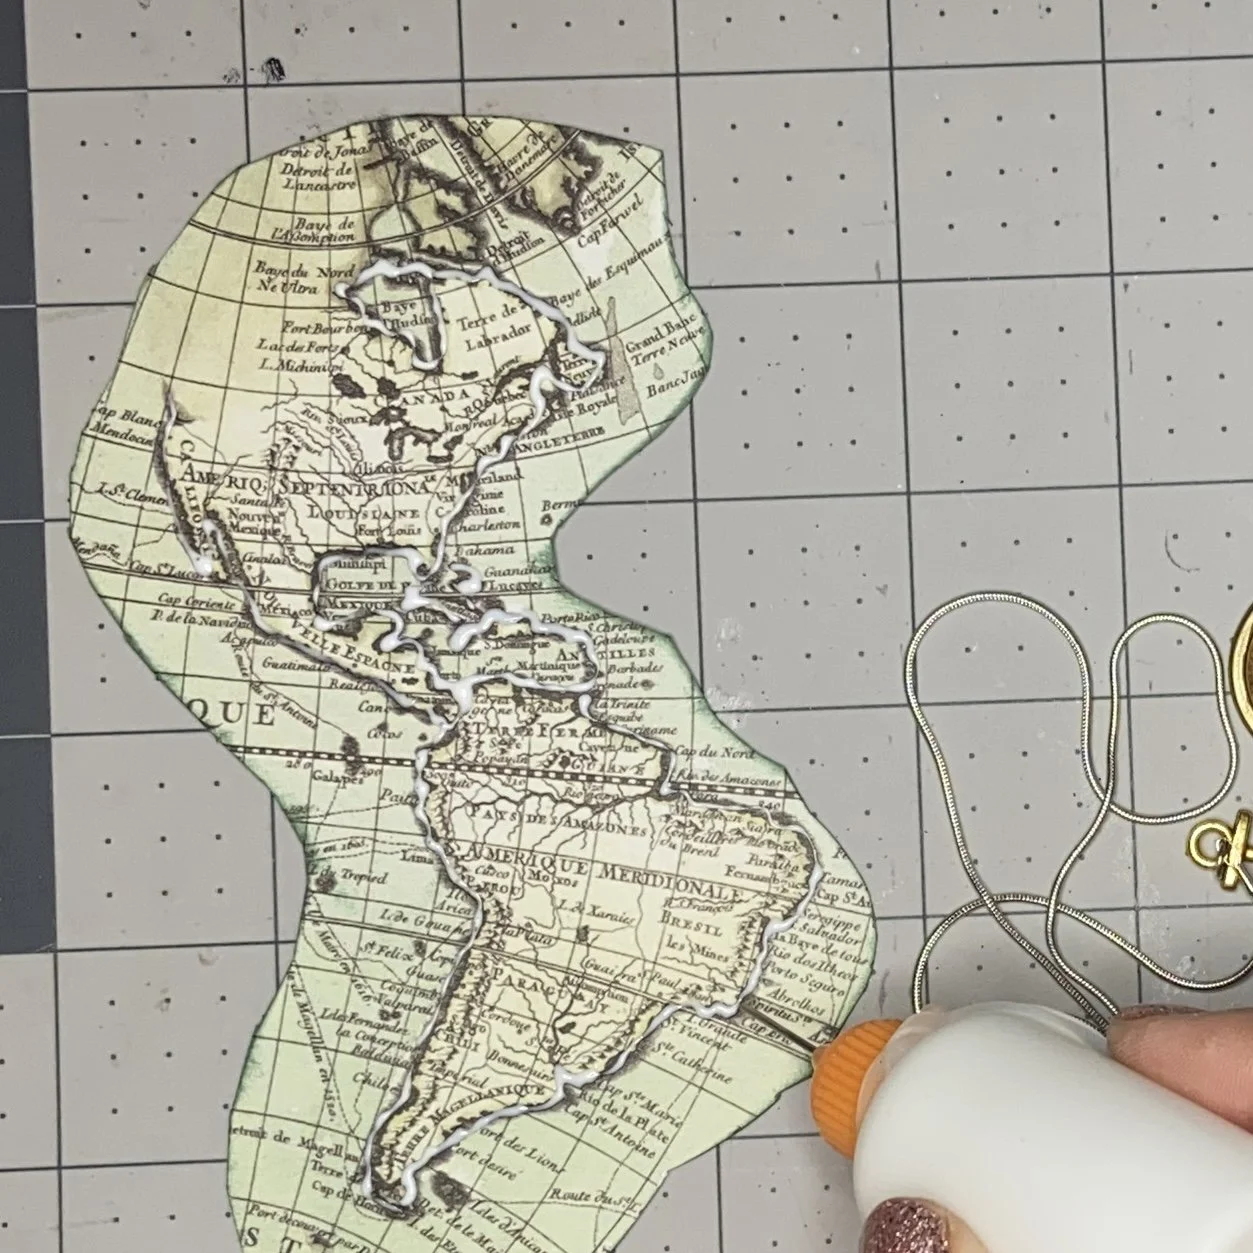
I decided to use items that I already had (except for the compass, of course) and started with canvases. I have a stash of 9”x12” white canvases and also three 2”x2” canvases left over from my All The Time In The World art project. I also took pieces from two paper packs that I’ve had for a little while: Ciao Bella Voyages Extraordinaires and Stamperia Voyages Fantastiques, both of which are chock full of really beautiful designs.
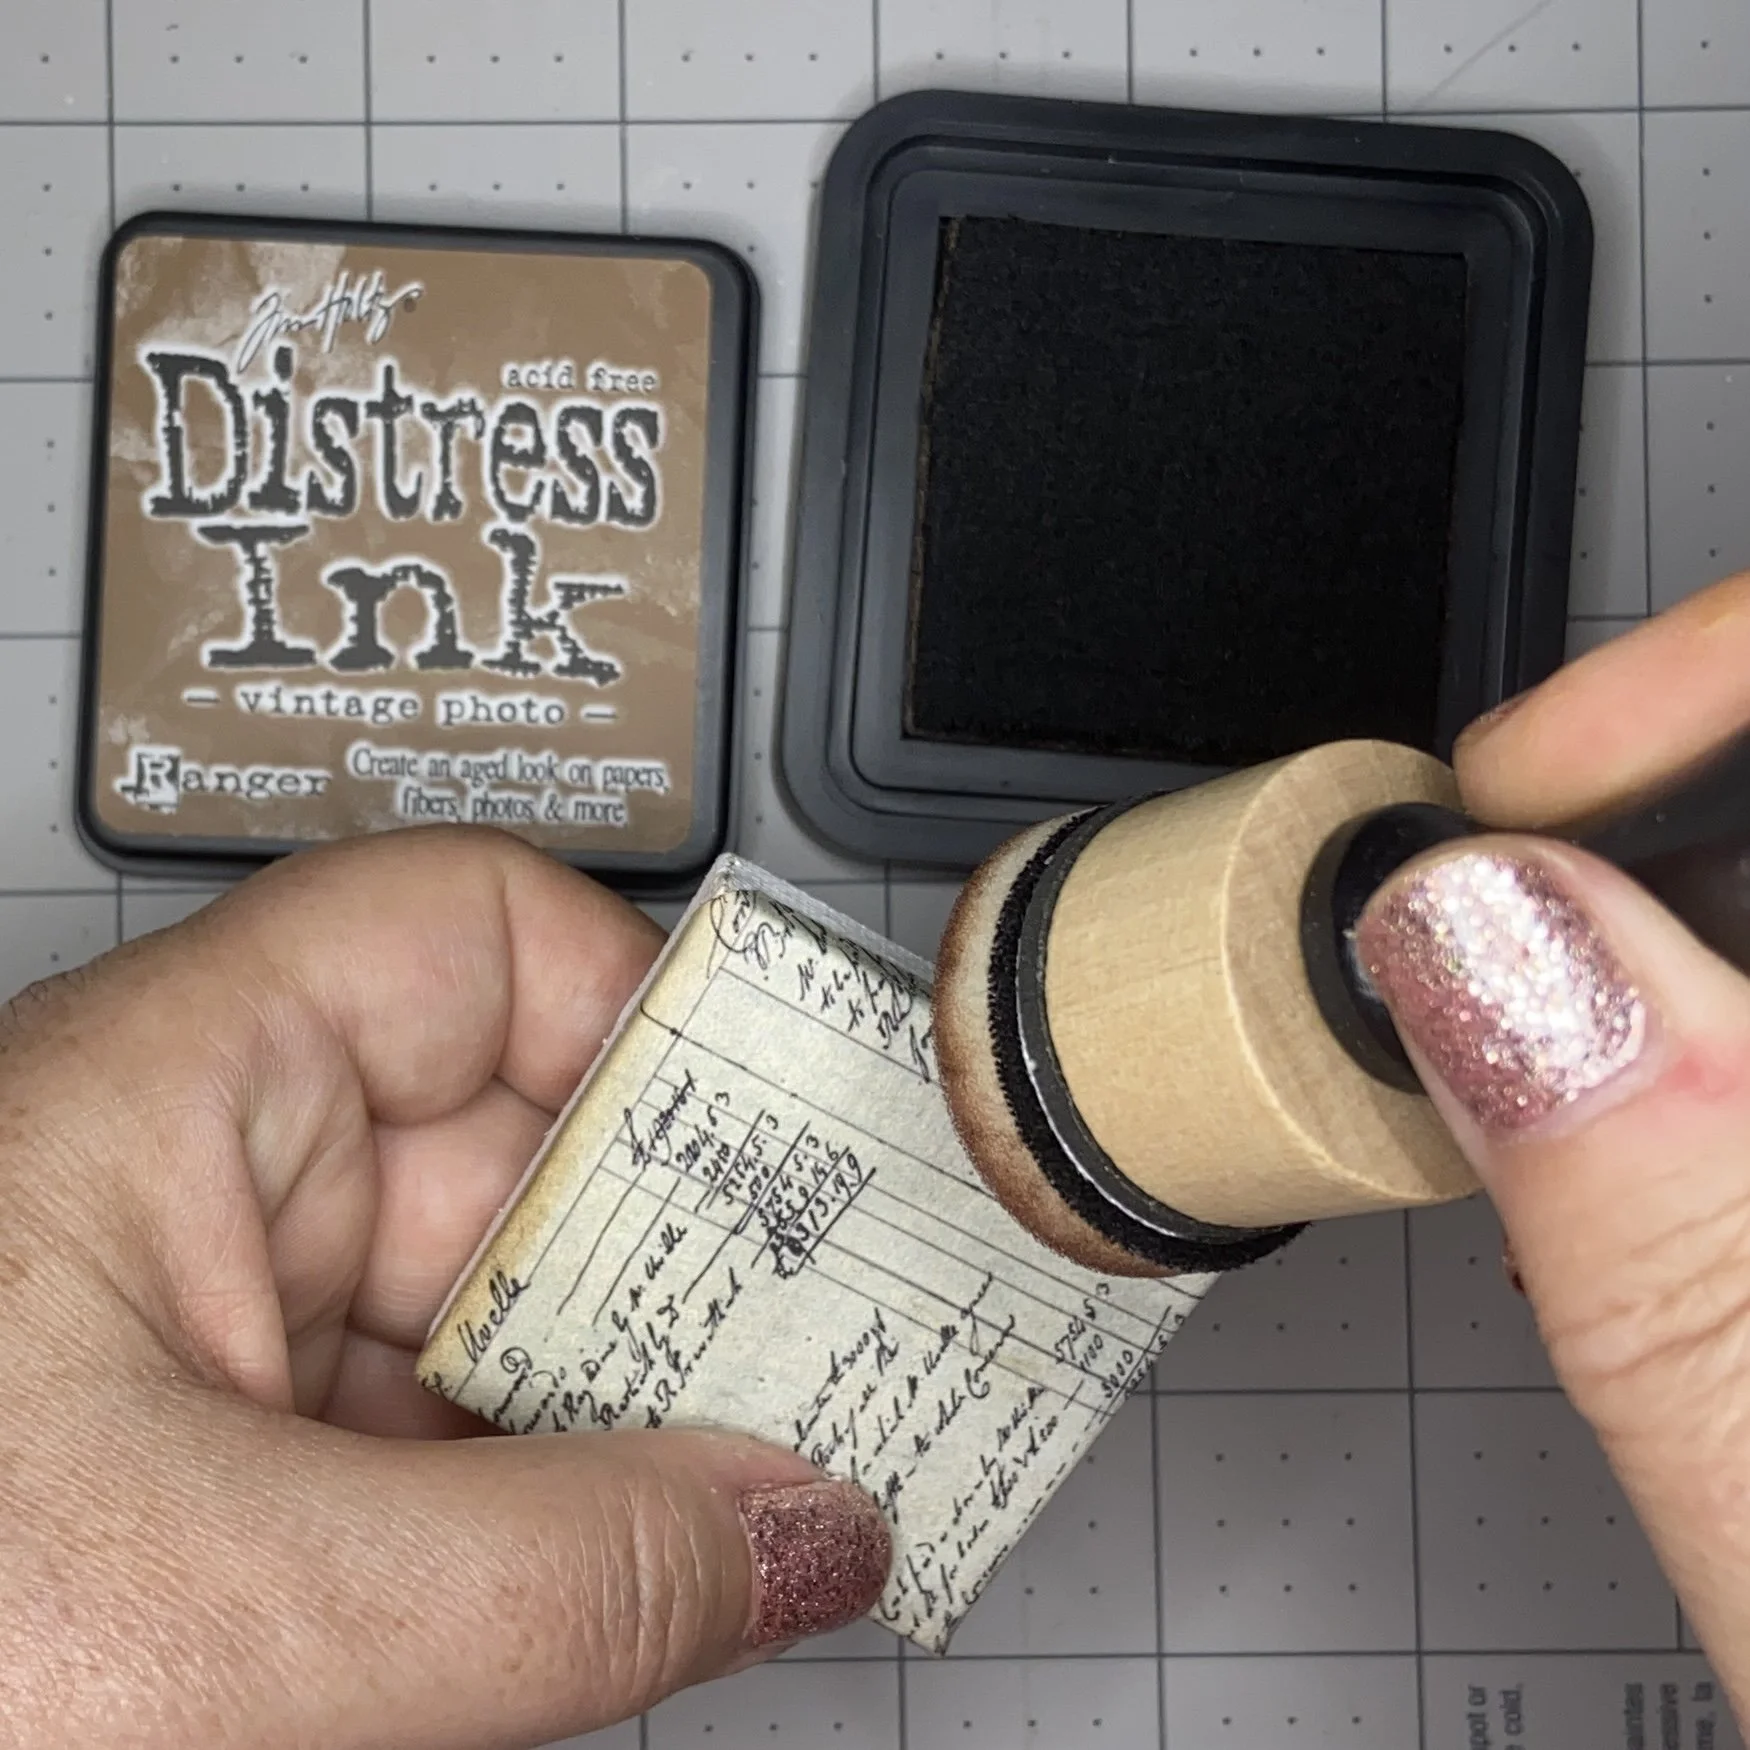
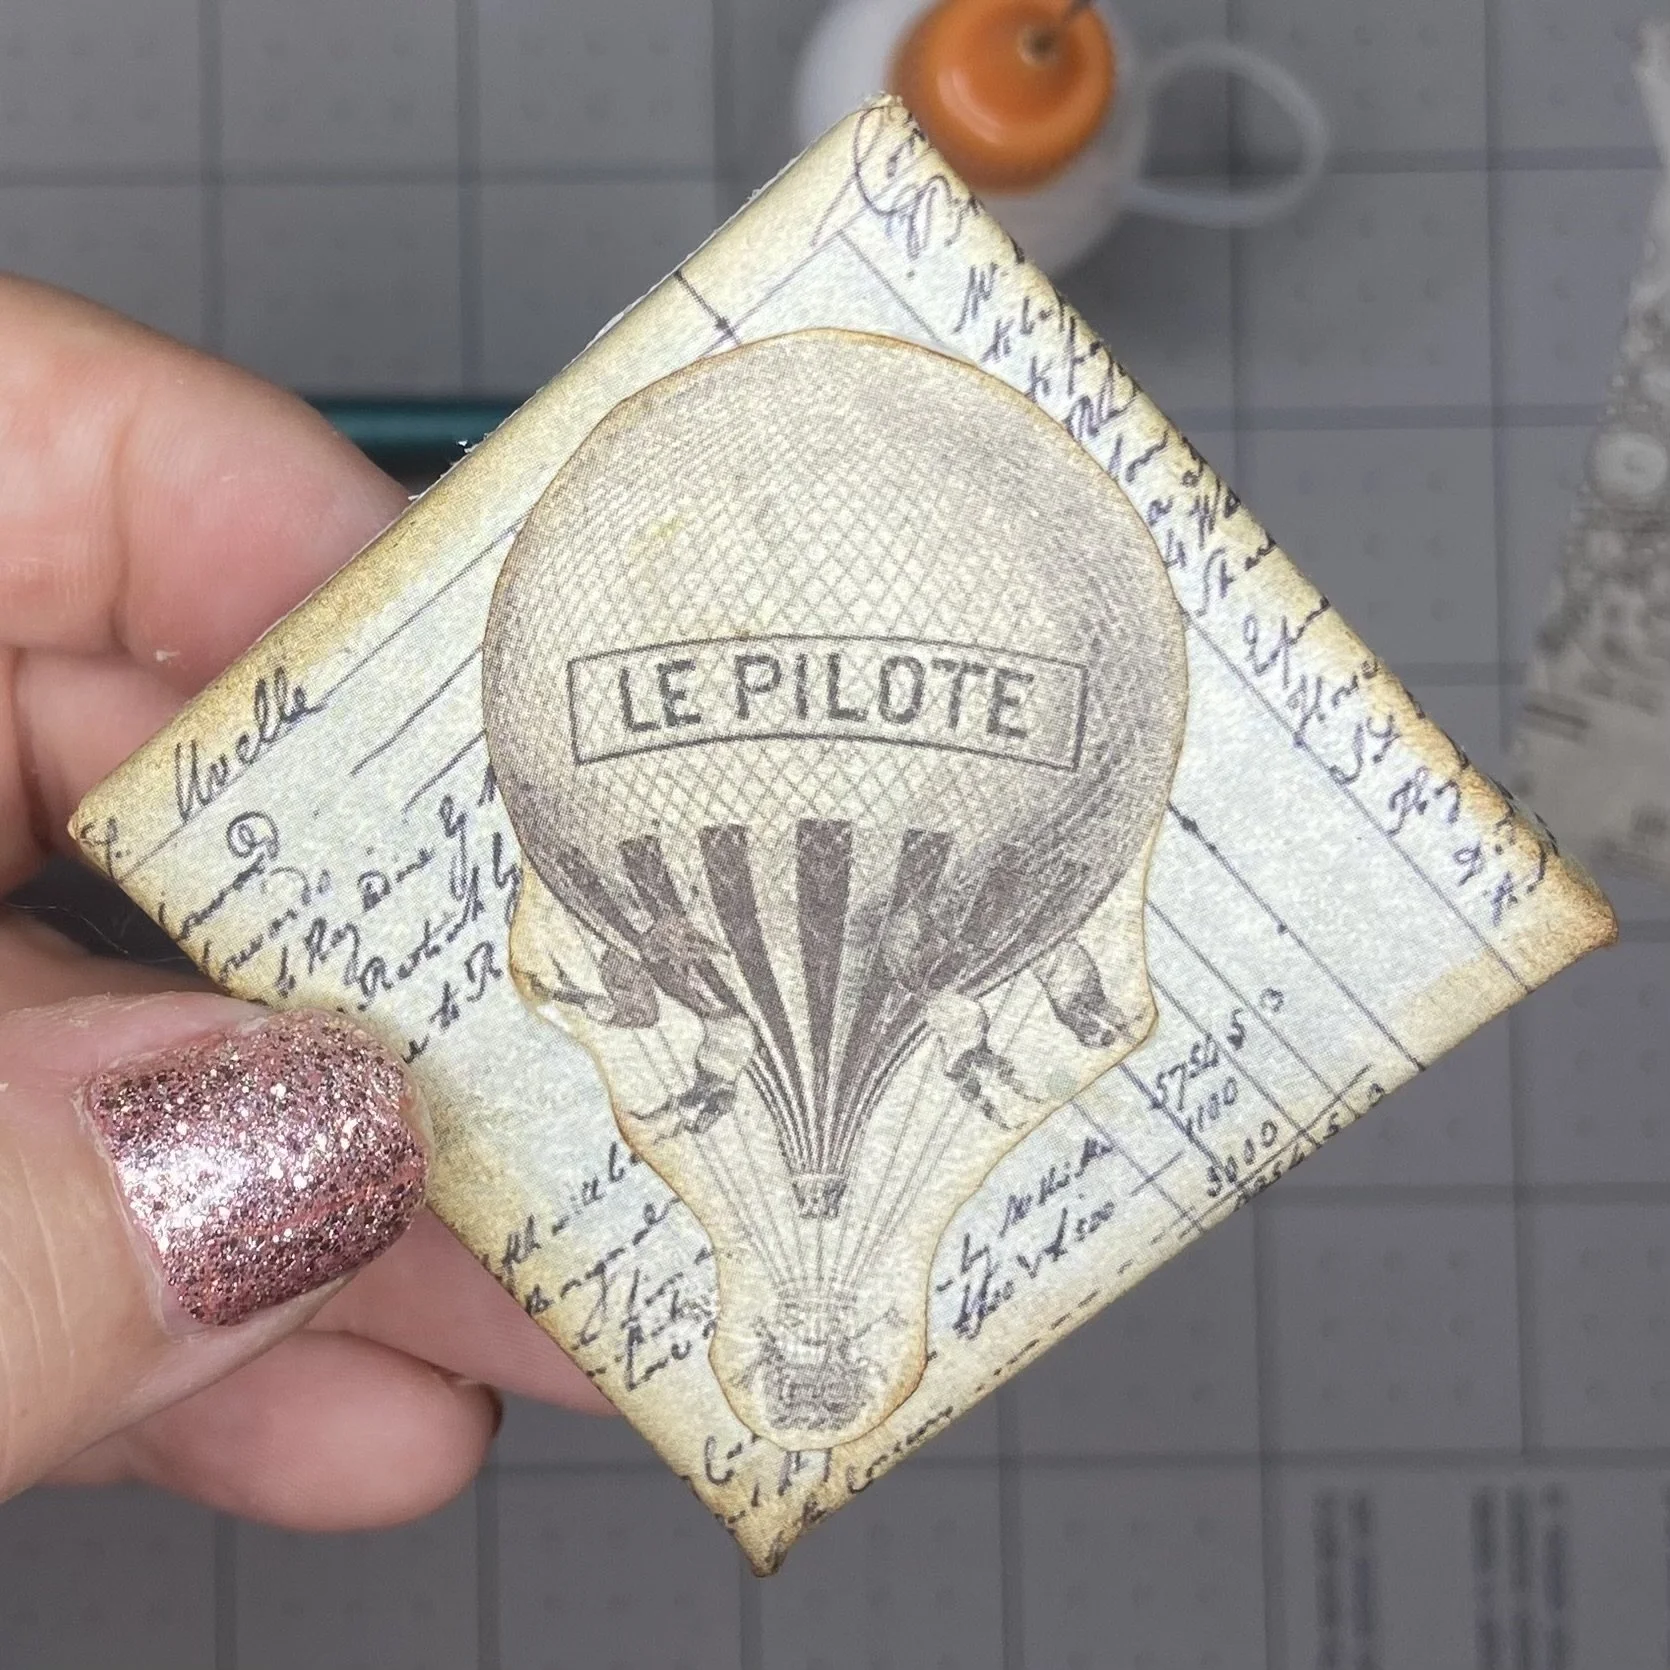
I started with just cutting out pieces and motifs that I liked, with the idea that I would paper both the main canvas and the small canvases with those. As I layered the paper pieces onto the smaller canvases with my bookmaker’s glue, I also darkened the edges with ink of the appropriate color.

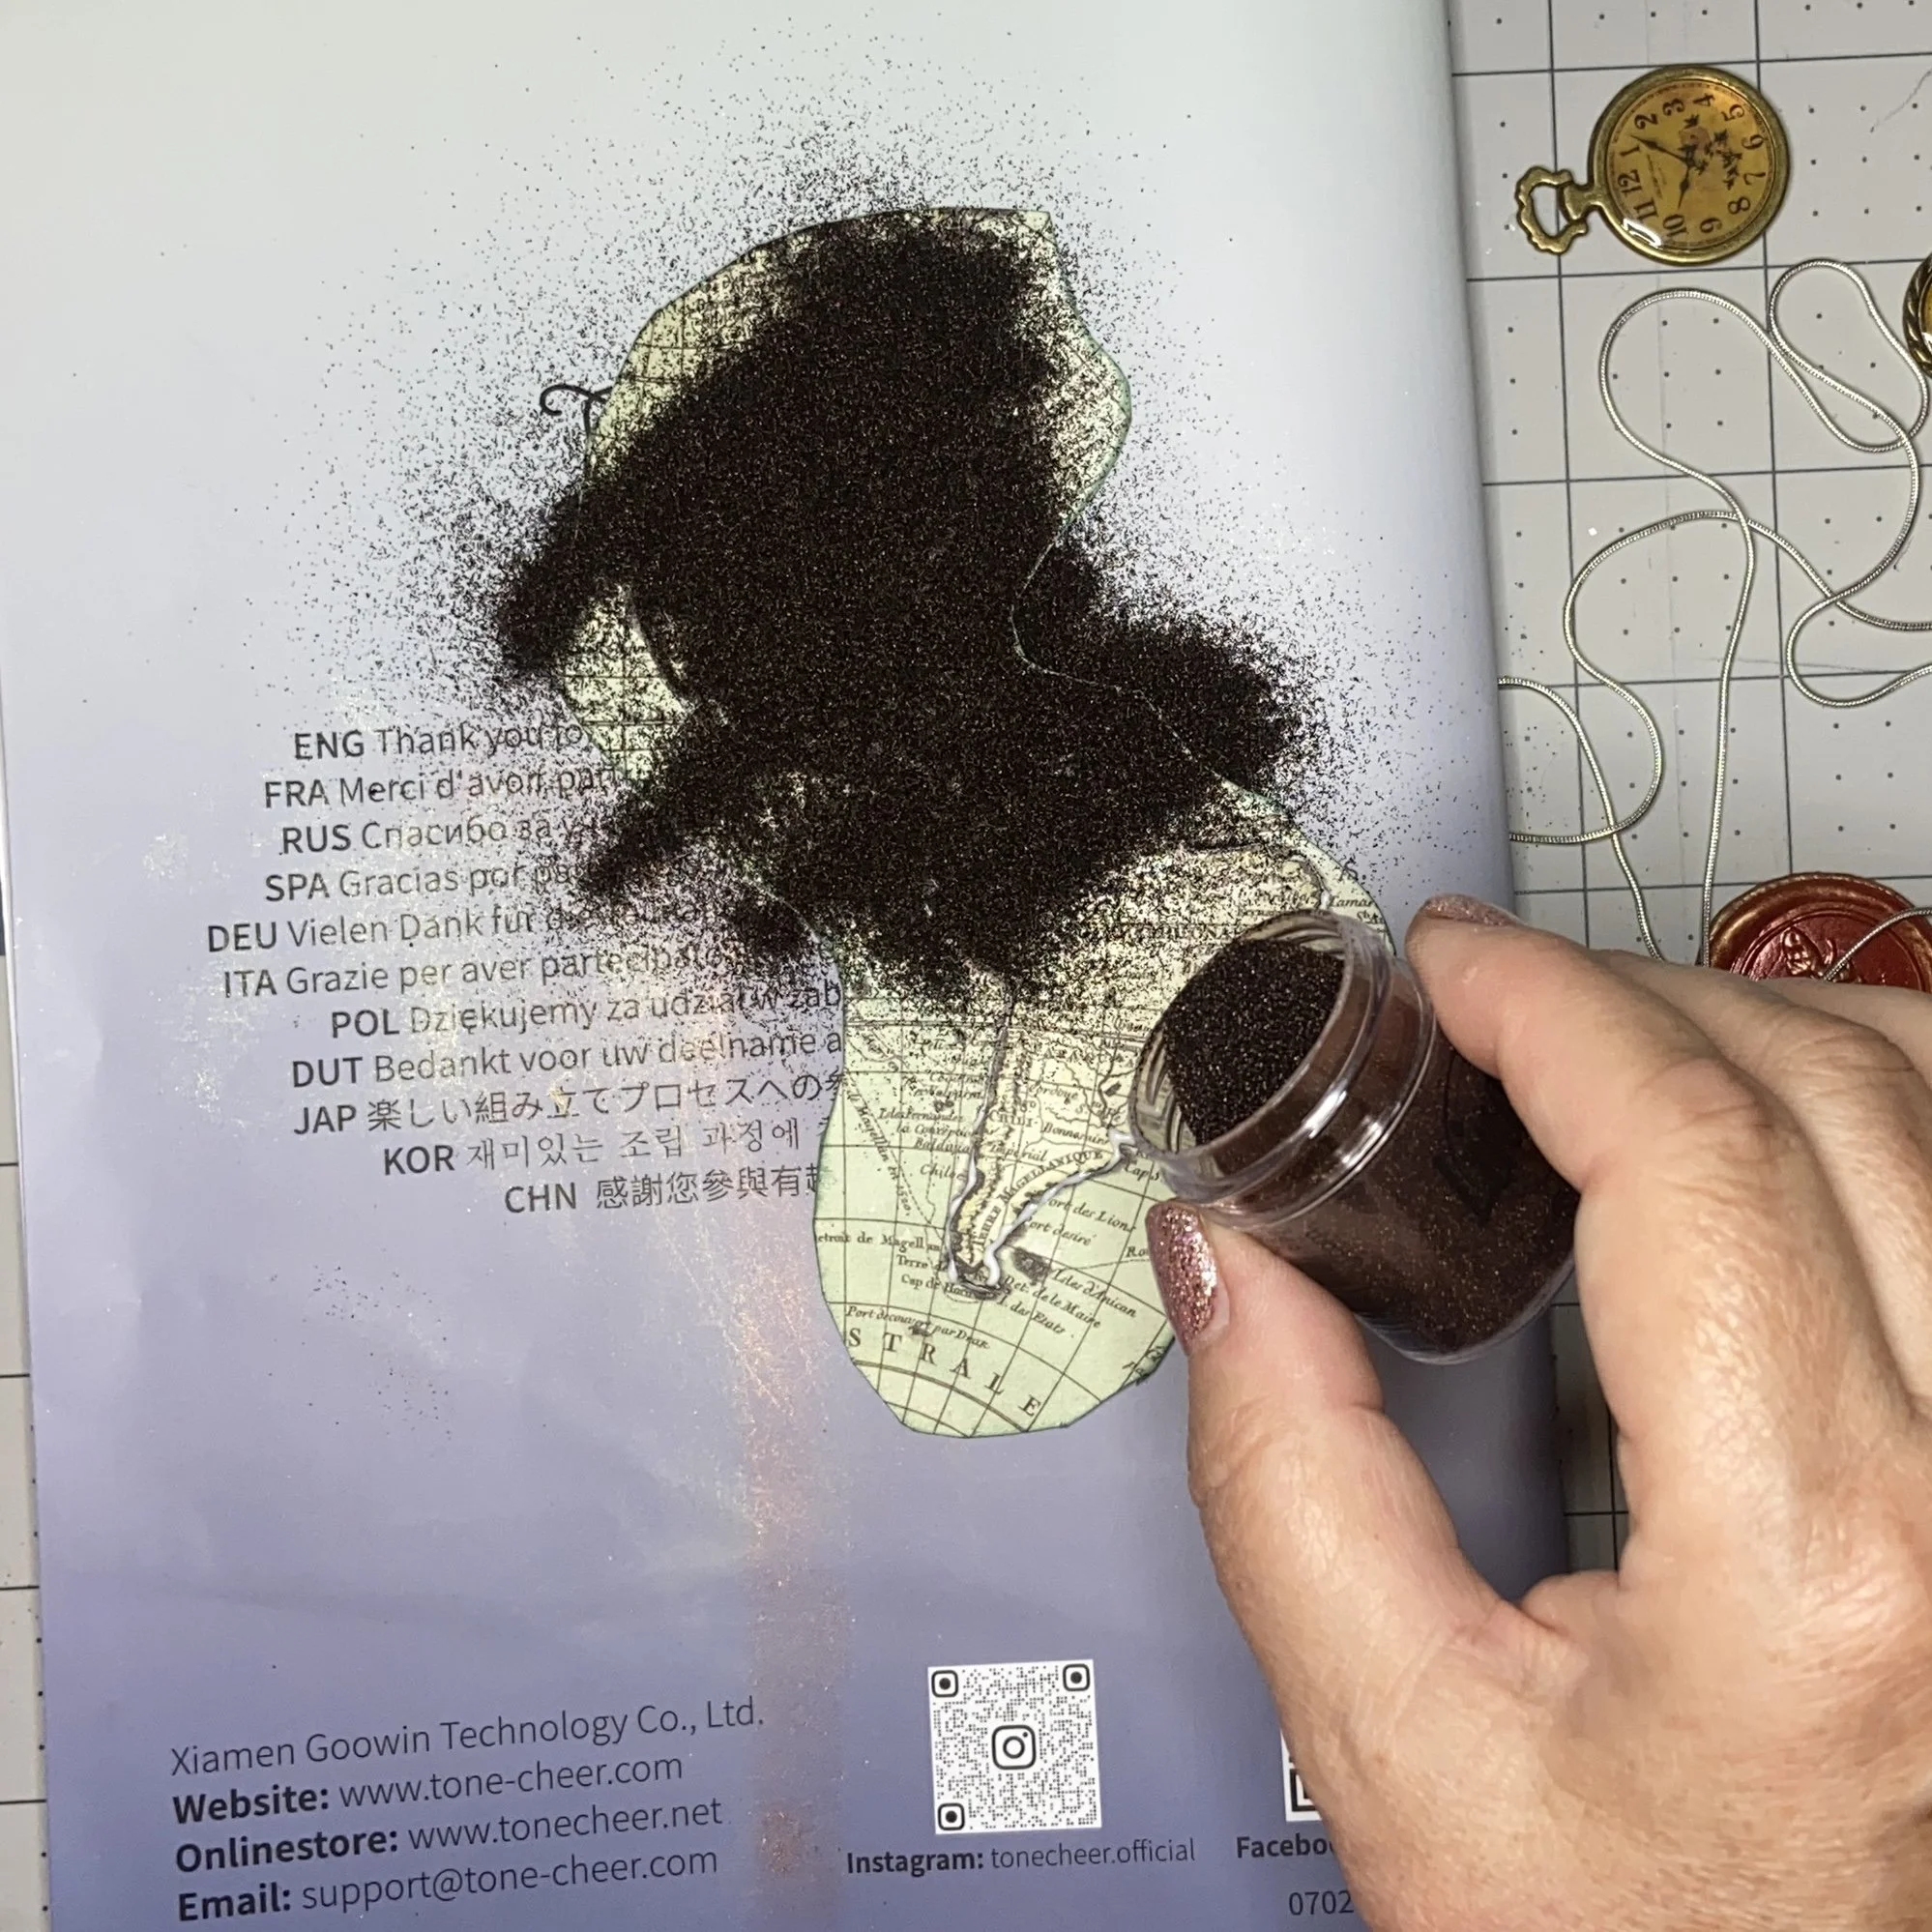
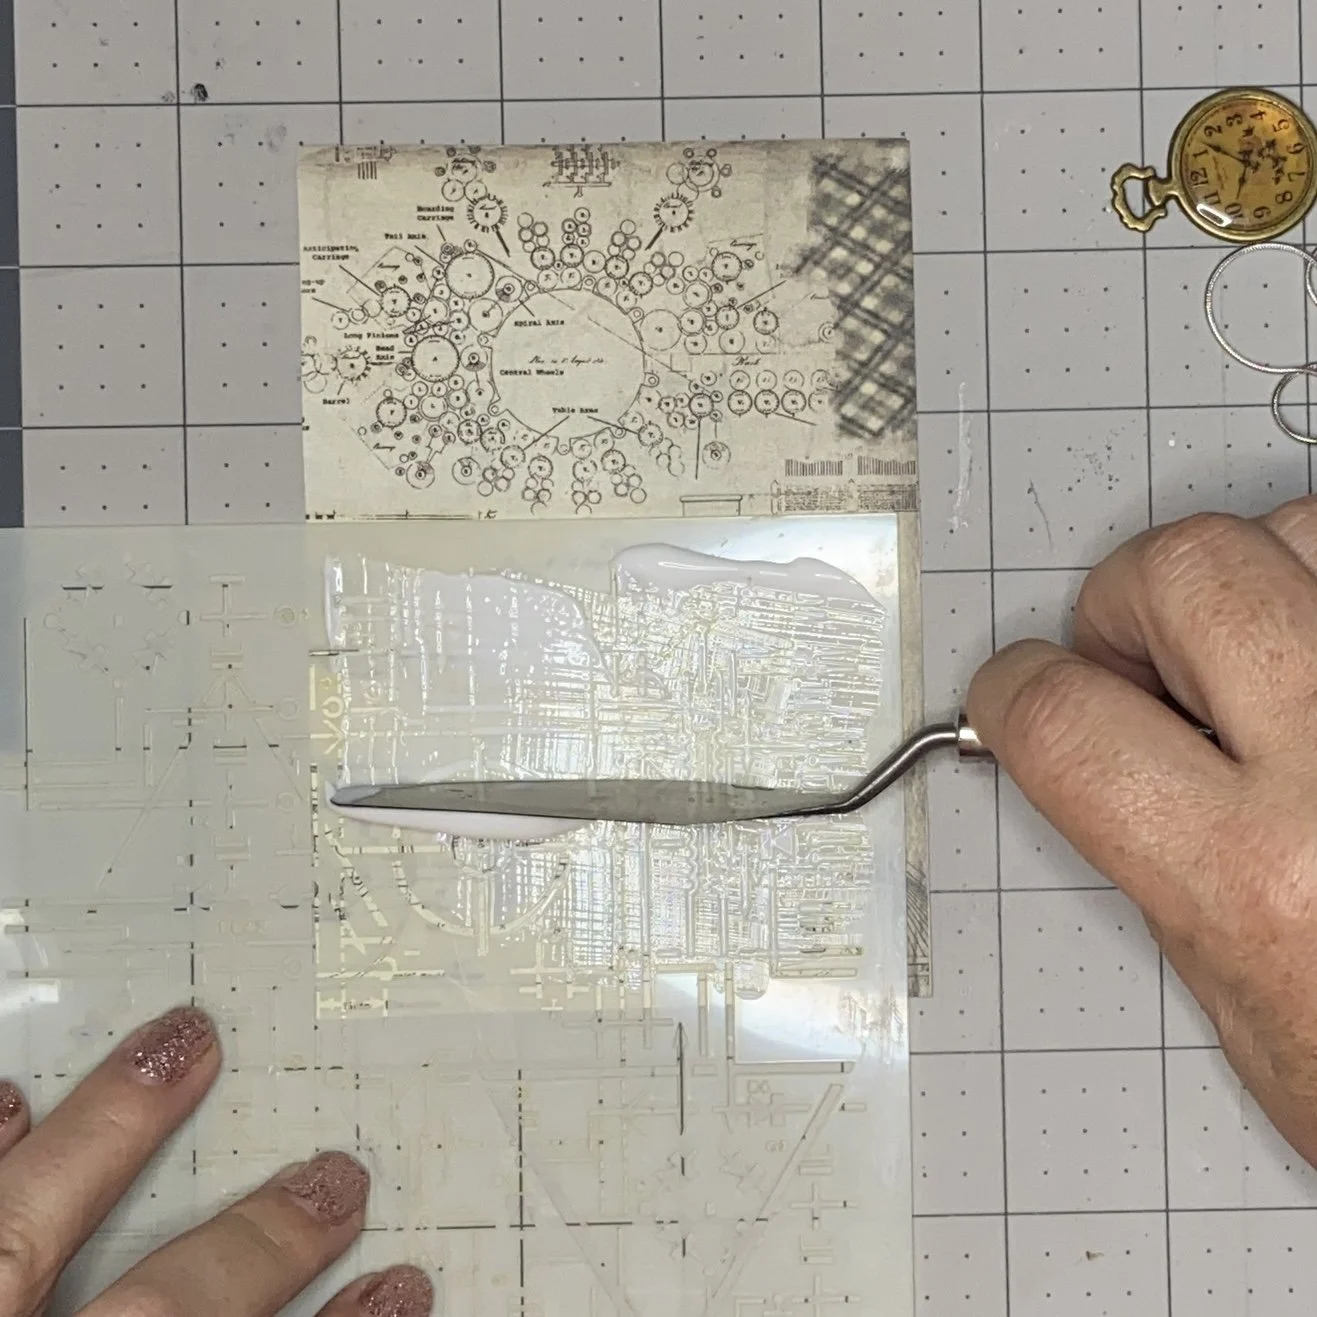
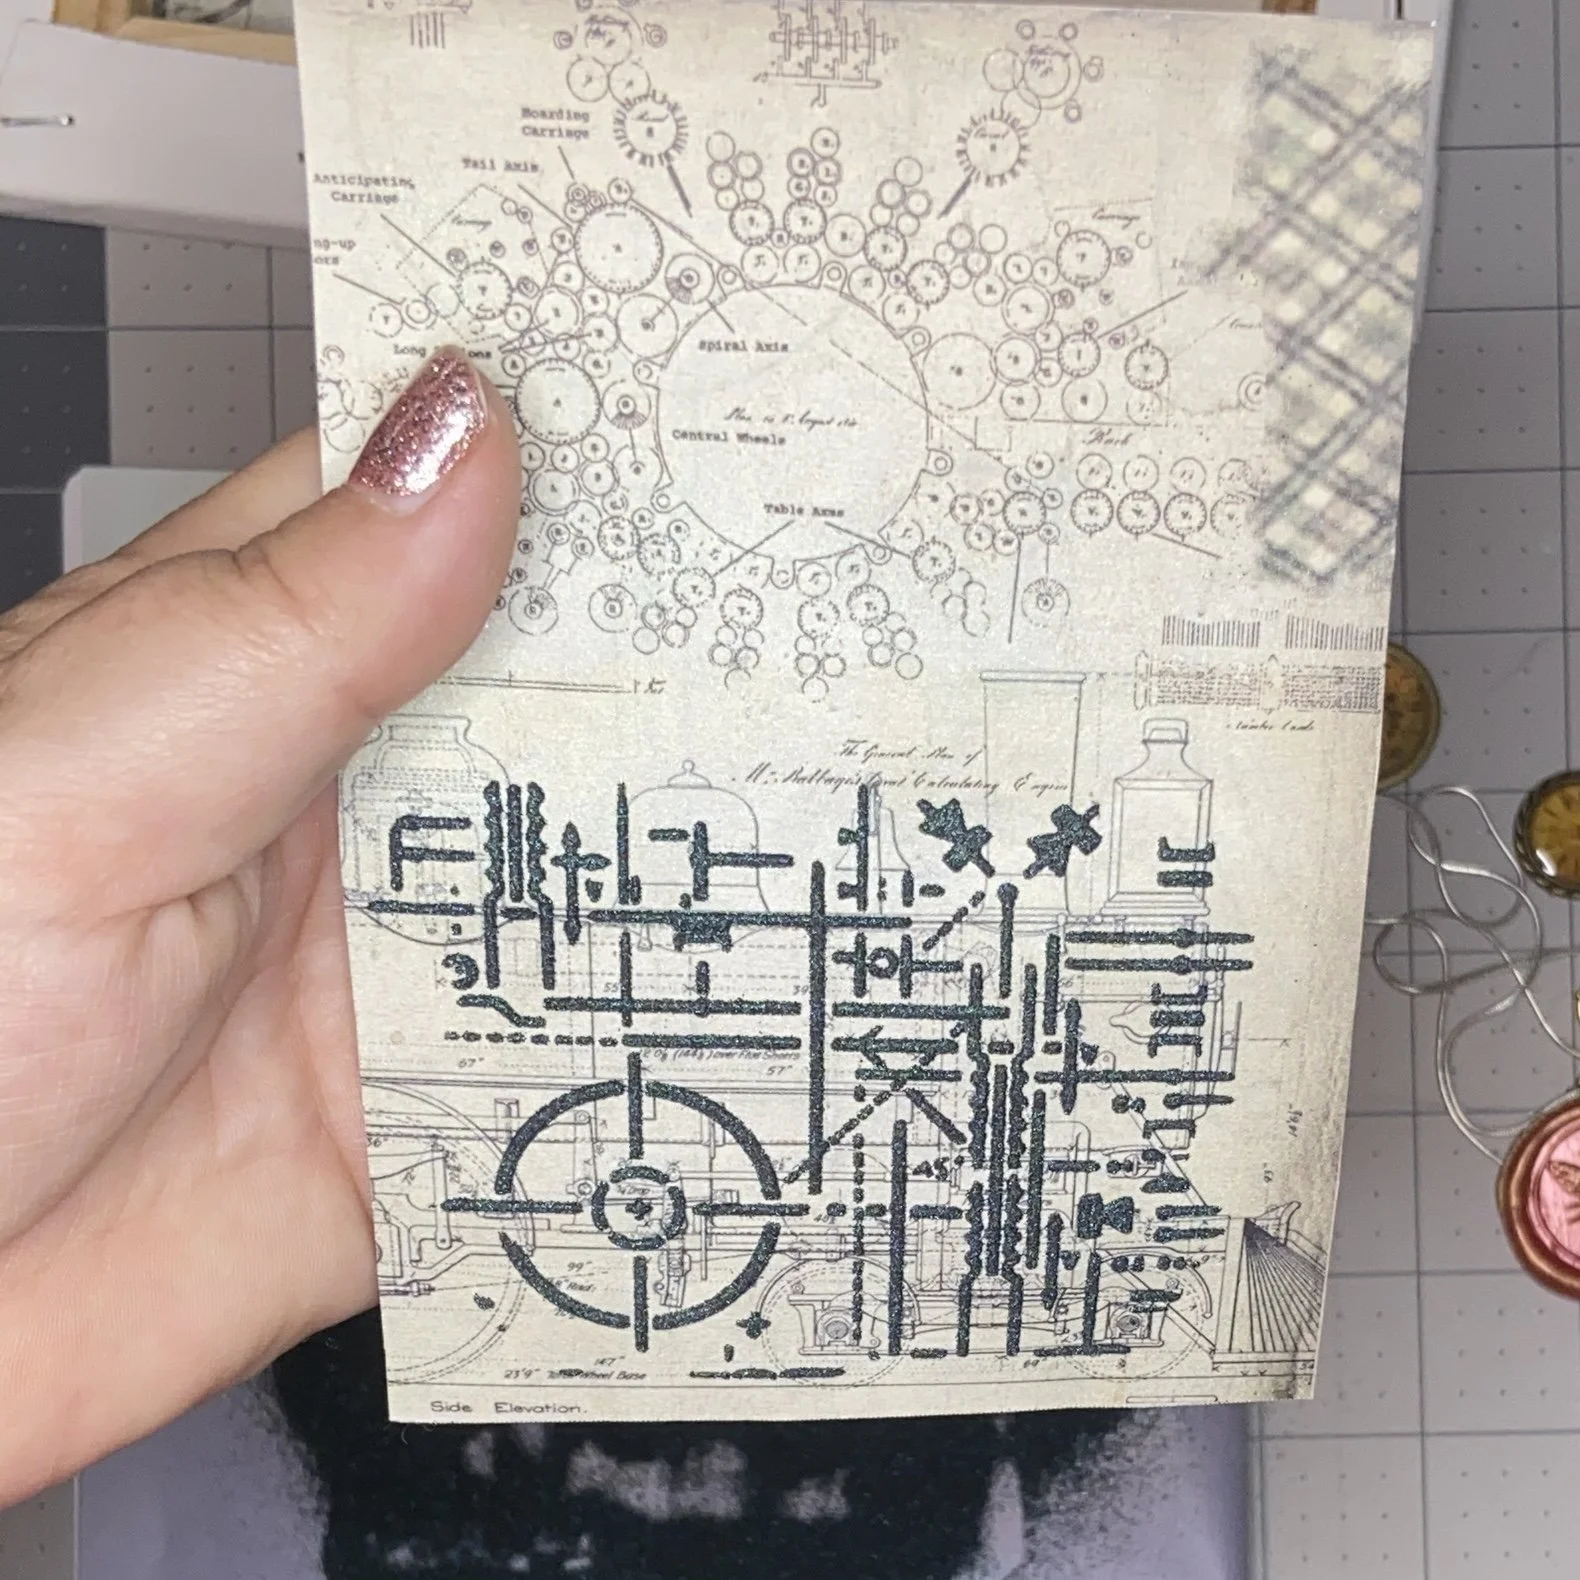
Before I started glueing any paper layers down onto the larger canvas, I thought to embellish them a little with embossing powder from the set I bought years ago. I used the precision applicator to apply my glue along the lines I wanted to emboss, then sprinkled on the powder, shook off the excess, and waited for the glue to dry. Once the glue was dry, careful application of the heat gun melted the powder and yielded a rather pretty result.

For another piece, I wanted to emboss a pretty stencil that I have (from 13 @rts, called “Technical” but I can’t find it anywhere to link it), so I pushed some of my heavy body gel through the stencil, then sprinkled powder over it, shook off the excess, and waited (awhile) for the gel to dry. Then I hit it with the heat gun, and wow…so pretty!

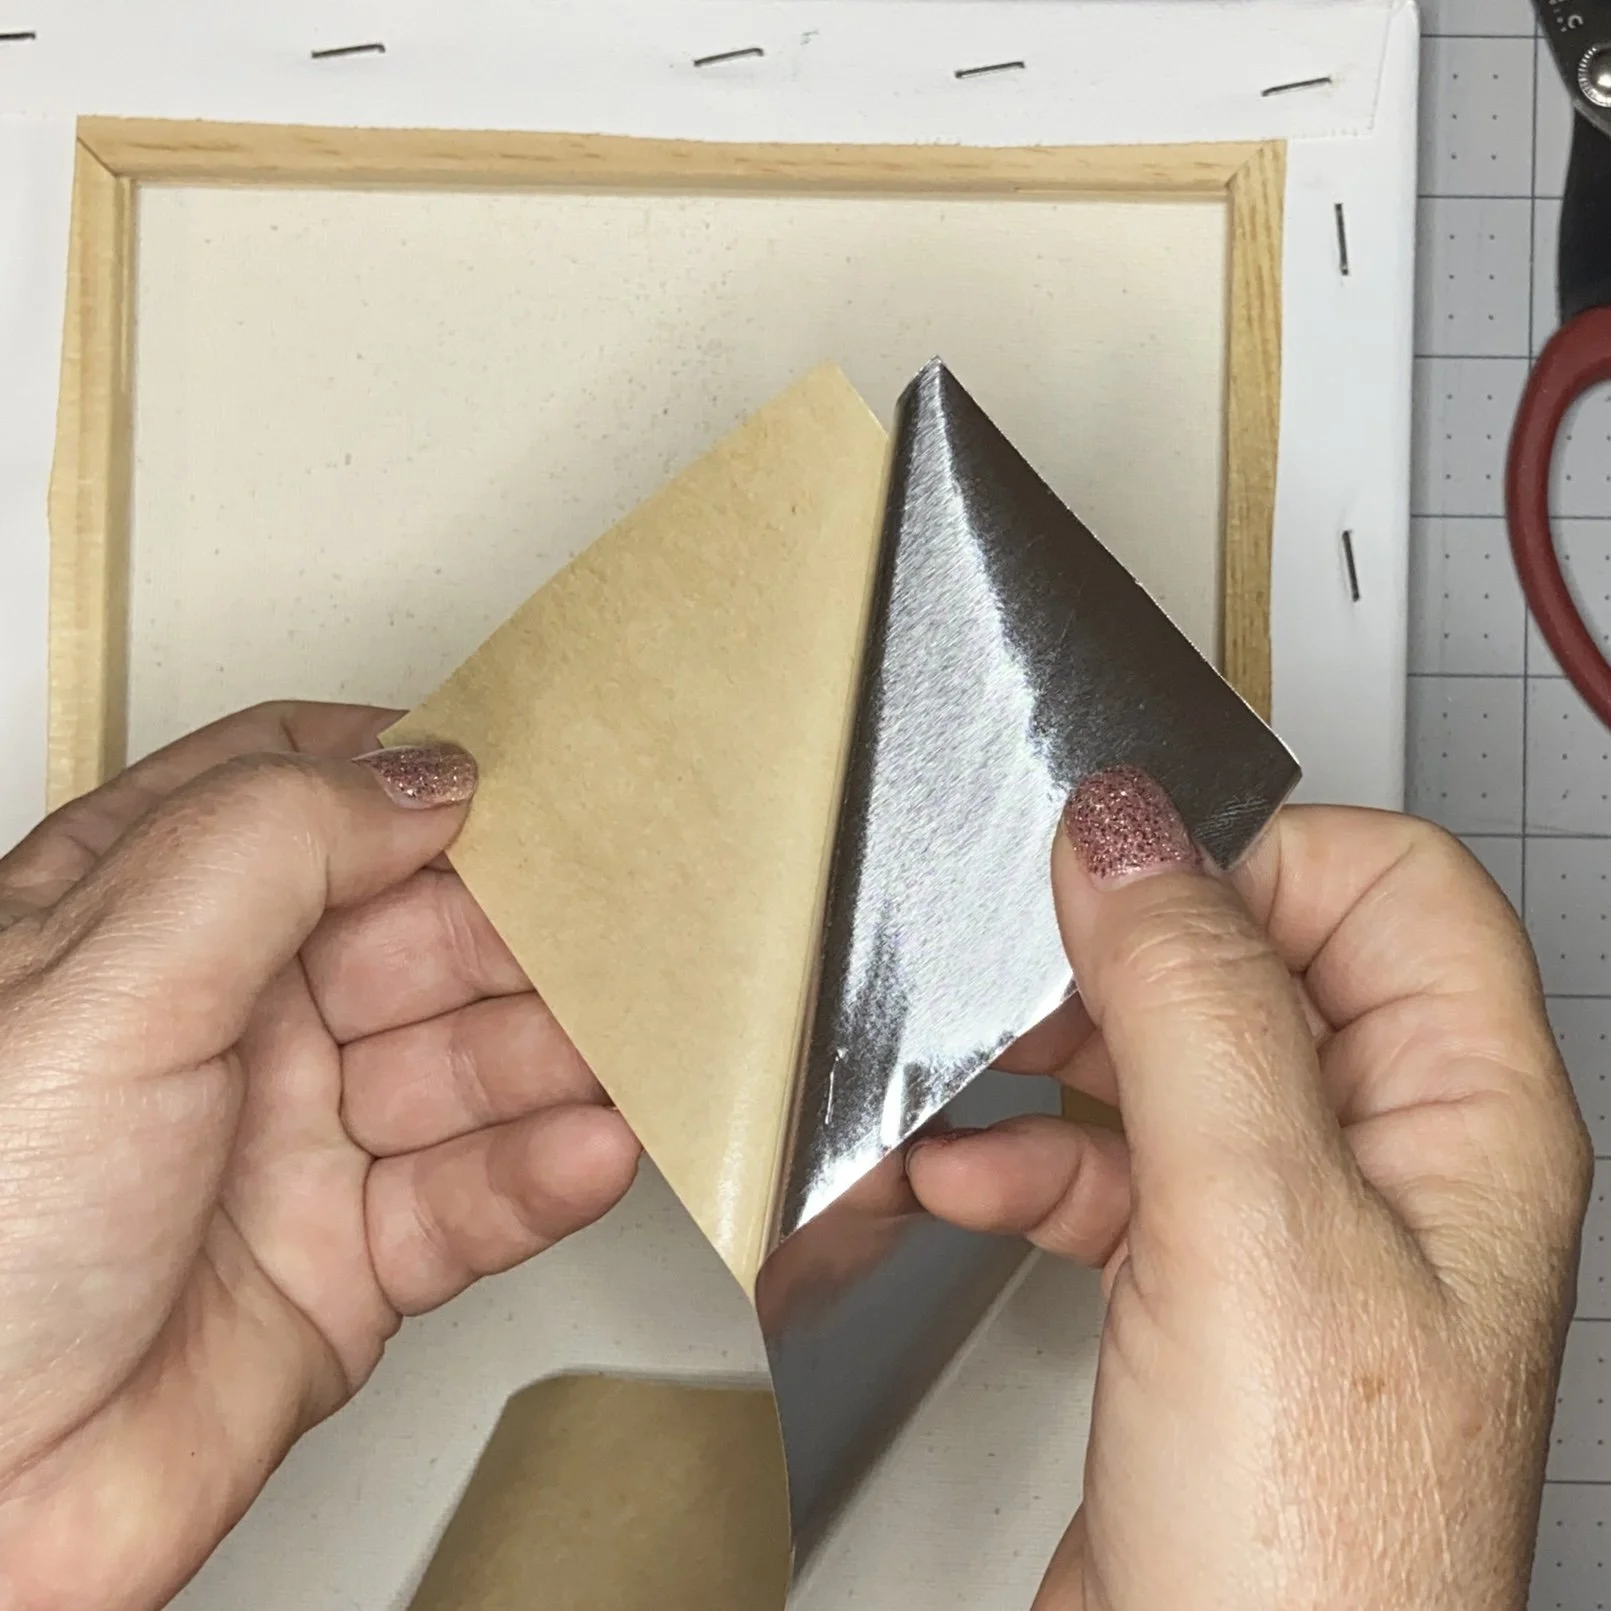
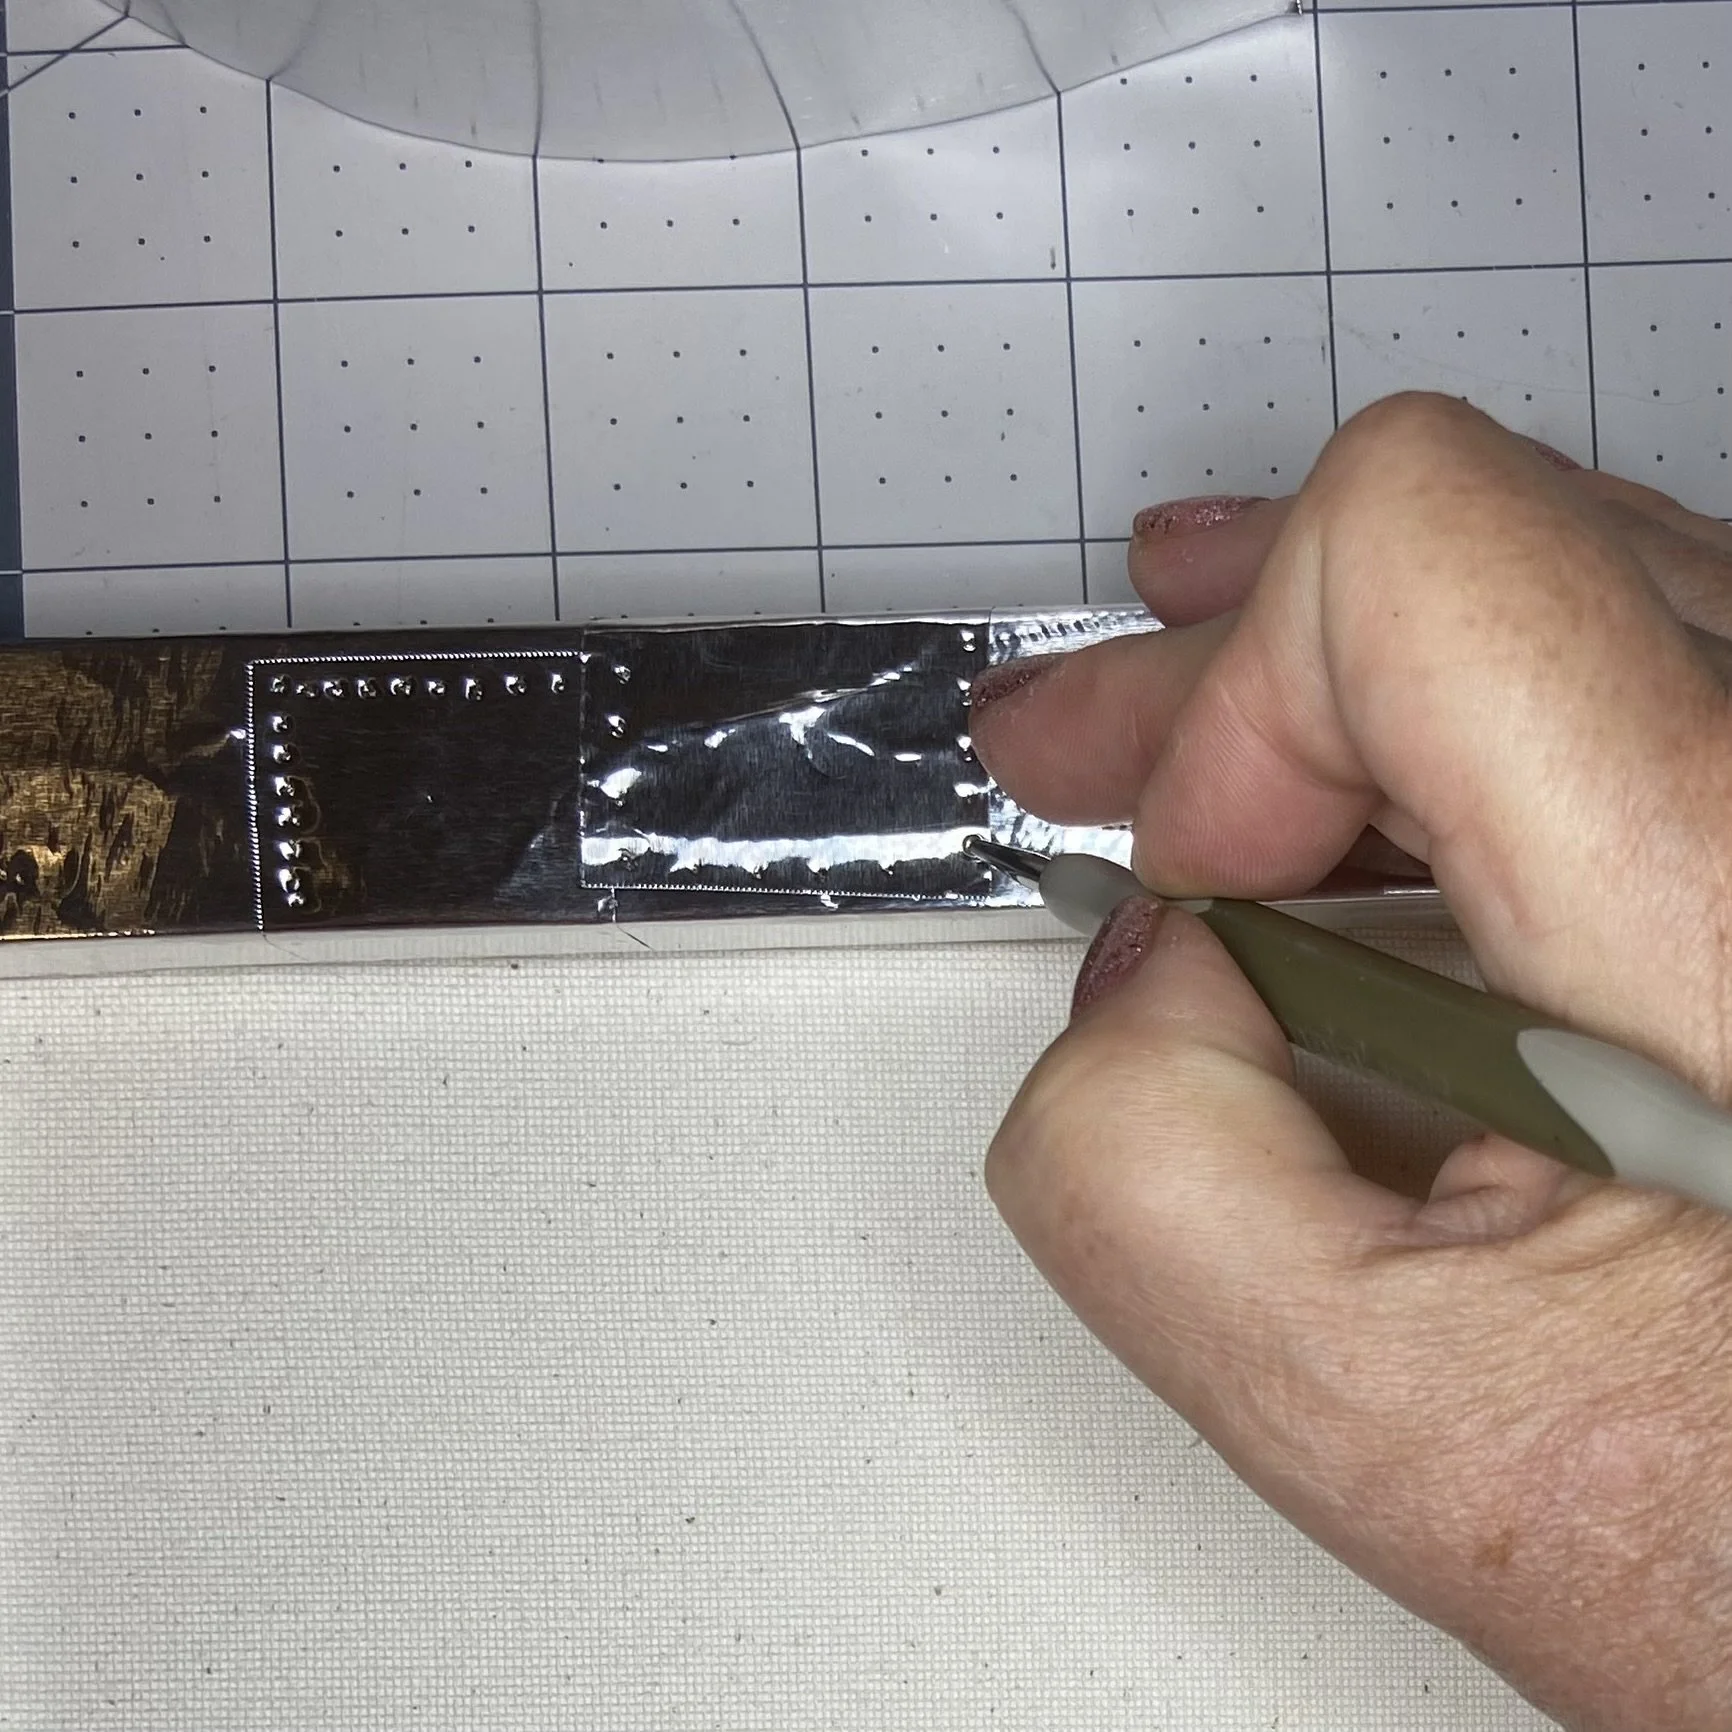
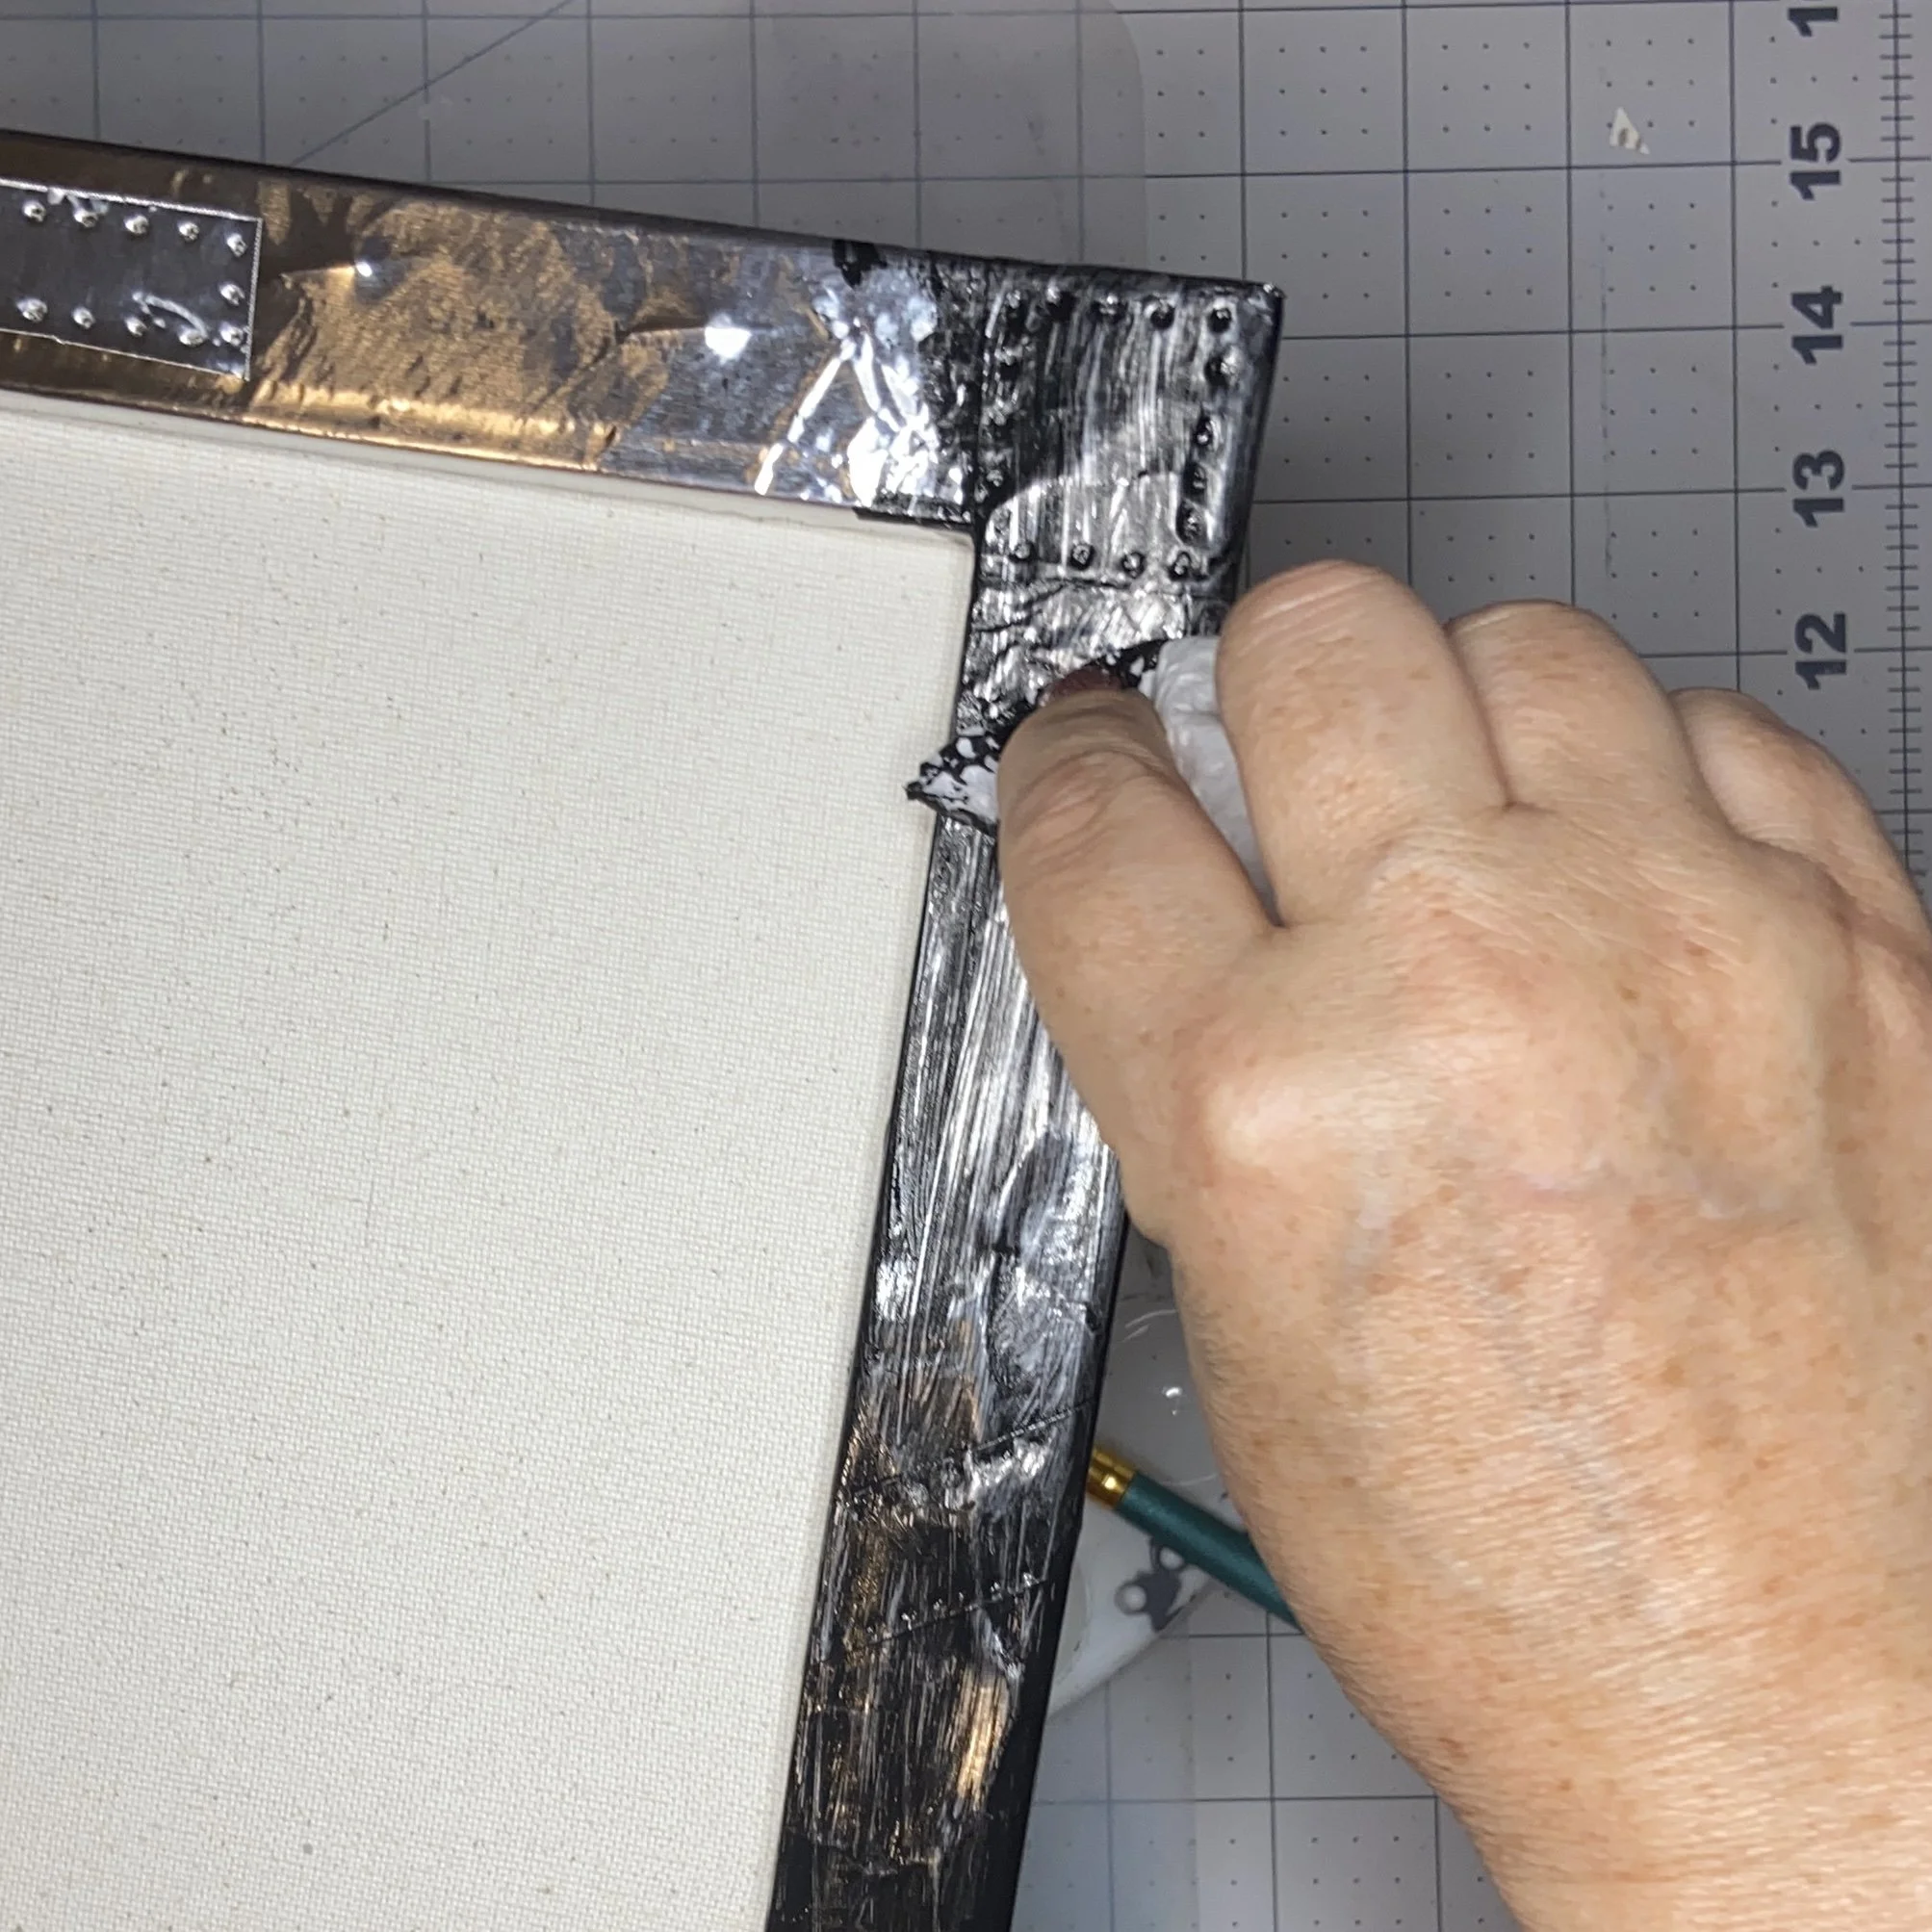
While all of that was drying, I started working on the larger canvas. I’d decided to treat it as a sort of shallow shadowbox, so I was working on the back. I took strips of aluminum foil tape (which you can also find in a home improvement store near the ductwork stuff) and applied it to the edges. I made sure it covered the flat surface, the outer sides, and the inner side of the lip, without extending it onto the canvas. Then I spent a little time adding smaller pieces here and there, and using my embossing stylus to press in little divots that would (might) look like rivets.
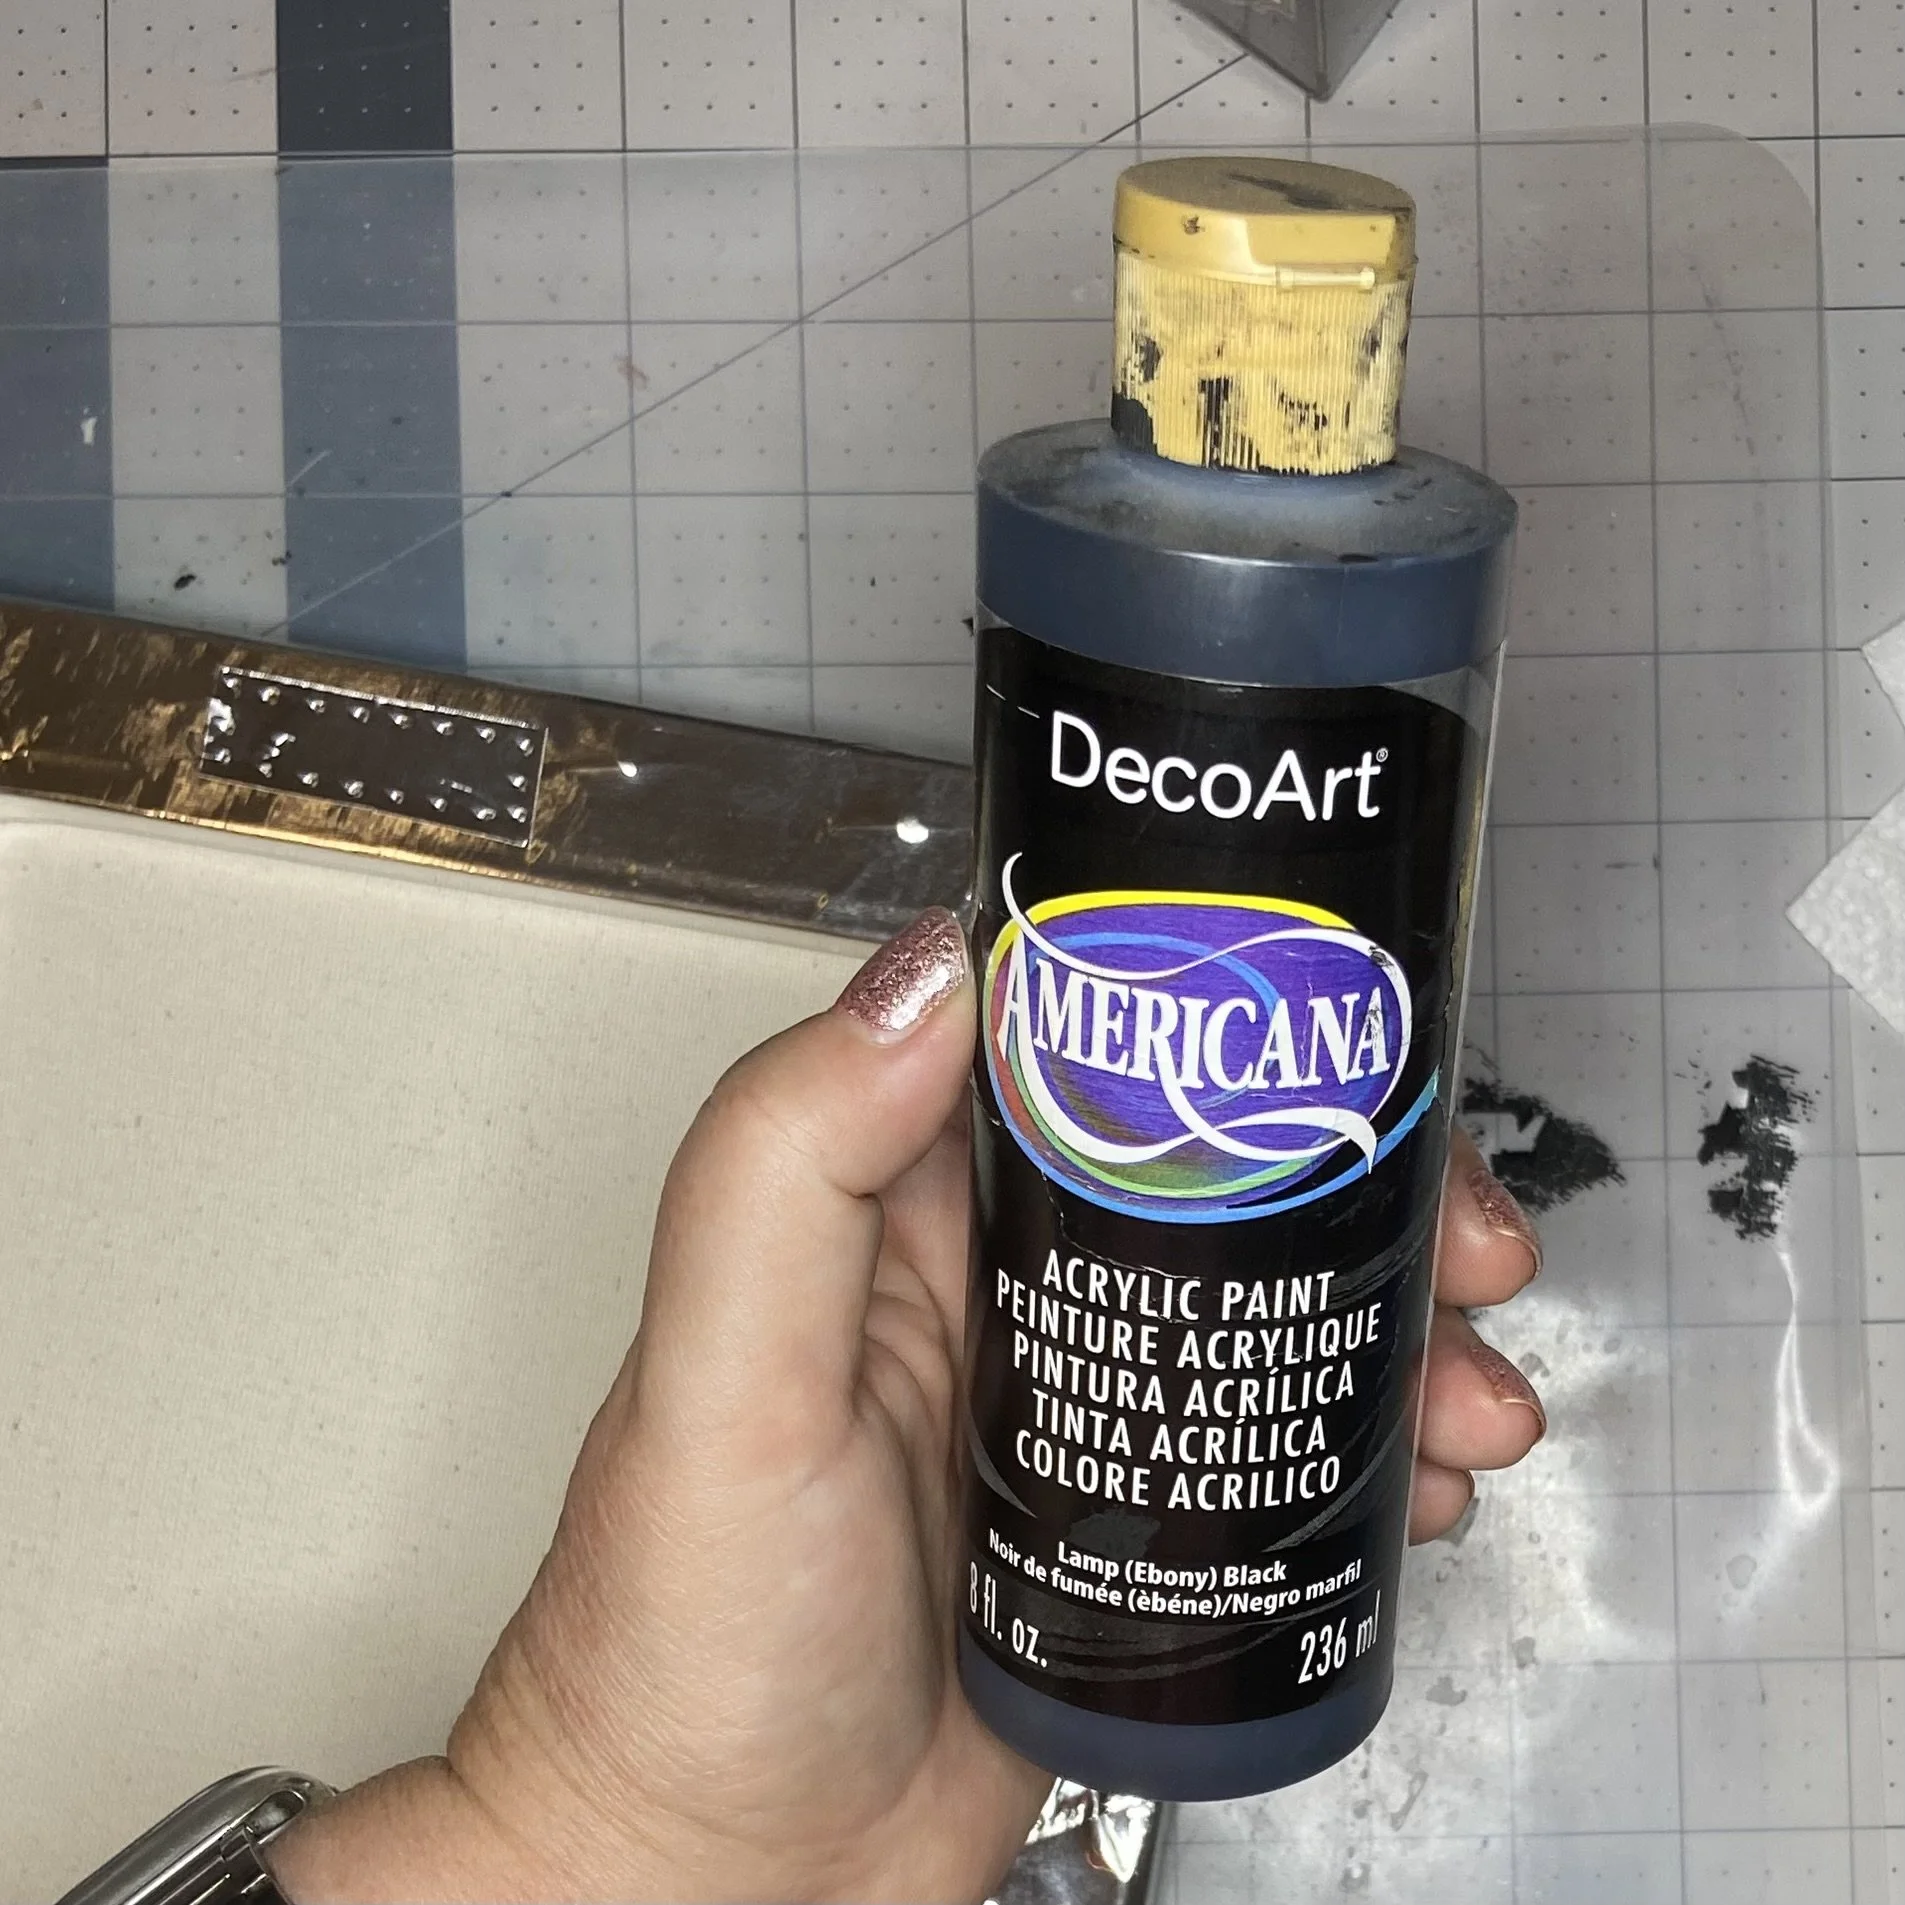
Next was to “dirty up” the shiny foil, so that it would hopefully look a bit weathered and old. To that end, I hauled out my black gesso, only to discover to my dismay that the old pot of gesso I’d bought years and years ago had finally dried up and was completely unusable. Of course I could have bought more…but I was really quite invested in using only what I already had. I decided to make do with black acrylic paint. This did work well enough, but it was clear that the paint wasn’t sticking to the metal nearly as well as black gesso would have. Ah well, I’d just have to be careful not to rub it off once it was dry. I applied the black paint over all the metal, and then used a paper towel to wipe off most of it. It really did come out looking aged, and the paint highlighted every point where the foil wasn’t completely flat, adding to the effect.

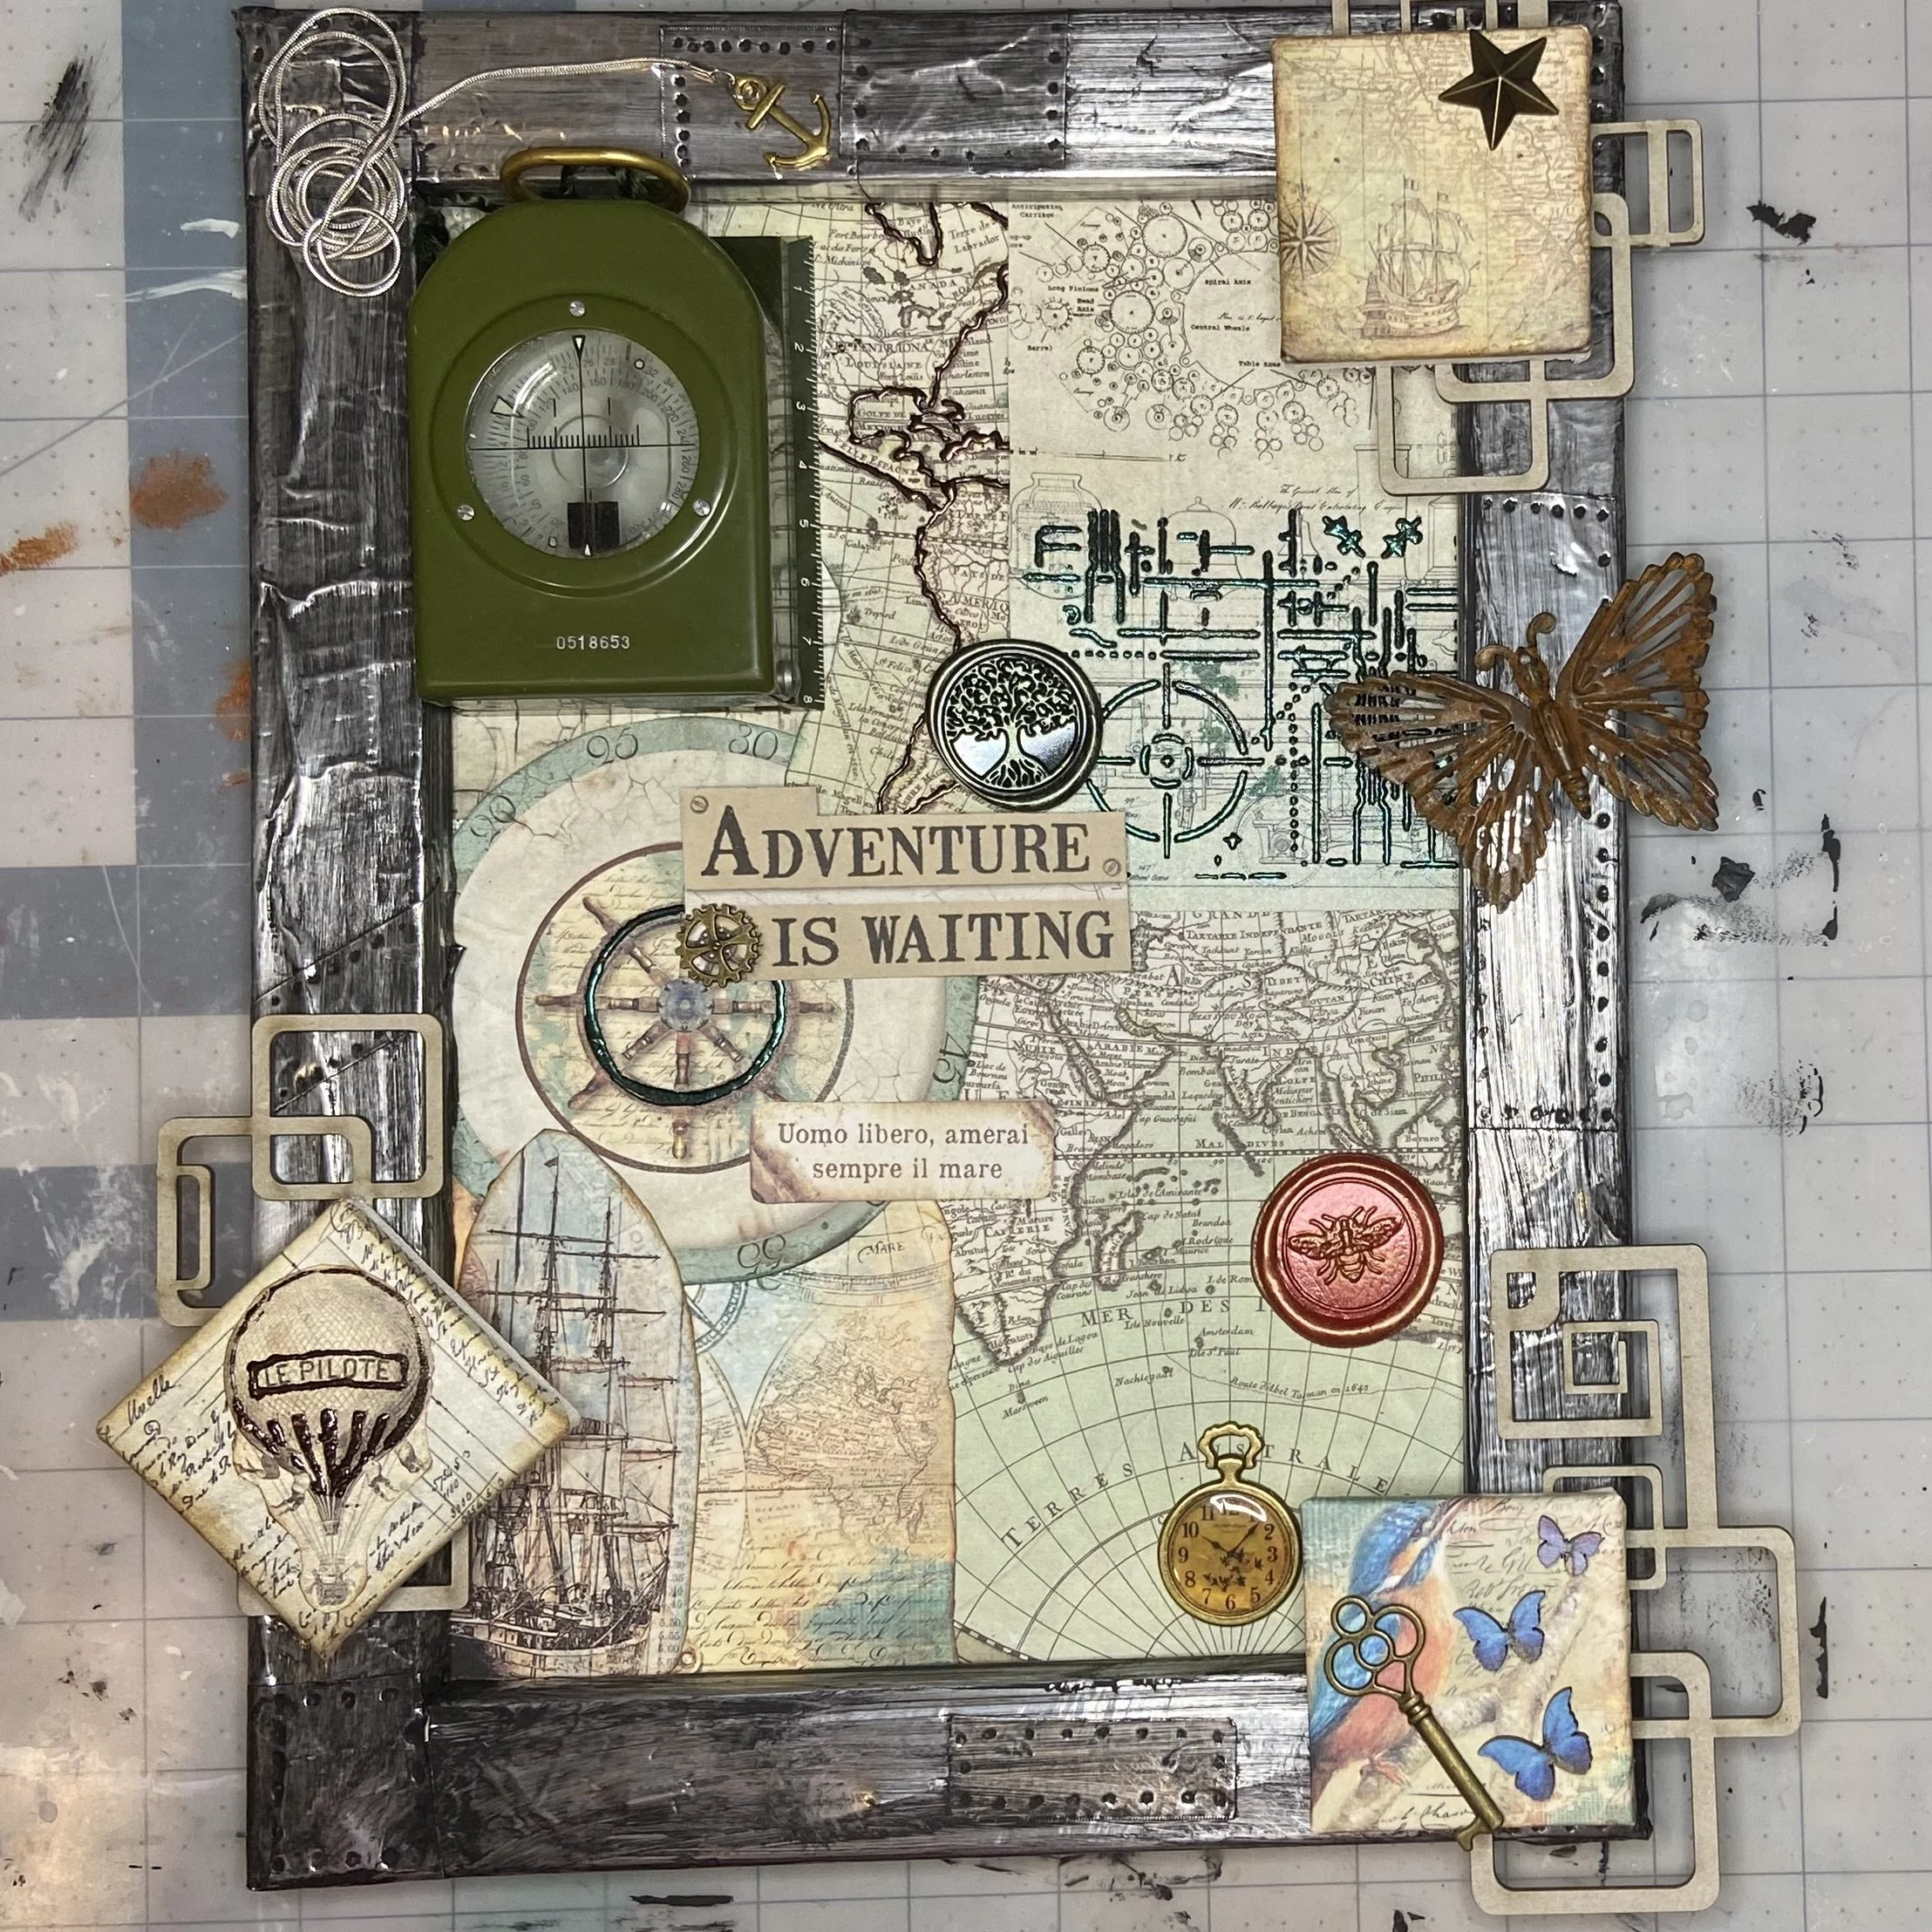
After all that dried, I took a few minutes to lay out all my paper pieces onto the main canvas in a theoretical final configuration, as well as: the compass; the smaller canvases; some pieces of chipboard (from Dusty Attic, their Geometric Panel, for which I can no longer find a link); a couple of faux-wax seals which I’d made for a previous post; a tiny anchor pendant and a length of chain (which hopefully would look like a coil of rope); a rusty metal butterfly; a little clock face; a metal star; one little metal gear; a little key; and some blue butterflies from one of my book nook projects. This did not end up being the actual final configuration, but one has to start somewhere.
Read Part 2 here.