Adventures In Trailblazing—Part 2
As an Amazon associate, I may earn a small commission if you navigate to Amazon from my site and buy something. This will not result in an extra cost to you.
This post won’t make much sense if you haven’t read Part 1, which you can find here.
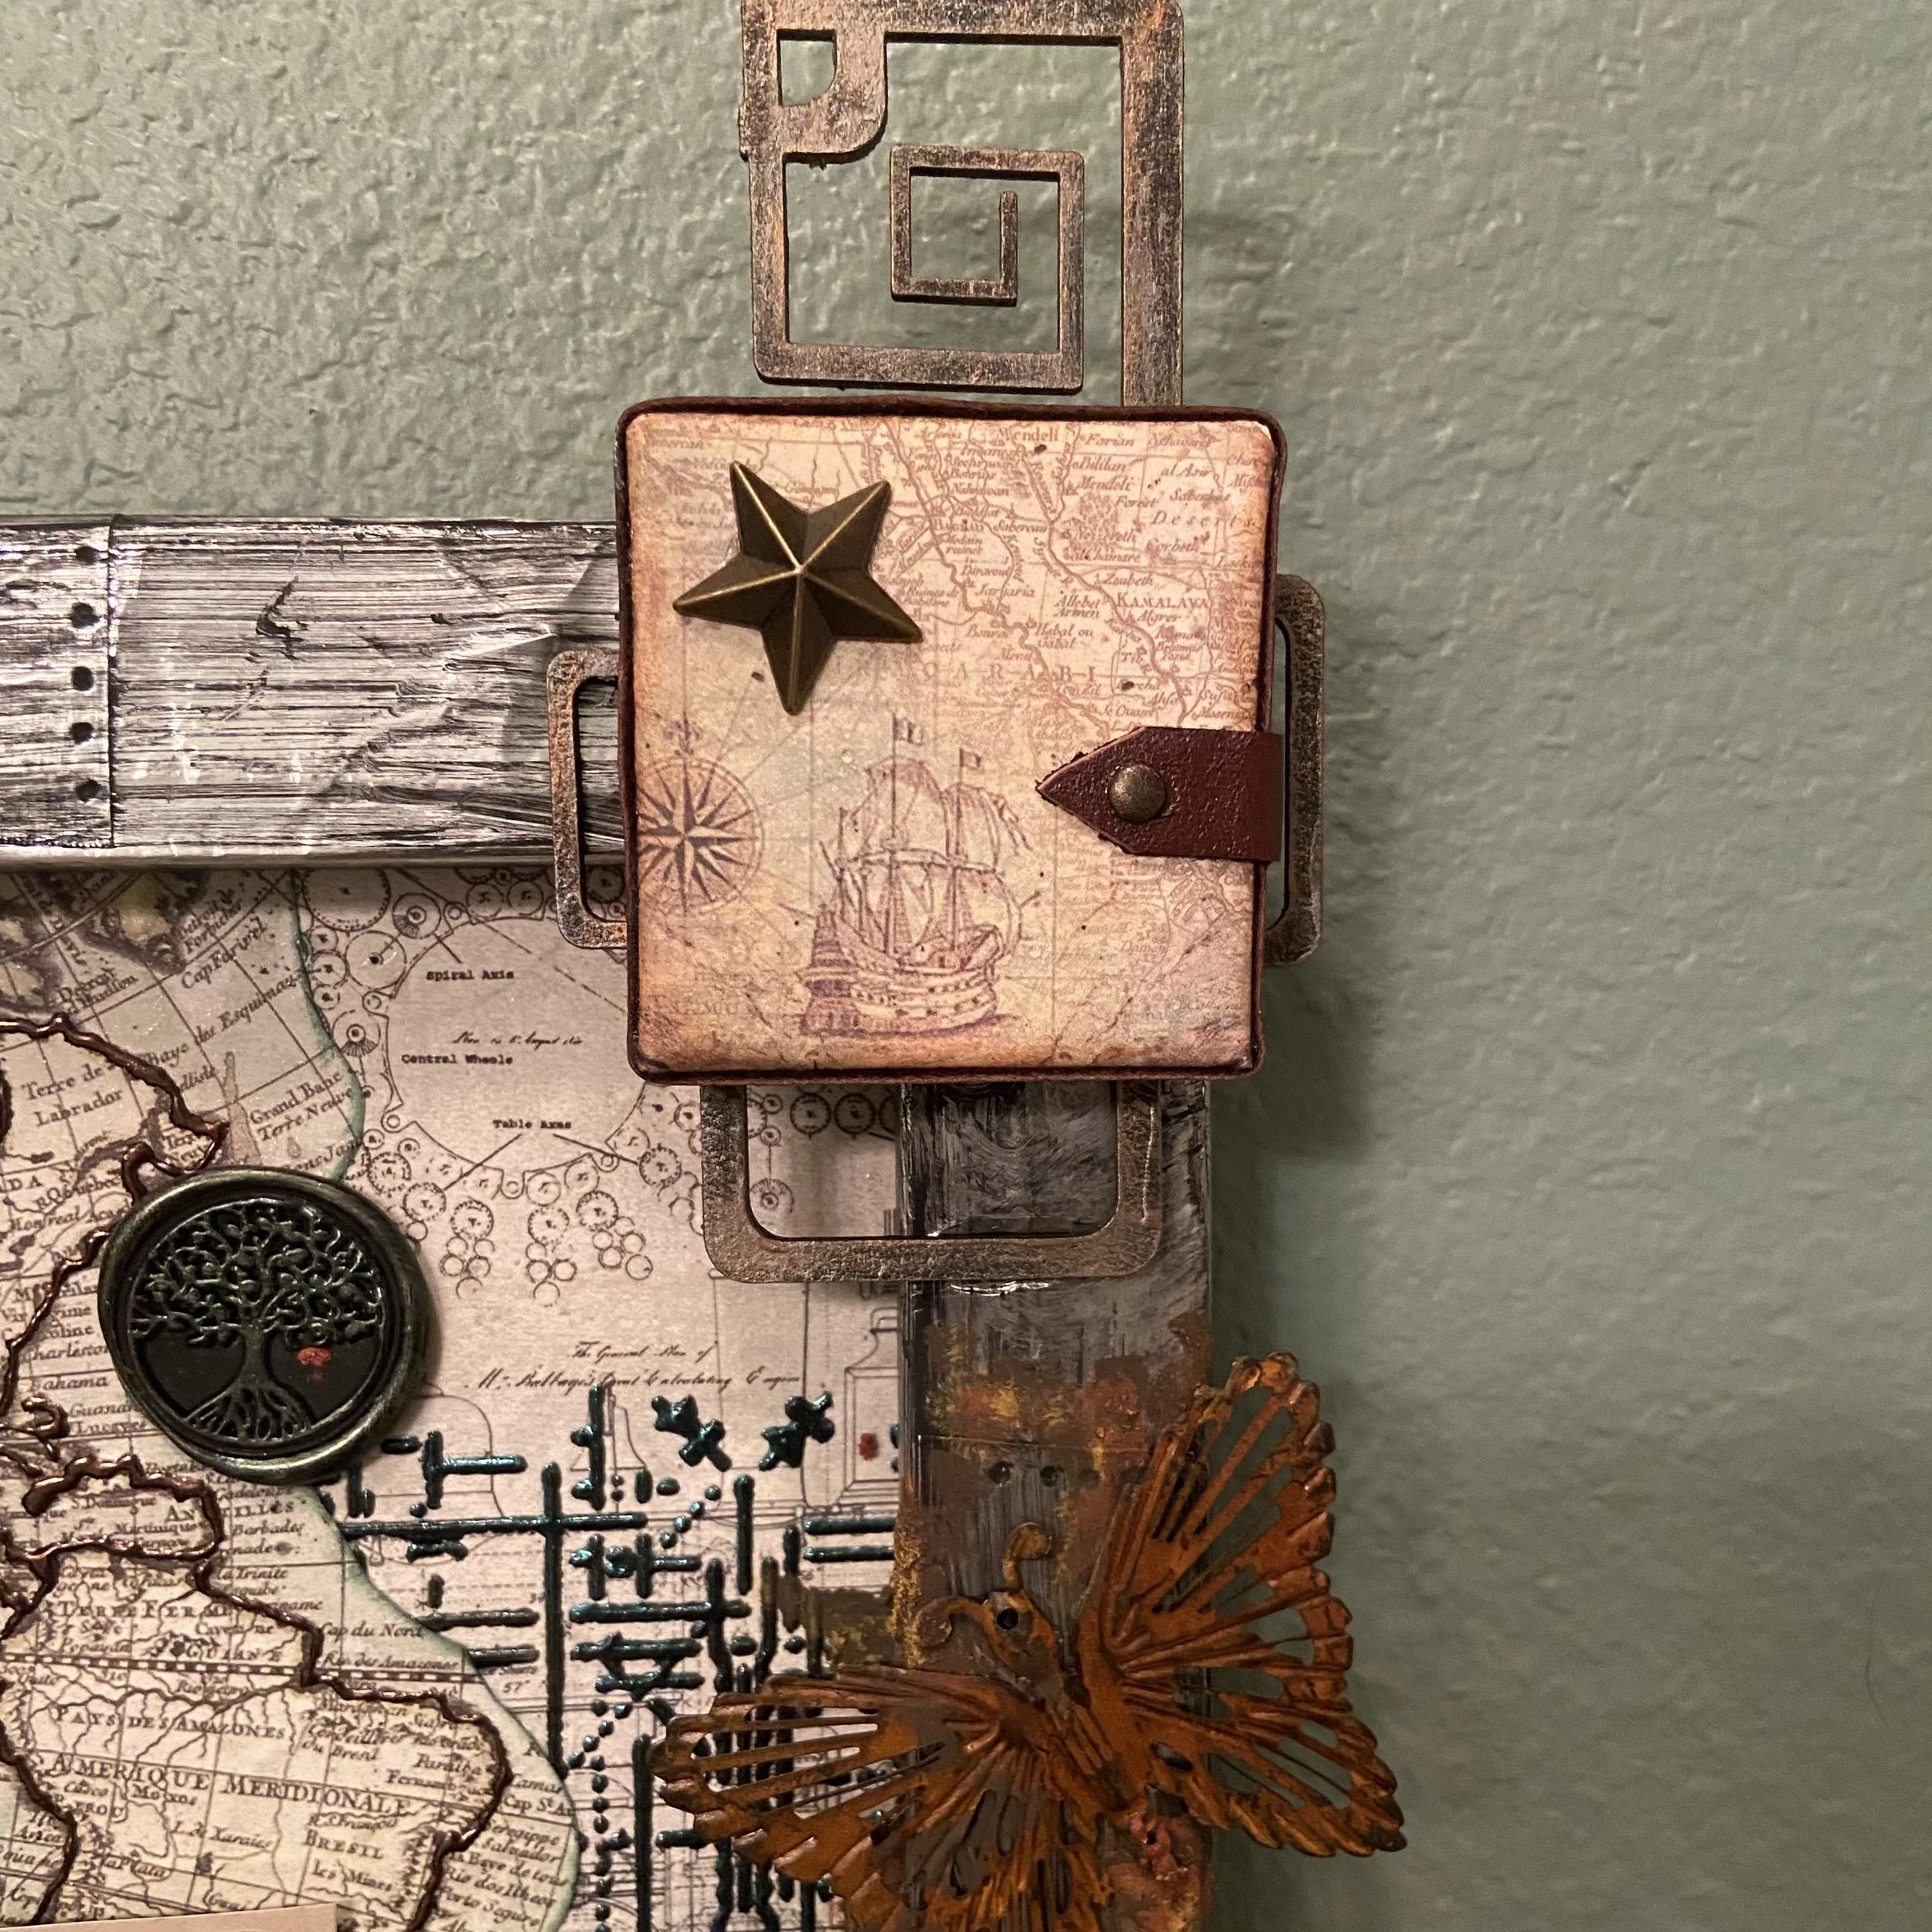
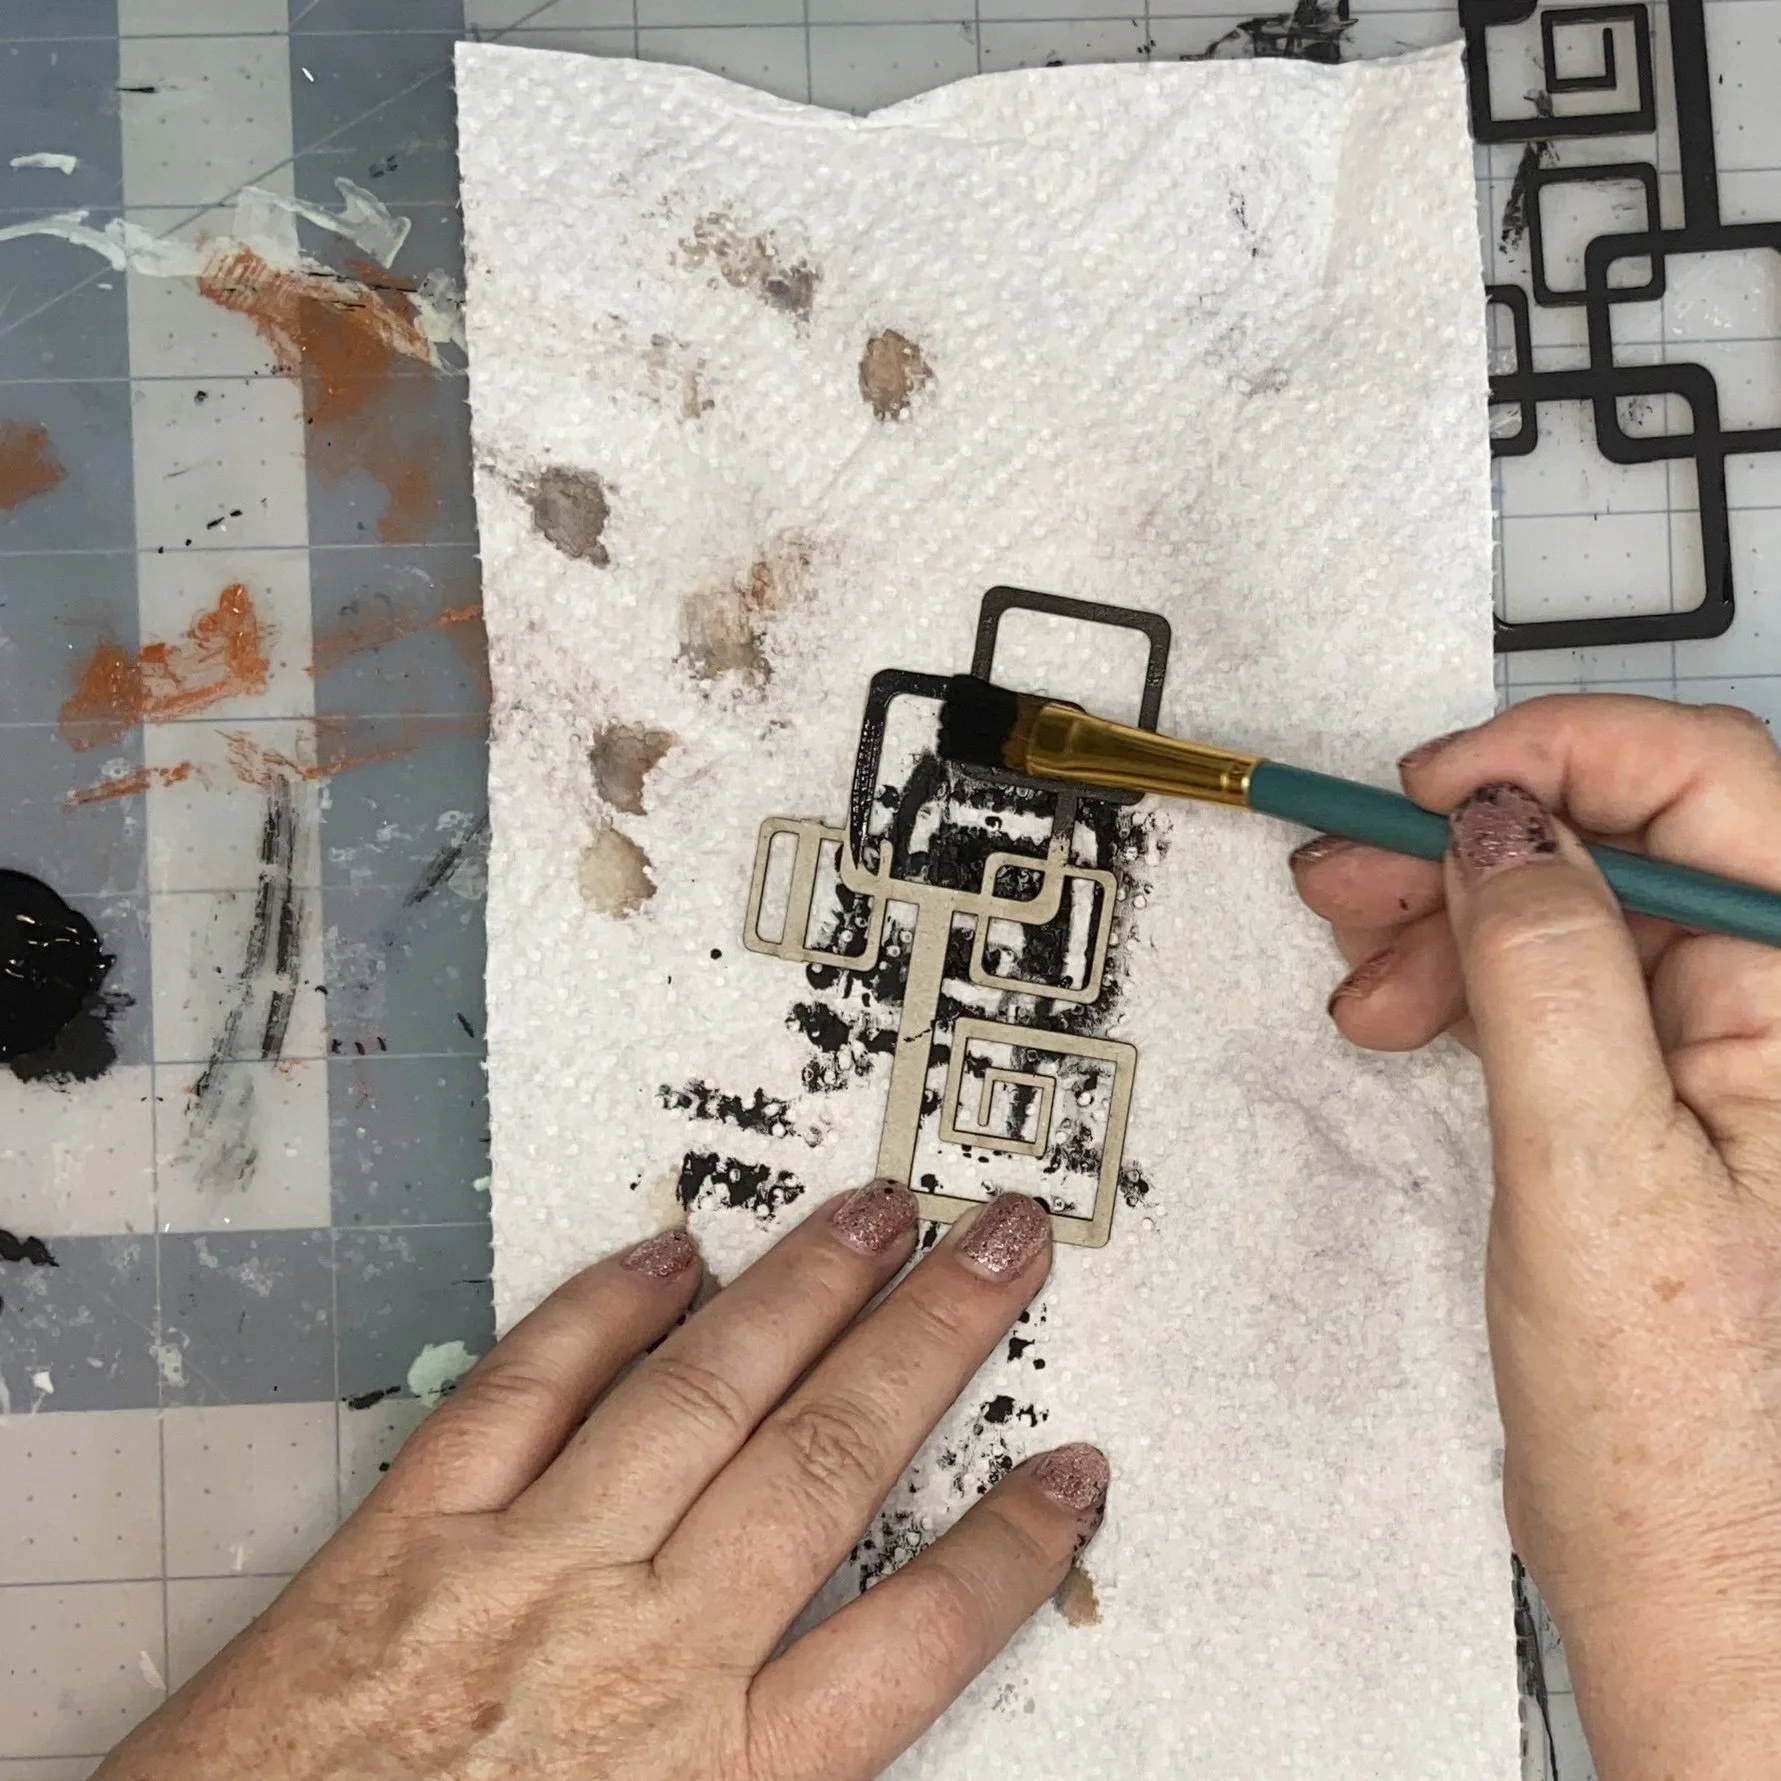
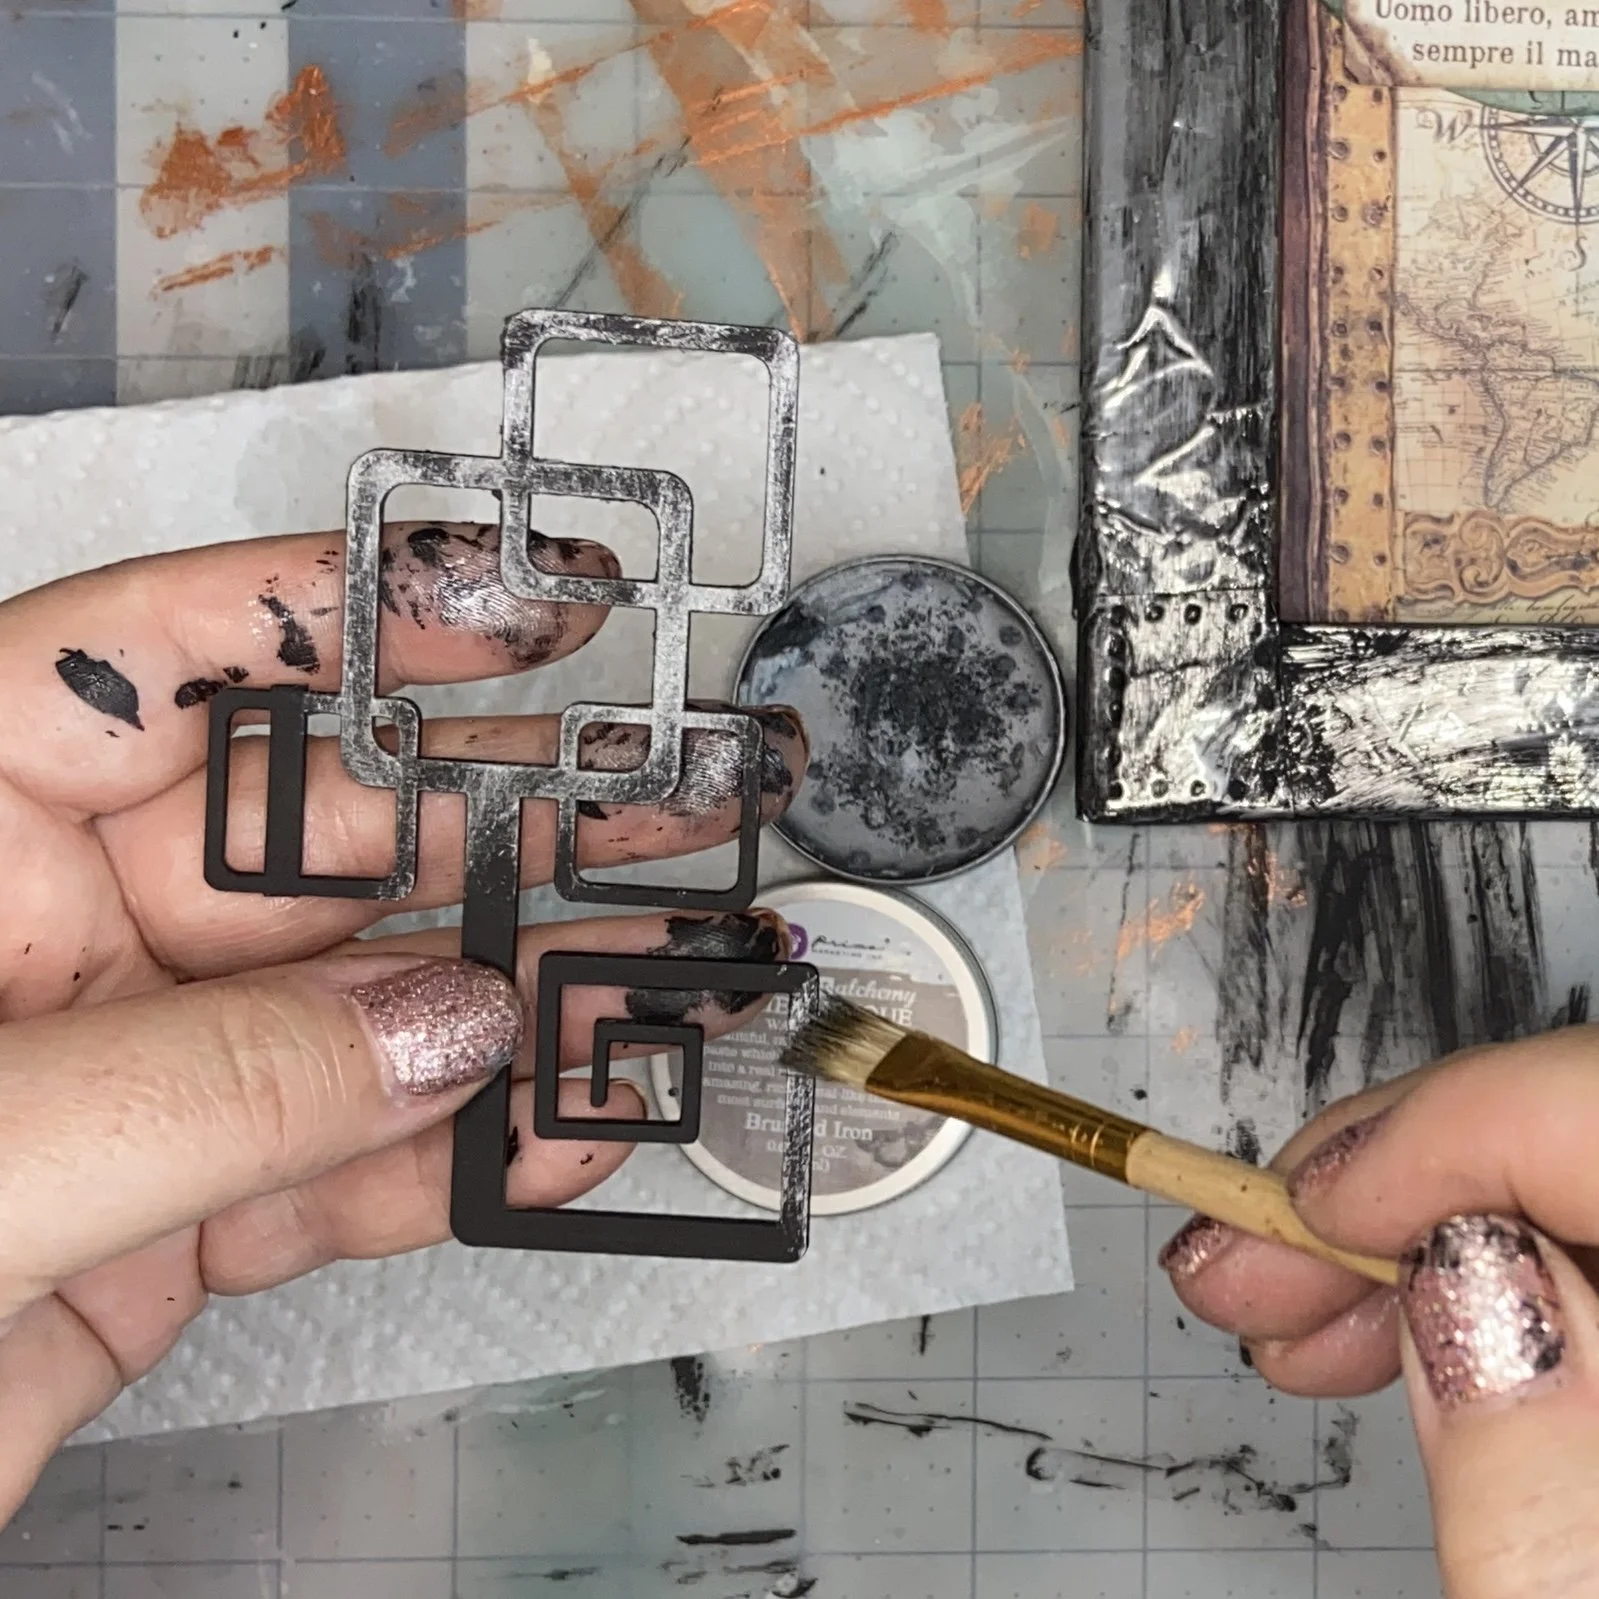
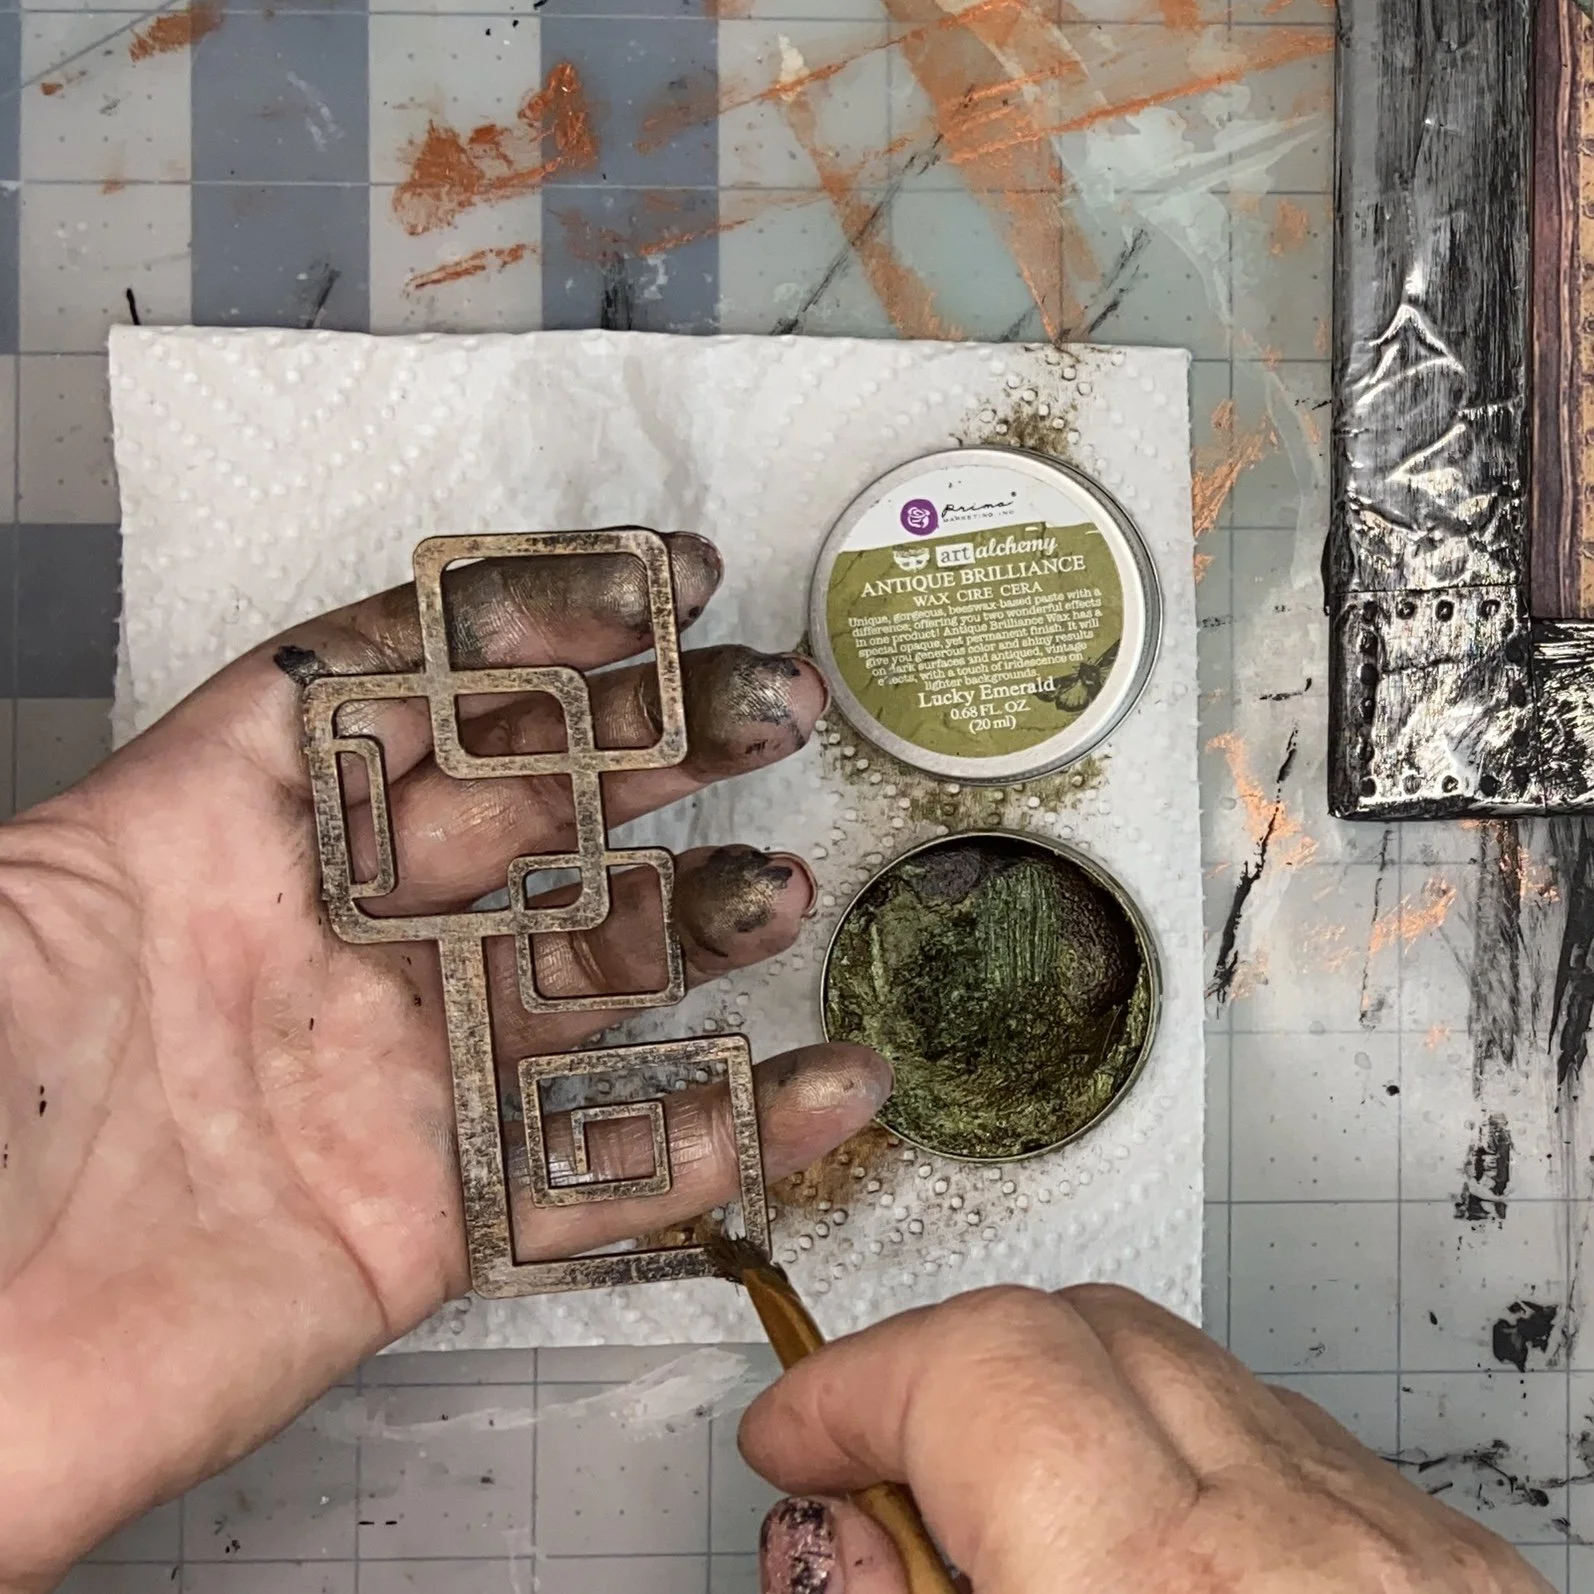
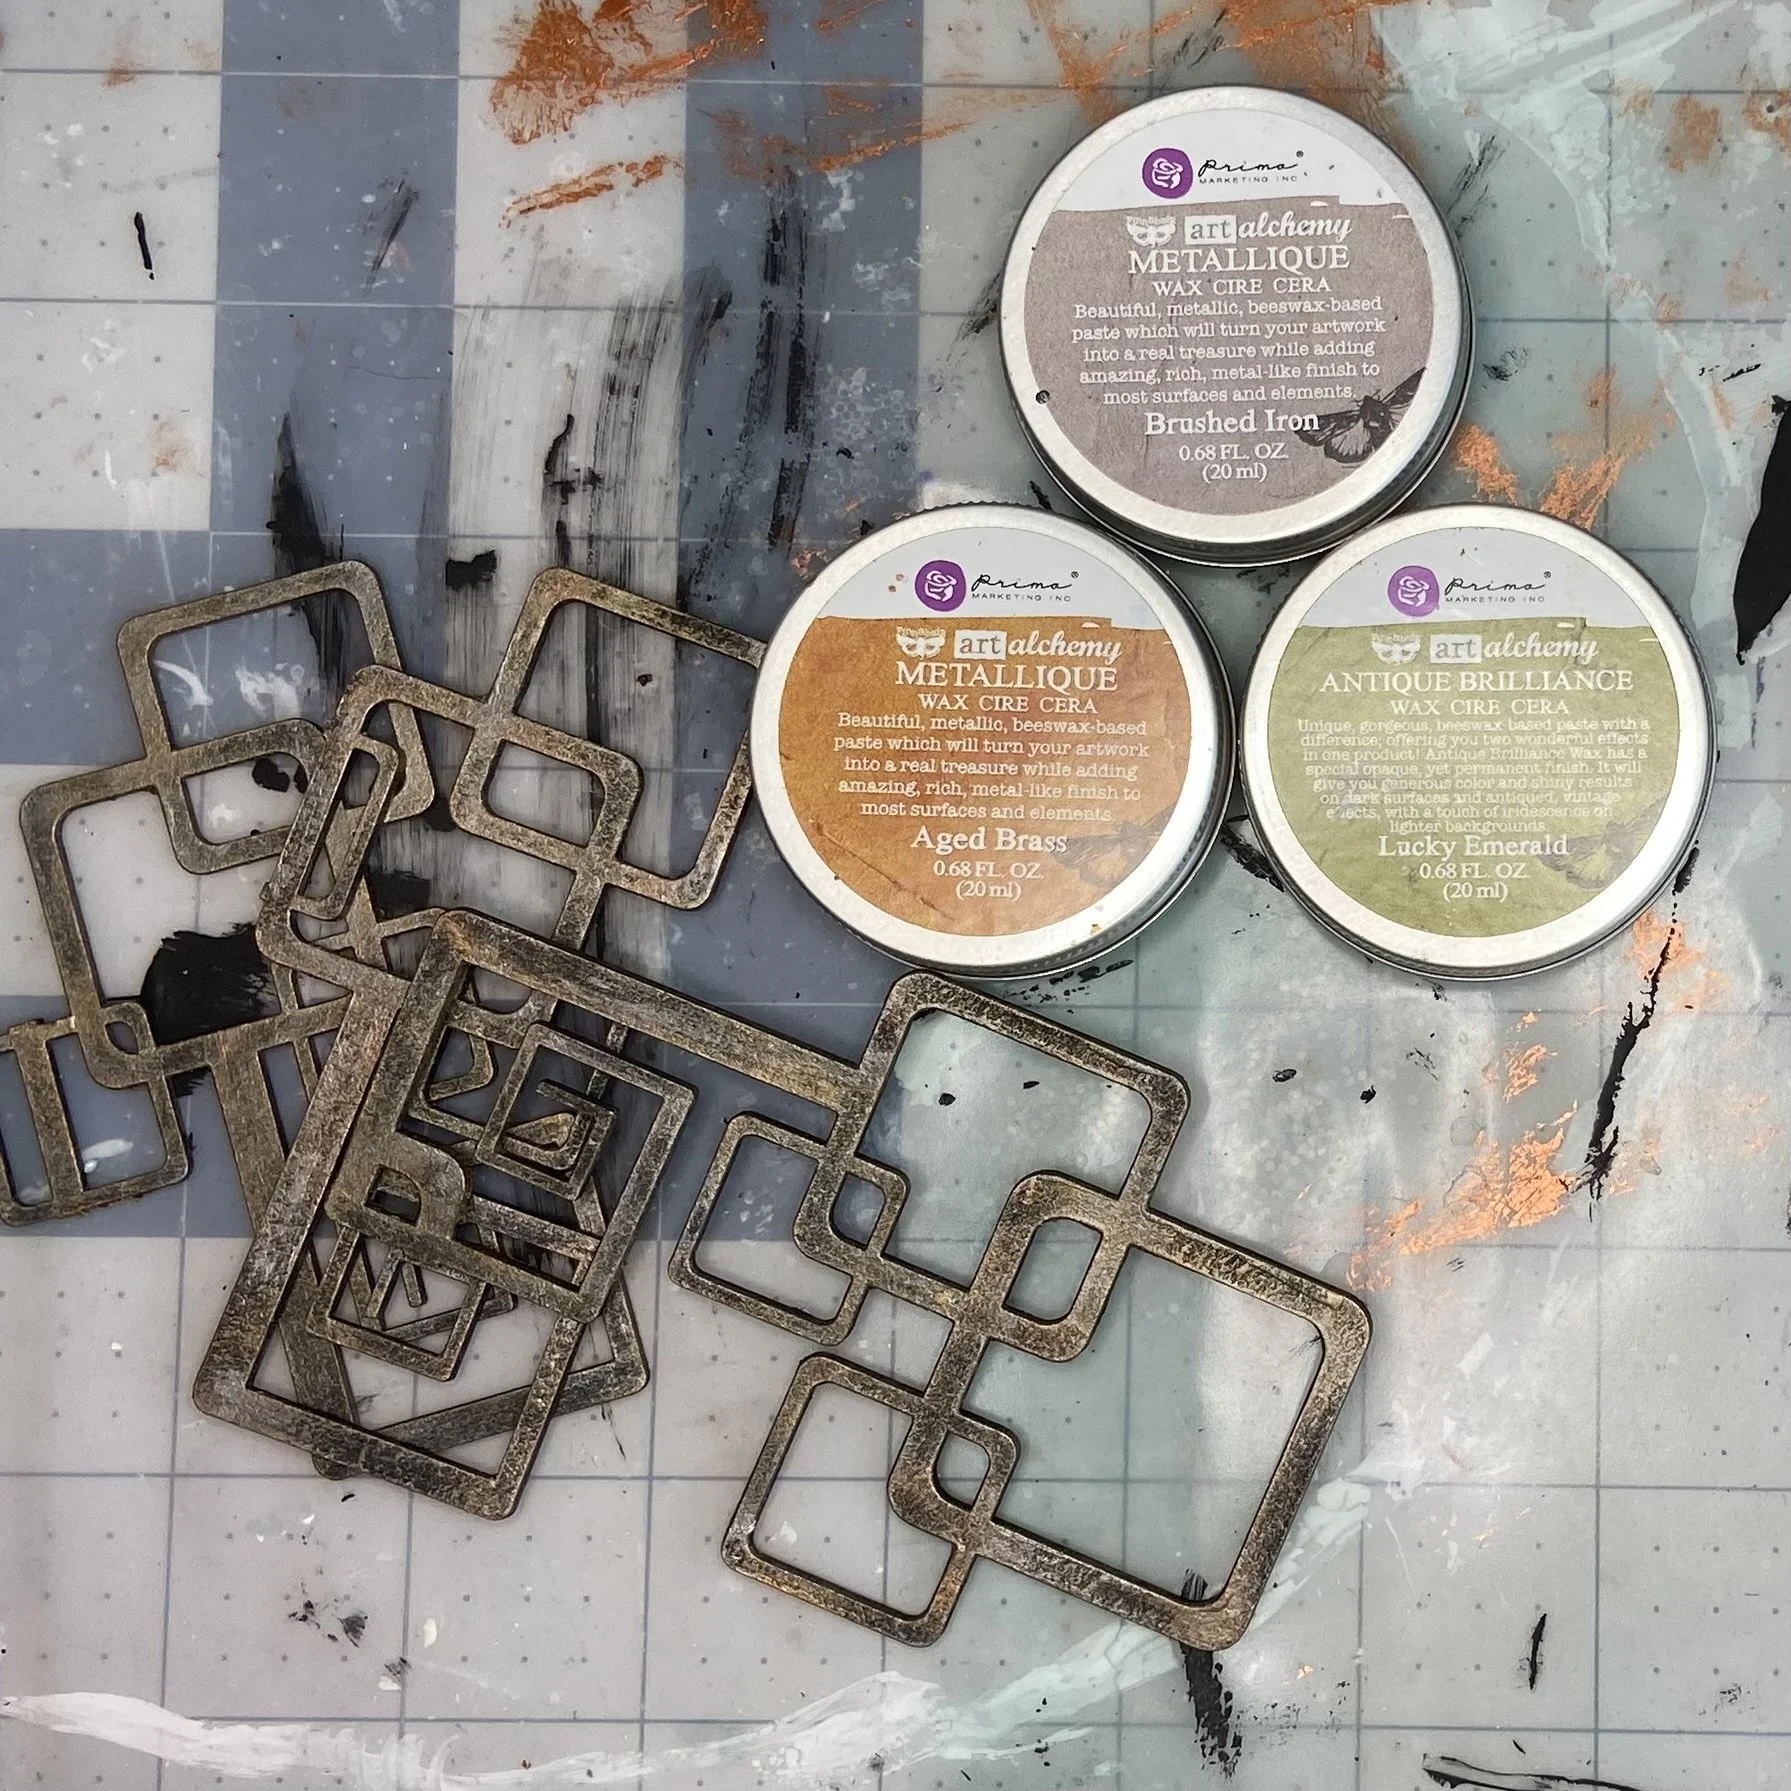
I started working on my pieces of chipboard. Since I didn’t have any black gesso, I used my black acrylic paint to paint the front and sides of the pieces. With hindsight, I wish I’d also painted the back, since the completed project looks slightly unfinished when viewed from the back, where these pieces are also visible. But I didn’t, so…lesson for next time. Once the paint was dry, I dry-brushed each of the pieces with some of my Finnabair waxes, starting with a layer of Brushed Iron, then a lighter layer of Aged Brass, and finally a very light brushing of Lucky Emerald (no longer available but this is a reasonable substitute). I absolutely love working with these waxes…the result is so gorgeous and they smell sooooo good!
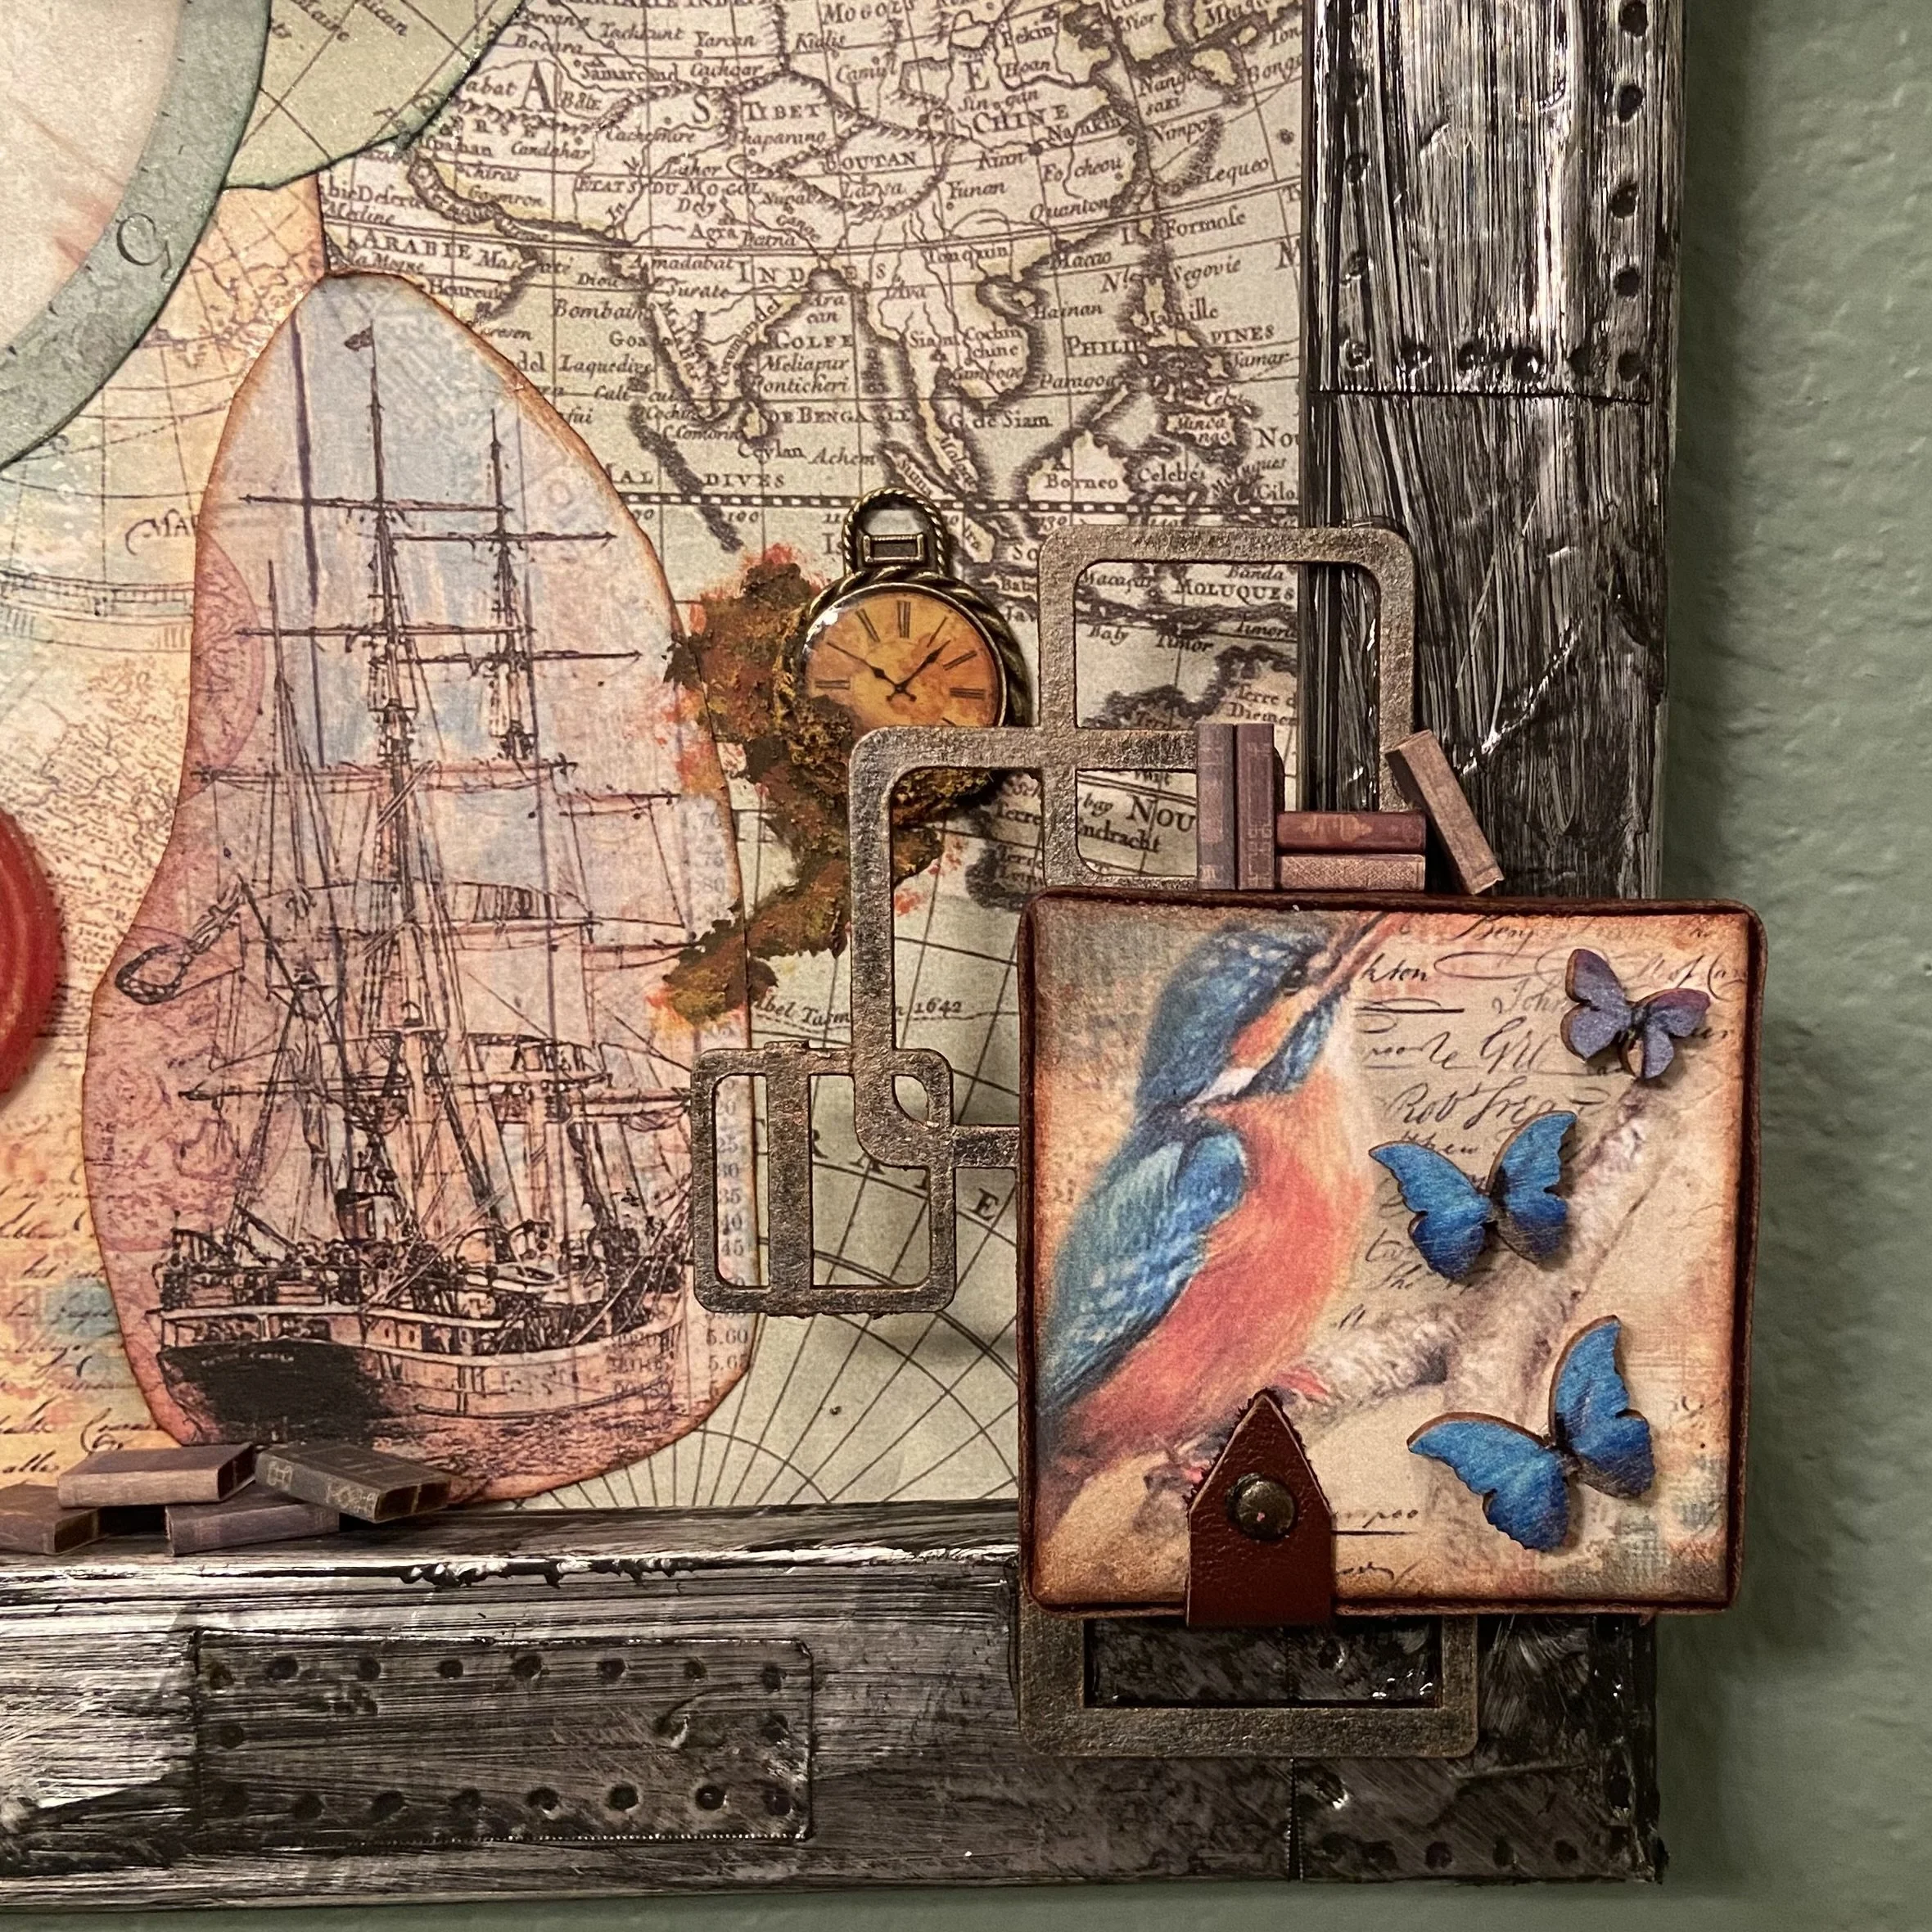
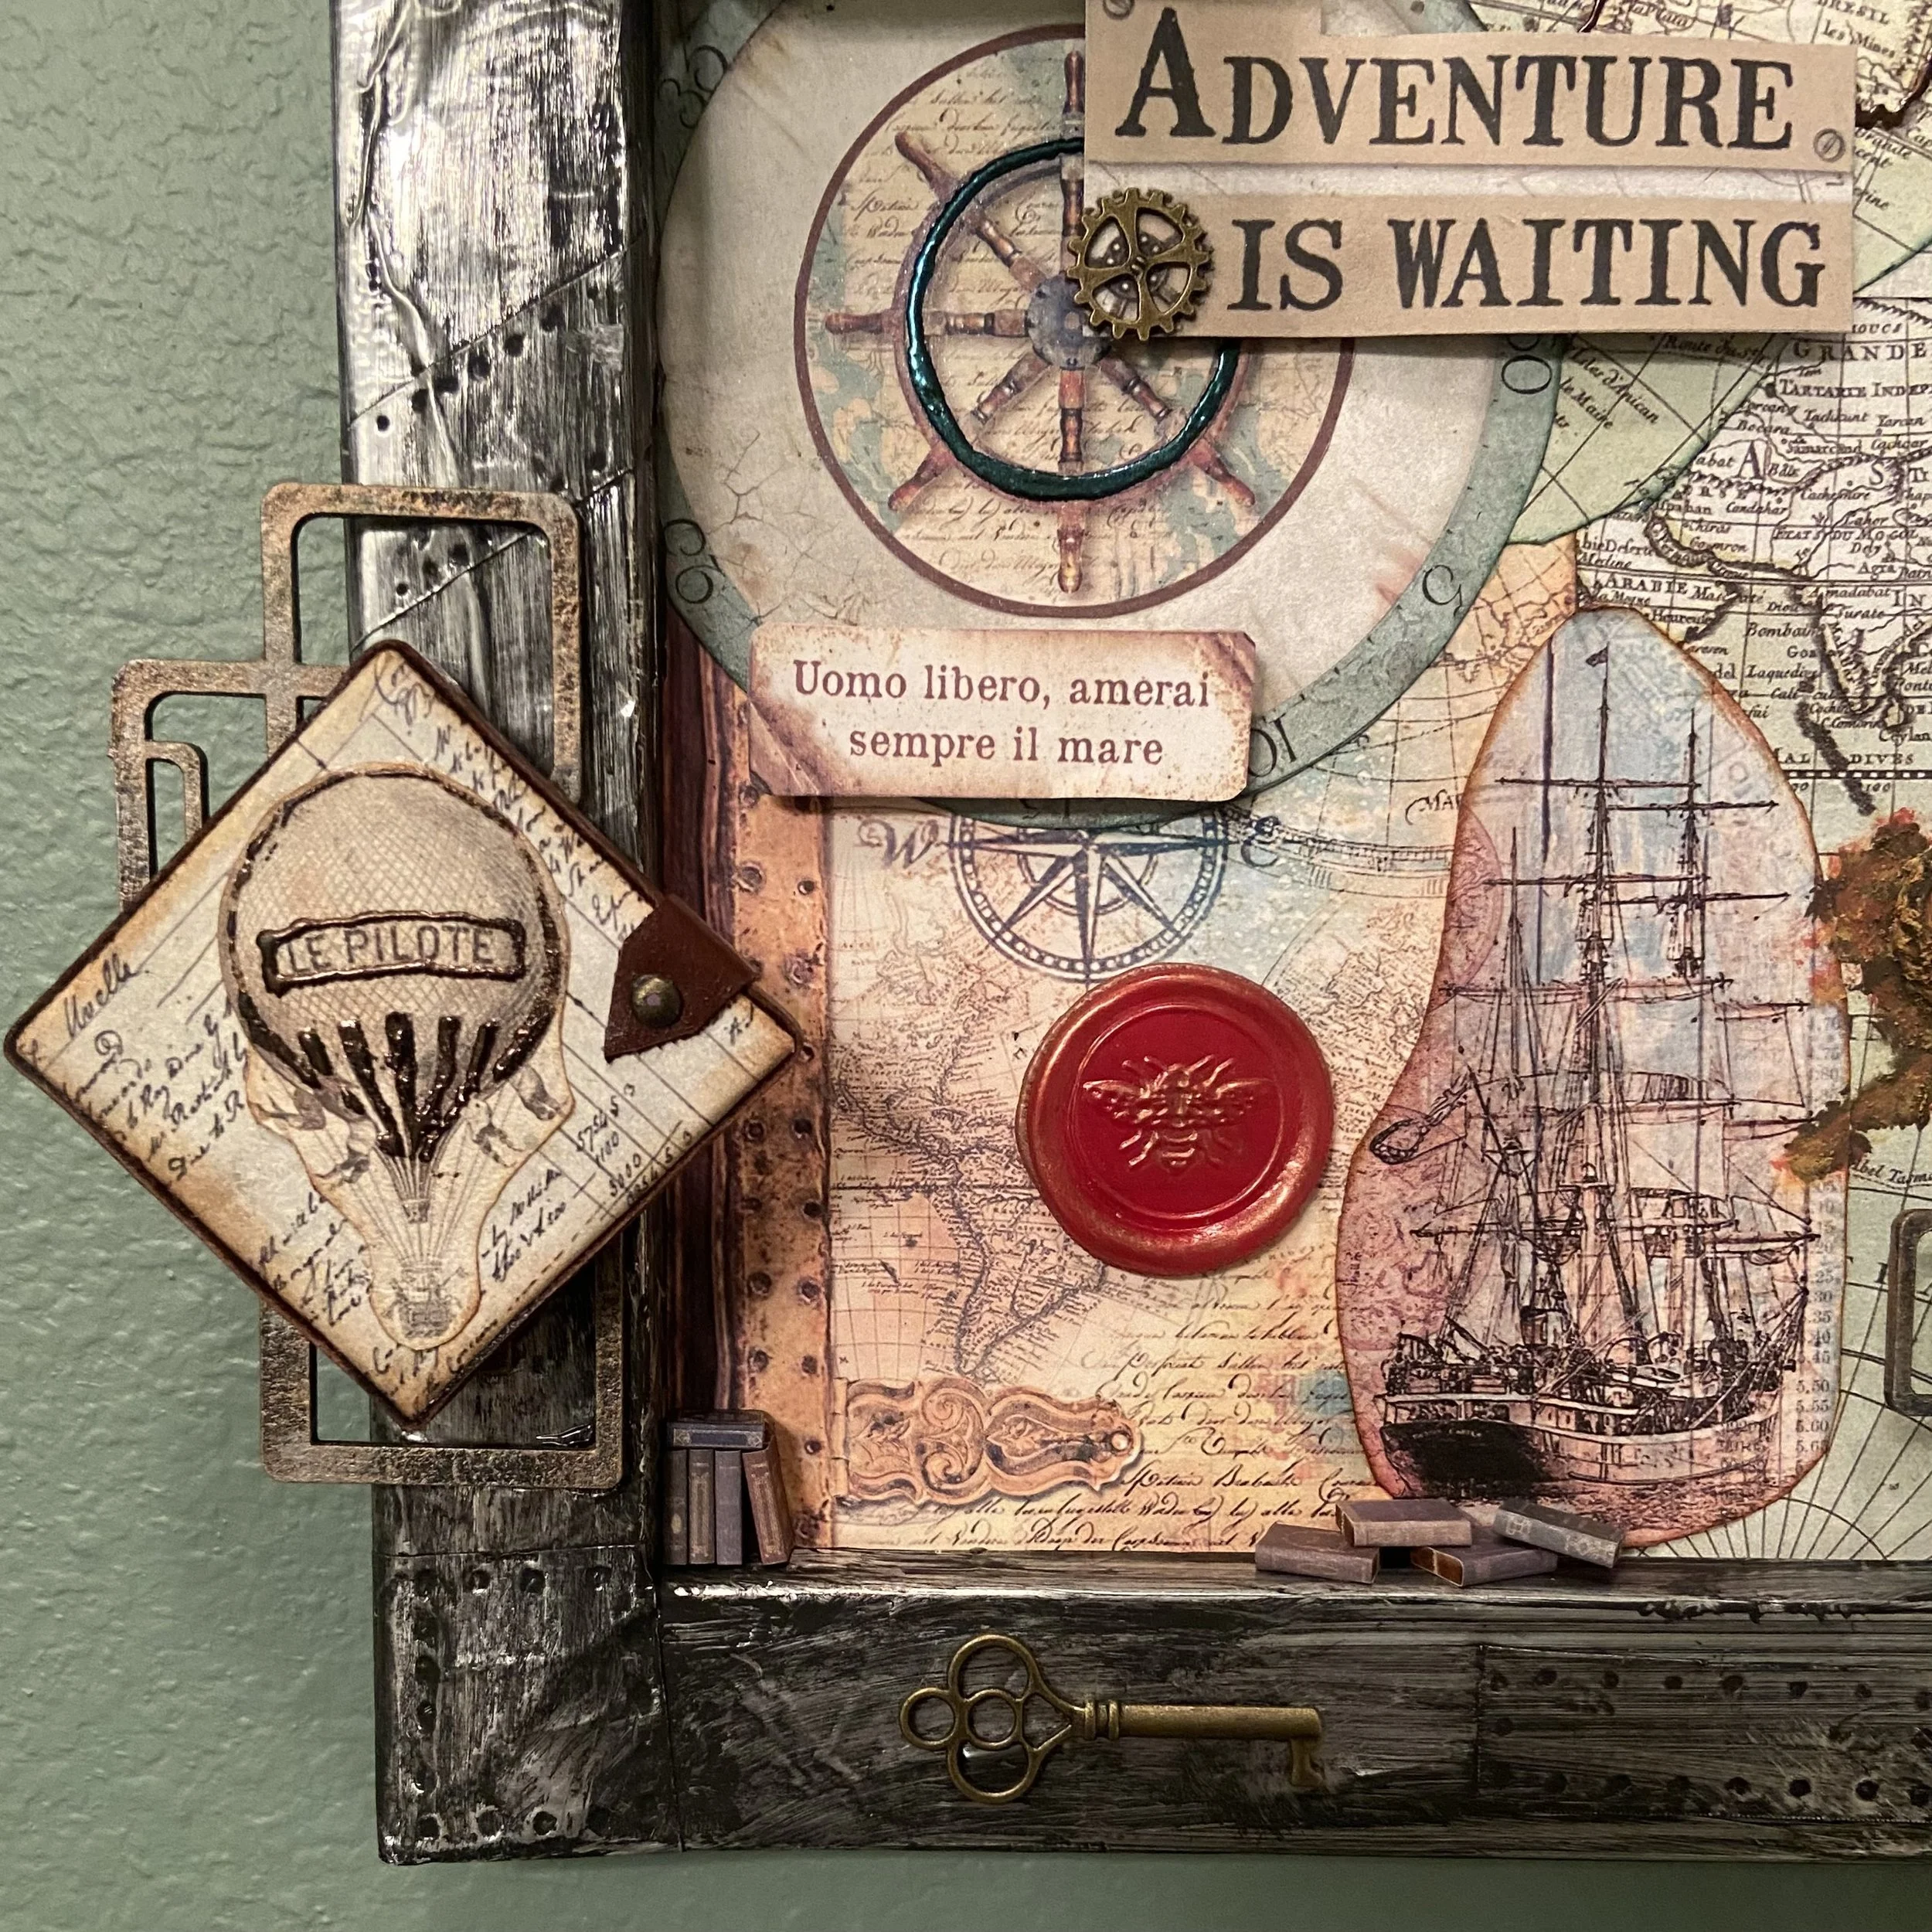
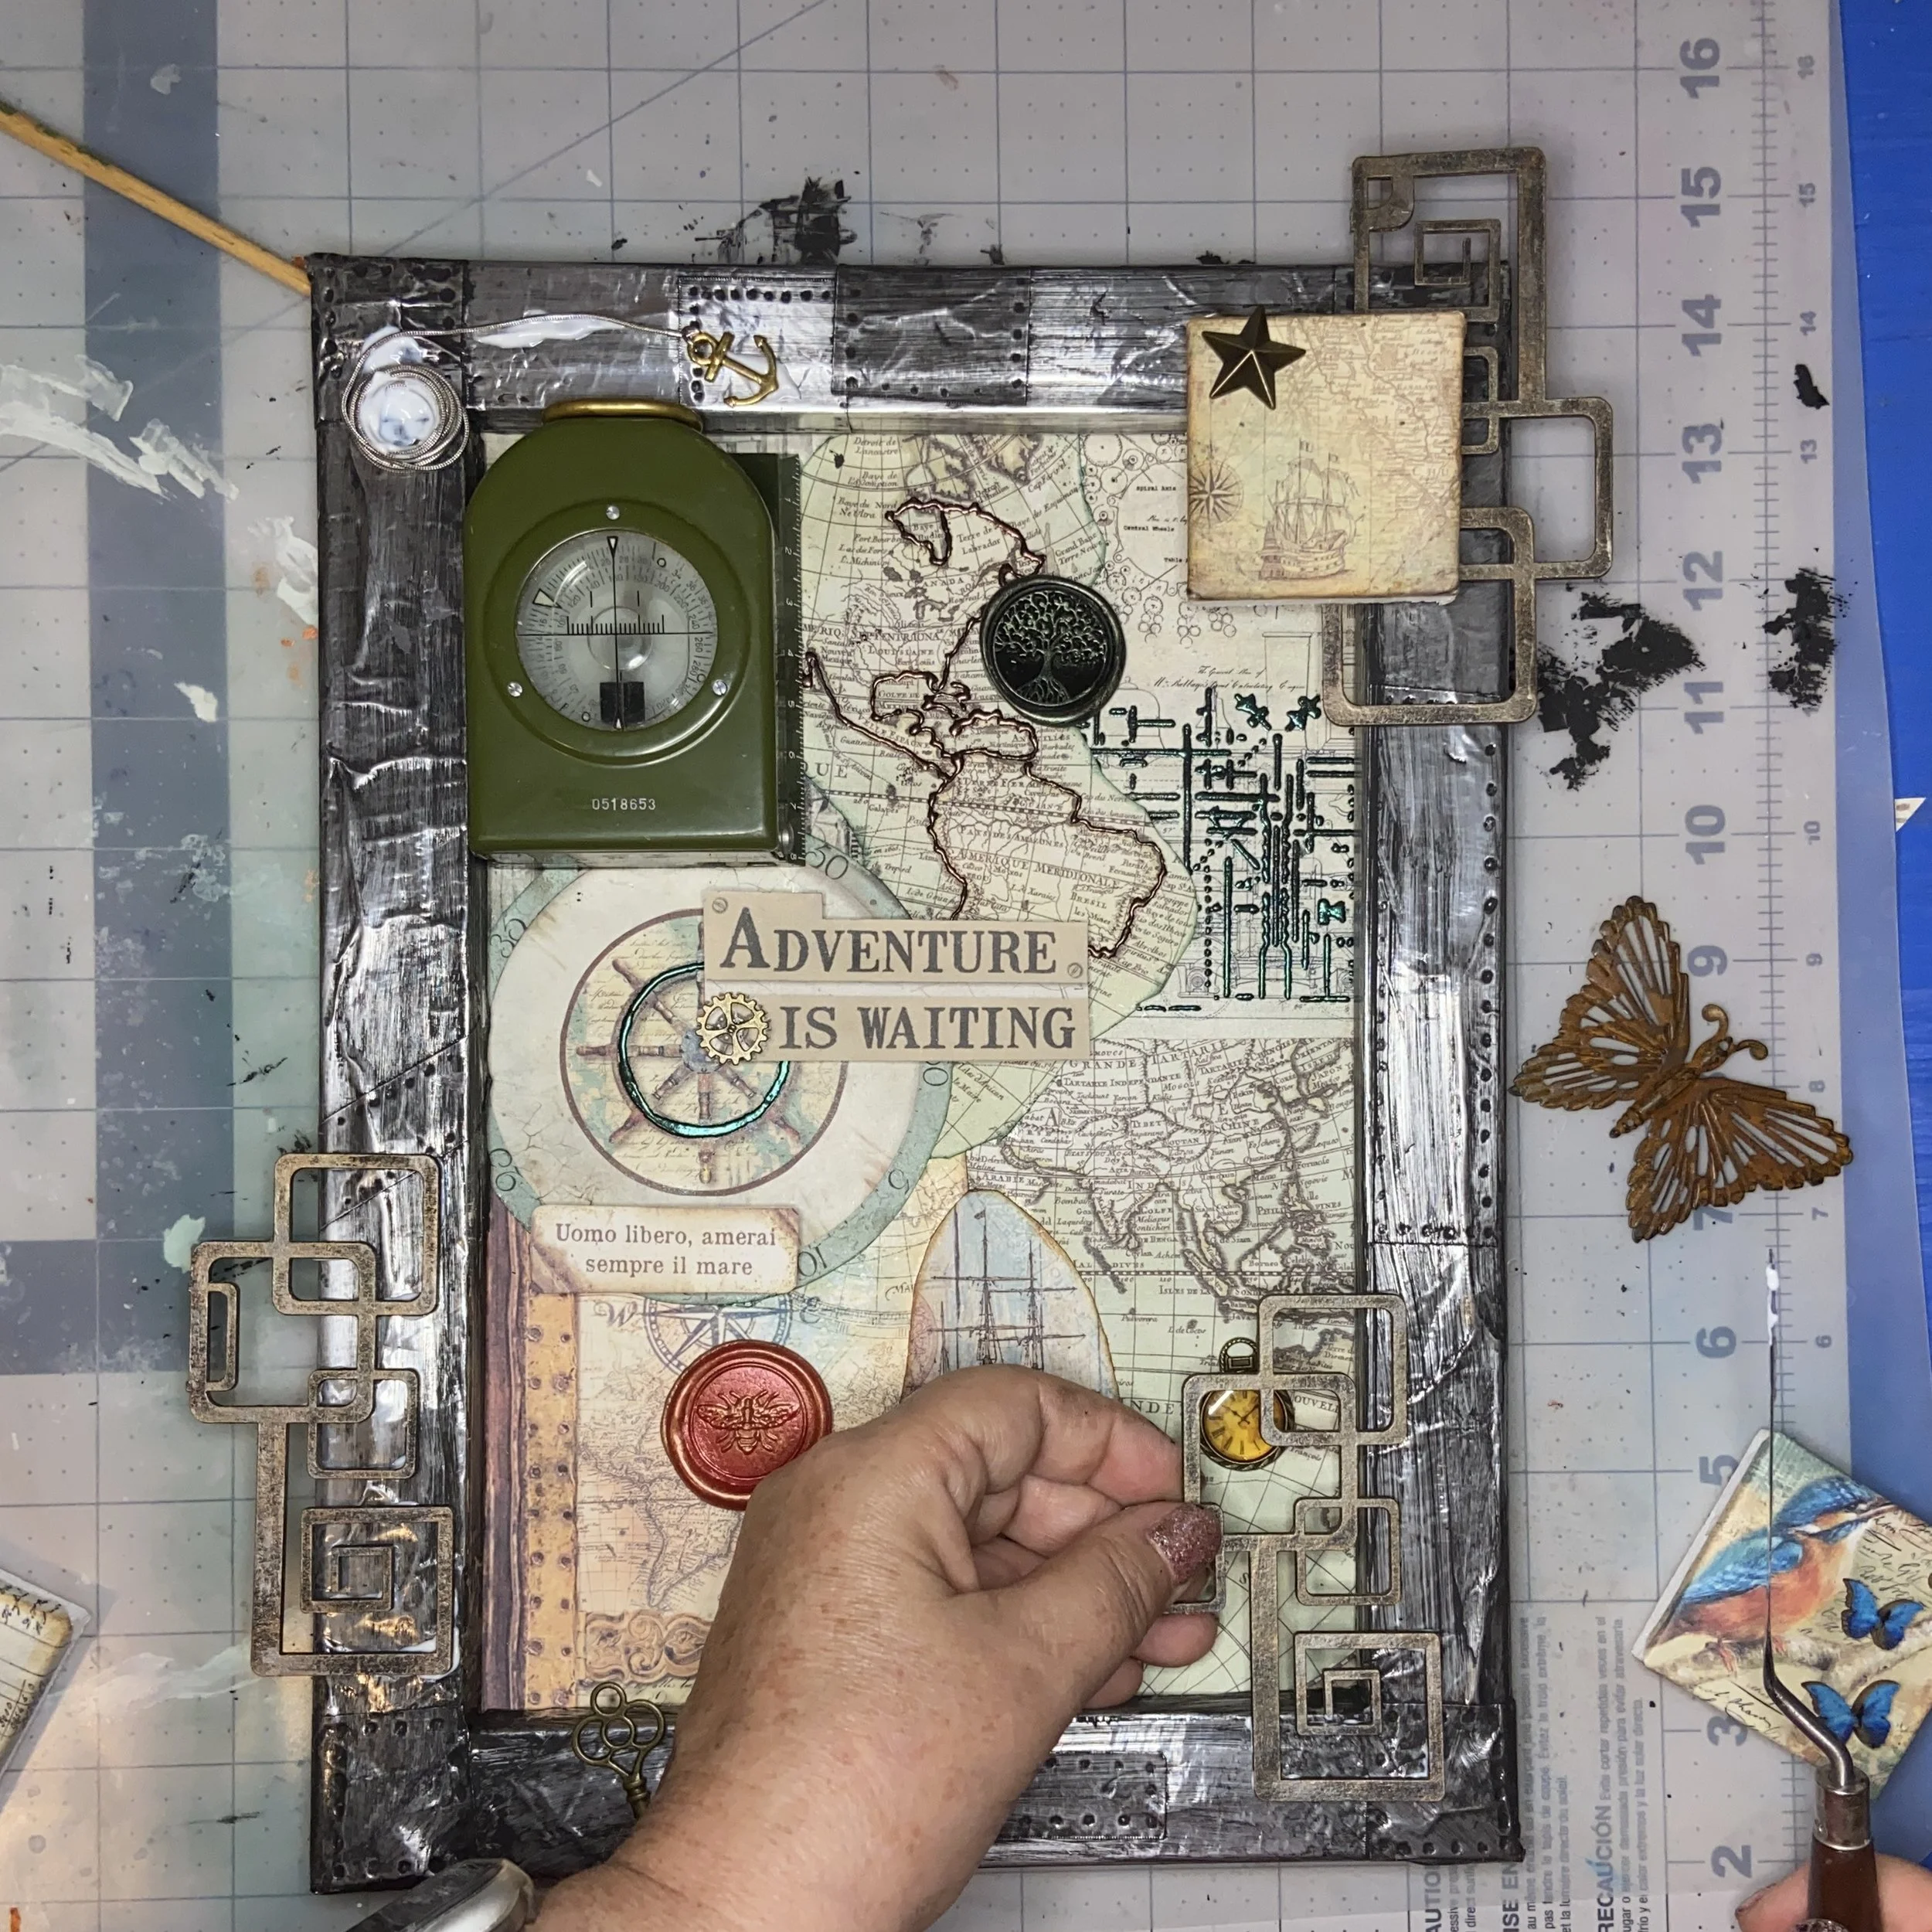
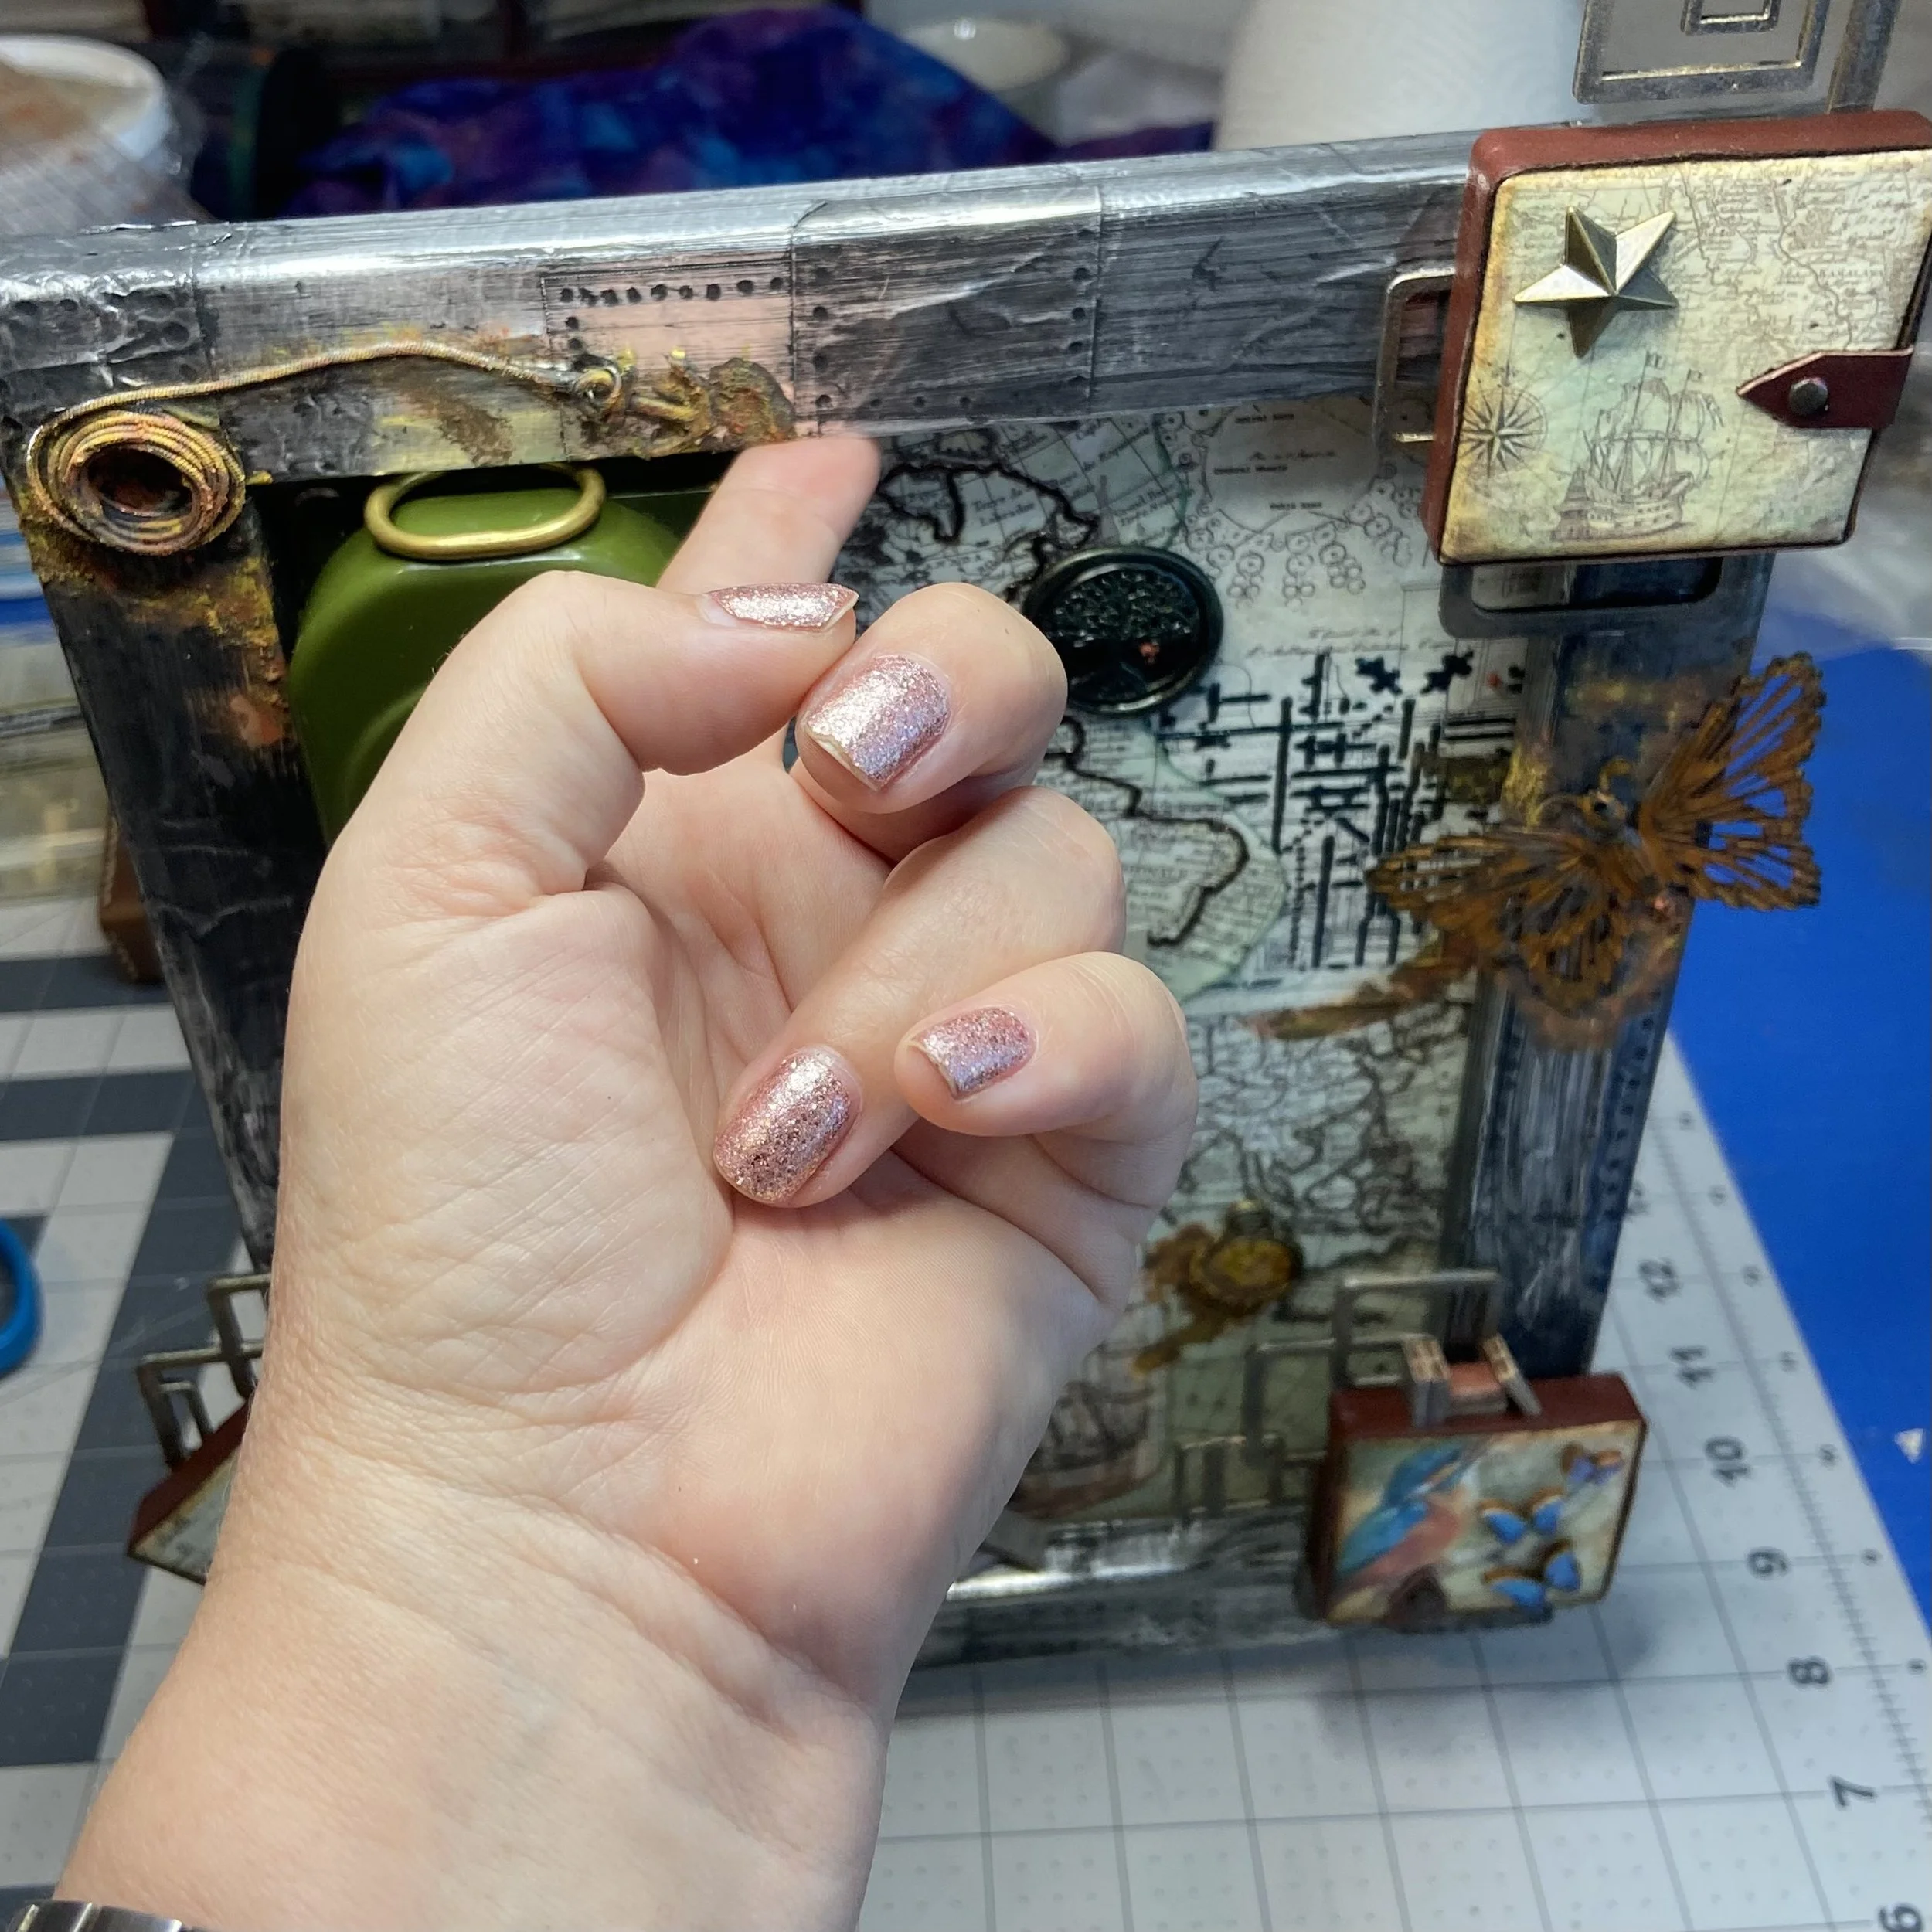
Next, I started layering my paper pieces and other embellishments onto the main canvas. For this, I used my heavy body gel, which I could be sure would stick to both the canvas and the metal parts. A couple of the paper pieces I elevated above the rest with a layer of scrap foam I found in some packaging somewhere. I did not attach my smaller canvases yet for two reasons: first, the geometric chunks of chipboard needed to be firmly attached, and the gel dry, before I tried to attach the canvases over those; and second, I needed to finish the edges of the smaller canvases.

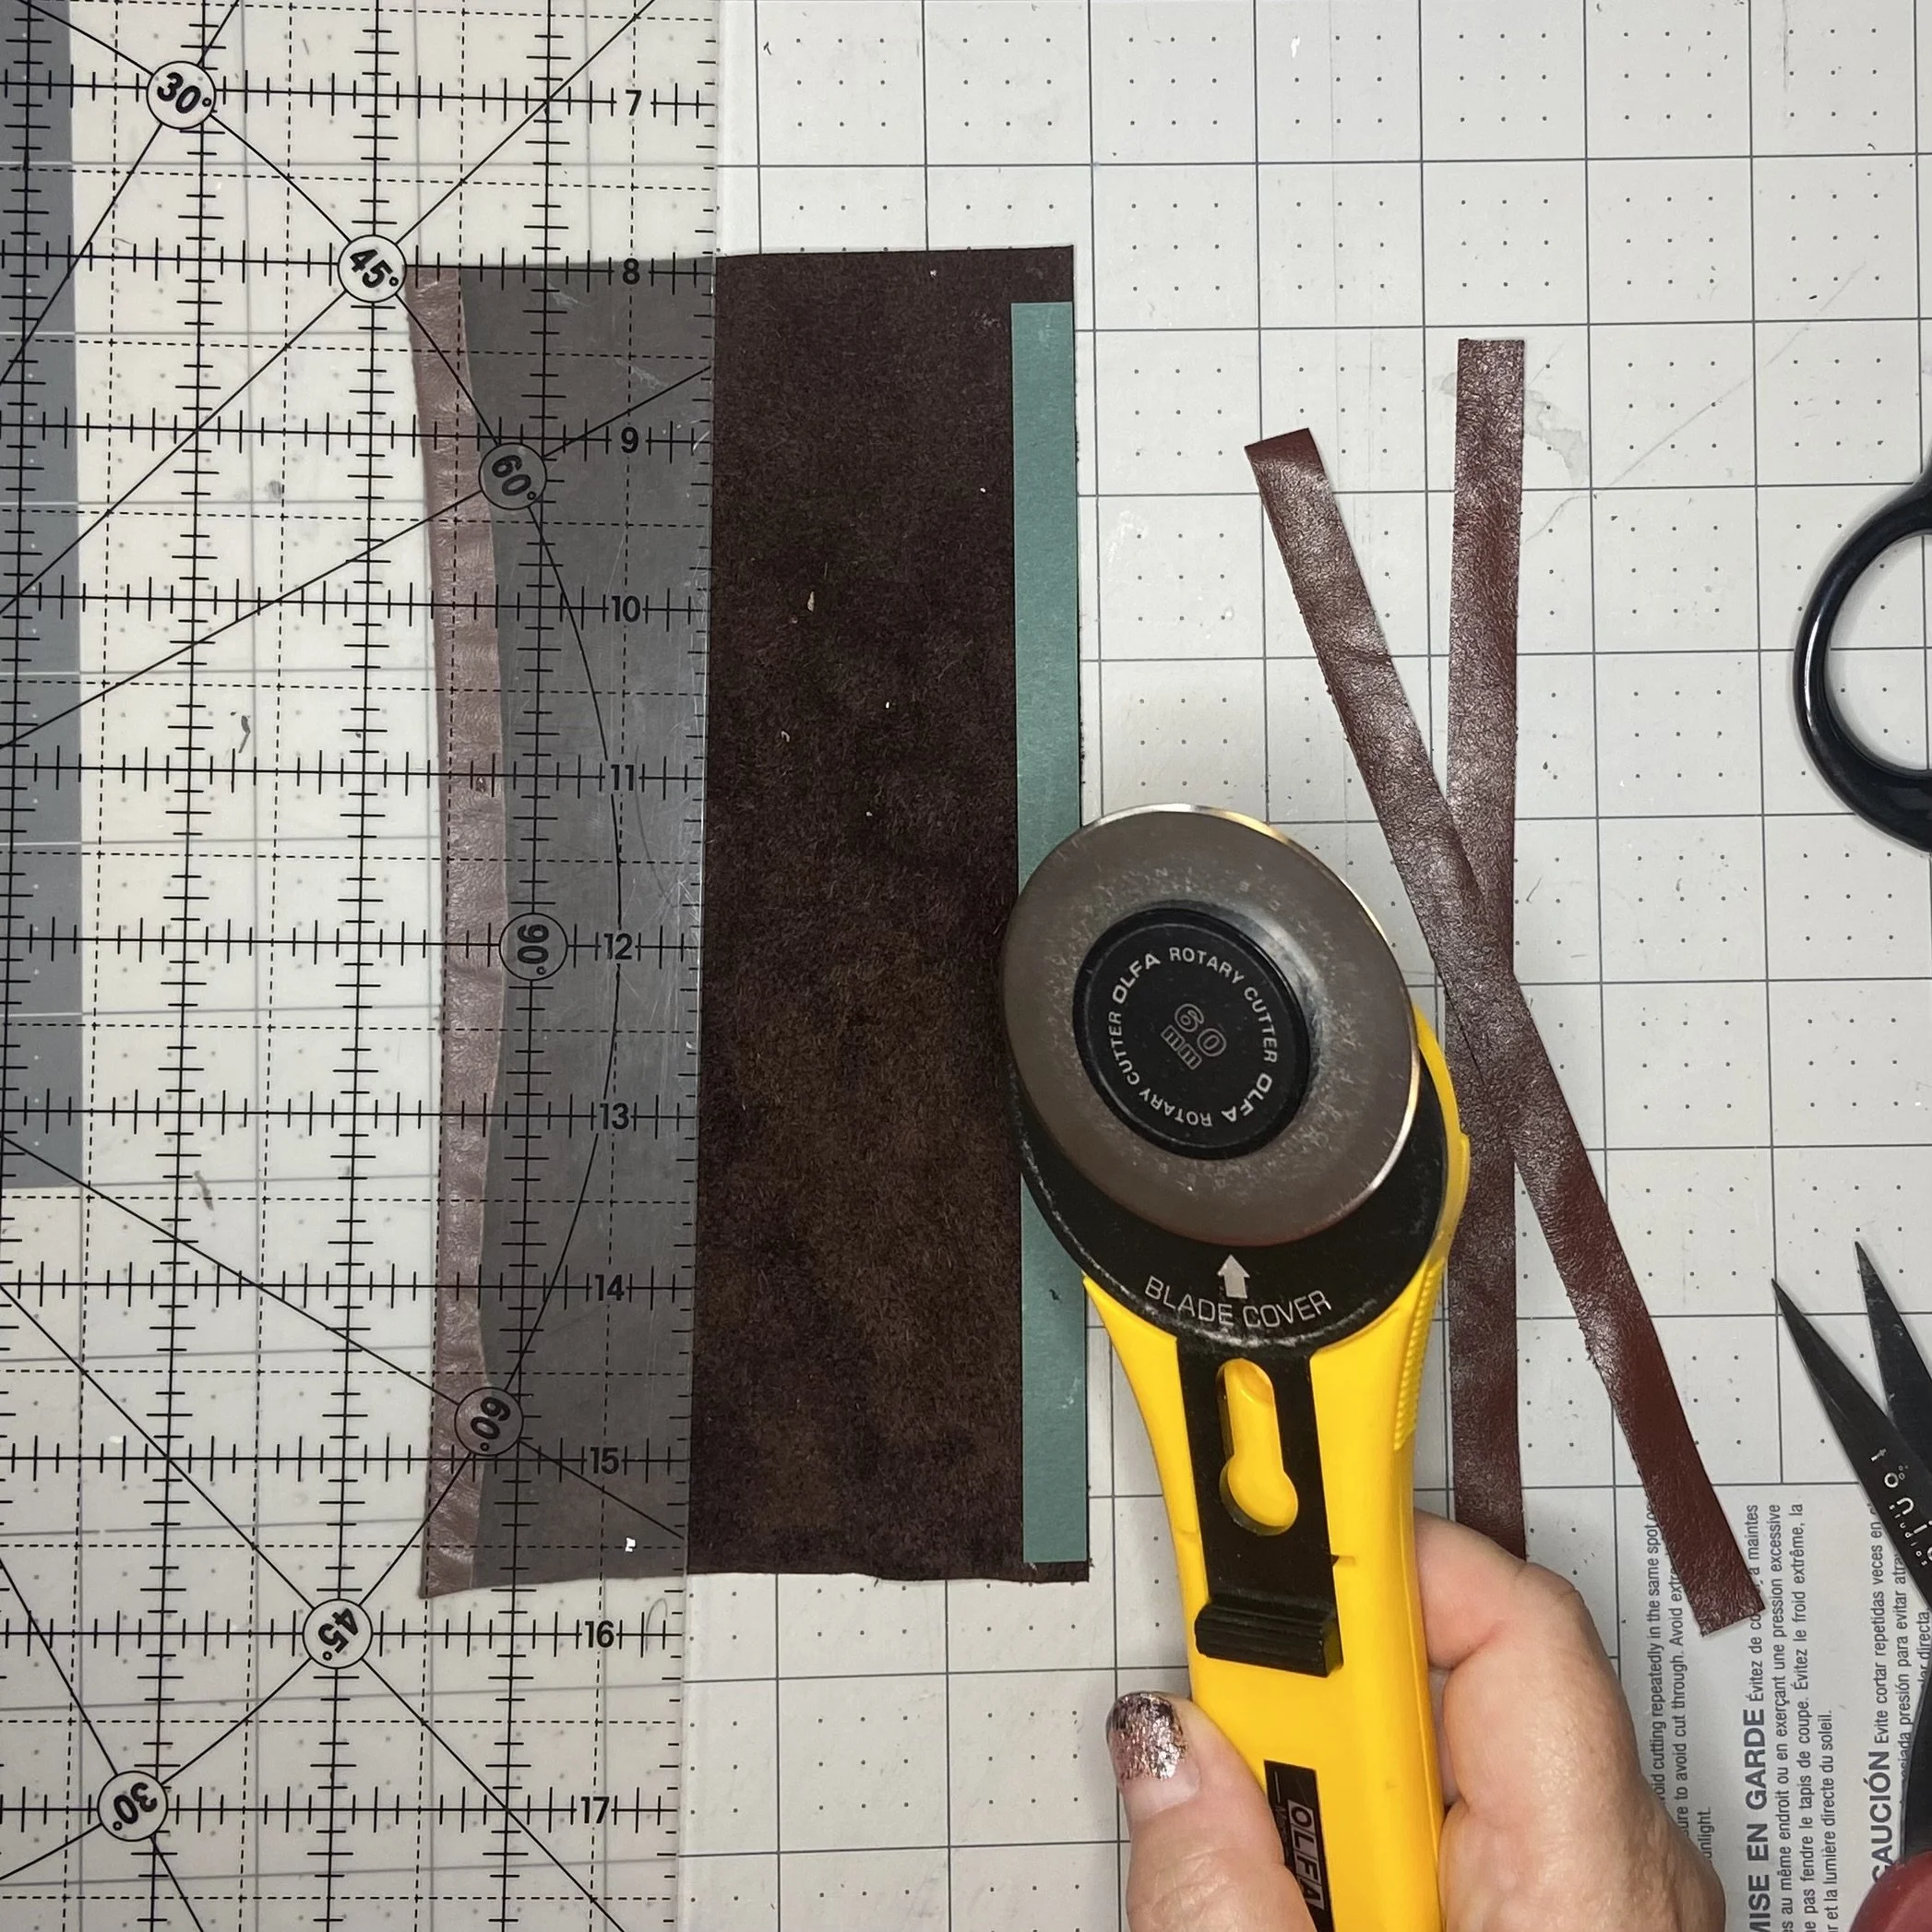
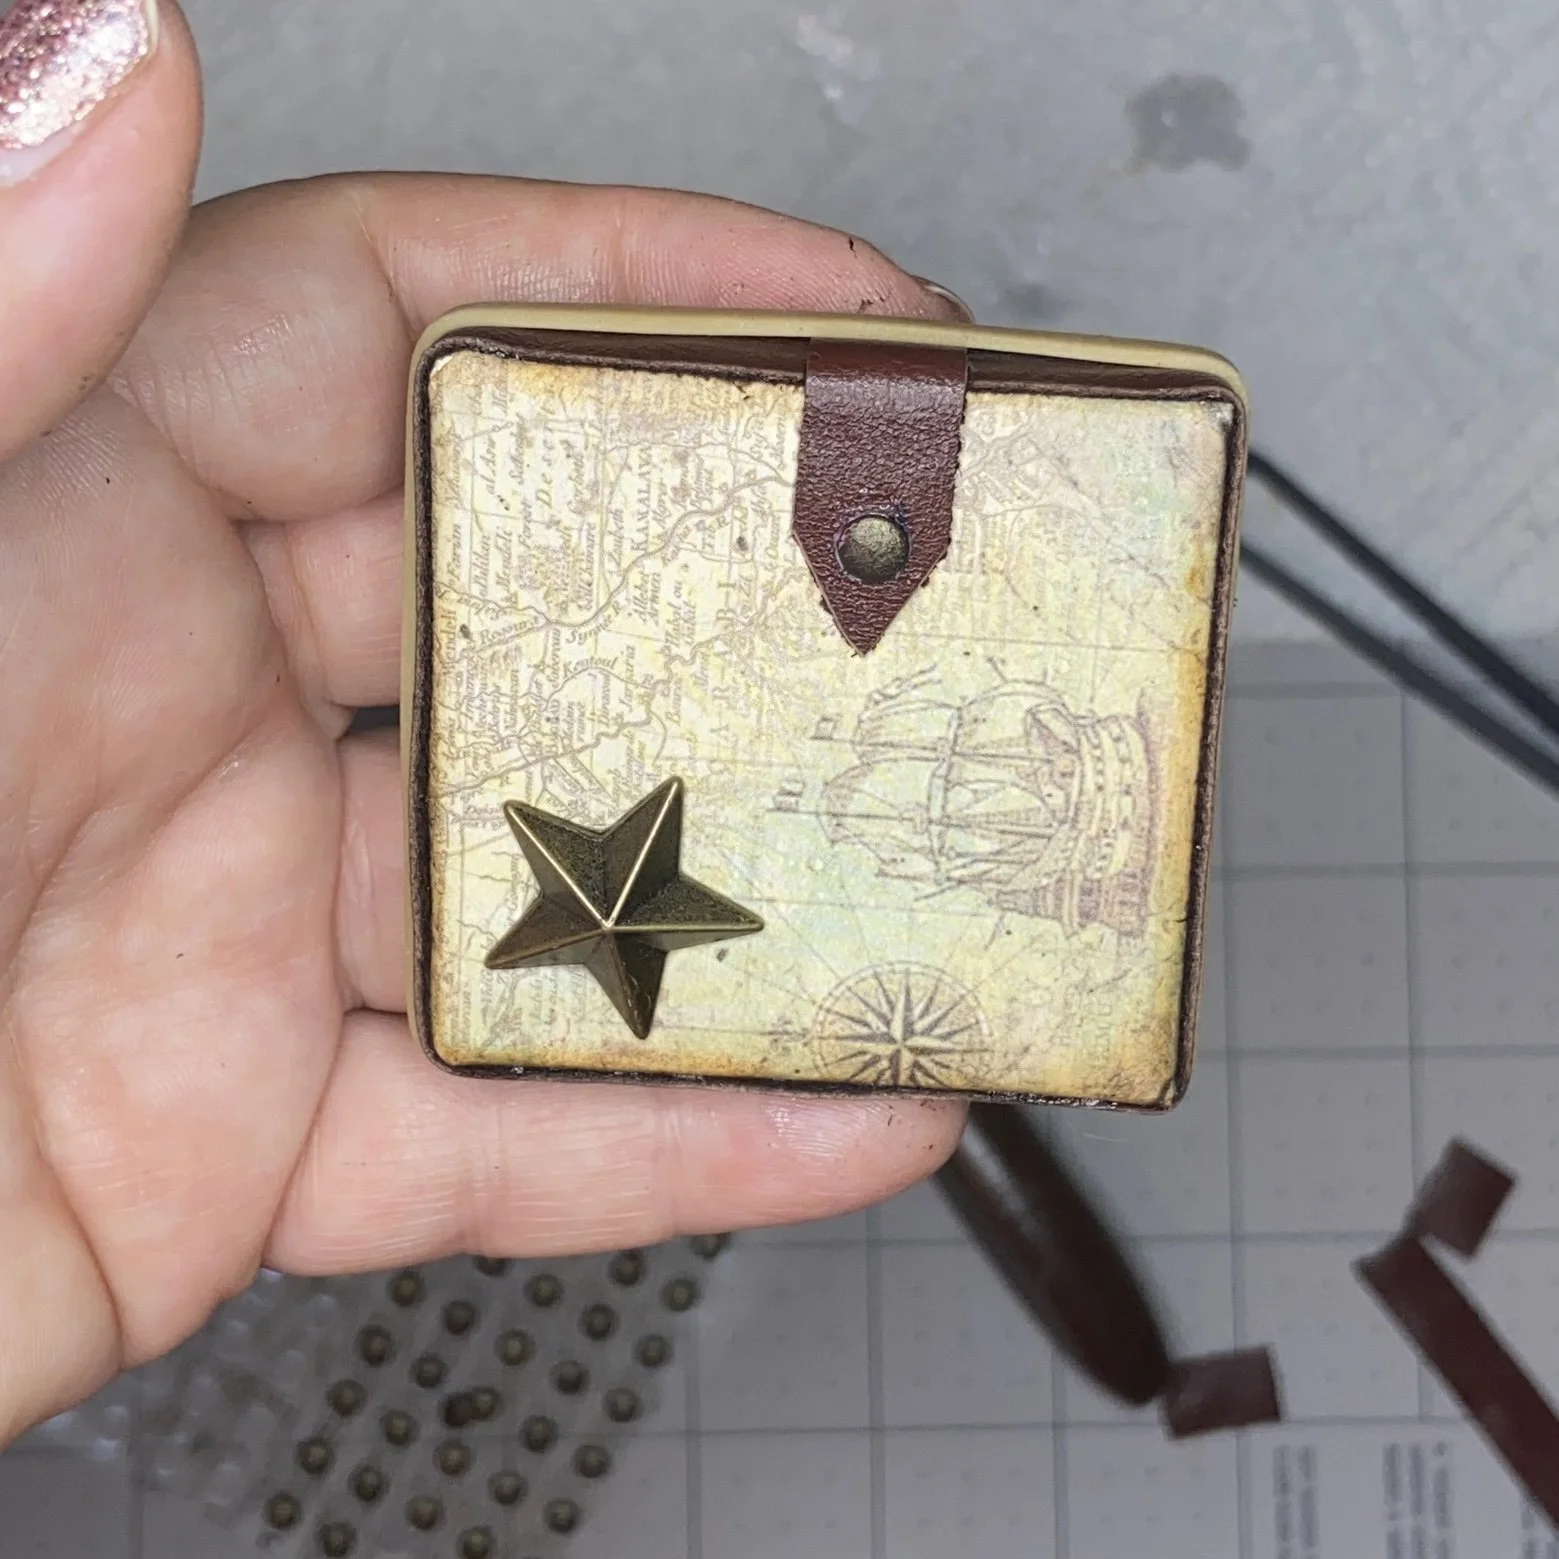
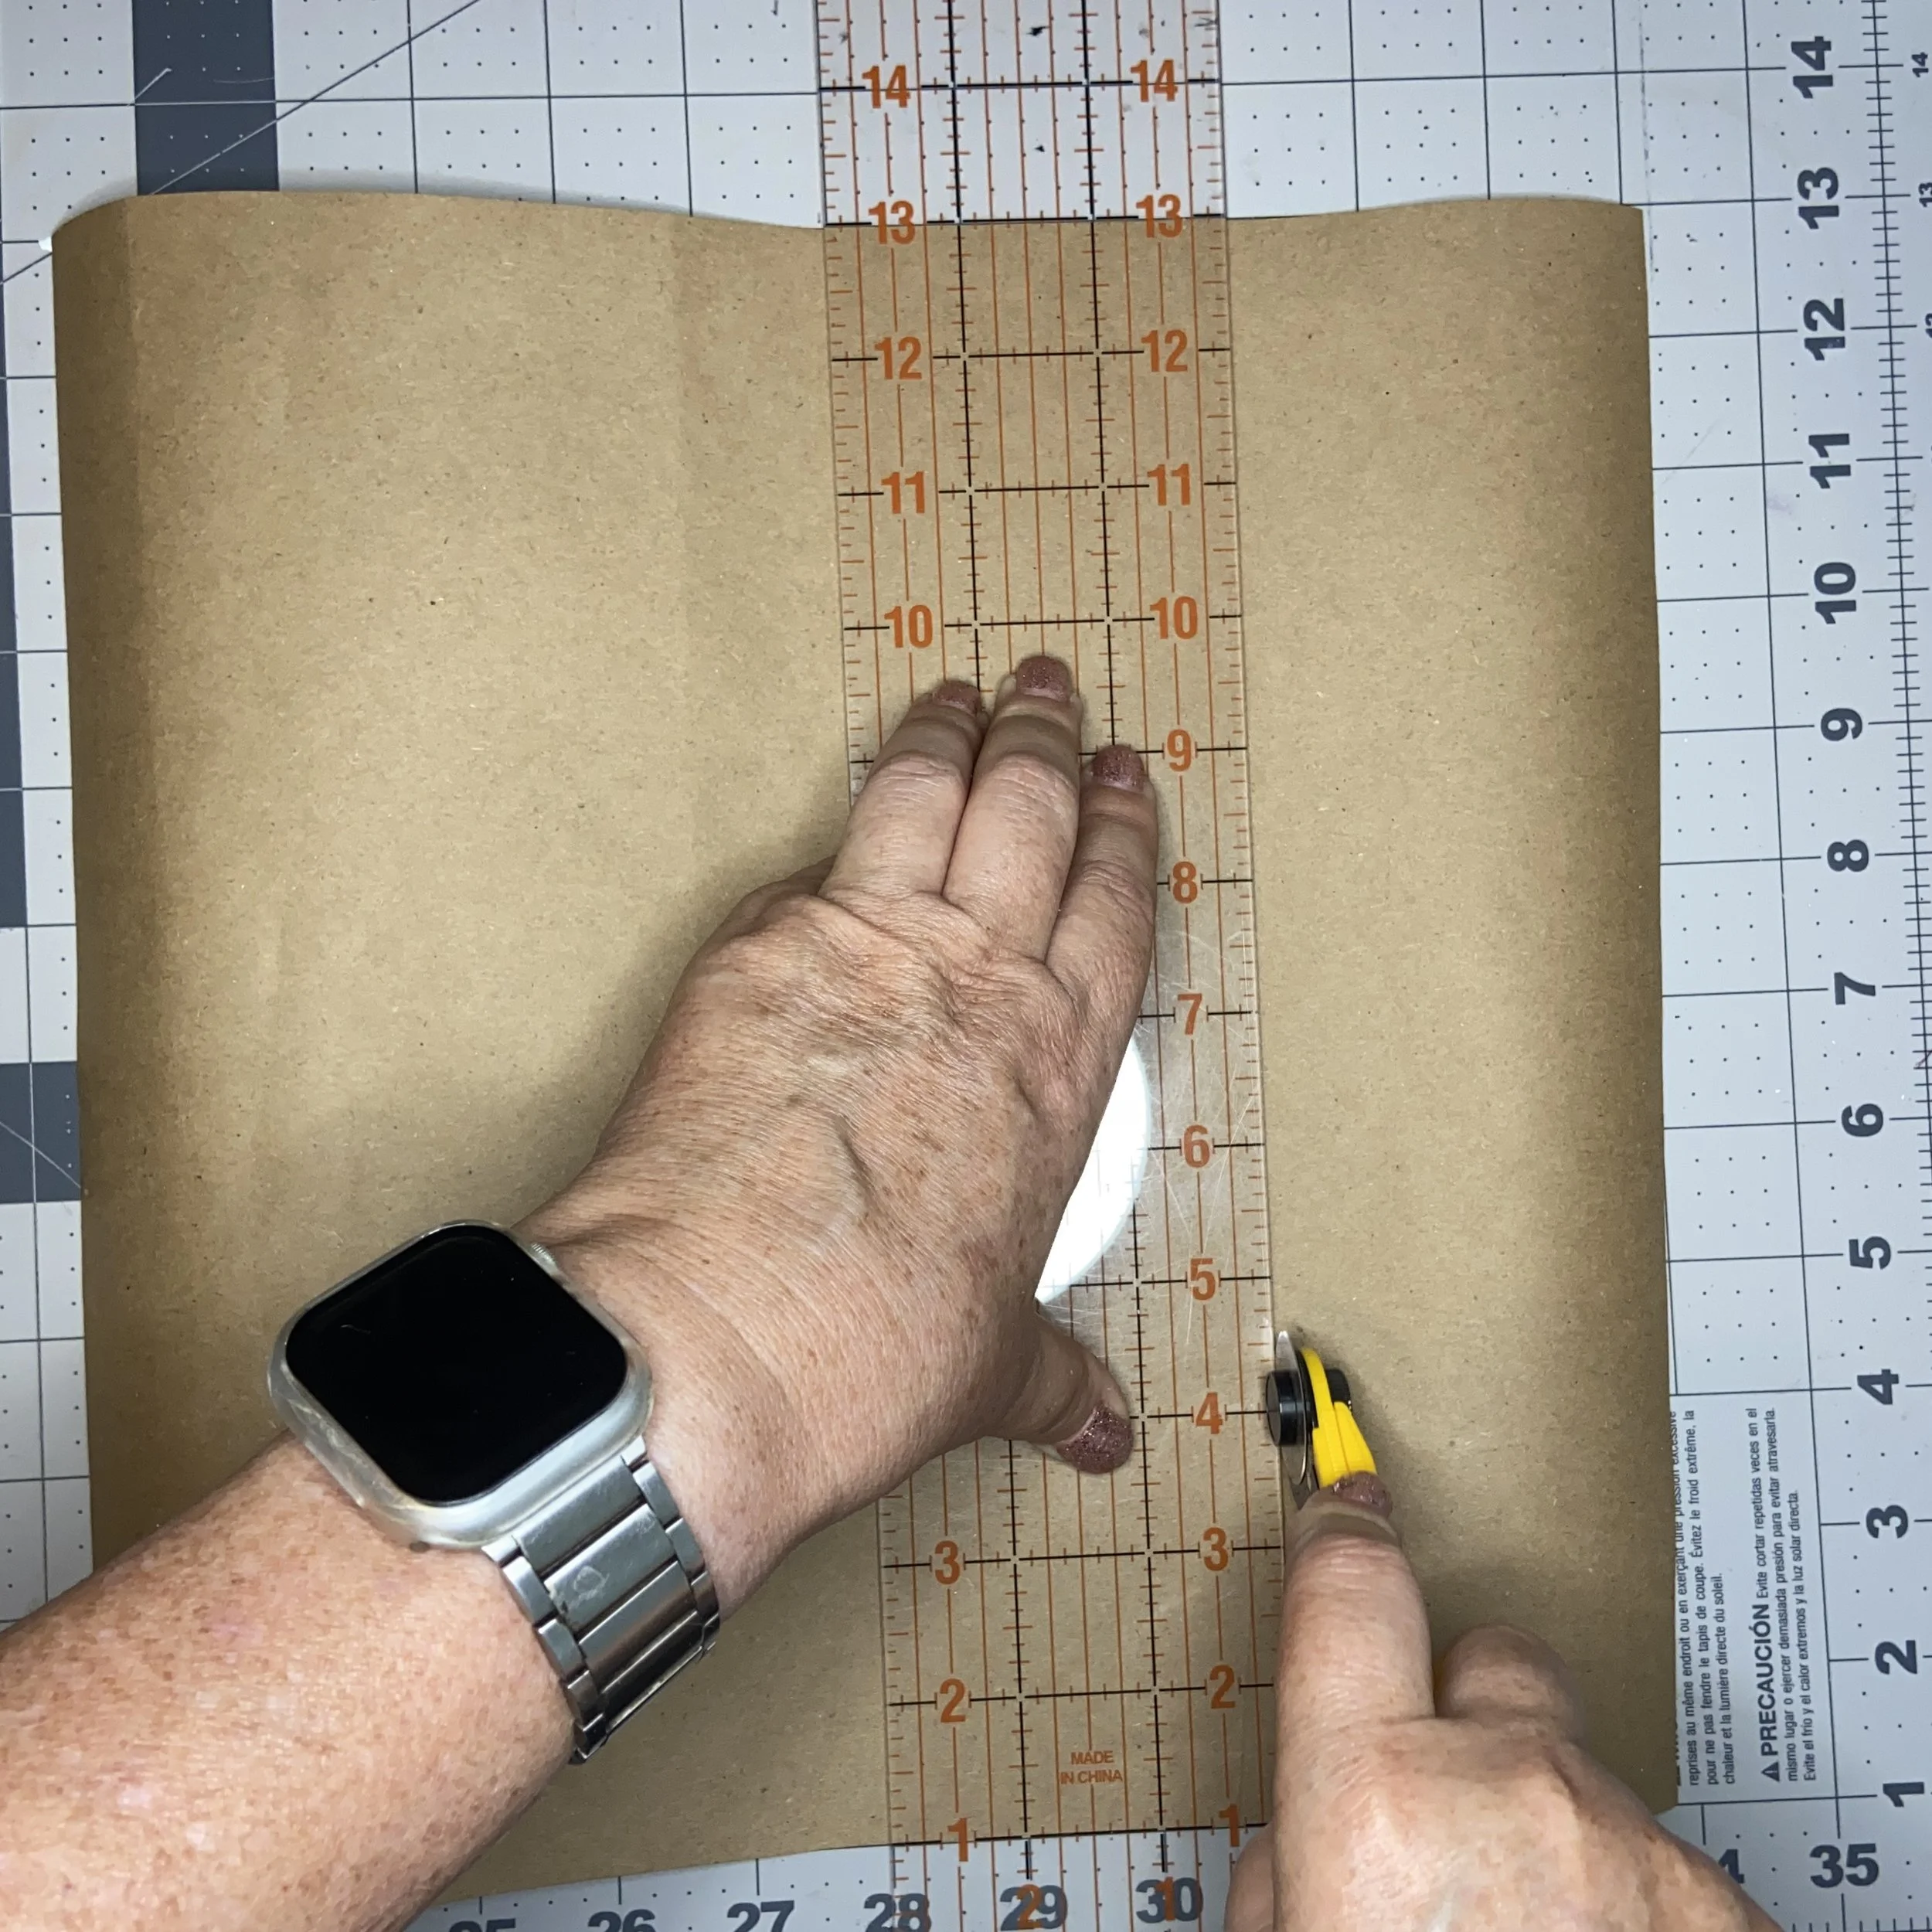
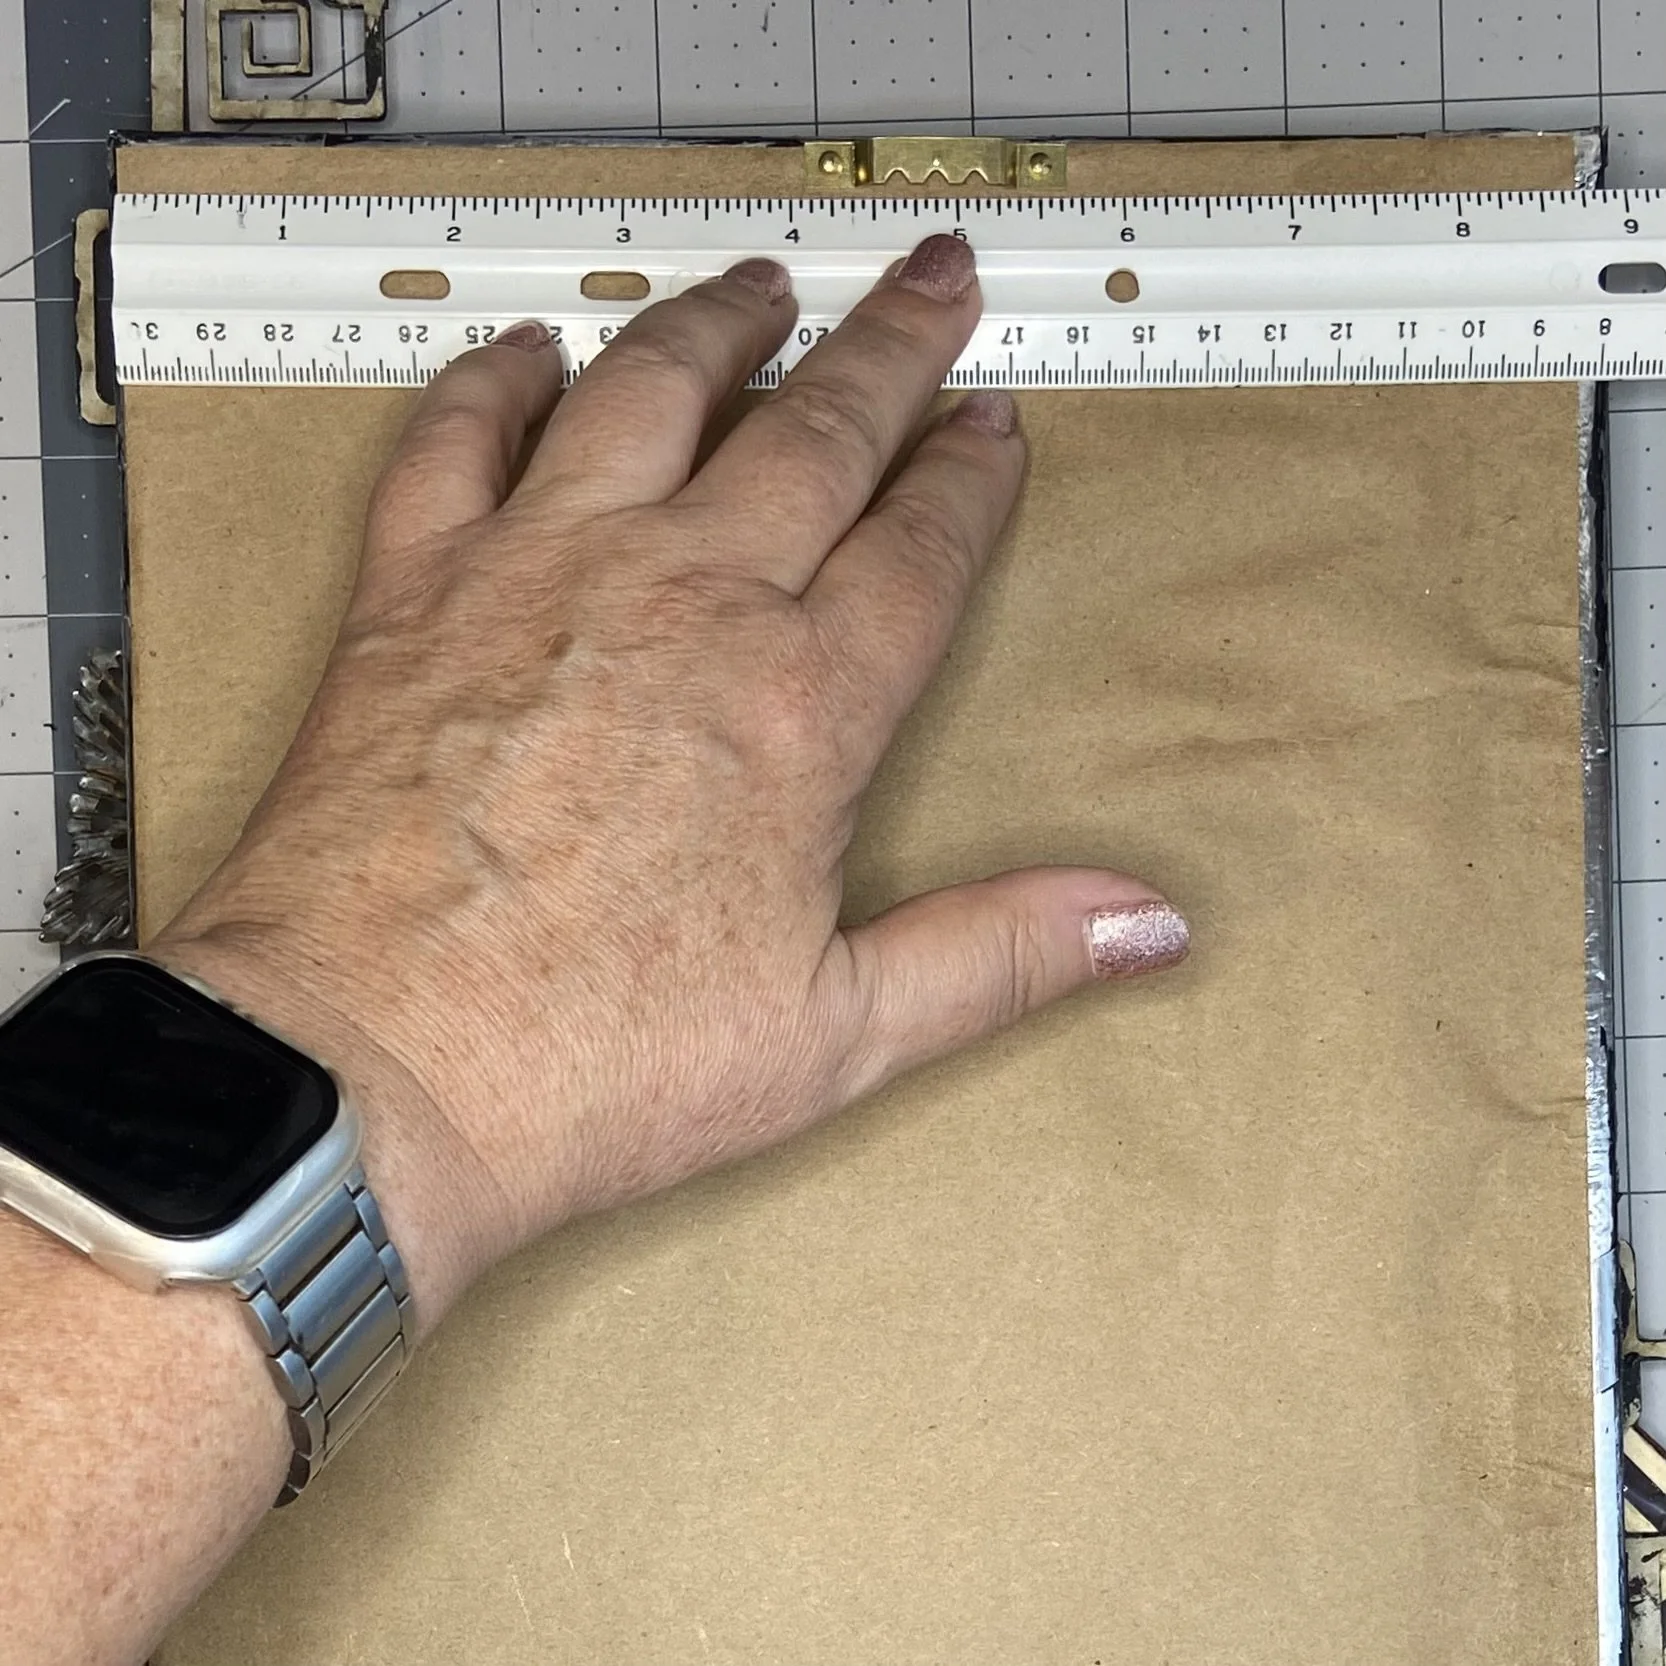
For the three small canvases, I decided to wrap the edges in leather cut from an old leather coat my mother got for me years ago (for this very purpose! Such is her foresight…) I measured the width I’d need for the strips (just over 3/8”) and cut a piece of scrap cardstock to the right width to use as a pattern. I did not measure the length I’d need to wrap the leather strip all the way around. What?? I knew each side of the canvas was 2” in length, which equaled 8” all together. I even added 1/2” in length just to account for turning the corners. And the result? Well, as you see. I said “Gosh darn it!” (or possibly something a little saltier than that), and tried again.
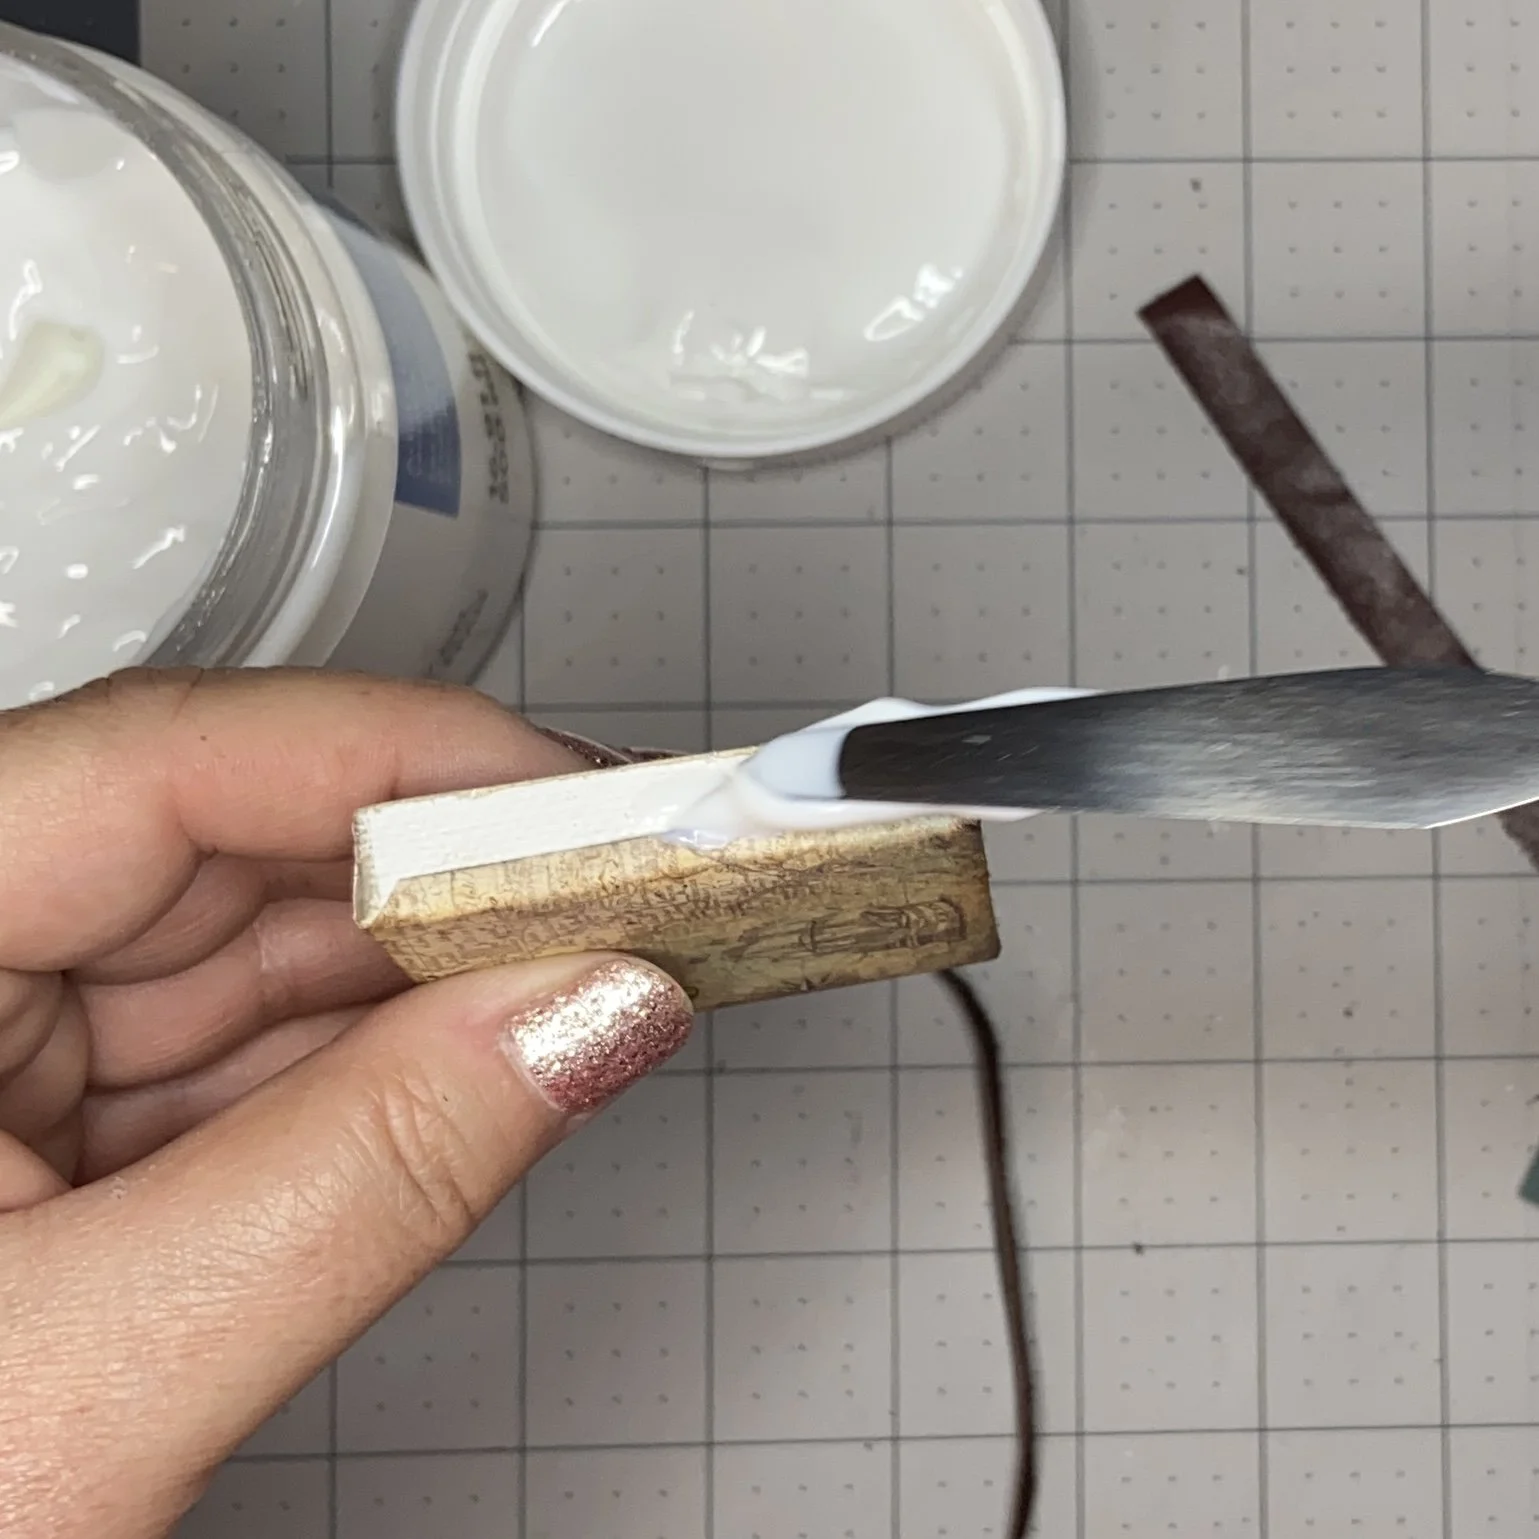
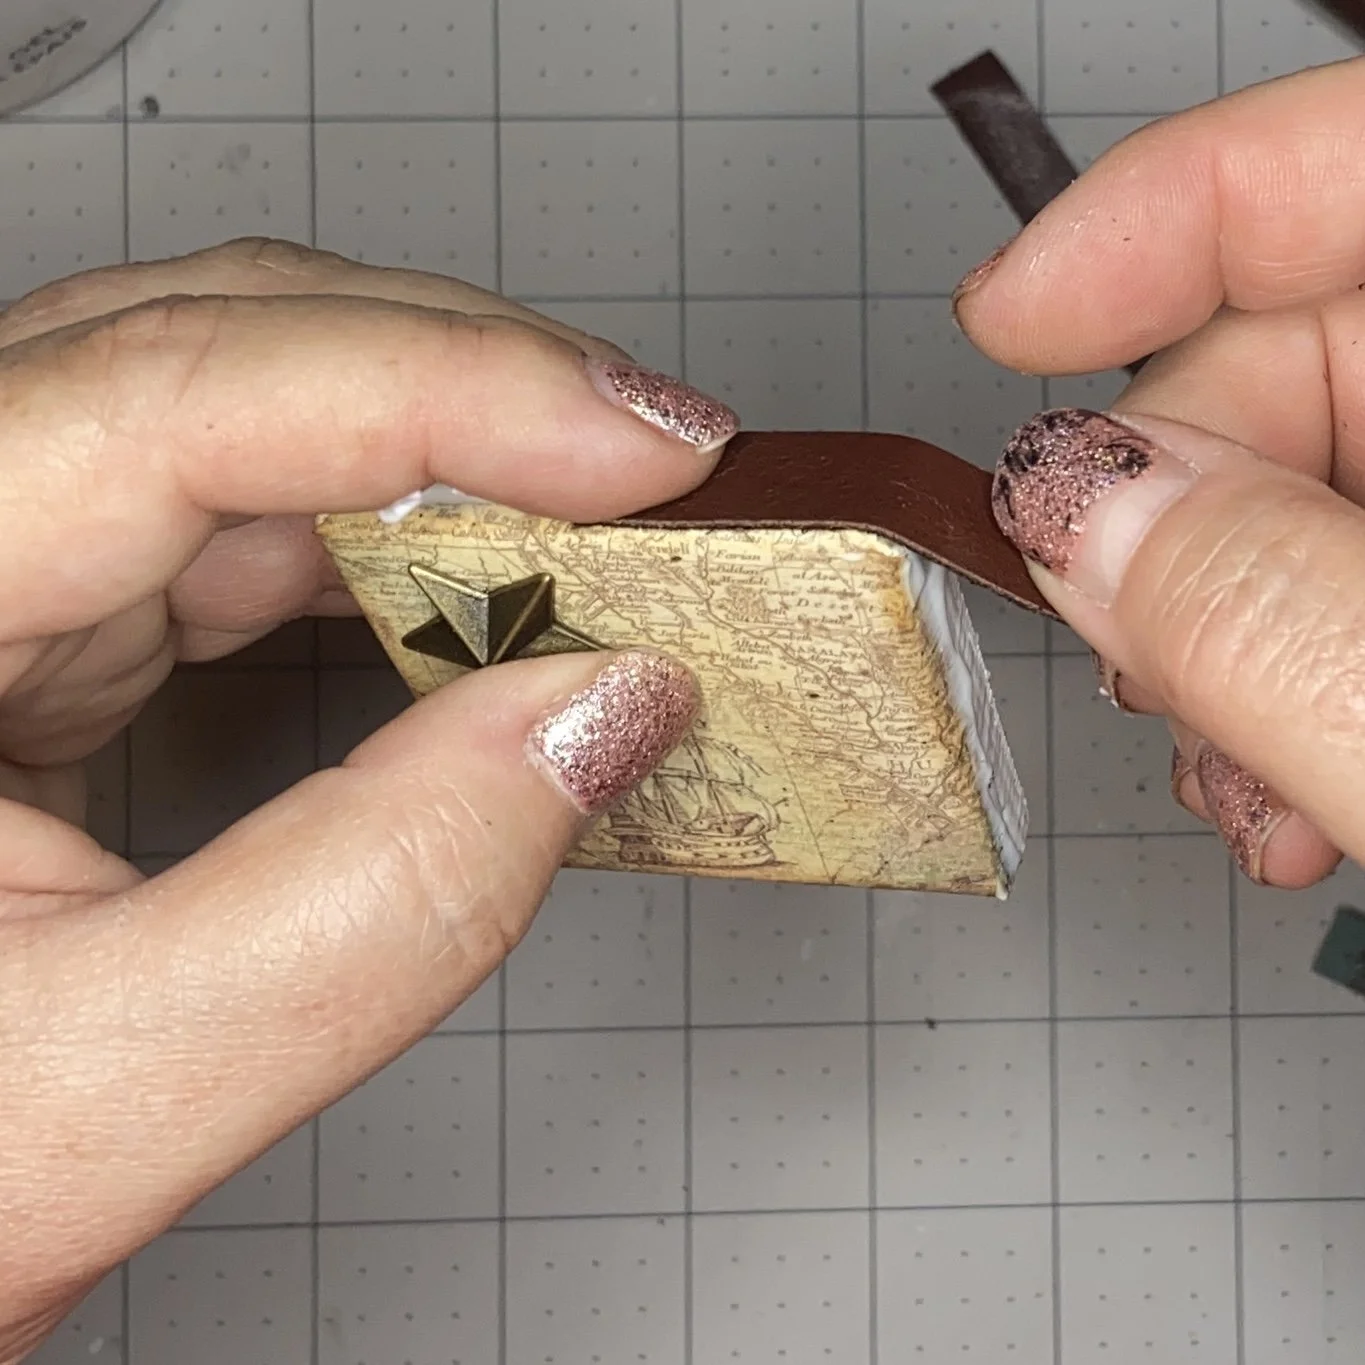
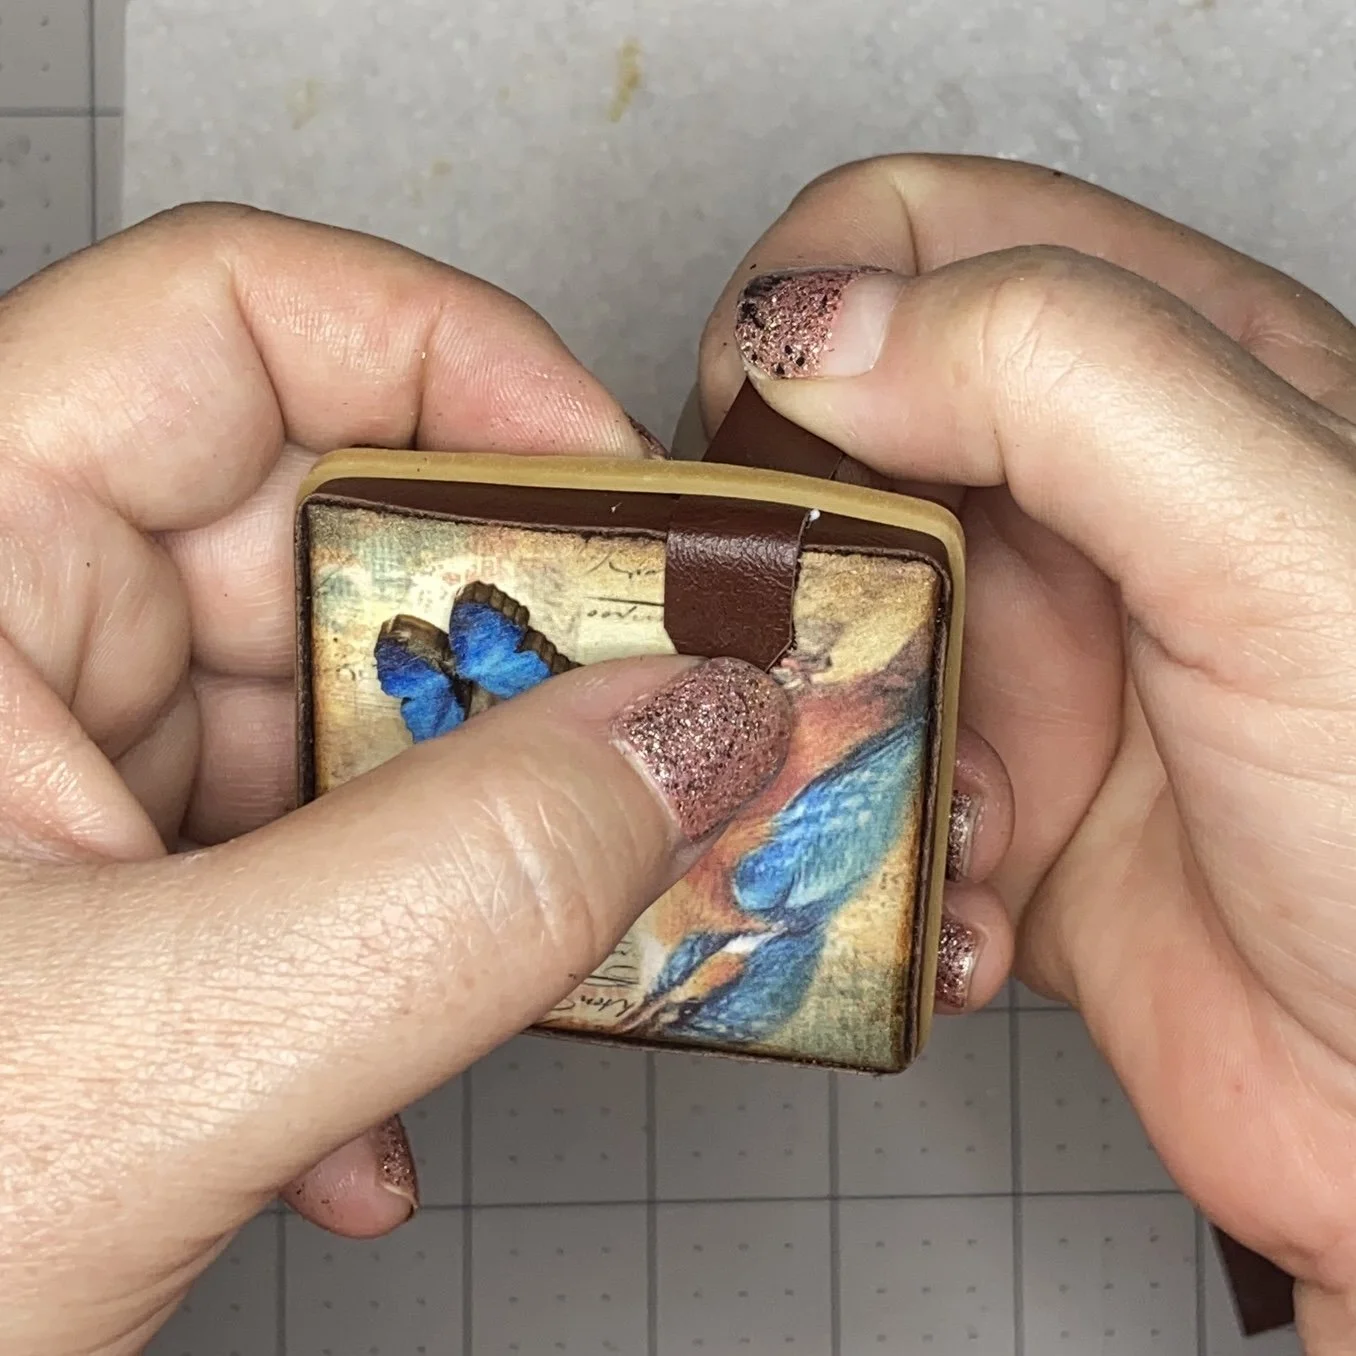
I cut three more strips with my cardstock pattern (adding 1.5” this time!), applied some heavy body gel to the edges of the canvas, wrapped the leather around, cut off any excess, and popped a rubber band on there to hold it in place while the gel dried.

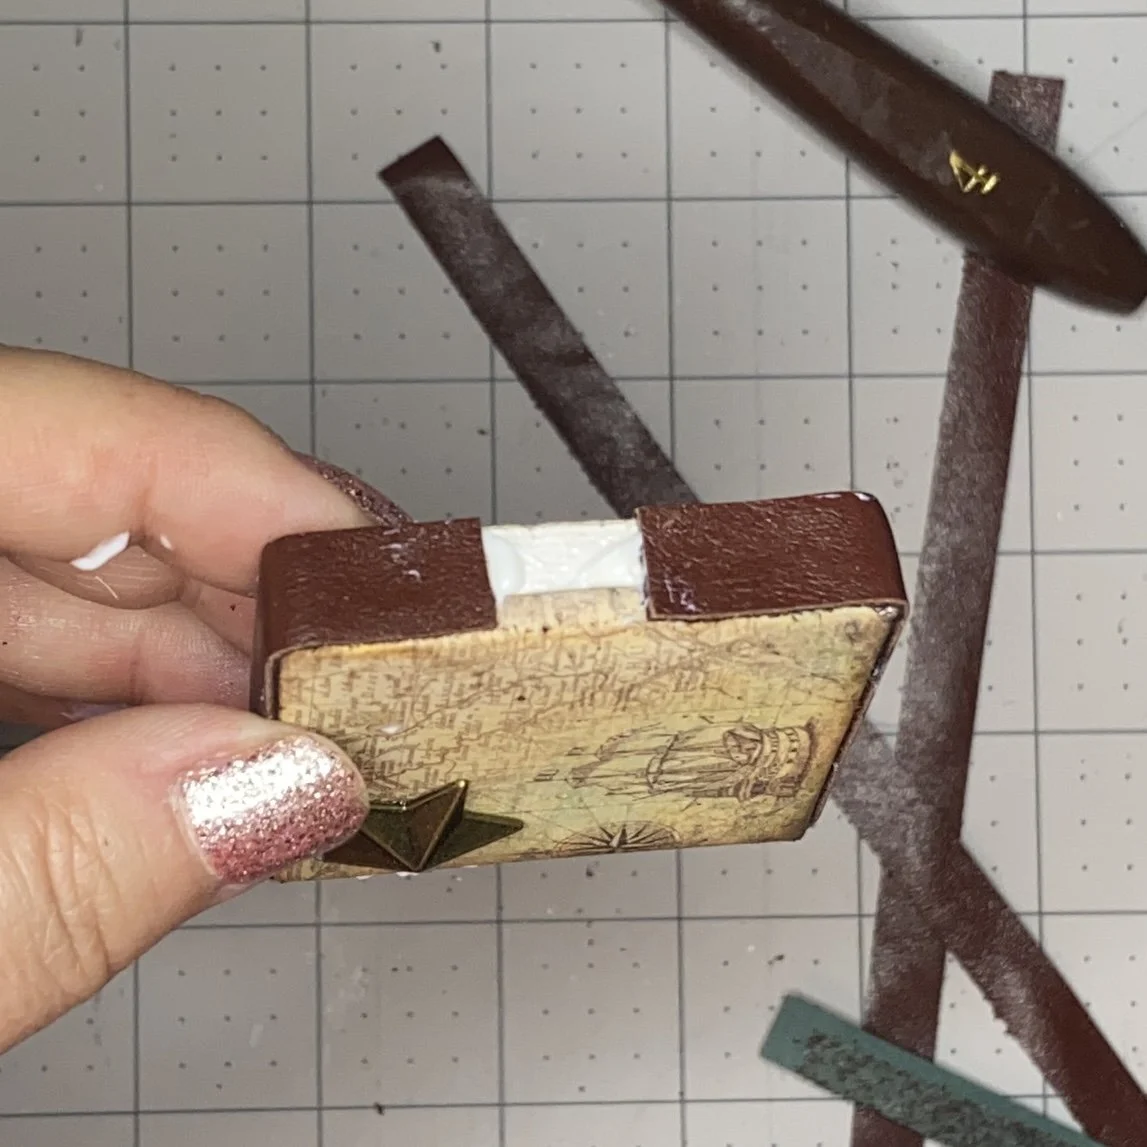
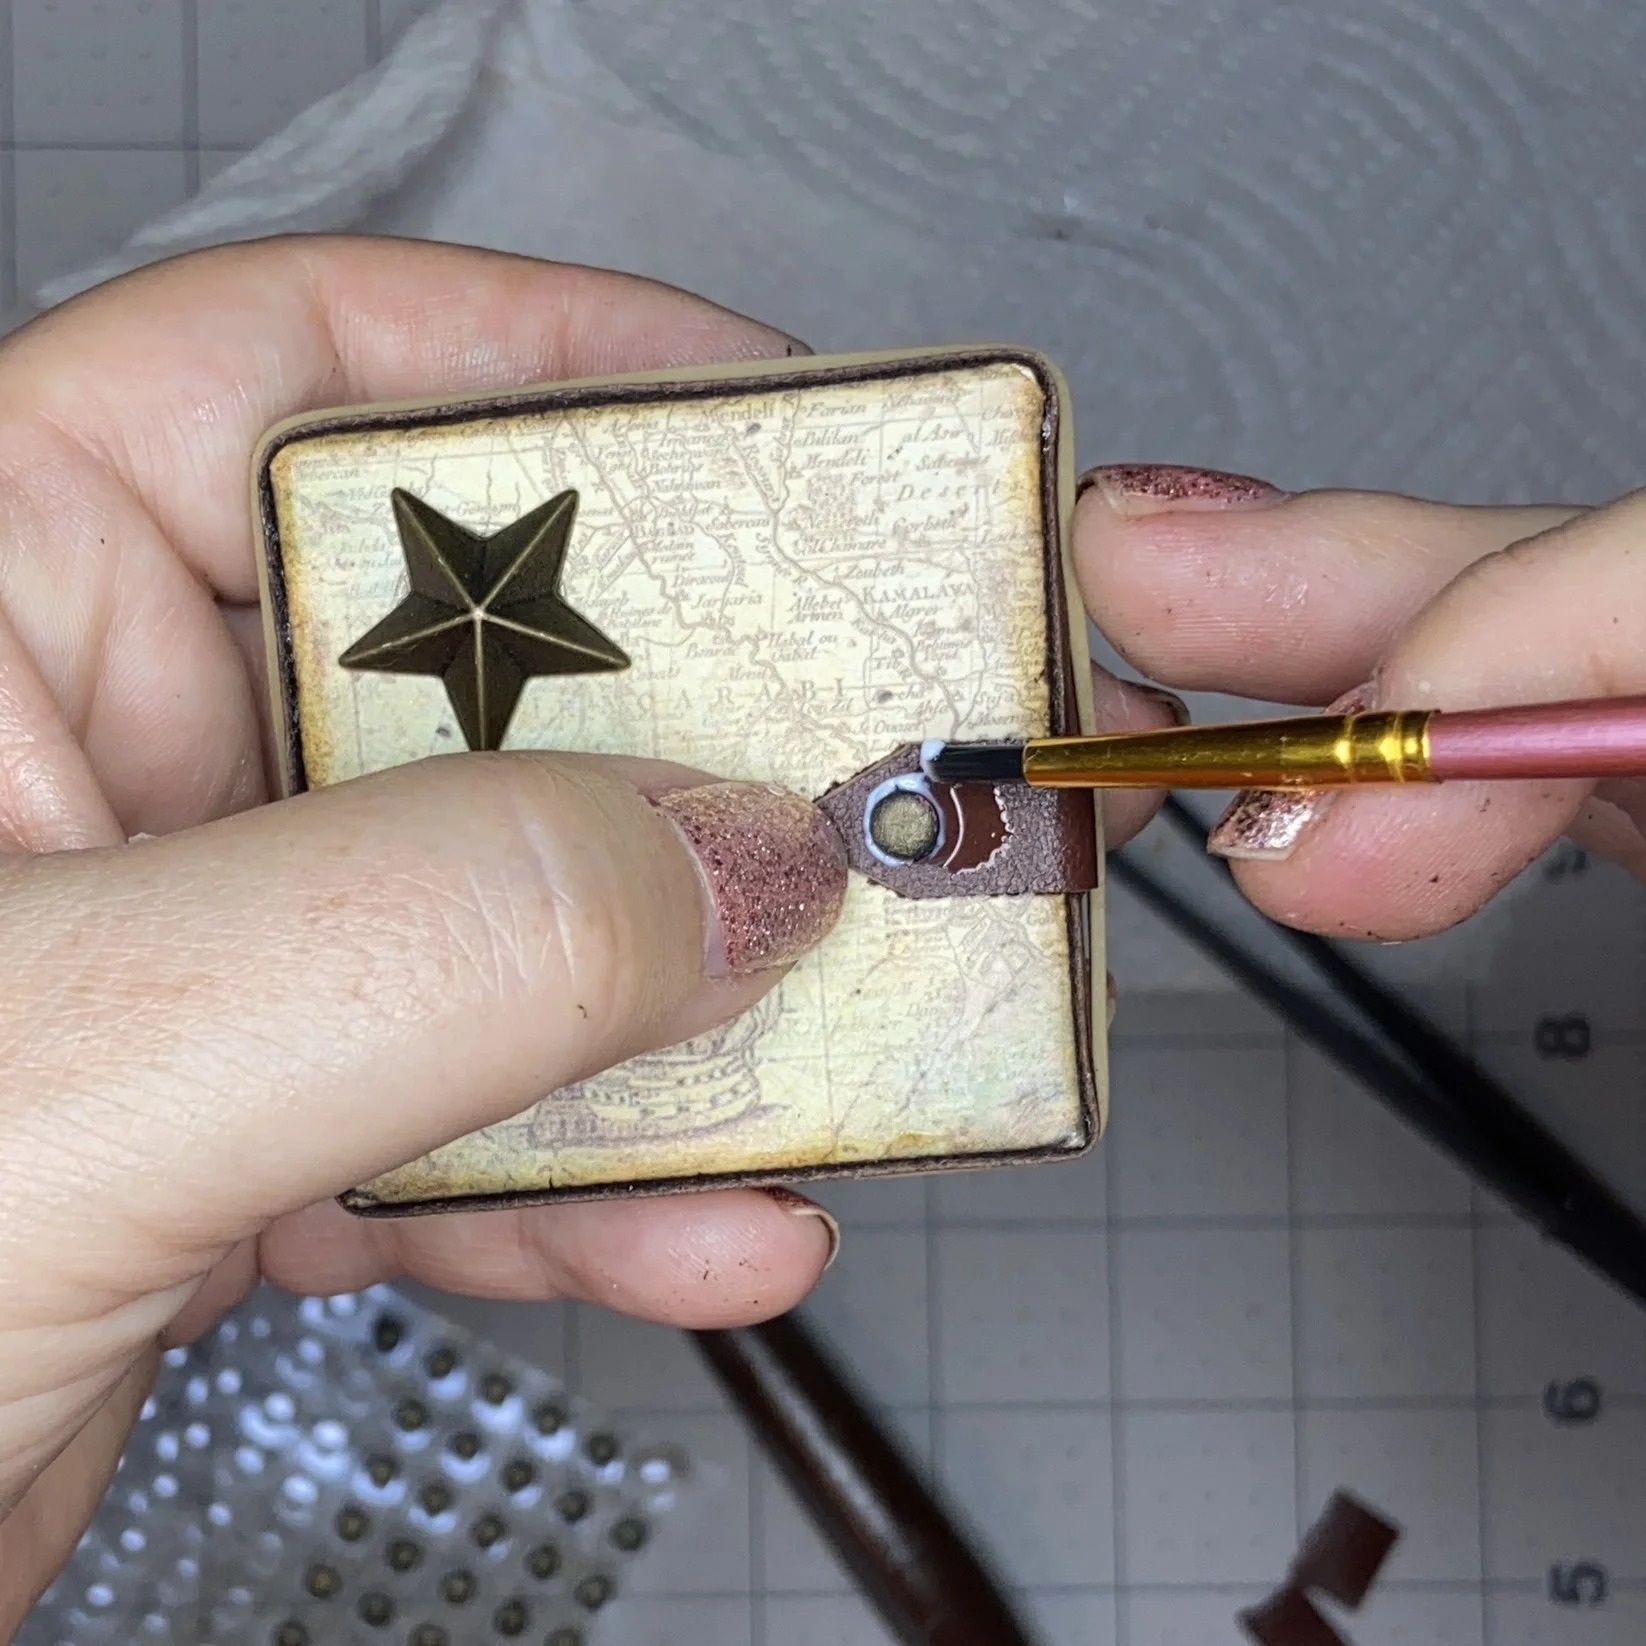
I did make use of at least some of the too-short leather strips…I cut shorter lengths, with one end cut into a point. Then I glued those bits perpendicular to the first leather wrap, placing them to cover the join and fold over onto the surface of the canvas. I hauled out my stash of faux-rivets (most recently left over from my All The Time In The World project) and used more gel to place a rivet just above the point. Of course, gel squished out the sides of the rivet and I had to use a small damp paint brush to clean it off, since that stuff dries shiny (and visible…not in the good way).
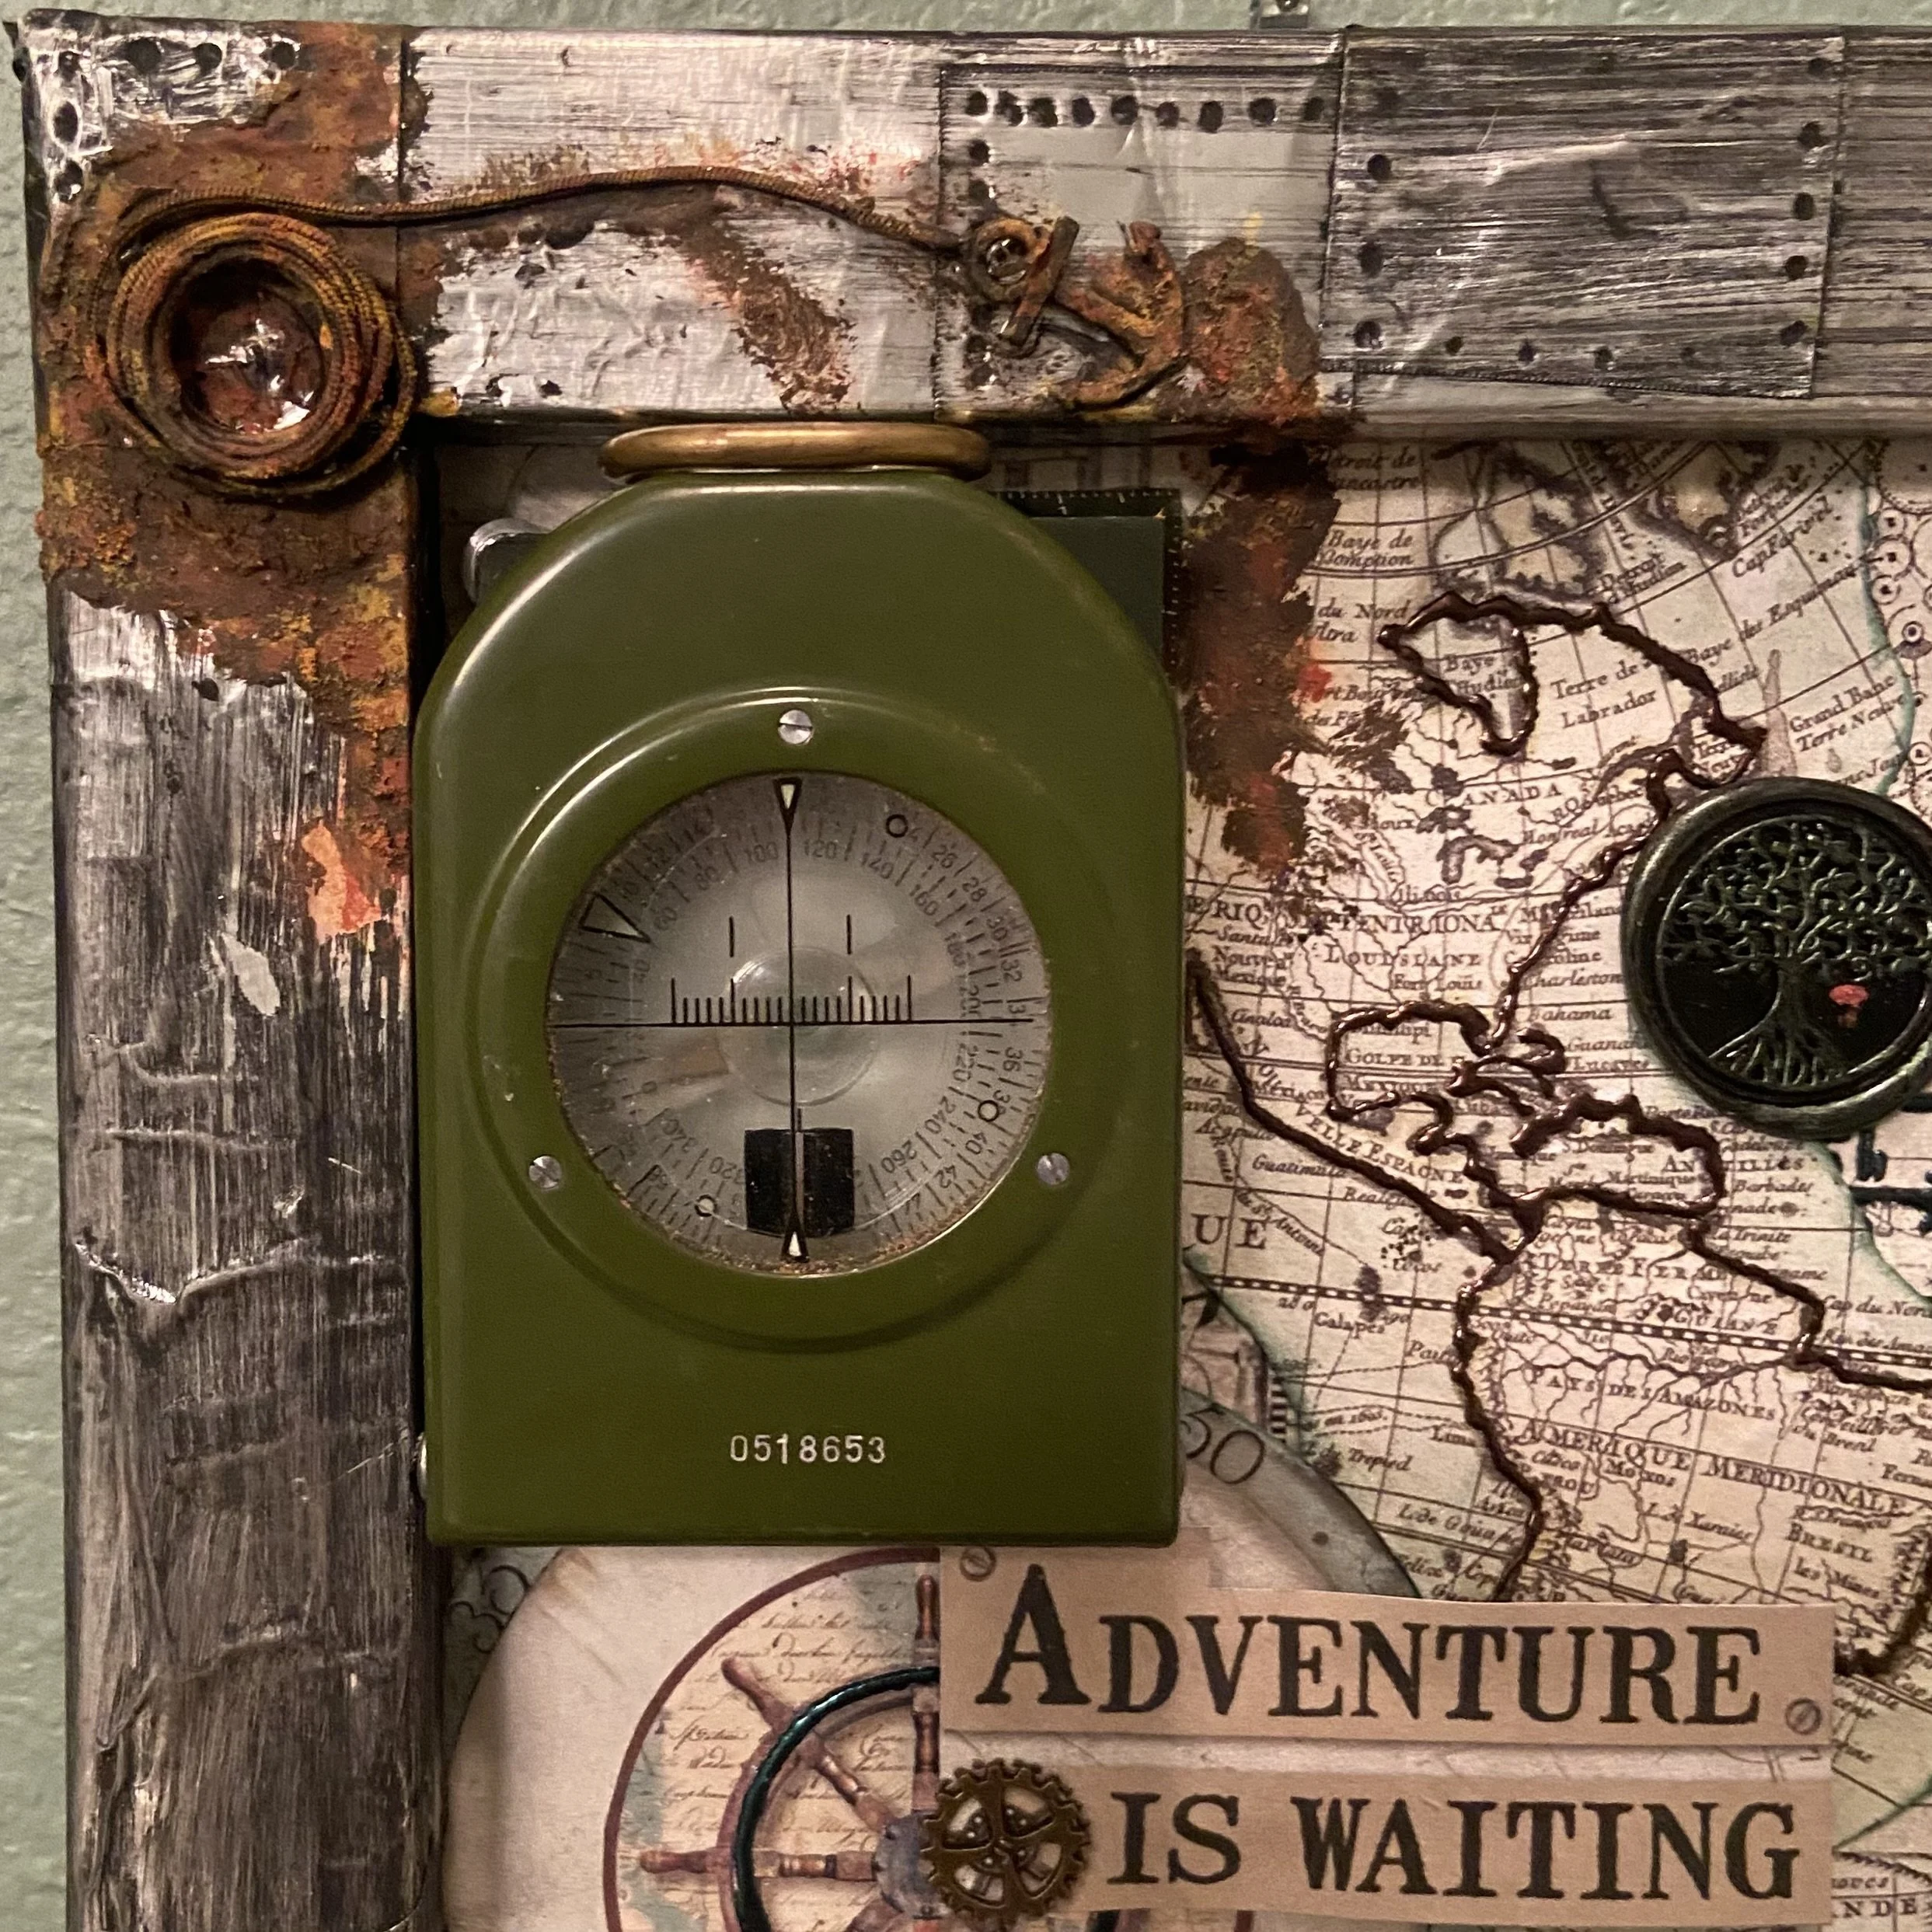
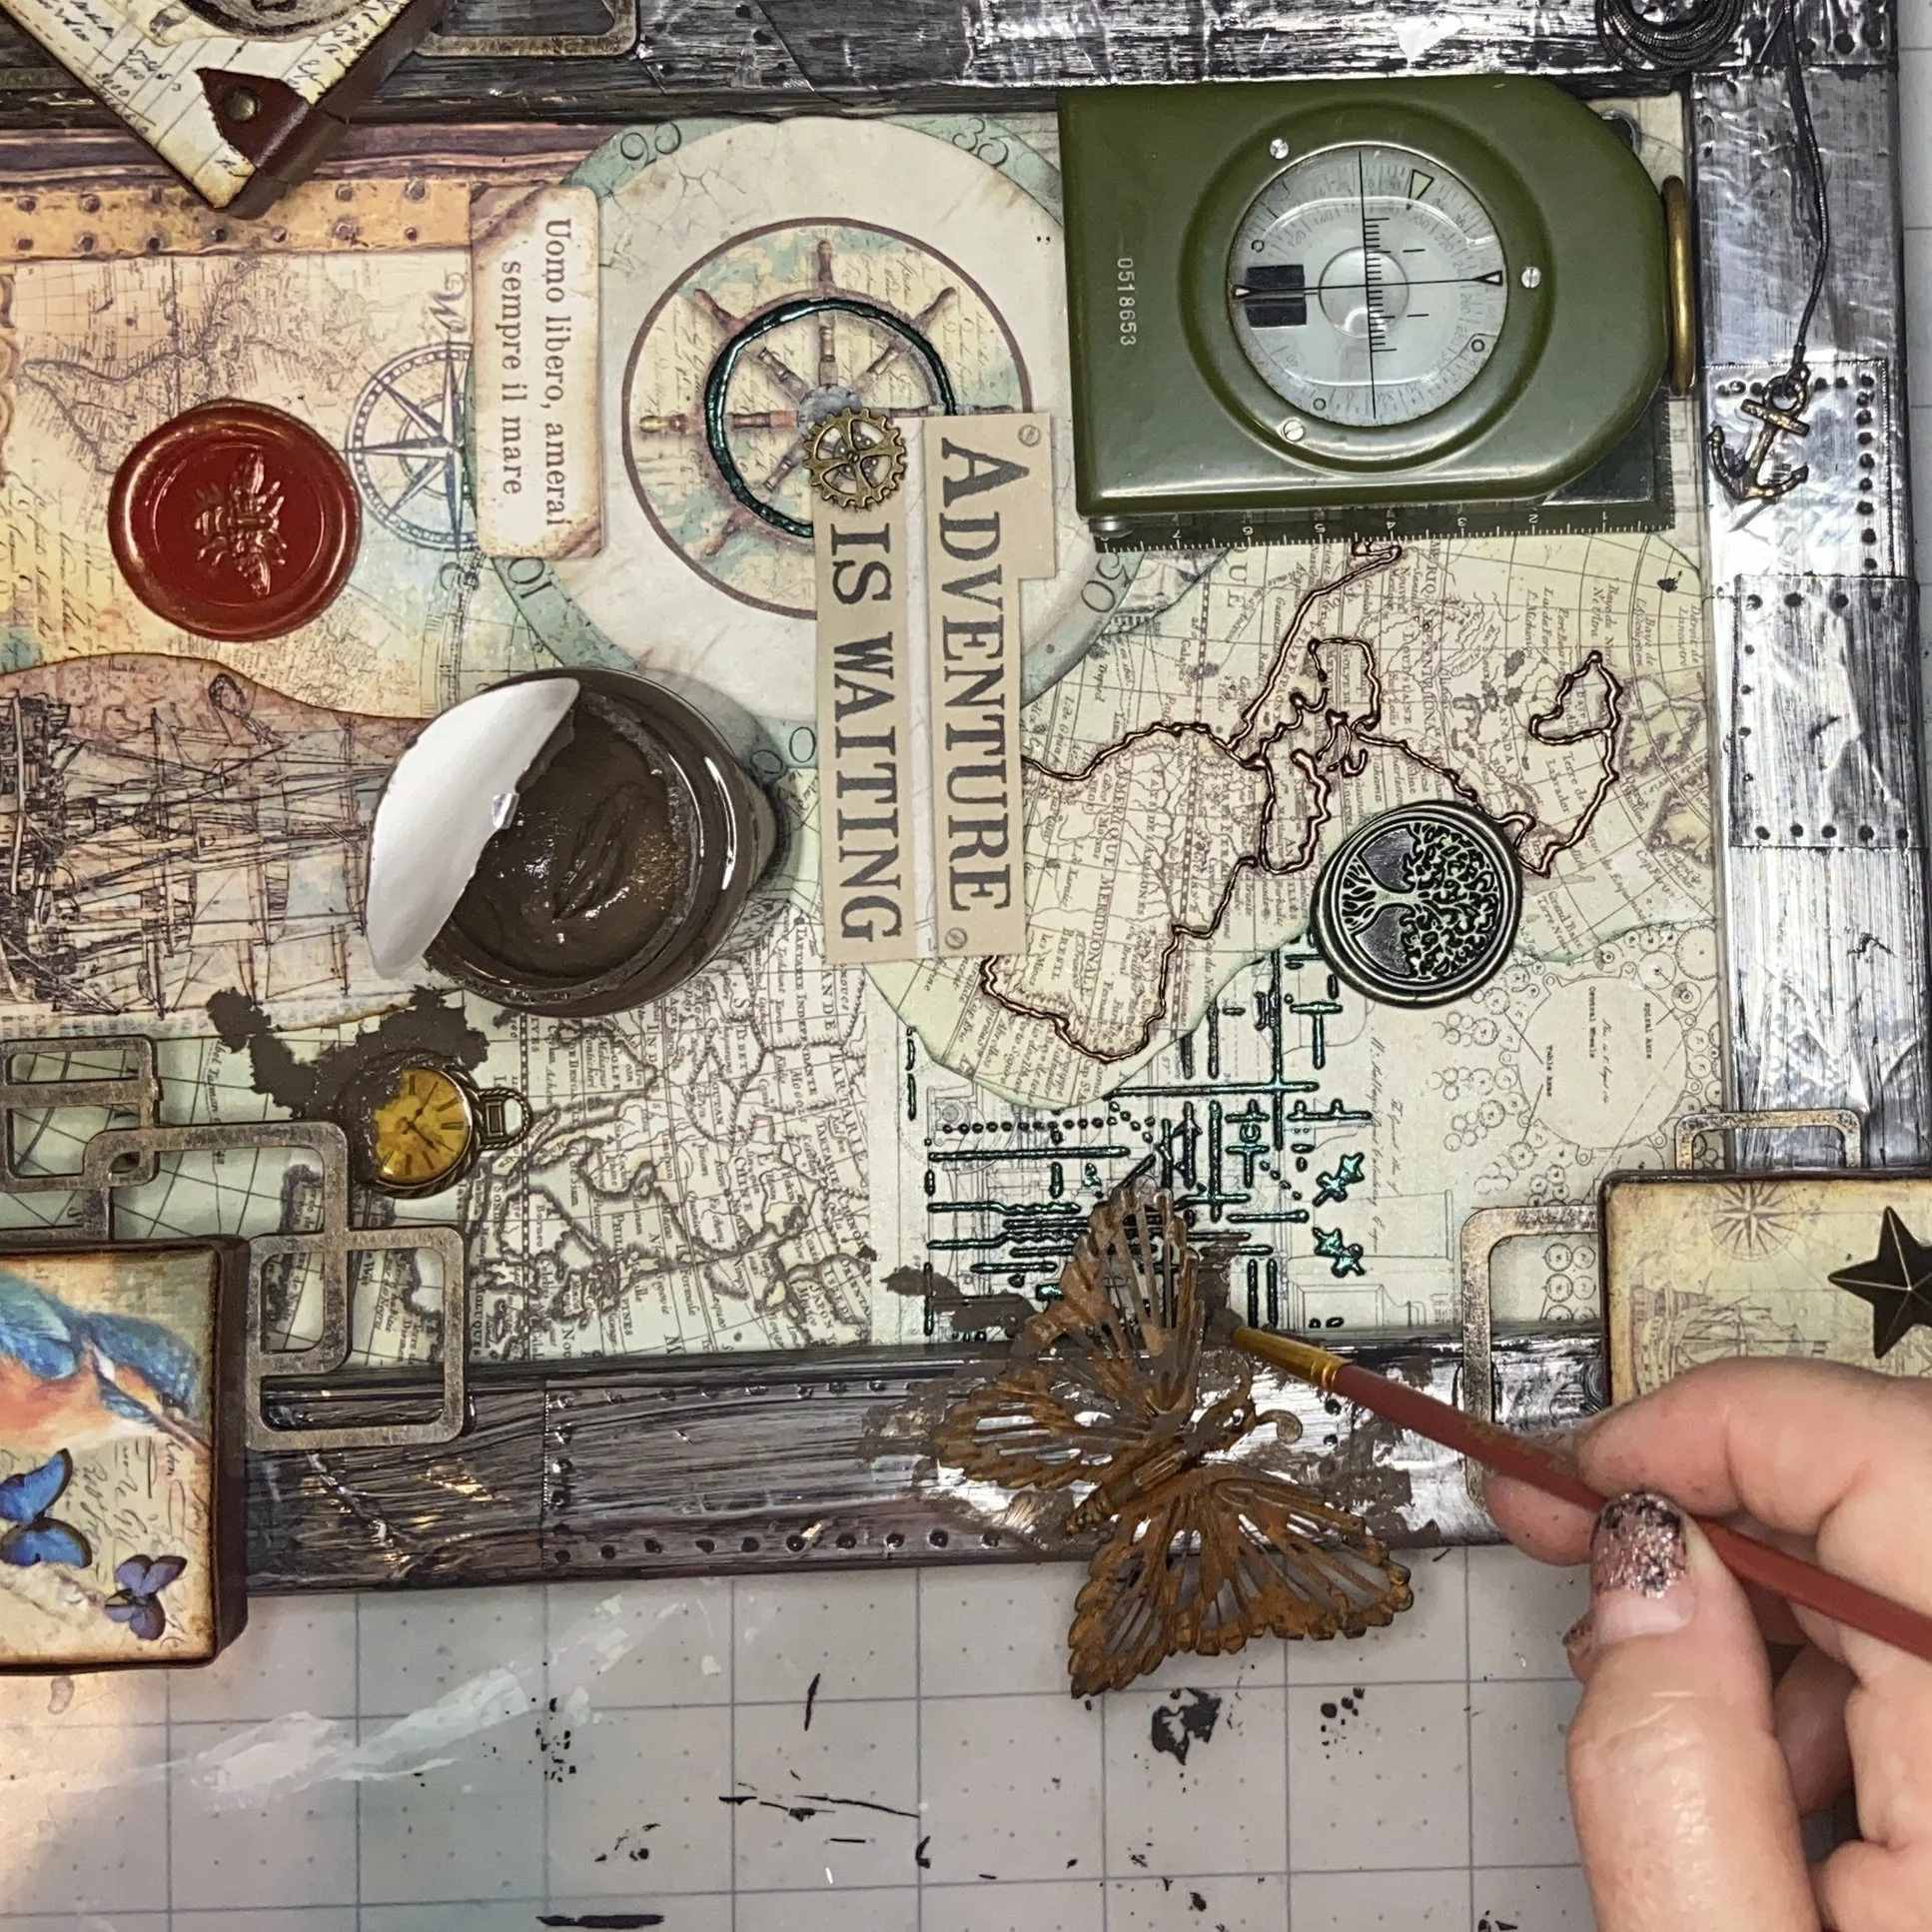
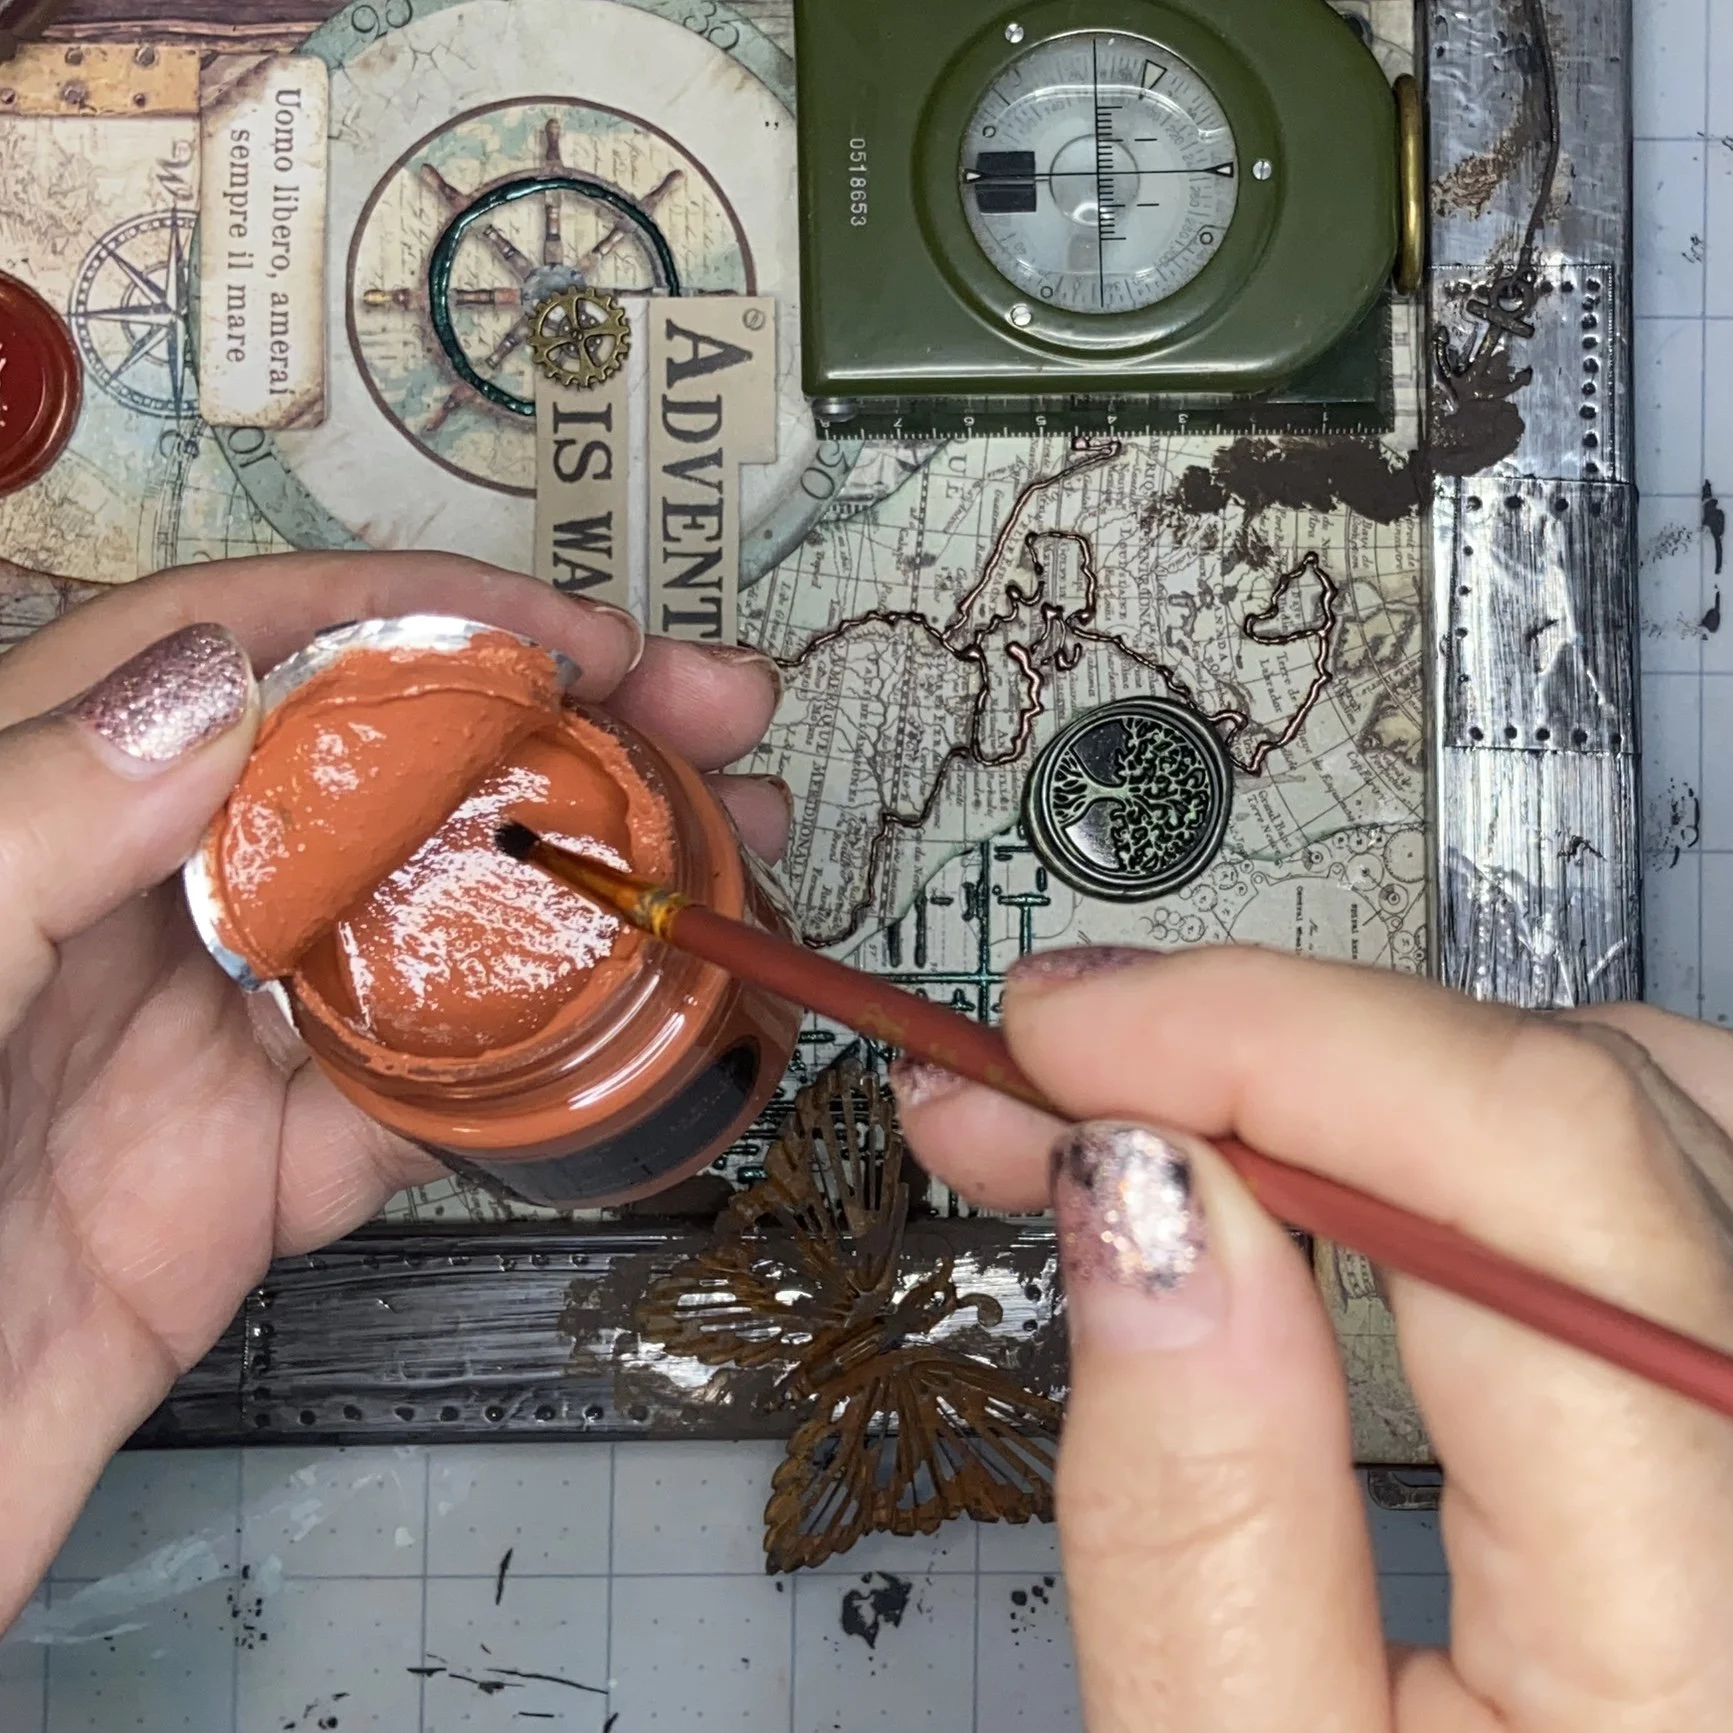
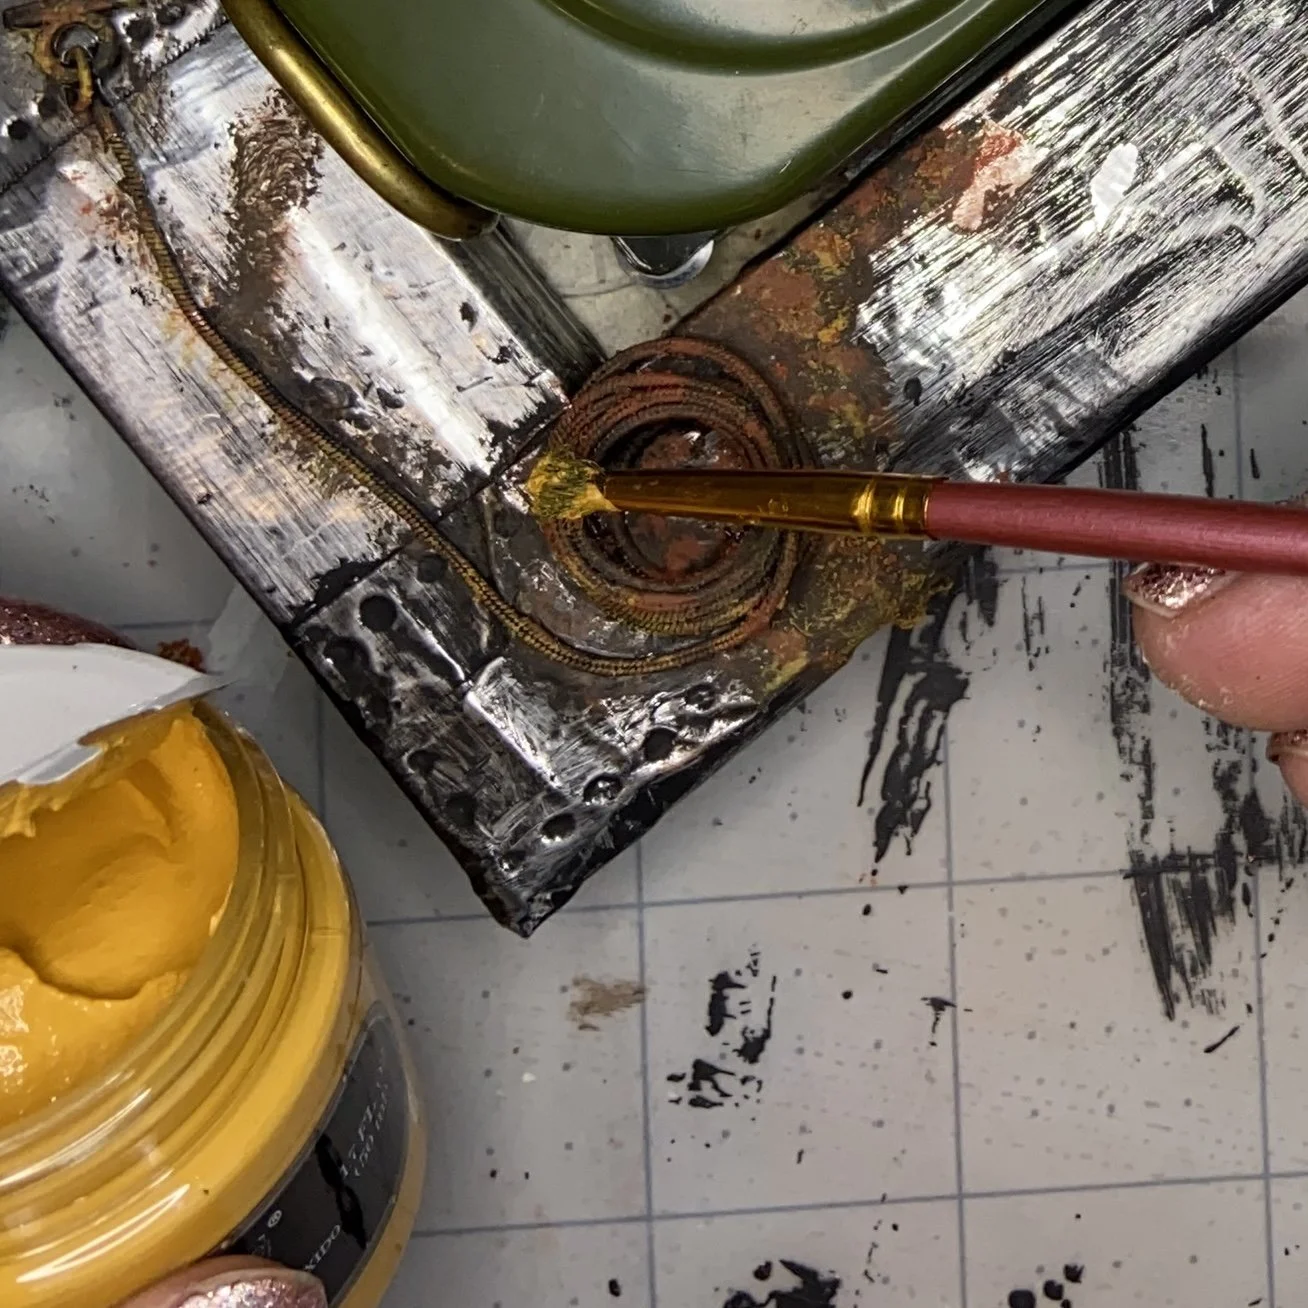
Next, I worked with my rust paste set. There are many variations on this, but the Finnabair set I’m working with starts with a gritty dark brown laid down generously, followed a less gritty rusty red, which should be applied more sparingly, and finally finished off with a bright canary yellow which should be more or less dry-brushed on. Go lightly! If you find you’ve overdone it with the brighter colors, just add a little more brown to tone things down. You will need to let each layer dry before applying the next. The end result really does look like rust, texture and all! A word of warning: these pastes will dry out quickly if you don’t store them carefully. So once the jars have been opened, recap them firmly, and then store the whole kit in a ziplock bag or some other airtight arrangement.
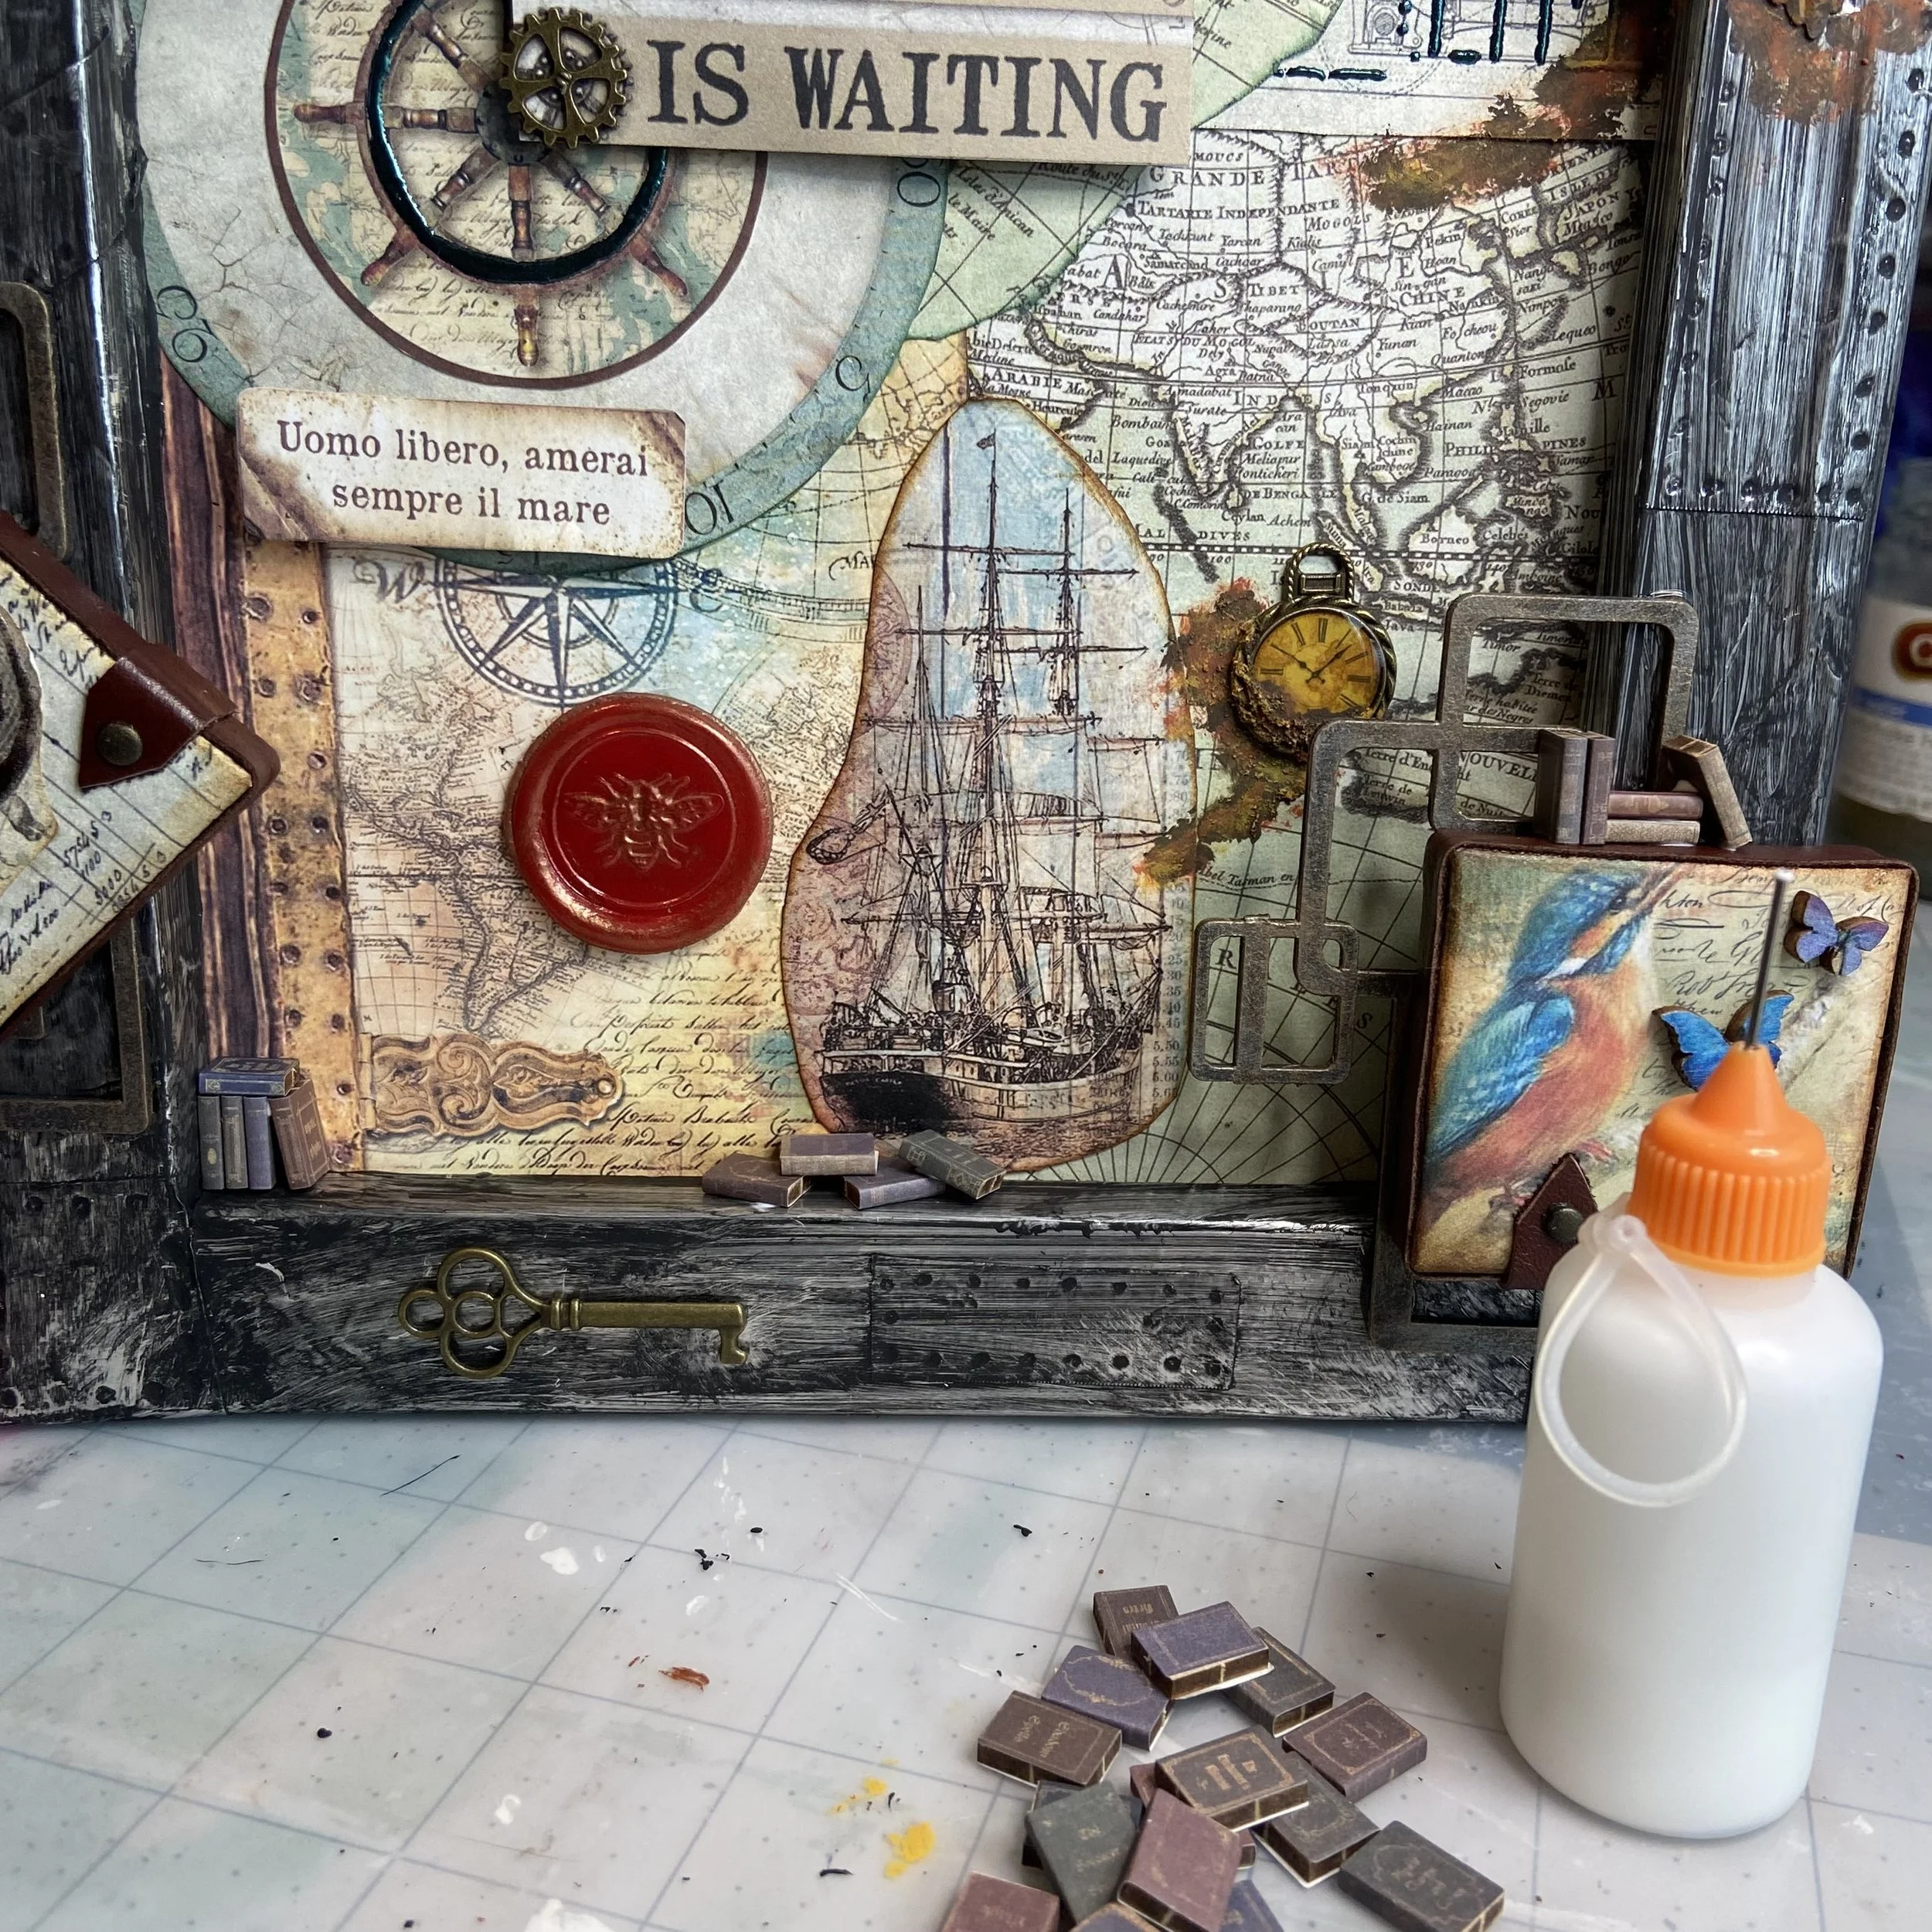
As I was looking at the mostly-finished project, I decided it needed a final embellishment. I pulled out my stash of mini-books left over from my various book nook projects and glued them on in several places. I foolishly used my bookmaker’s glue, even in the places where the books were glued directly to the foil. They seem secure enough, but I really should have used my heavy body gel. Time will tell…
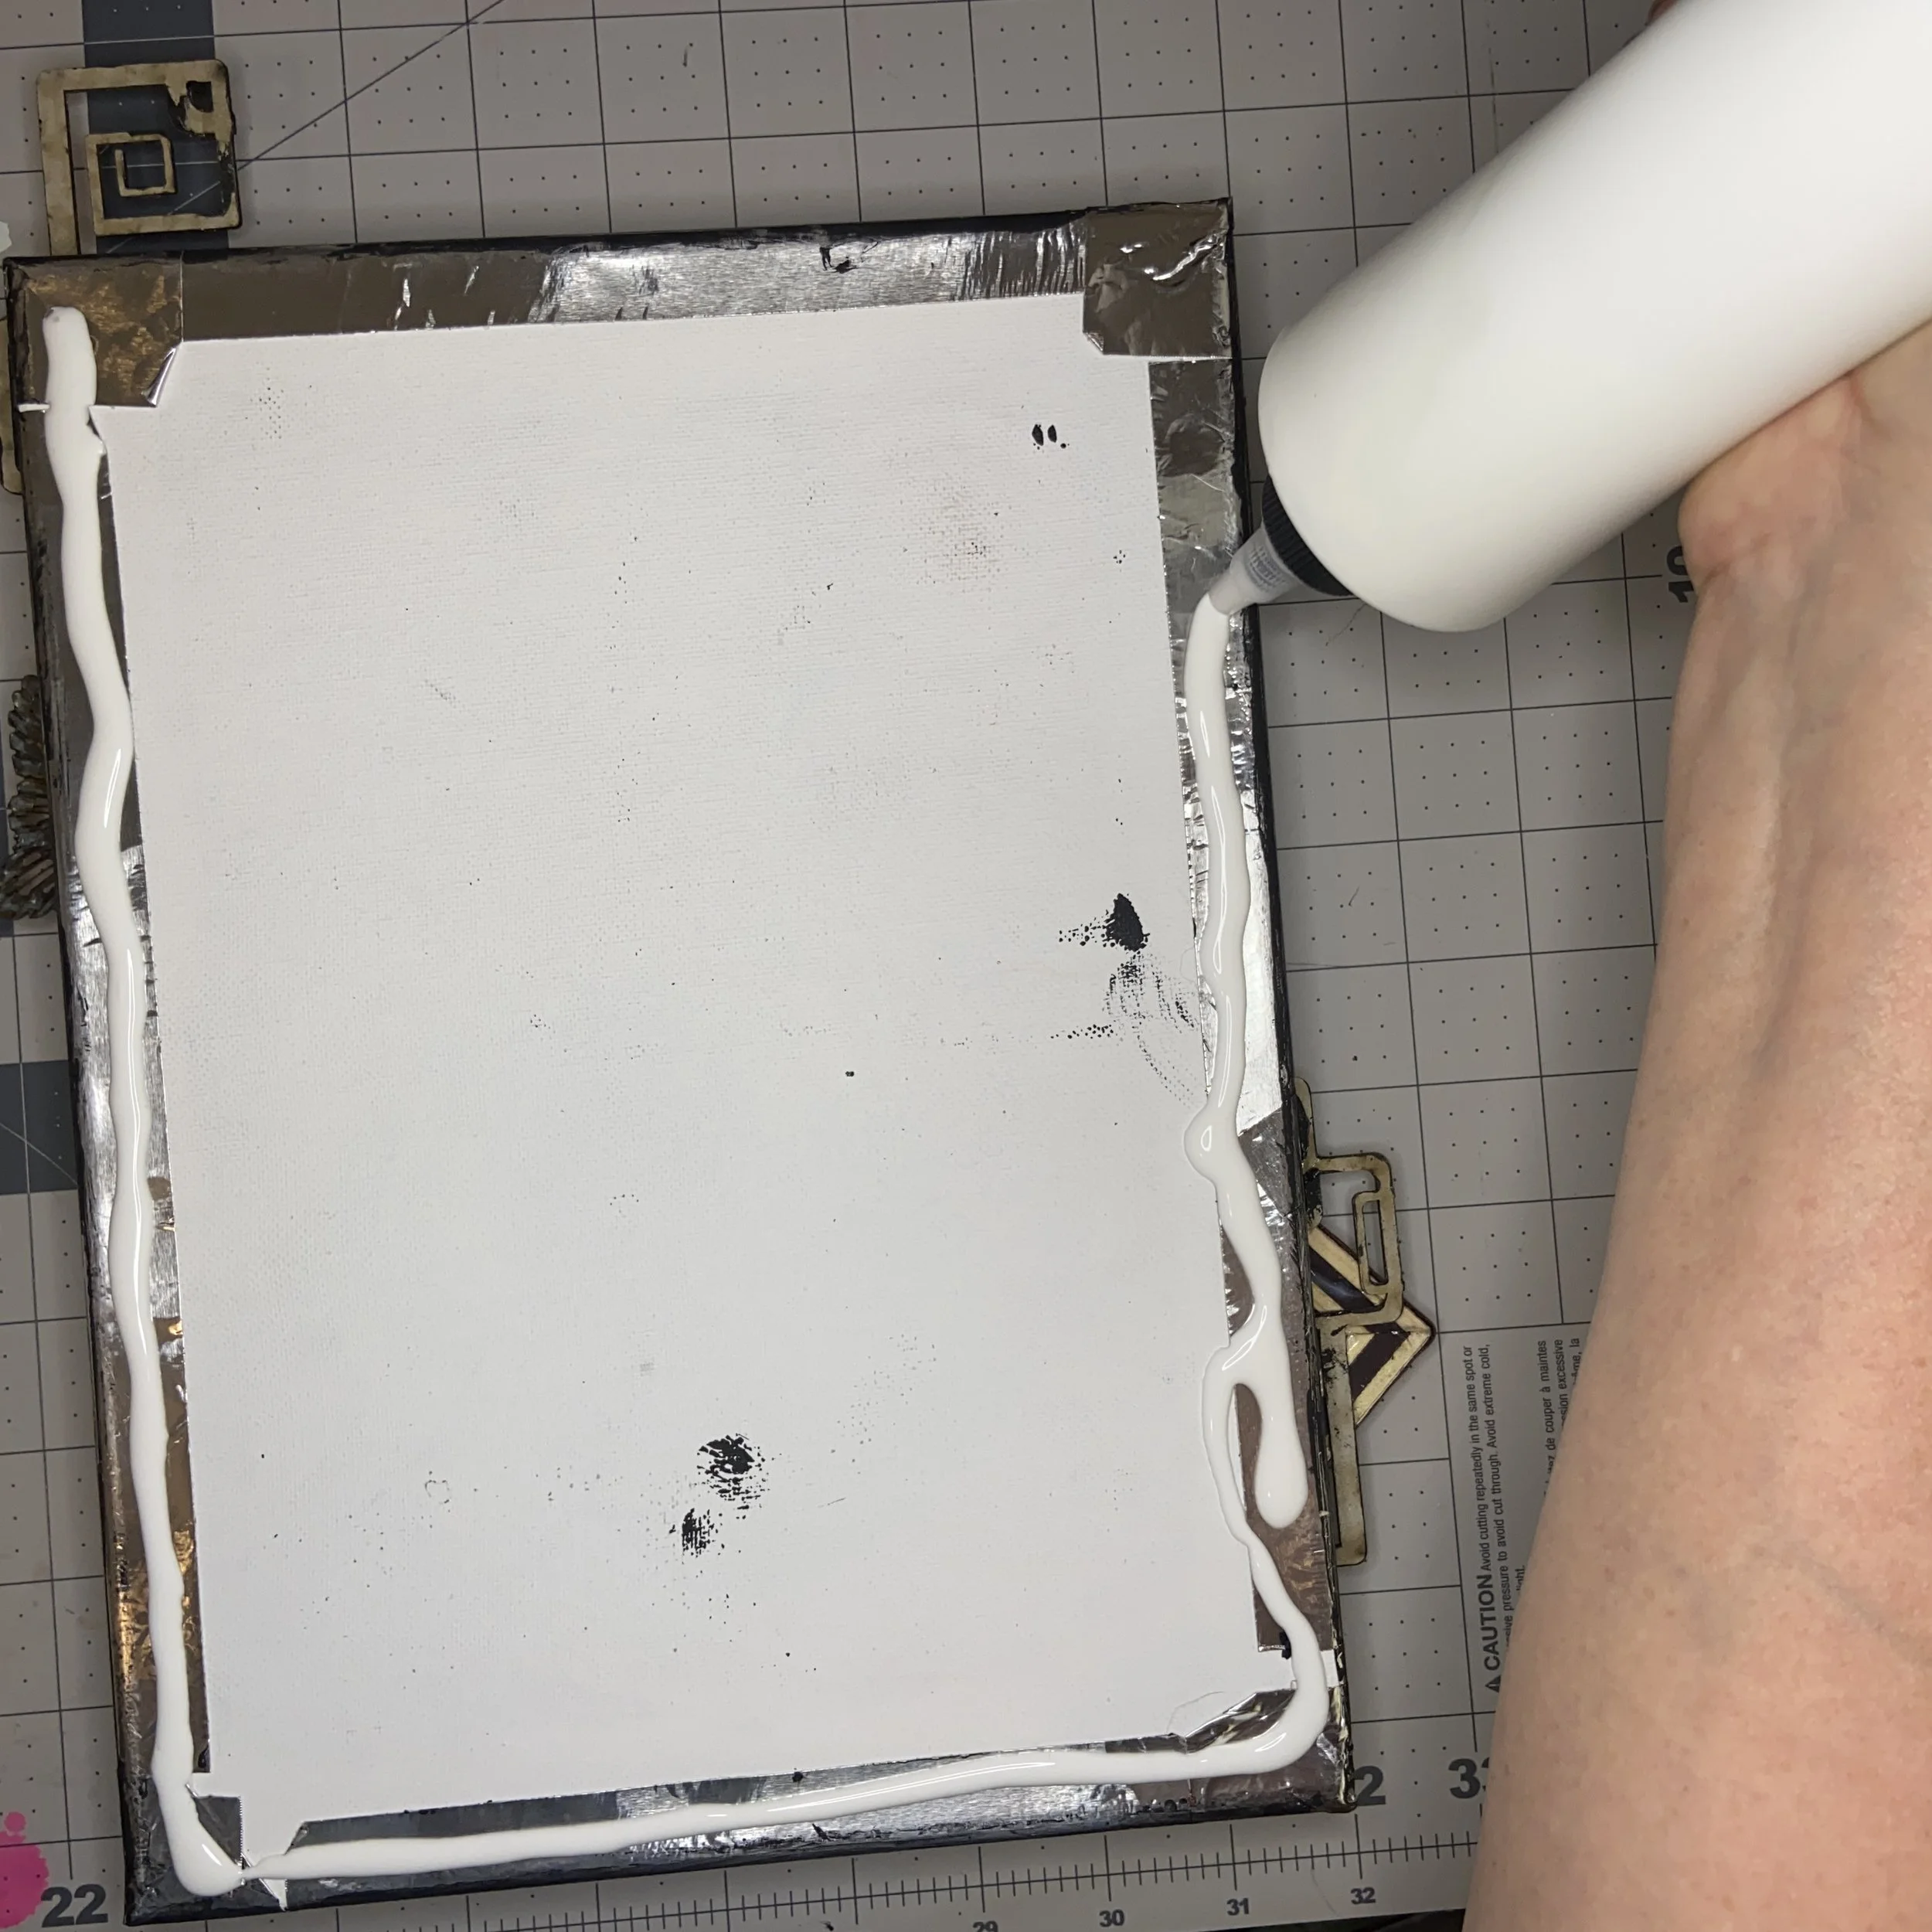
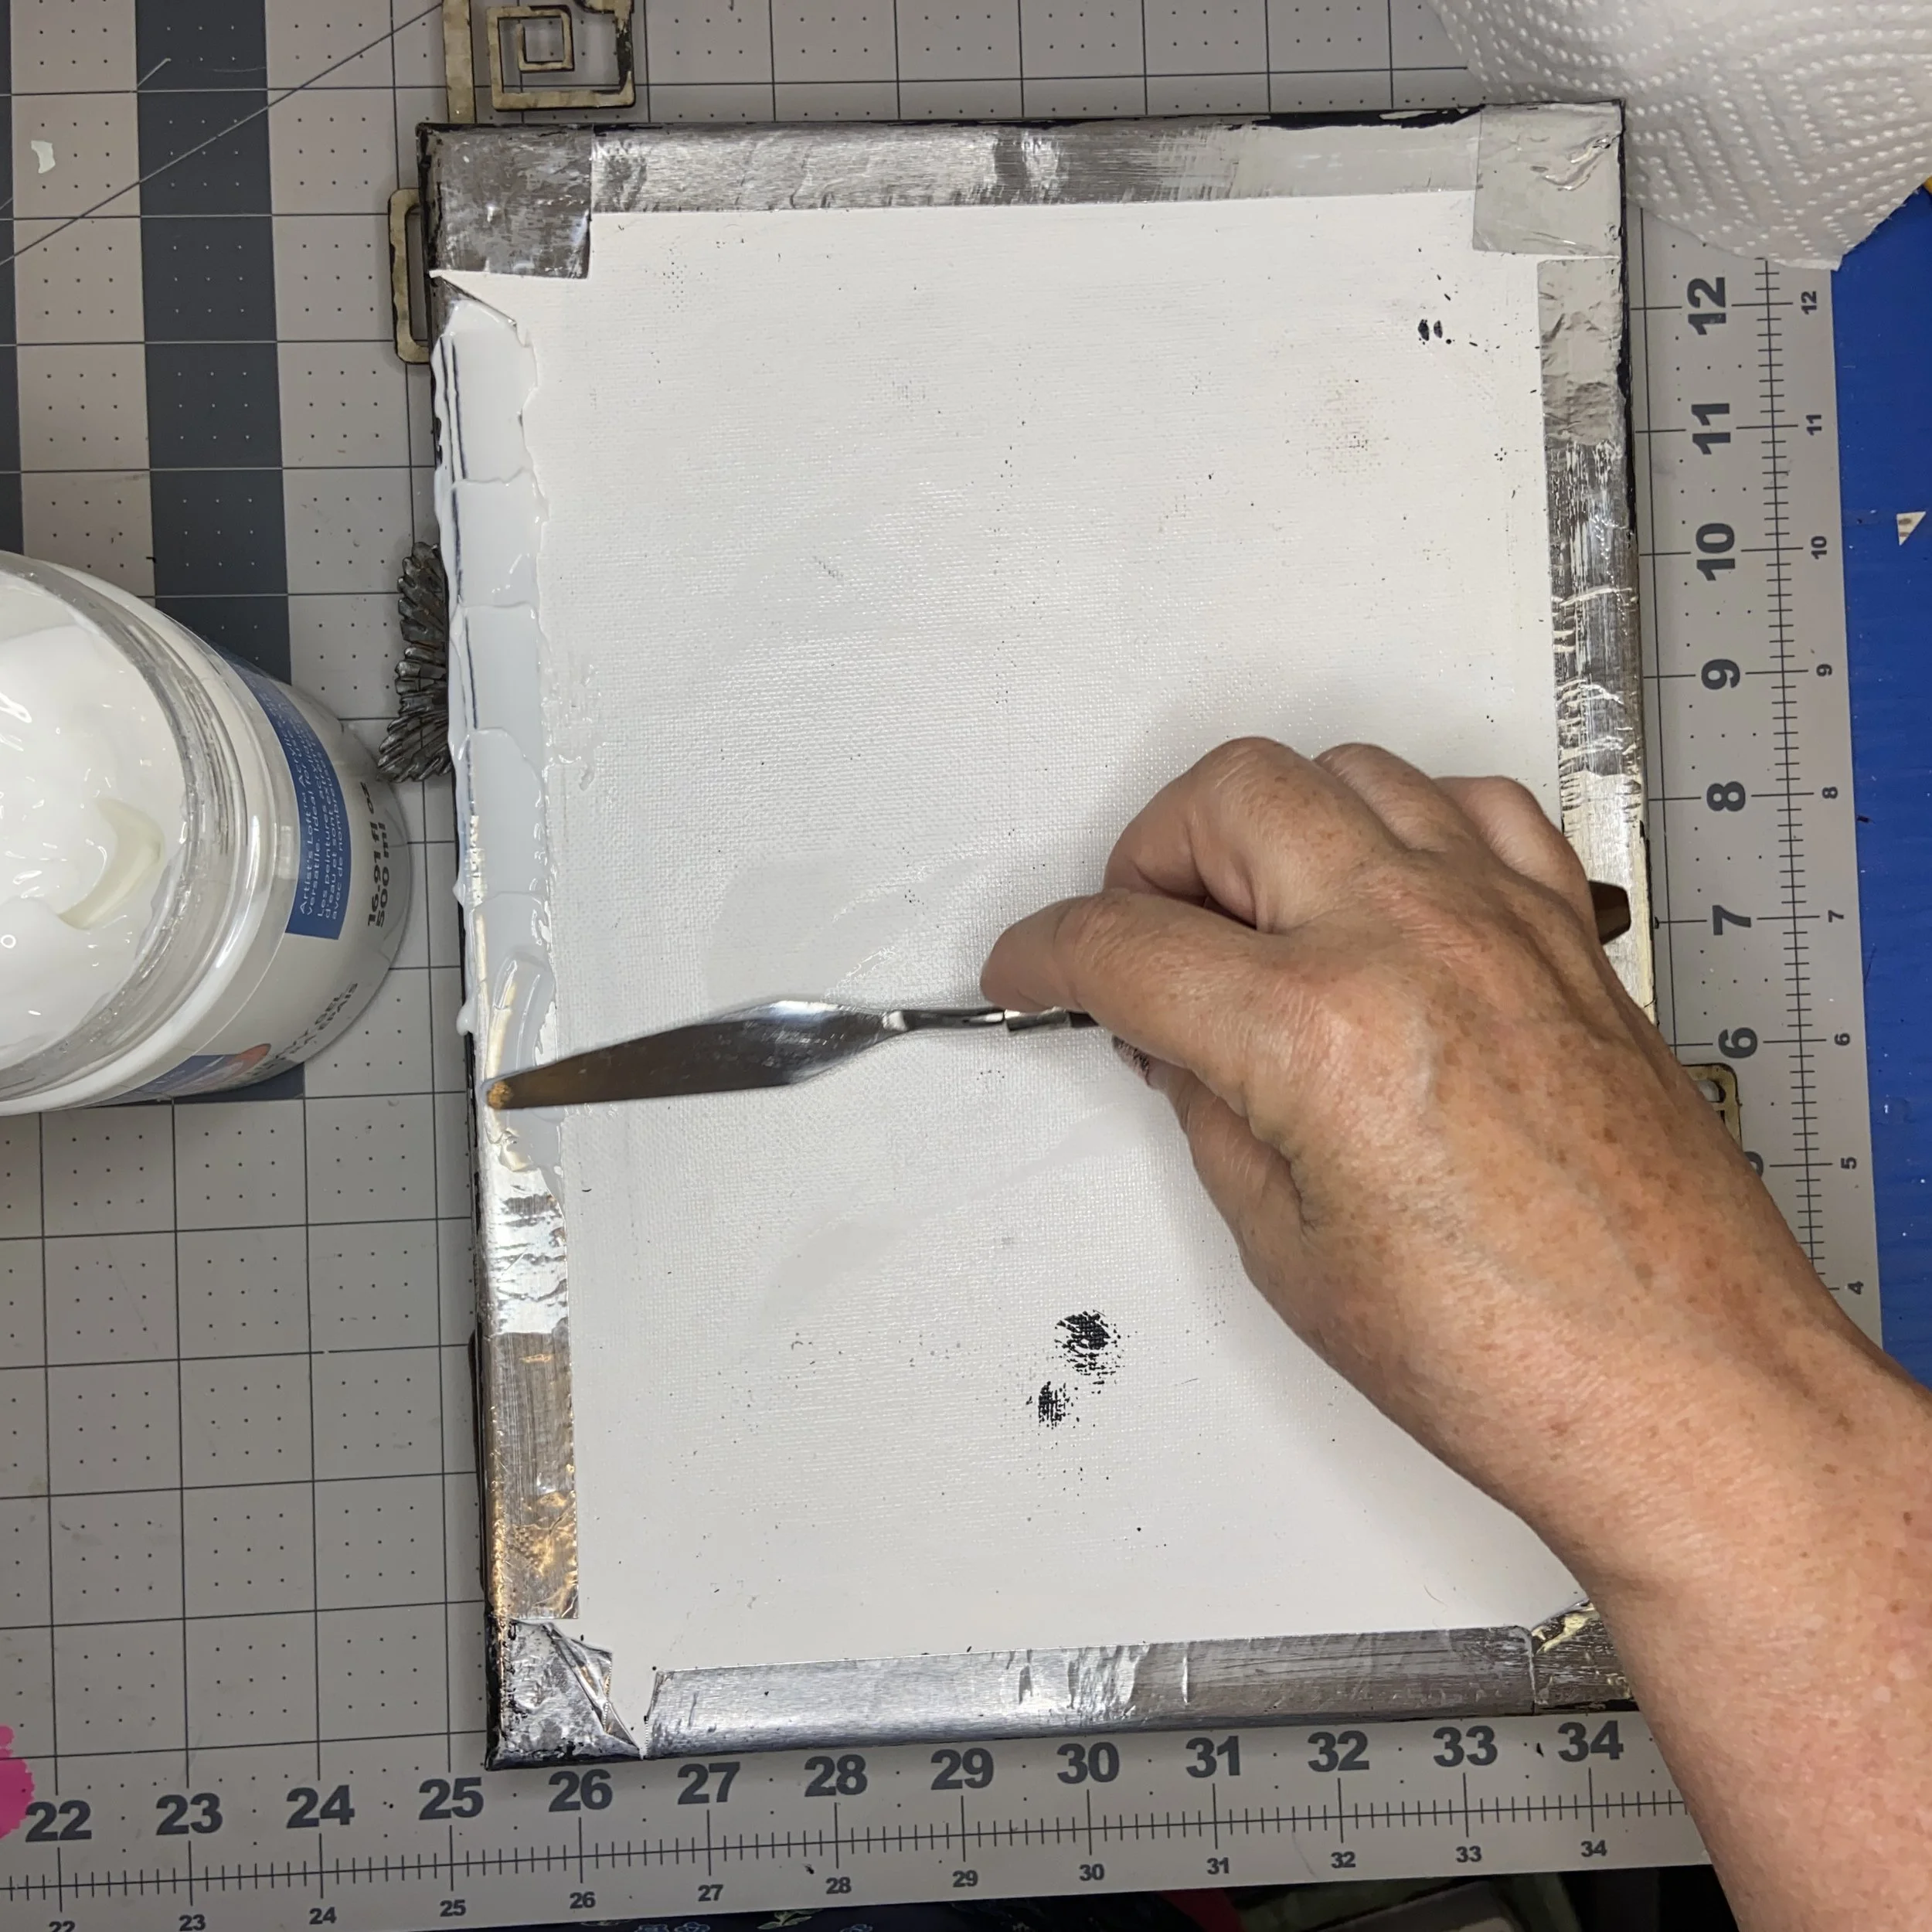
And finally, I was ready to finish the back. I decided to just use brown paper, like I would on any picture I had matted and framed. I cut the right size, and then again decided to use my bookmaker’s glue to attach the paper to the back. But as I used a paintbrush to spread out the glue, it was clear that it did not want to stick to the foil. I wiped away all the glue (very messy and tedious, especially since I really should have known better) and used heavy body gel instead.
And finally, the hooks and pads. I realized early on in the project that the weight of the piece was not evenly distributed, mostly because of the placement of the compass. So I hooked my finger under the top lip and lifted to see where the center point would be, and then attached the hanger on the back in that spot. I also applied thick felt pads to the bottom corners to help the piece hang straight and not scrape up a wall.
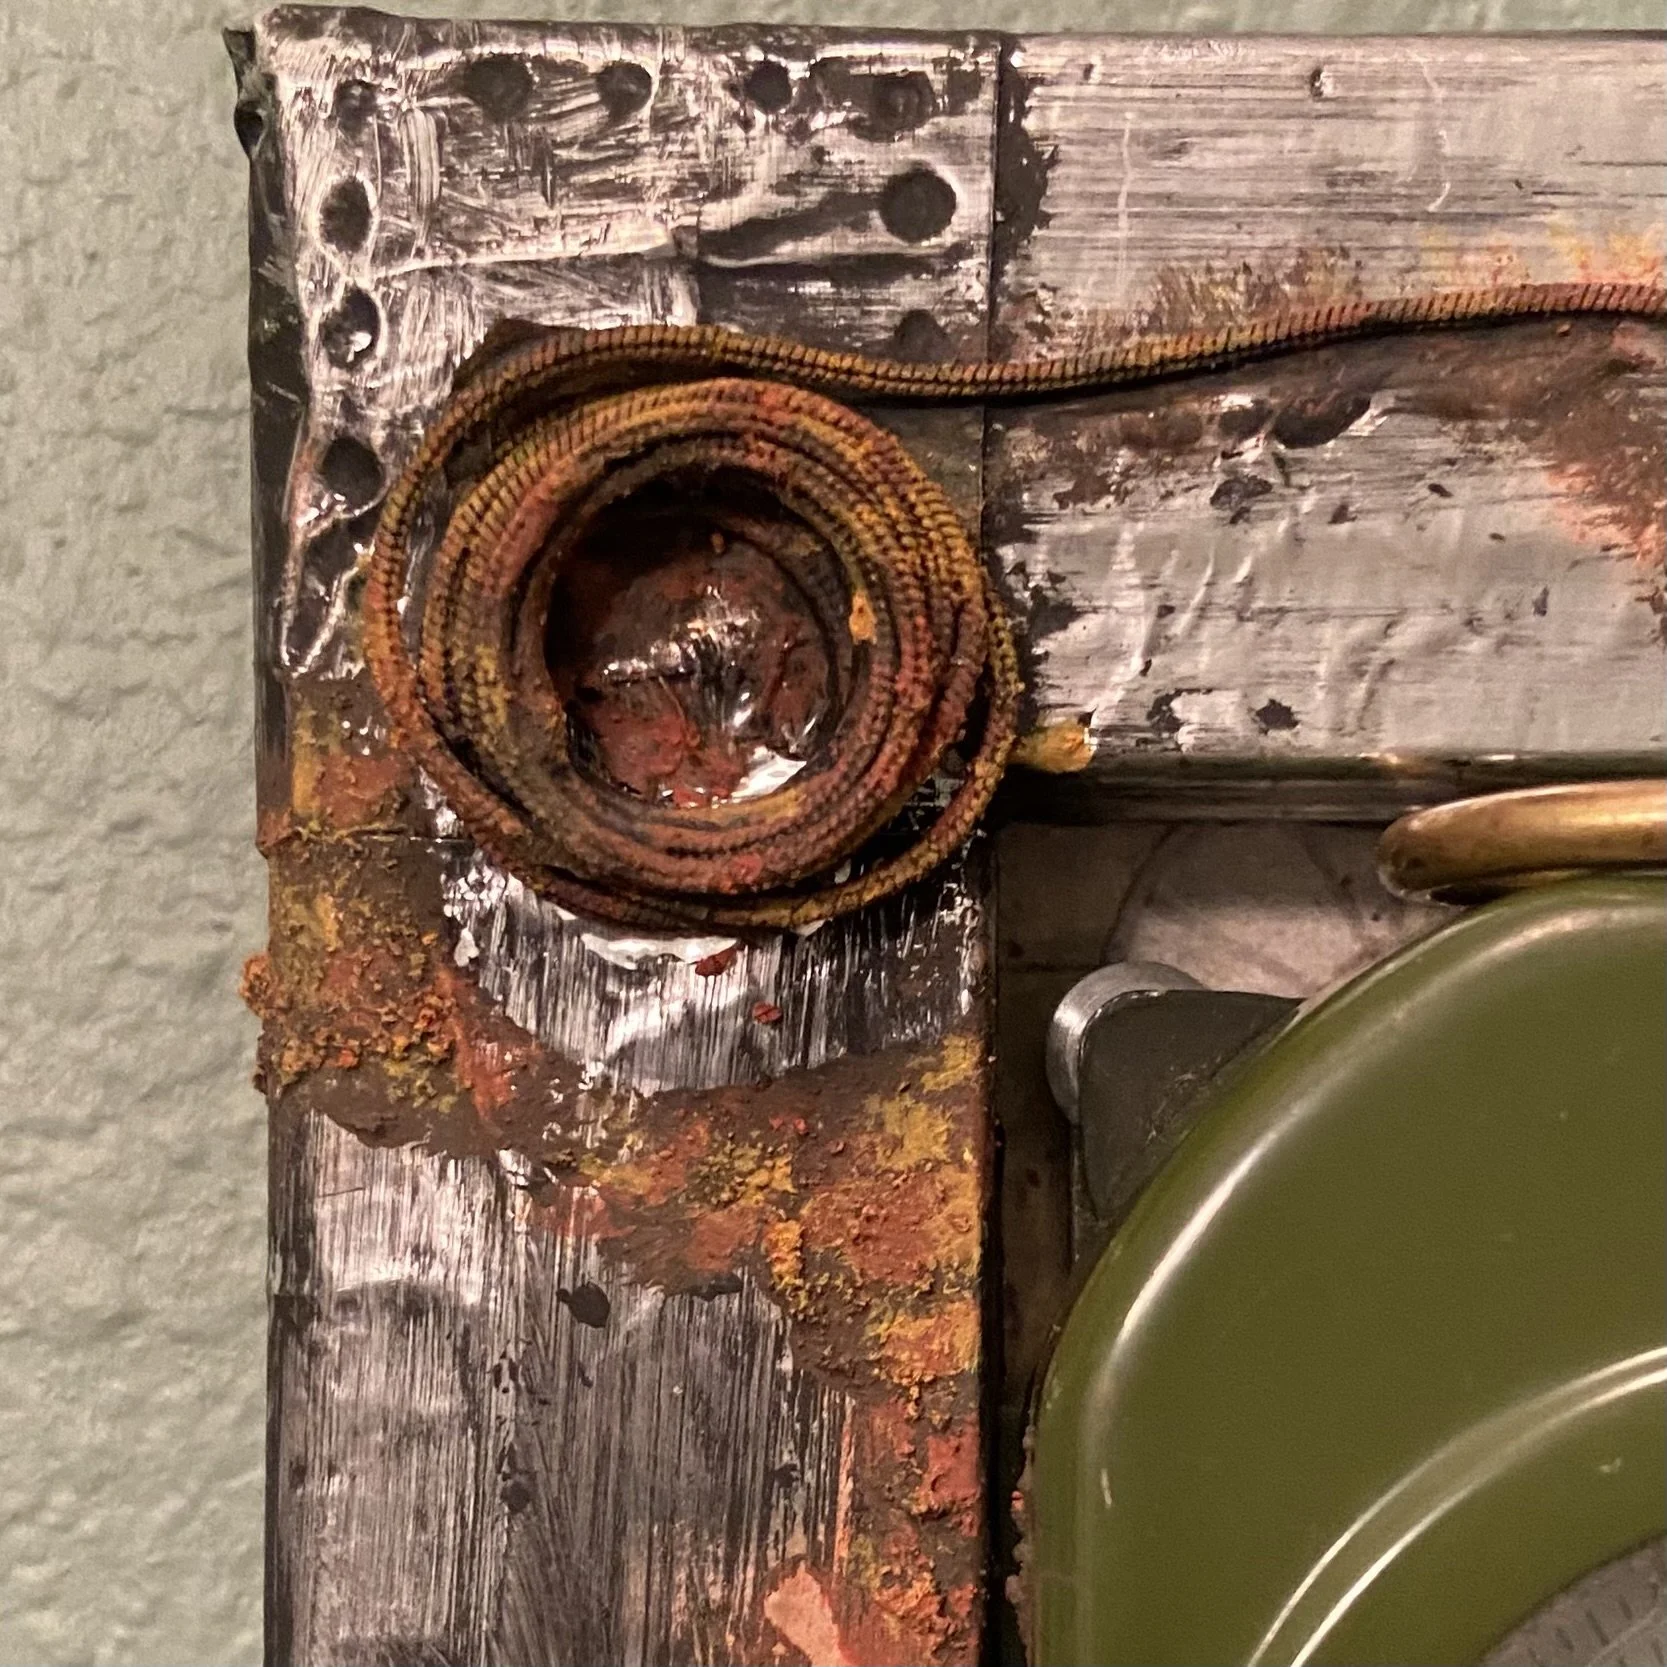
After I was done carefully driving the nails into the hanger, I turned the project right side up only to realize that my coil of “rope” in the upper left corner had come loose. I glued it back down with heavy body gel, but realized only after it had dried that I’d not glued it back into the original spot. This meant that there was now a crescent of bright silver foil showing underneath the rope coil. I took the time to reapply the rust paste trio over that spot.
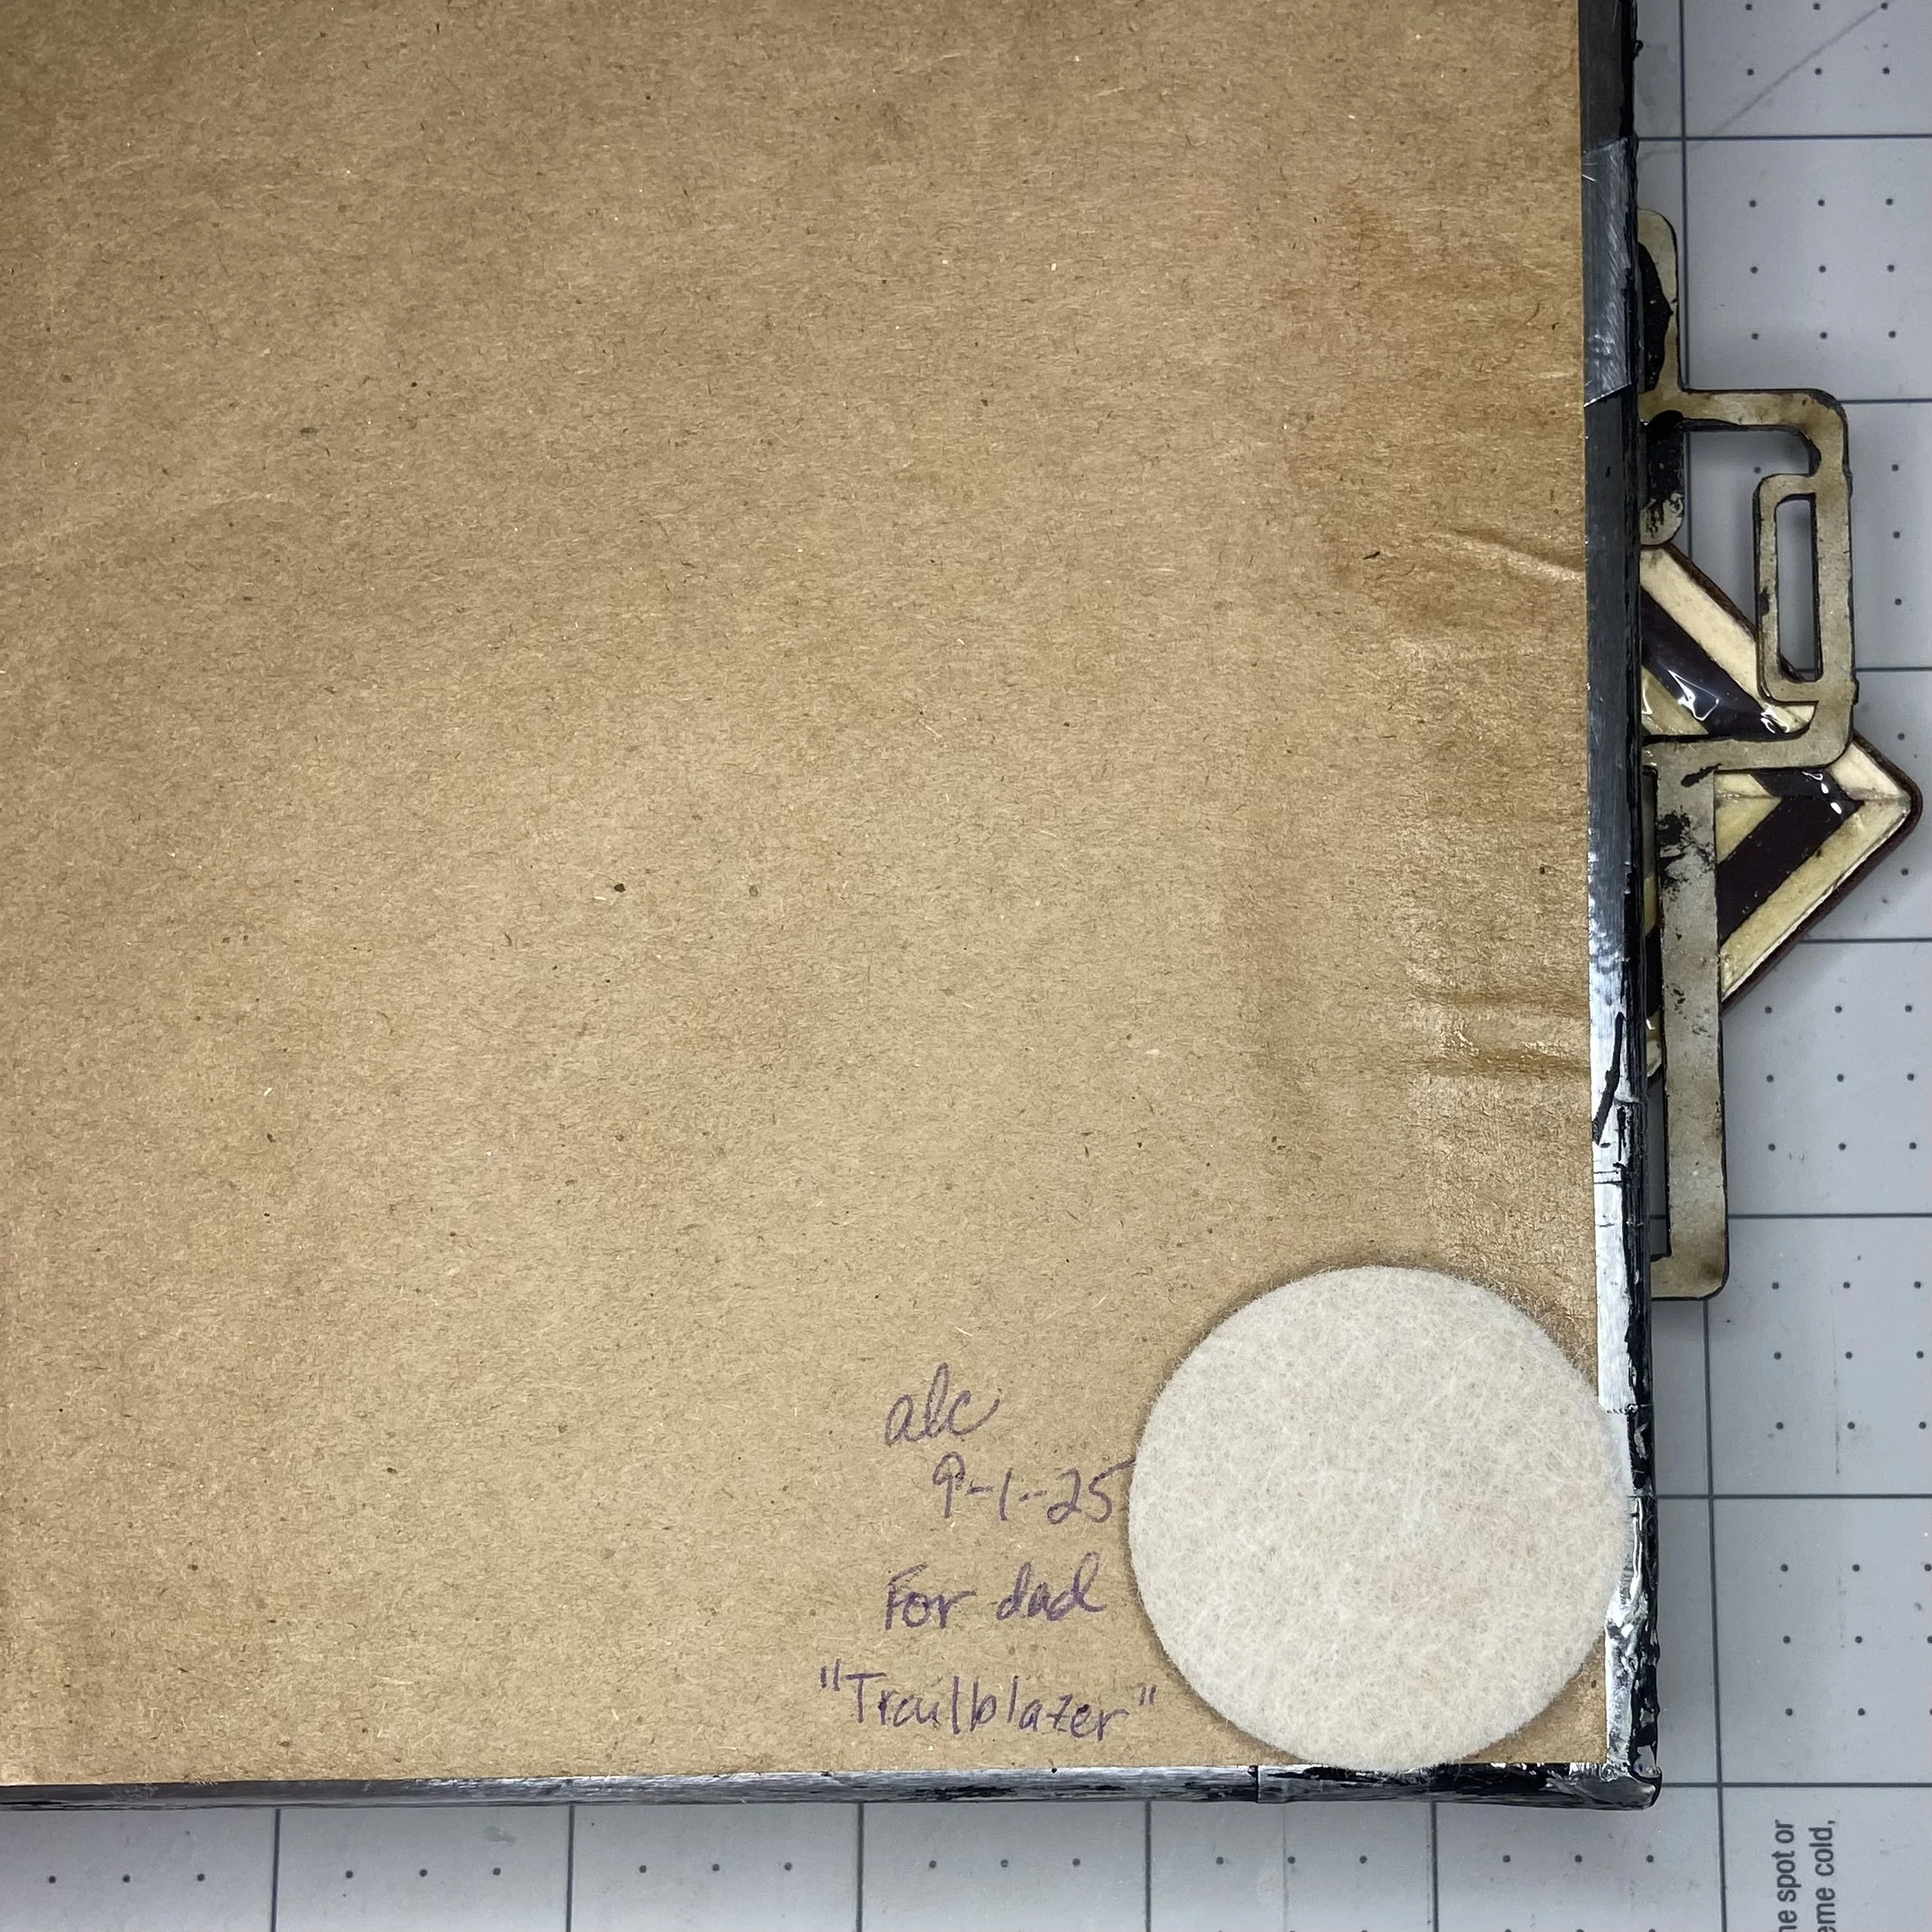
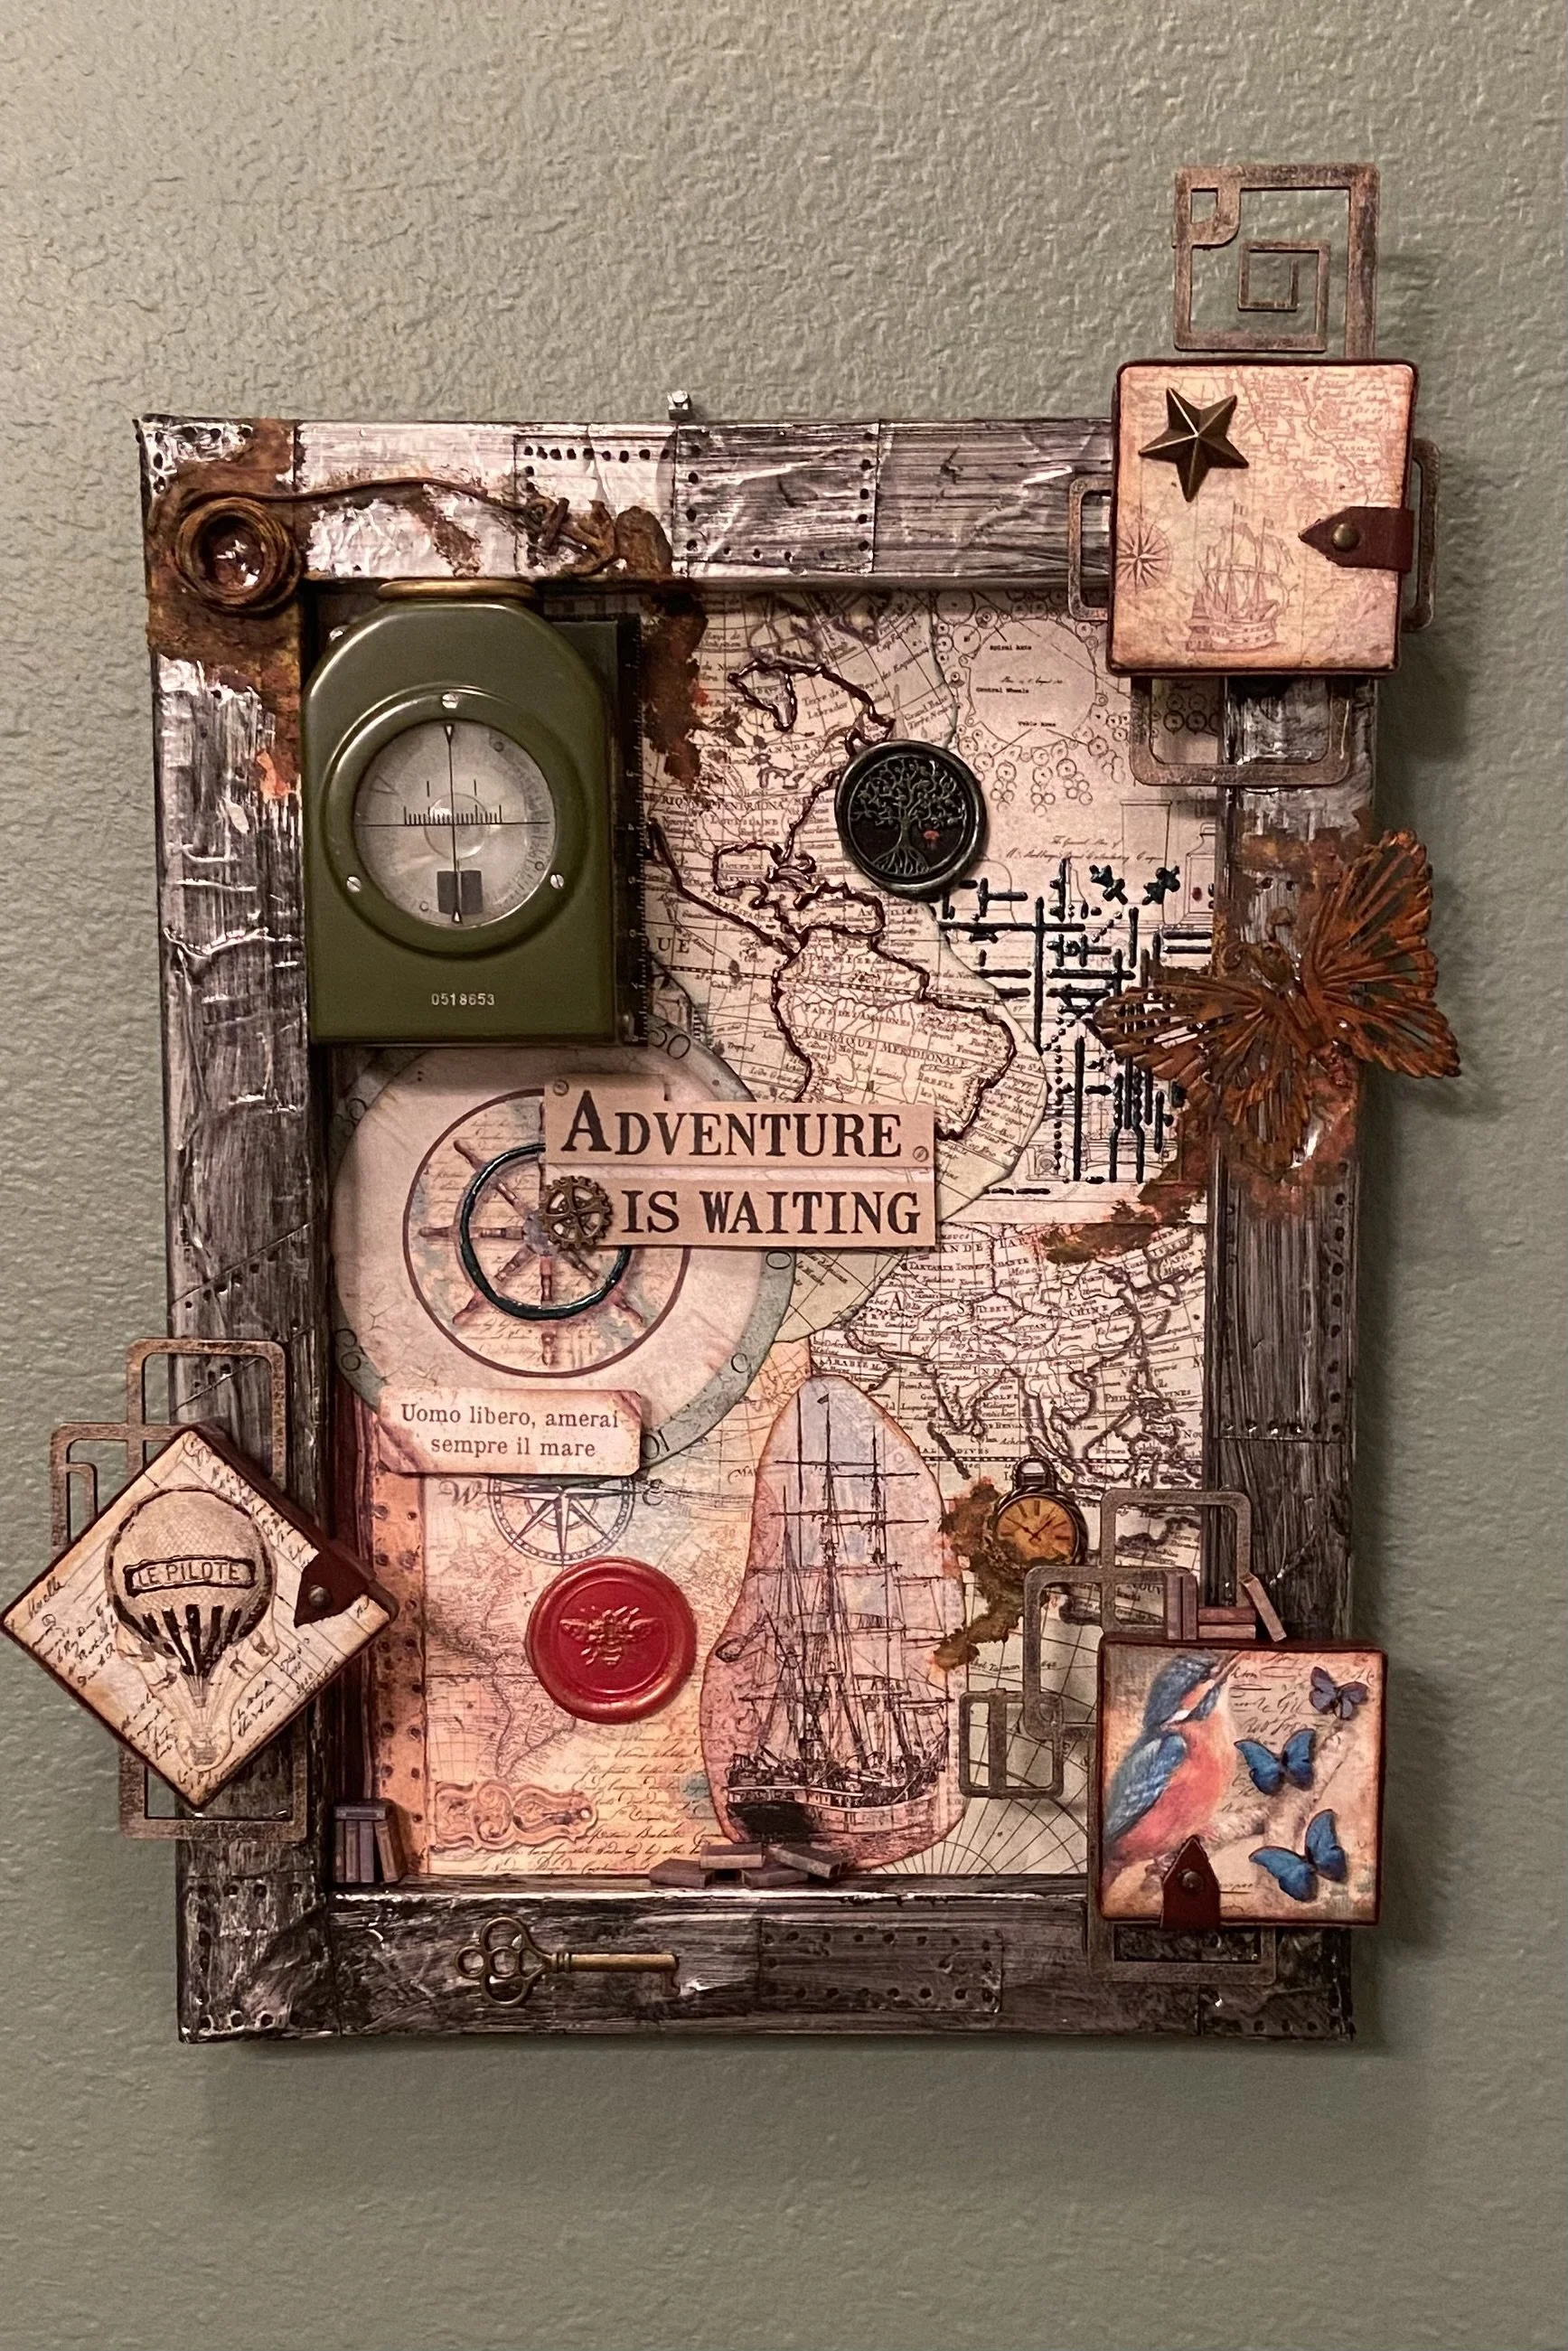
My final bit of work was to title, initial, date, and dedicate the piece on the back. And all done! I’m calling it Trailblazer and my dad is getting it for his birthday in a couple weeks. I like the piece, but I don’t love it. I feel it doesn’t quite hold together around a theme a much as I would like. But I’m hard-pressed to think what I could/should have done differently. Ah well…I do think it’s pretty and I did learn some things (one of which I should definitely have learned by now, given the many times I’ve regretted not measuring on various projects over the years).